Manage Categories in StockSmart
Table of Contents
Categories can help you organize your products and leads to better reports.
Categories are managed under the inventory tab.
Add Categories
NOTE
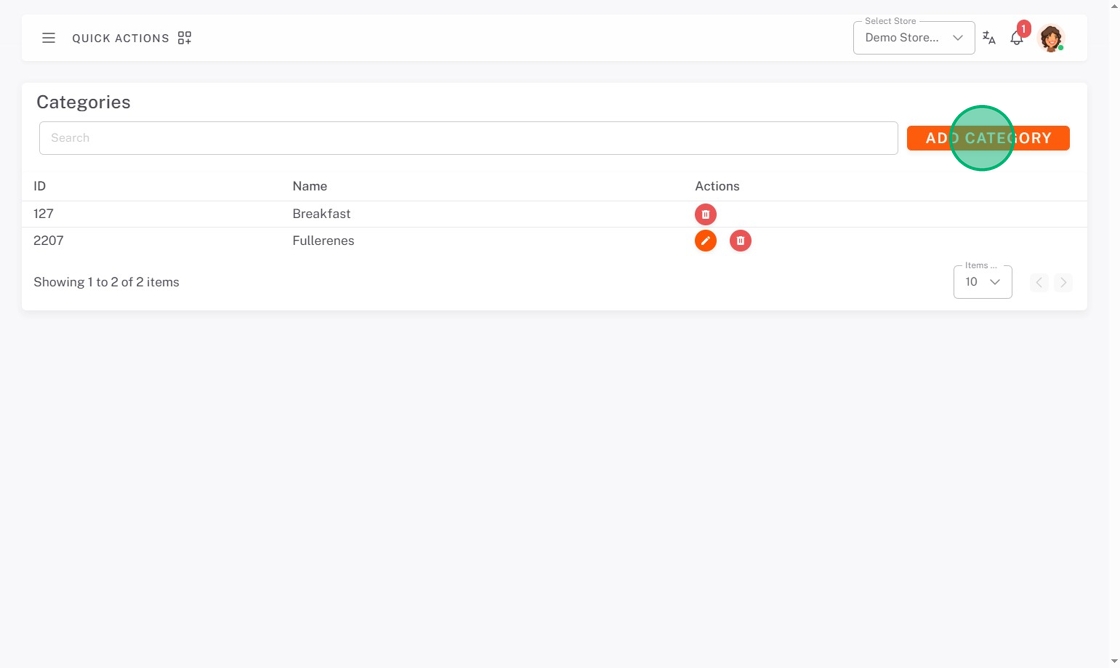
When an order contains a new category, the category will automatically be added to the list.
1. Go to https://stocksmart.rightbytes.com/login and log in.
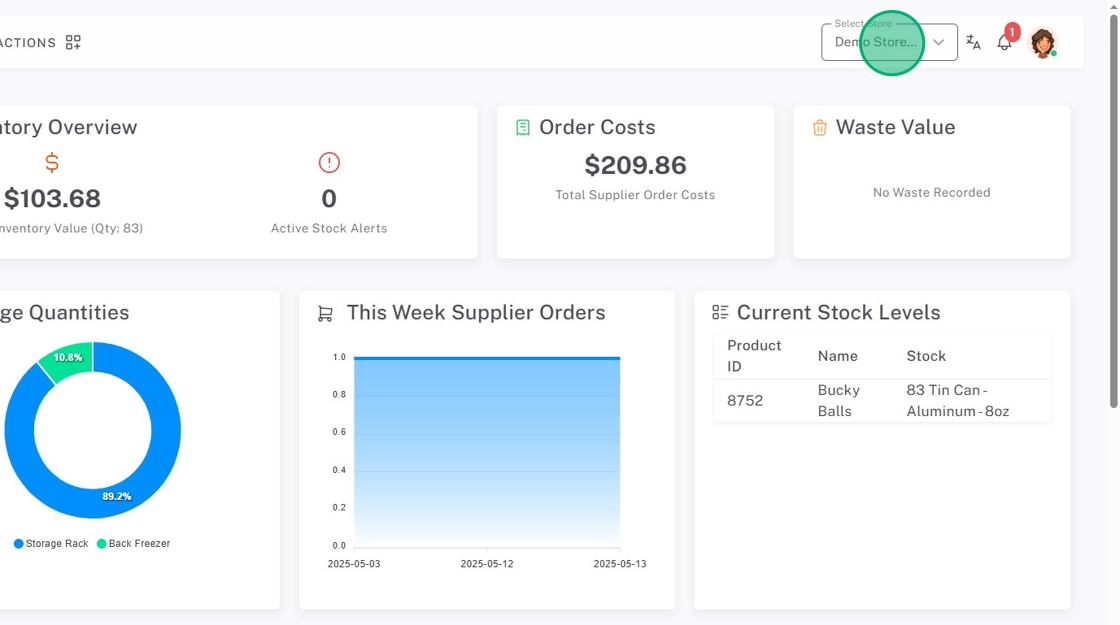
2. Choose your store from the Select Store dropdown.
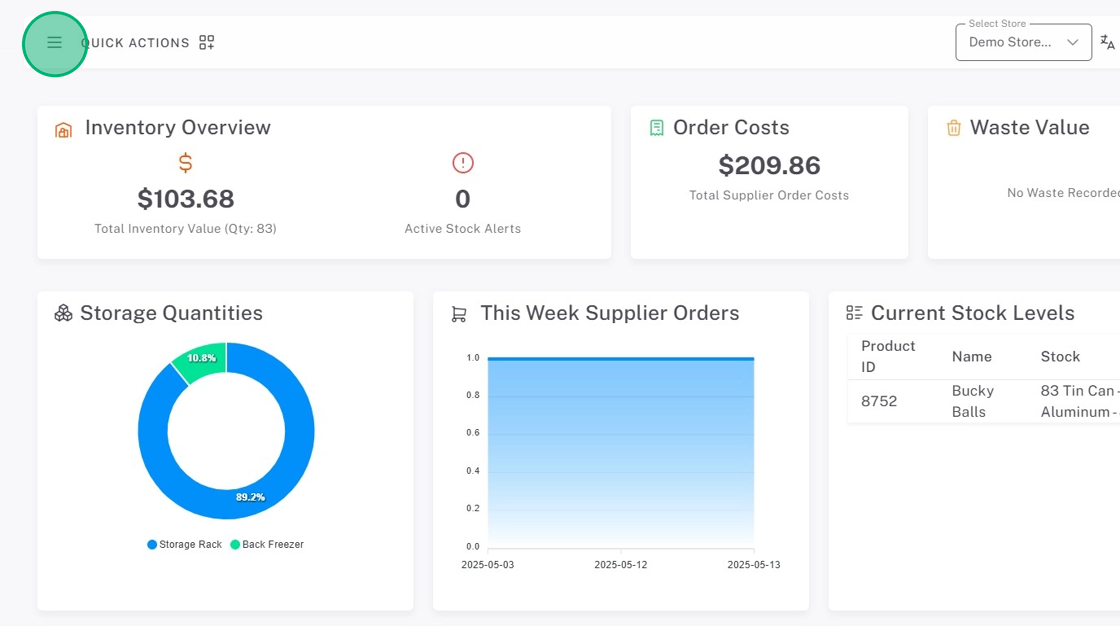
3. Click the menu button (three-line icon).
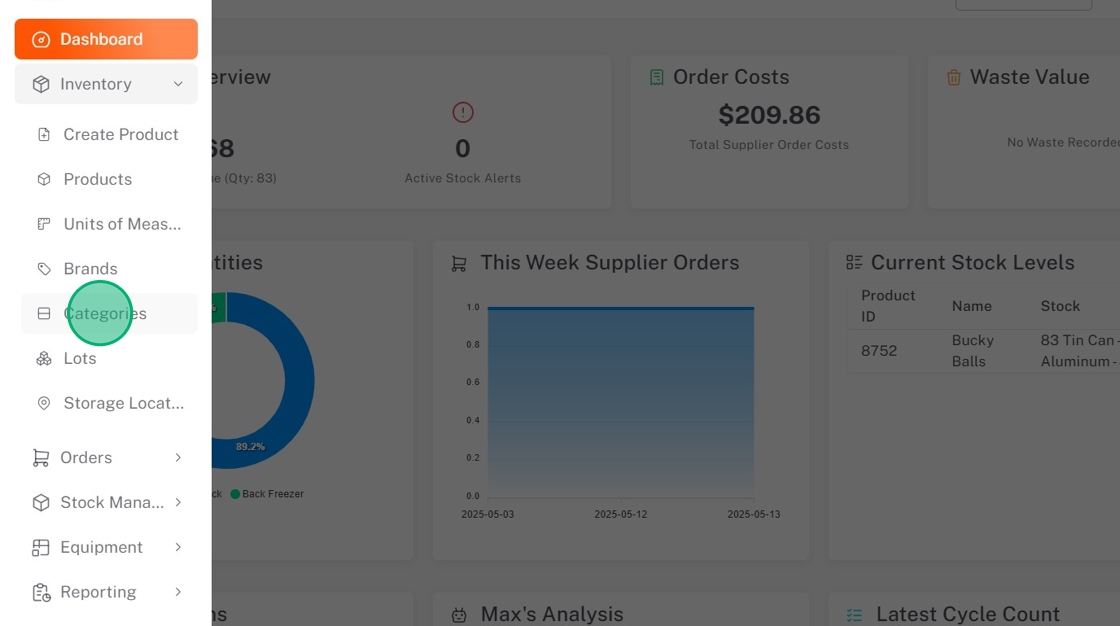
4. Click Inventory, then Categories.
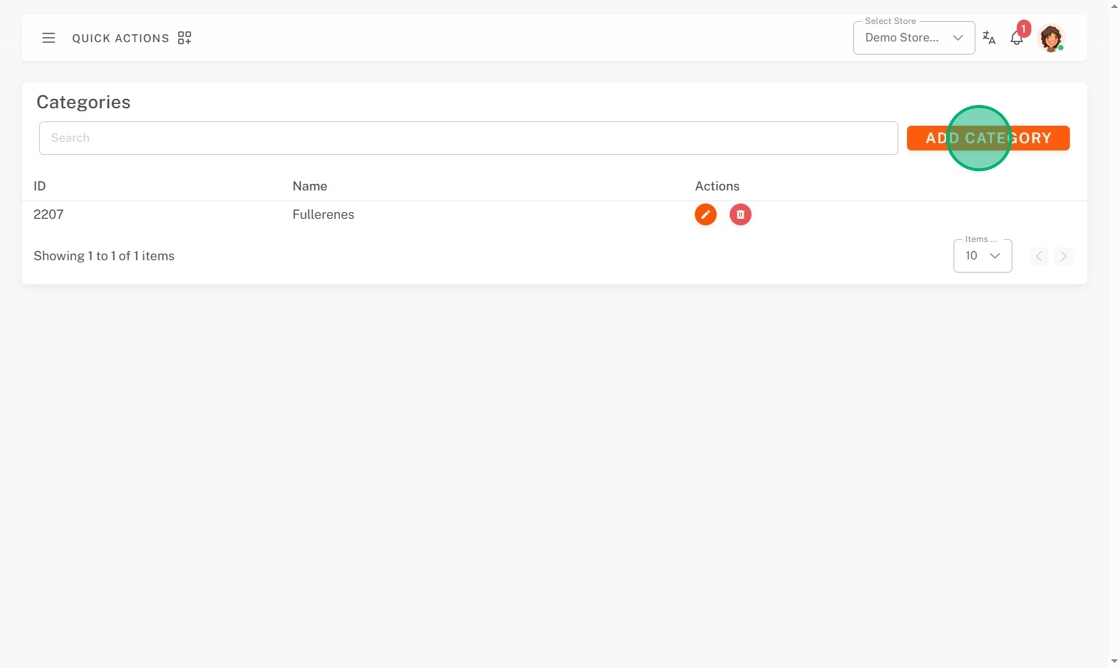
5. Click Add Category.
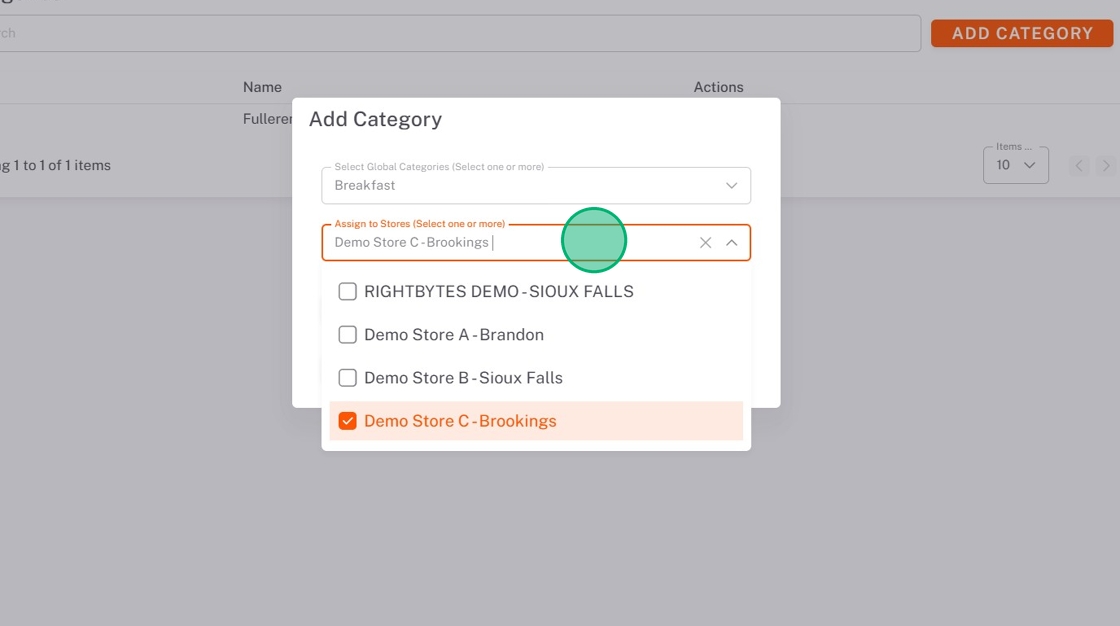
6. Click the Select Global Categories dropdown and check the boxes of categories needed.

7. Click the Assign to Stores dropdown, and check all stores that need this category.
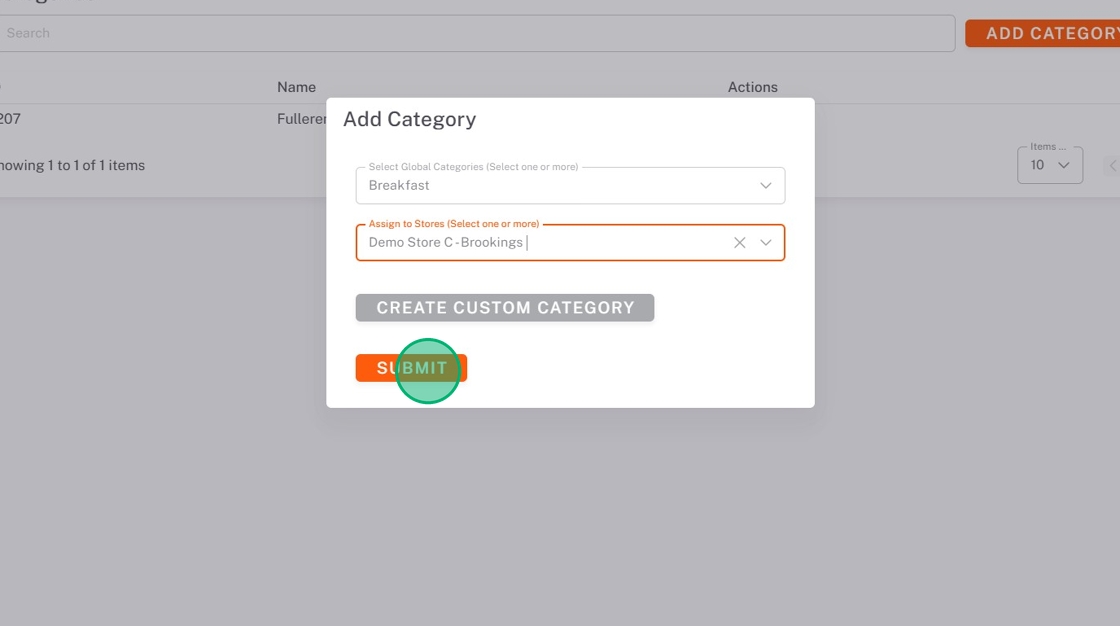
8. Click SUBMIT.
Add Custom Categories
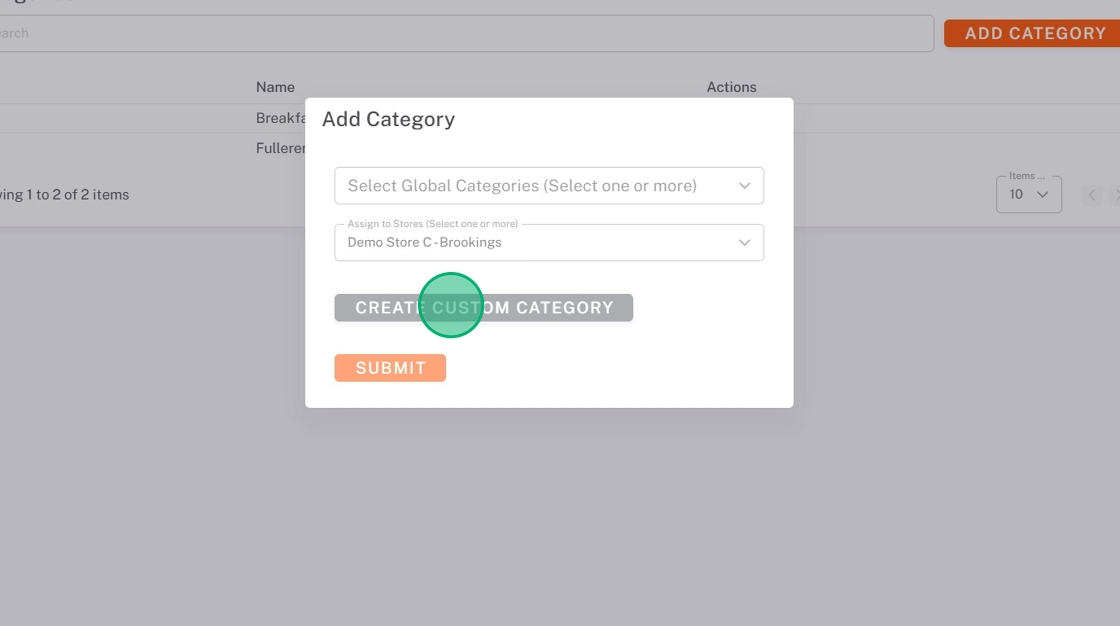
1. Click ADD CATEGORY.
2. Click Create Custom Category.
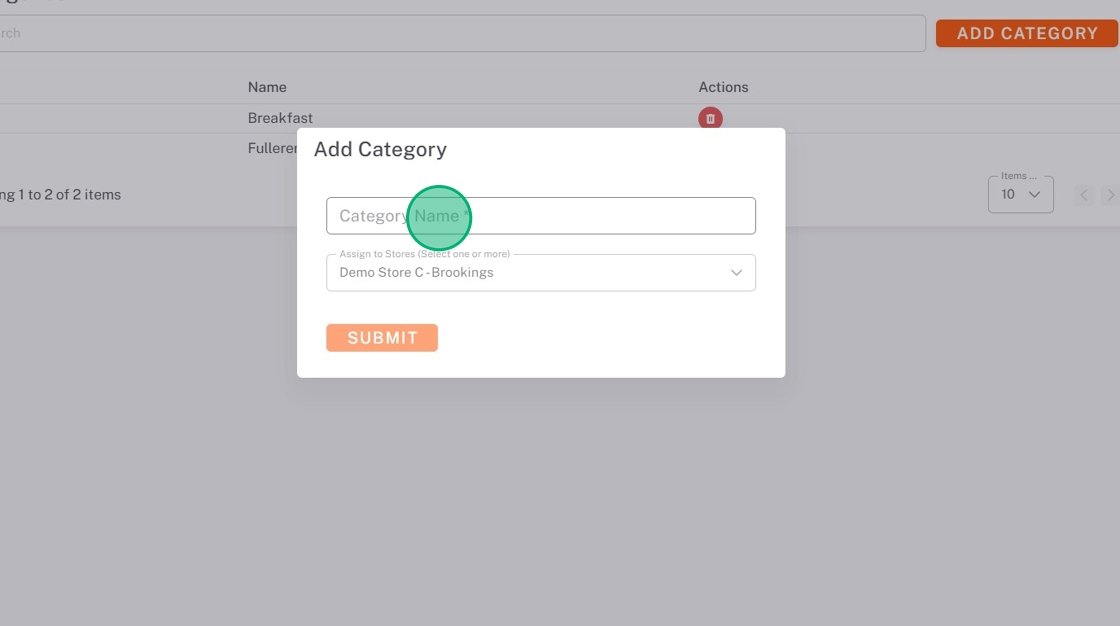
3. Type the Category Name.
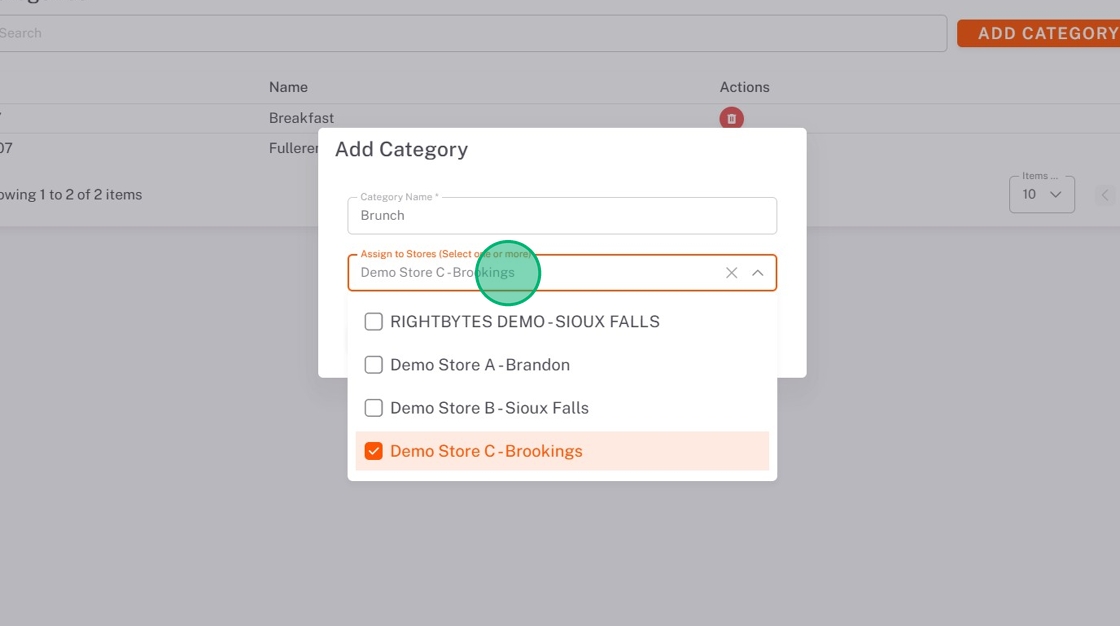
4. Click the Assign to Stores dropdown, and check all stores that need this category.
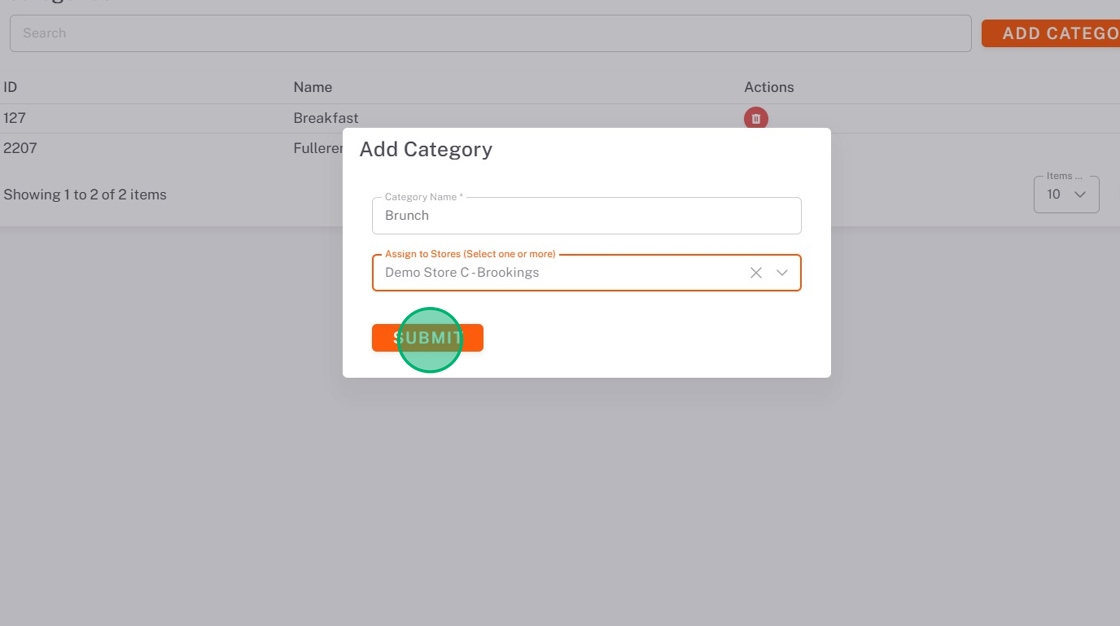
5. Click SUBMIT.
Edit Custom Categories
NOTES
- Only custom categories can be edited.
- Changes to the custom categories will only be saved to the store you are currently set to.
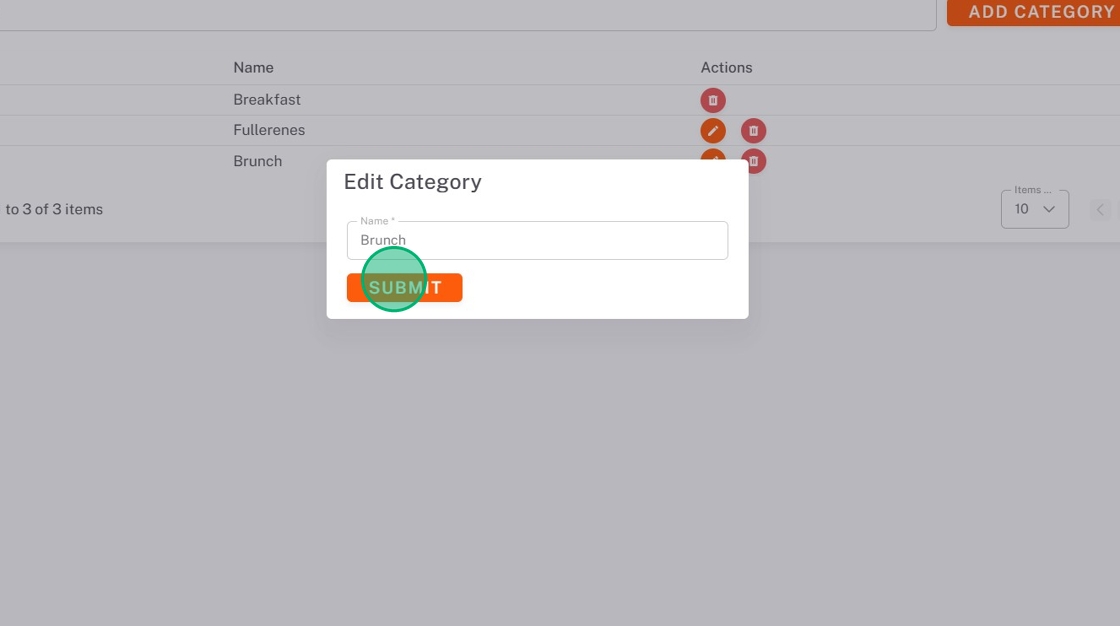
1. Click the edit button (pencil icon) next to the category.
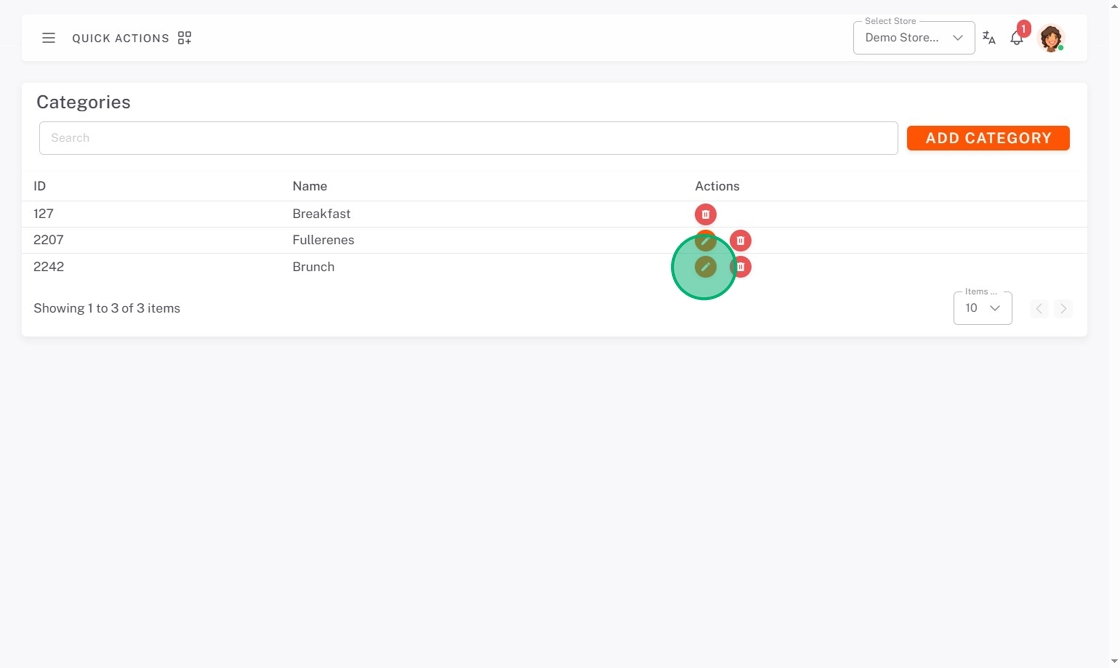
2. Make edits, then click SUBMIT.
Delete Categories
NOTE
The category will only be deleted from the store you are currently set to.
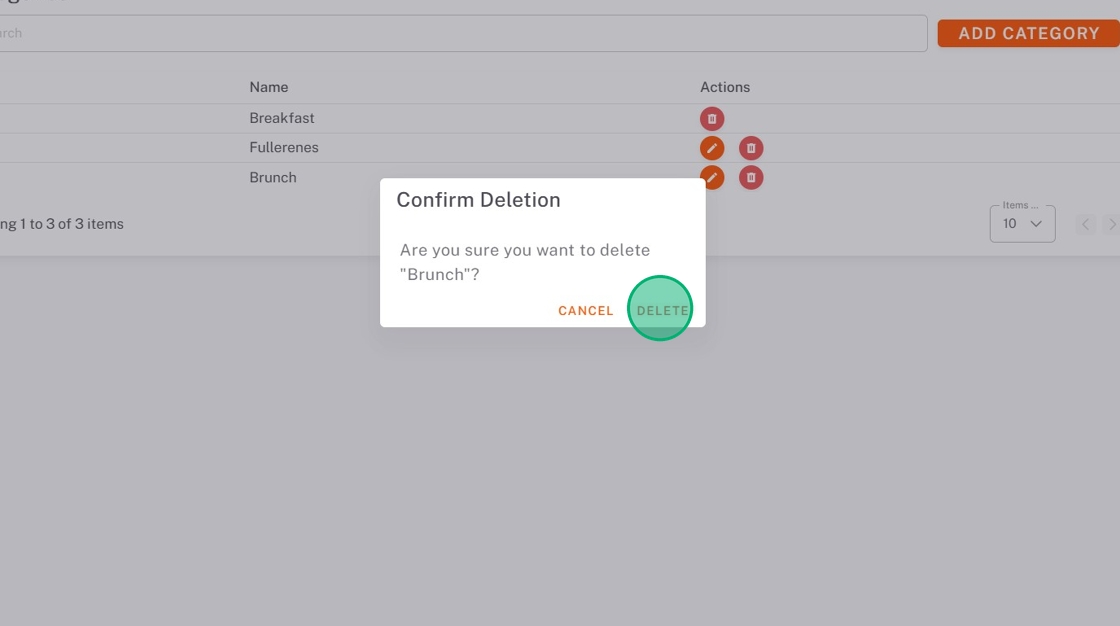
1. Click the delete button (trash icon) next to the category.

2. Click DELETE from the pop-up.