Manually Create Orders in StockSmart
Table of Contents
If you do not have supplier connections set up to automatically import orders, you can manually import orders into StockSmart.
TIPS & TRICKS
When setting up StockSmart, for products without a supplier connection set up, you can import your existing products all at once using an Excel spreadsheet.
There are three ways to add order manually:
1. Import an Excel spreadsheet
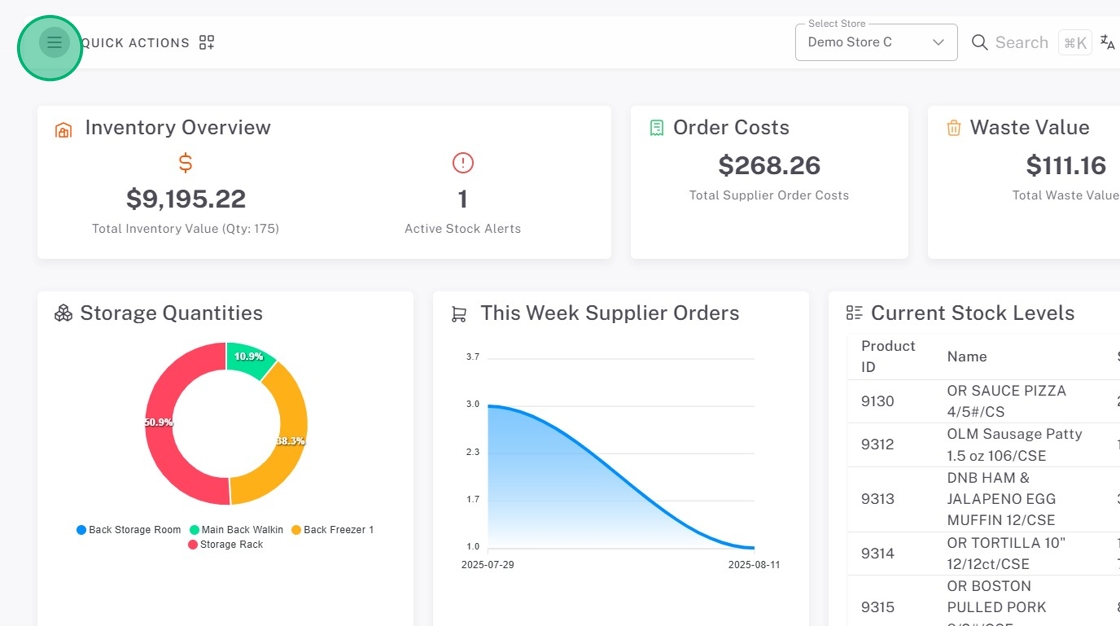
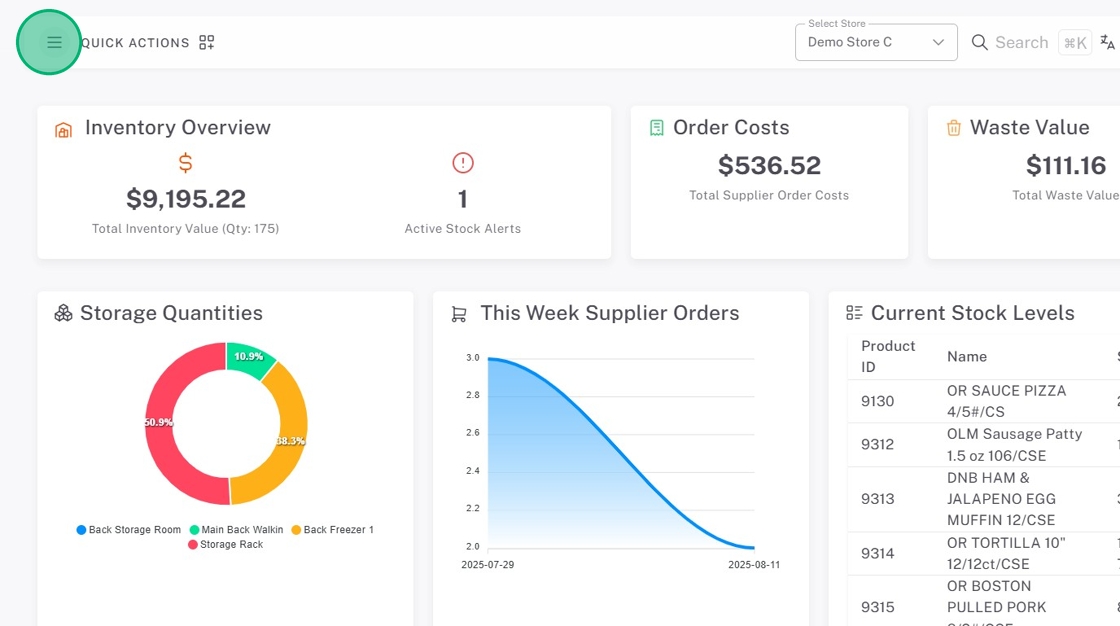
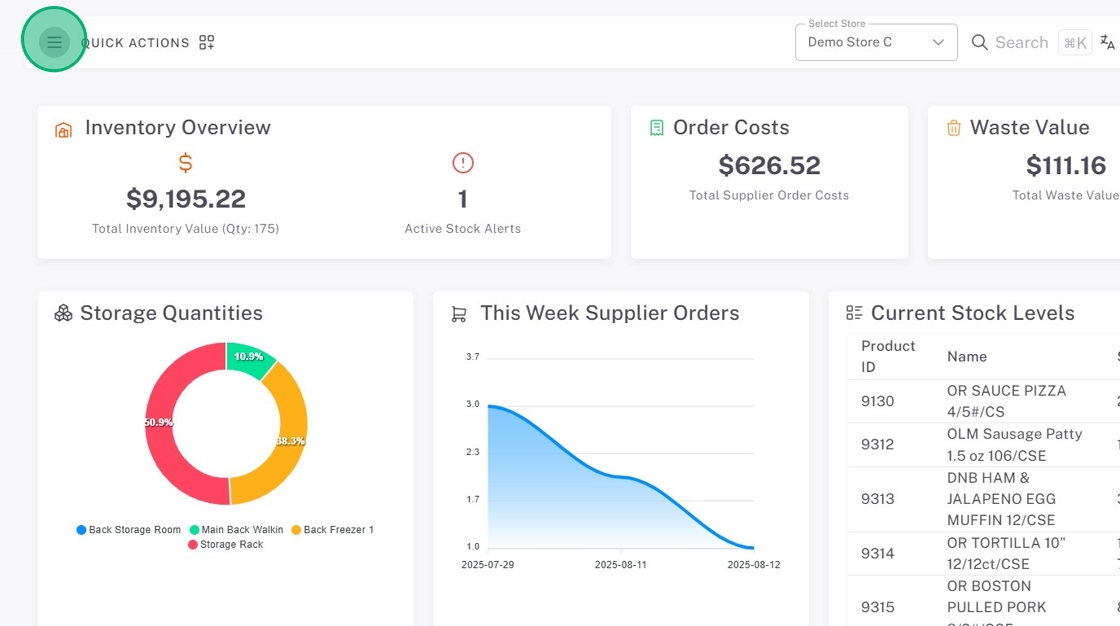
2. Click the menu button (three-line icon).
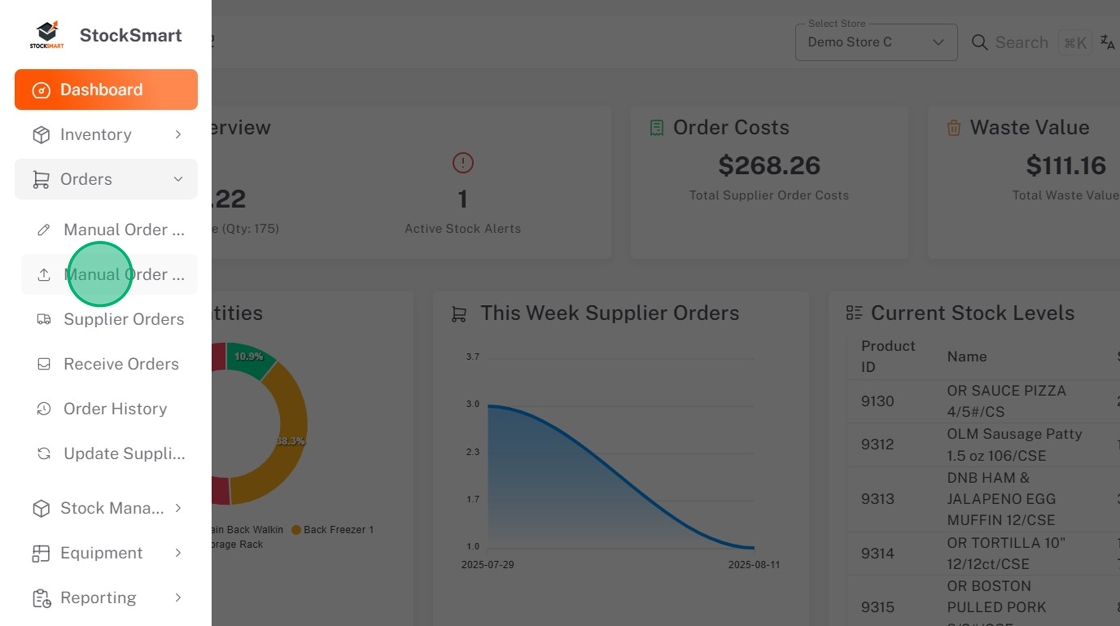
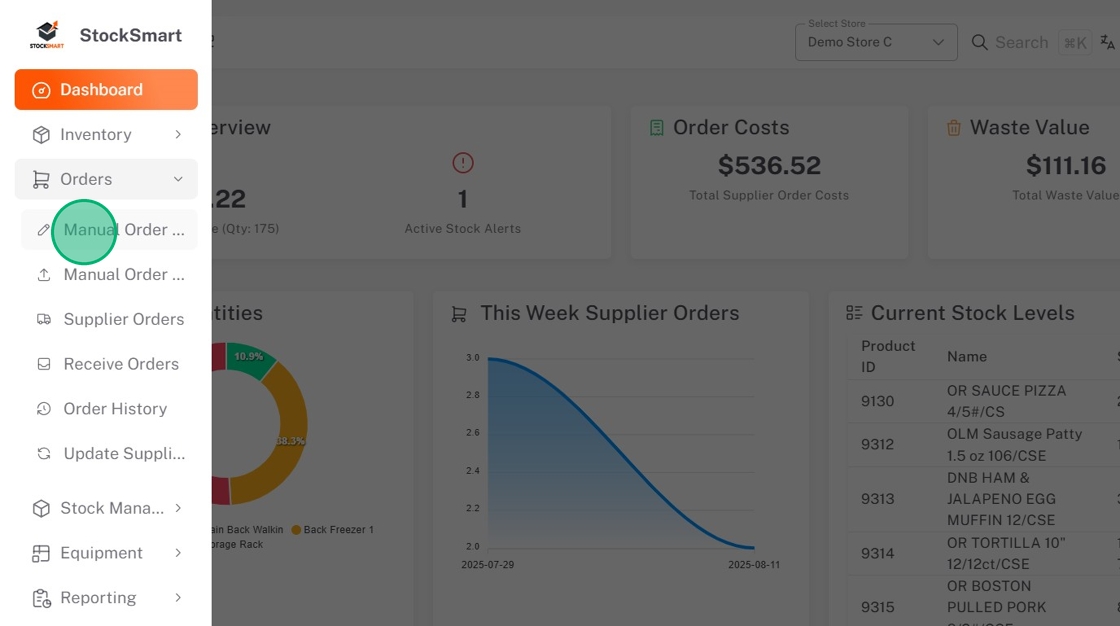
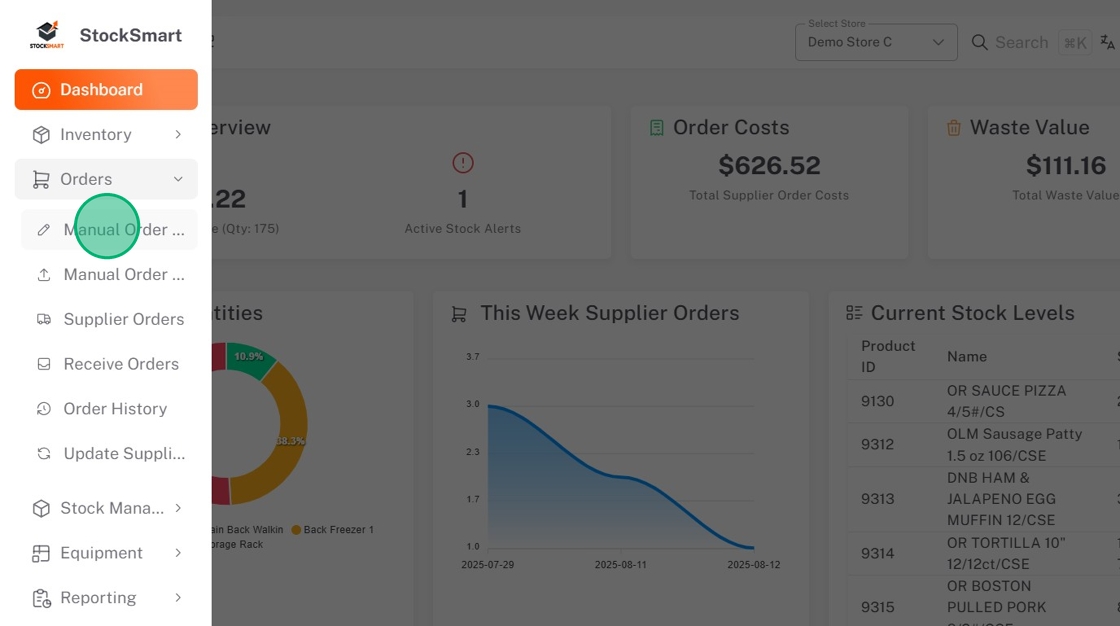
3. Click Orders, then Manual Order Import.
4. To download the Excel template, click Download Example.
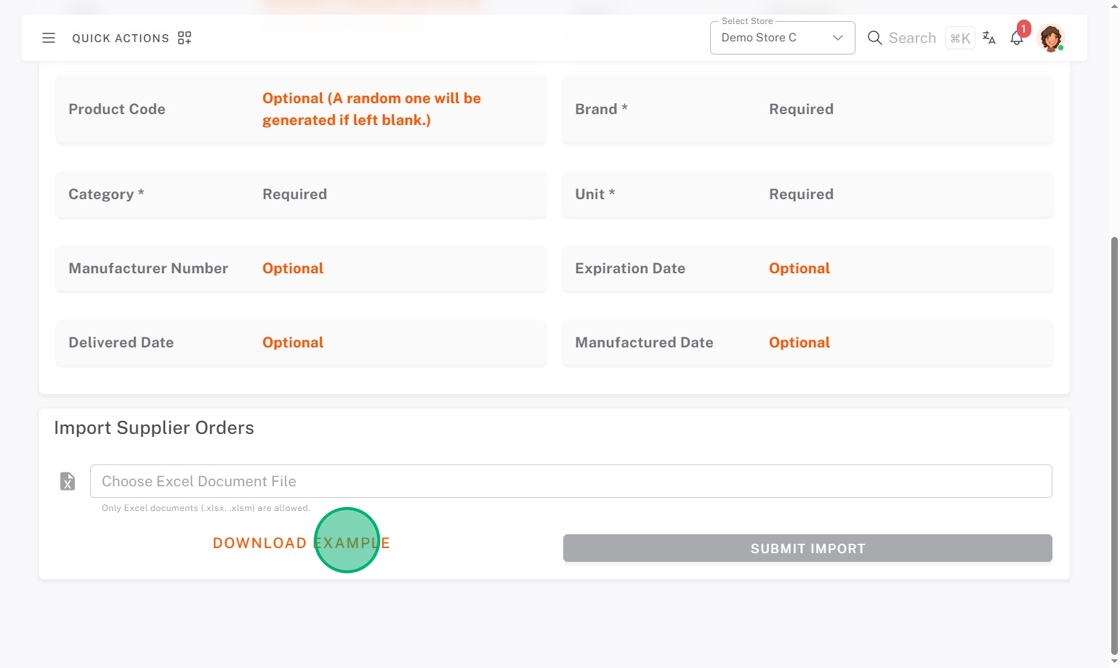
5. Delete the example products, then add your own products from the order.

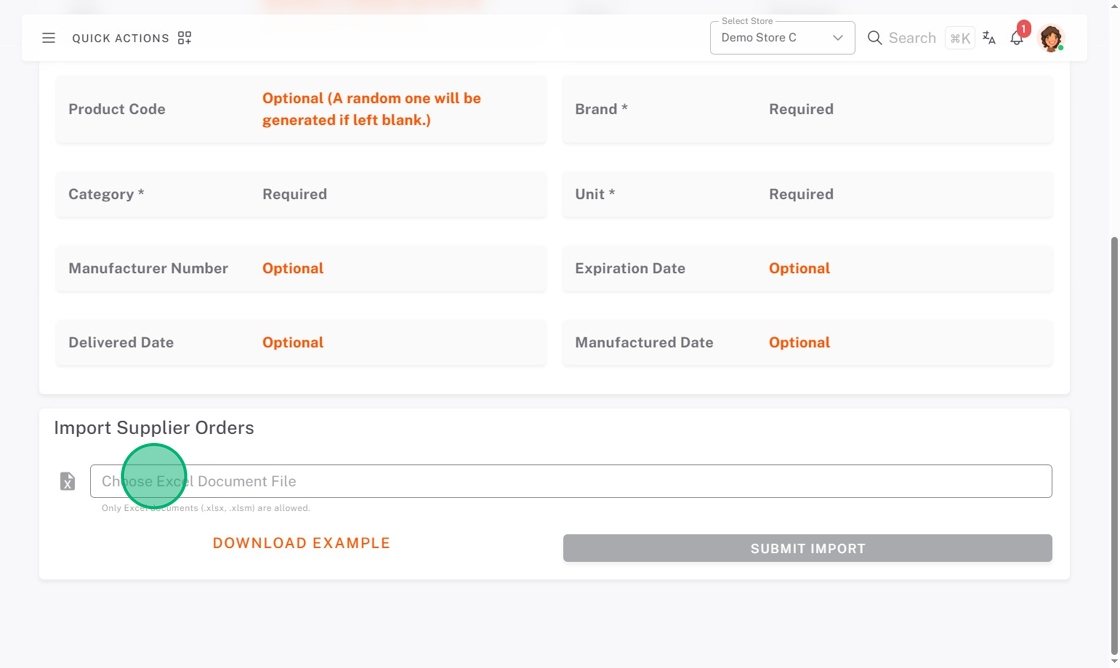
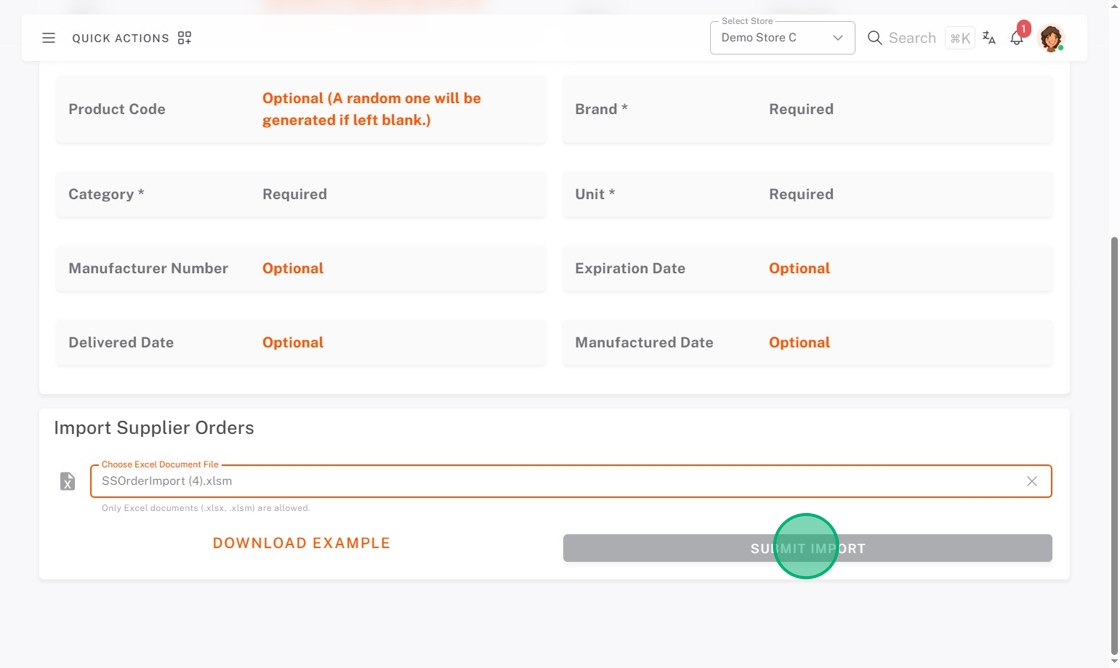
6. Click Choose Excel Document File and select the Excel spreadsheet from your saved files.
7. Click Submit Import.
8. Preview imported data before confirming.
- Updated existing products are blue.
- Created new products are green.
- Rows with errors will be in red, and must be fixed before the import.
- Any changes need to be made in the Excel spreadsheet and reuploaded.
When done, click Confirm Import.

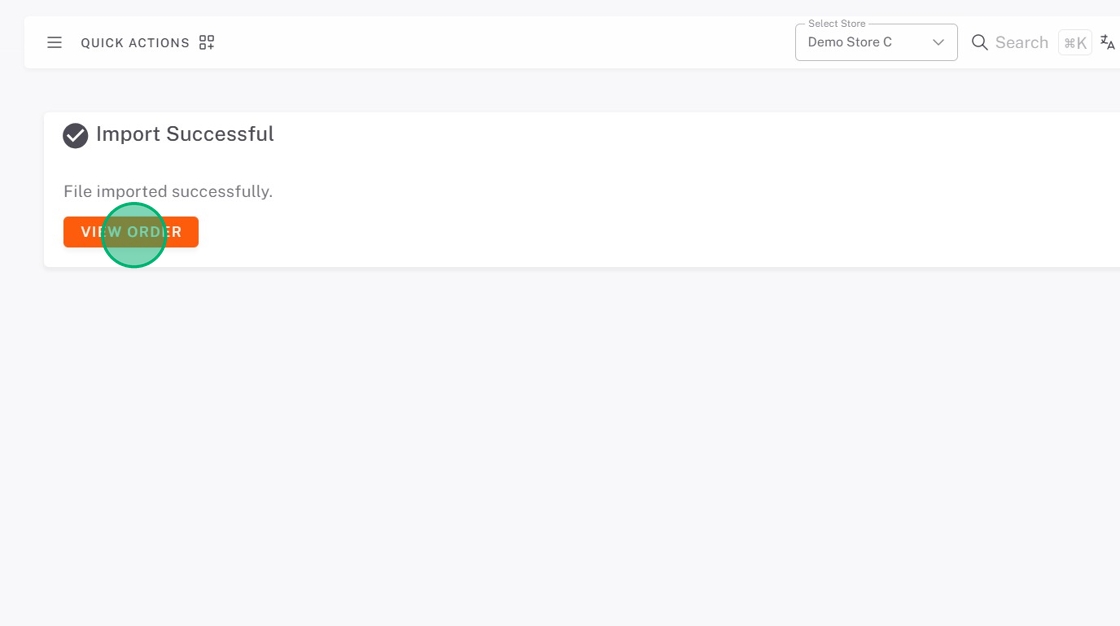
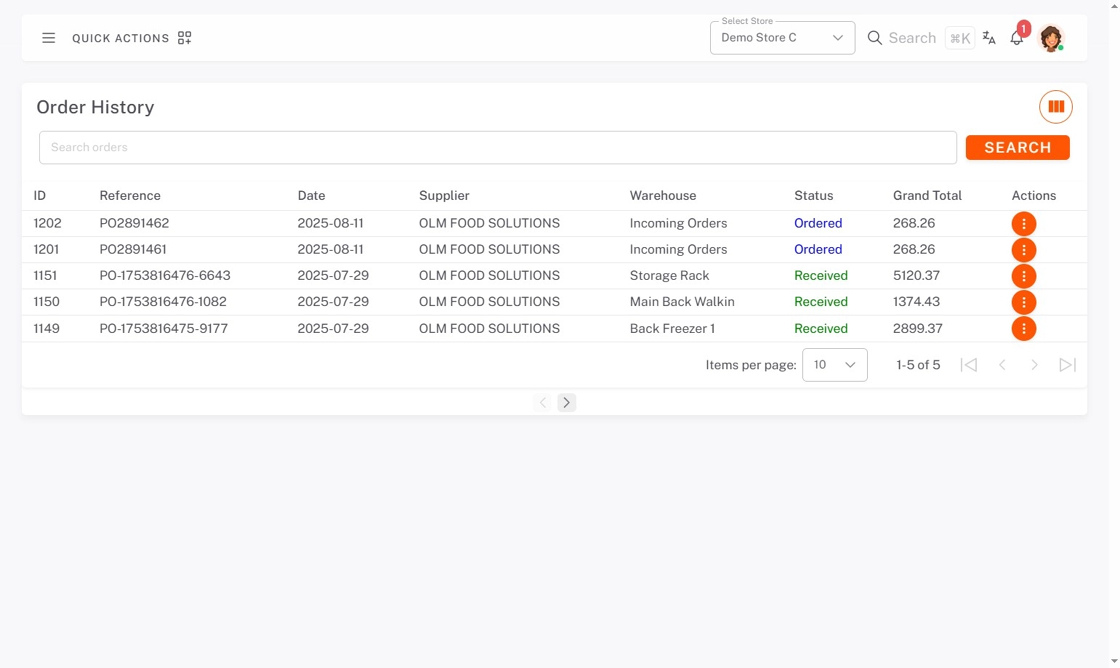
9. The screen will say Import Successful. From there, you can click View Order to see order history.
2. Upload an image of an order
Upload an image of your order, and StockSmart will create the order in the system.
Steps:
1. Navigate to https://stocksmart.rightbytes.com/login
2. Click the menu button (three-line icon).
3. Click Orders, then Manual Order Entry.
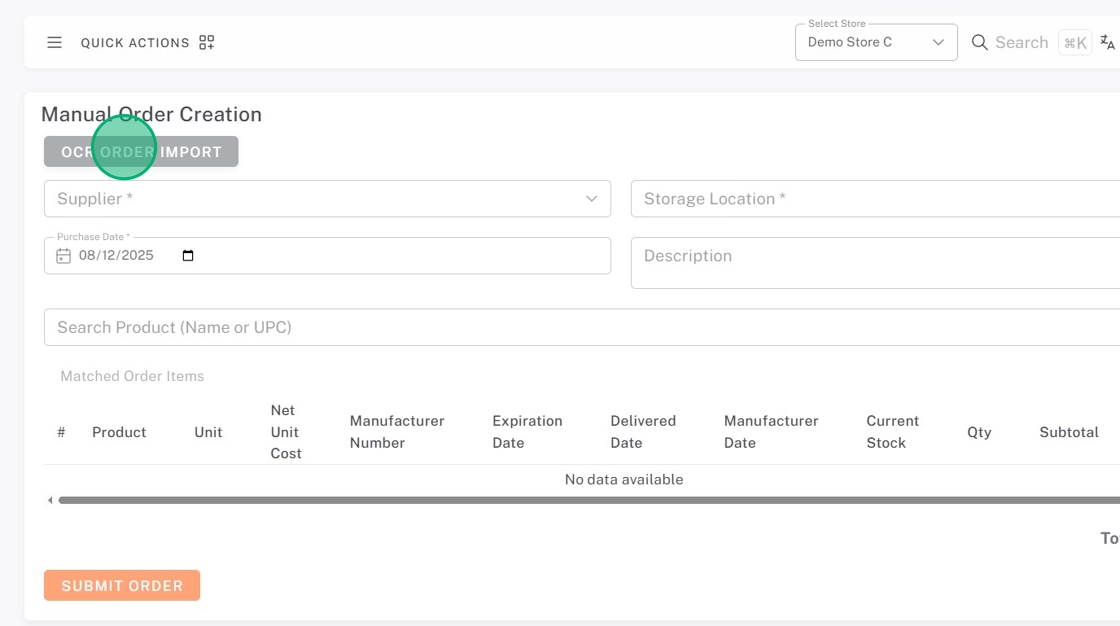
4. Click OCR Order Import.
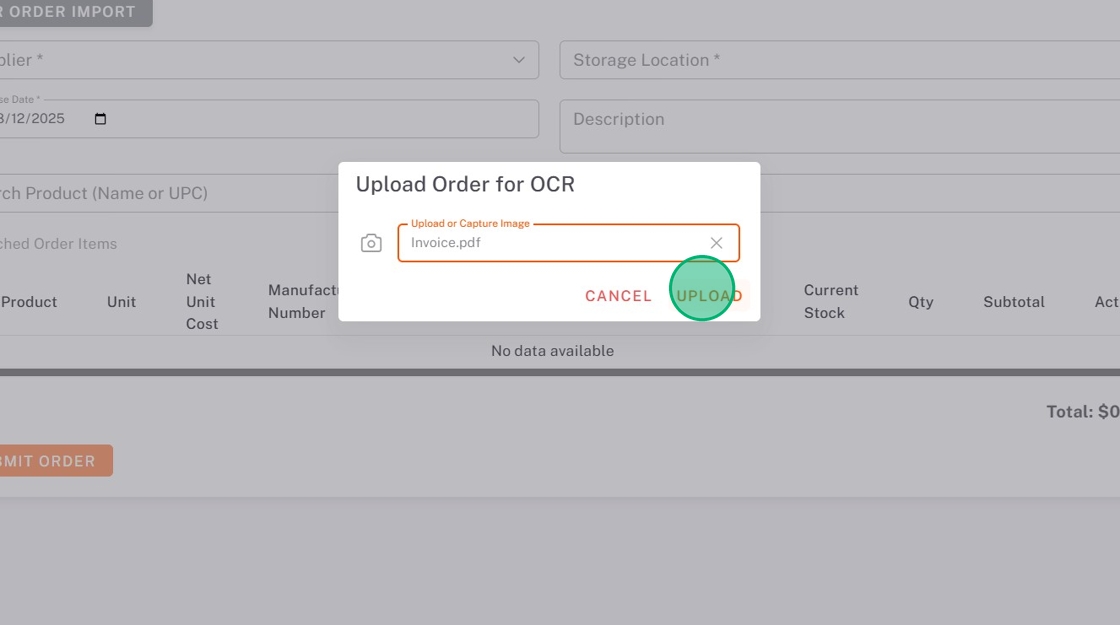
5. Click Upload or Capture Image and select the order.
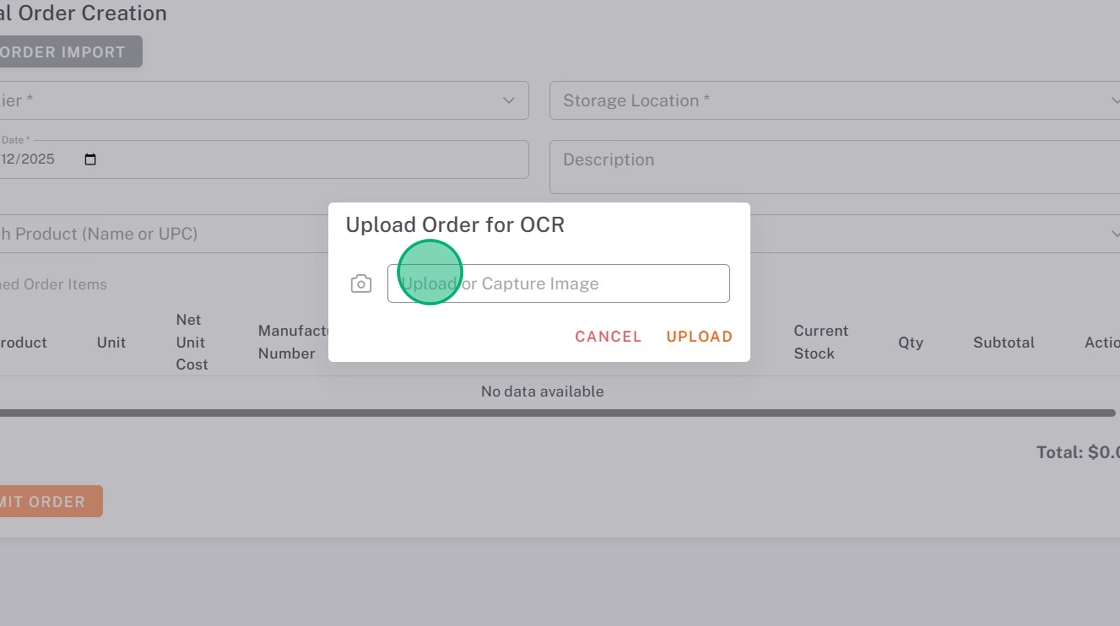
6. Click Upload.
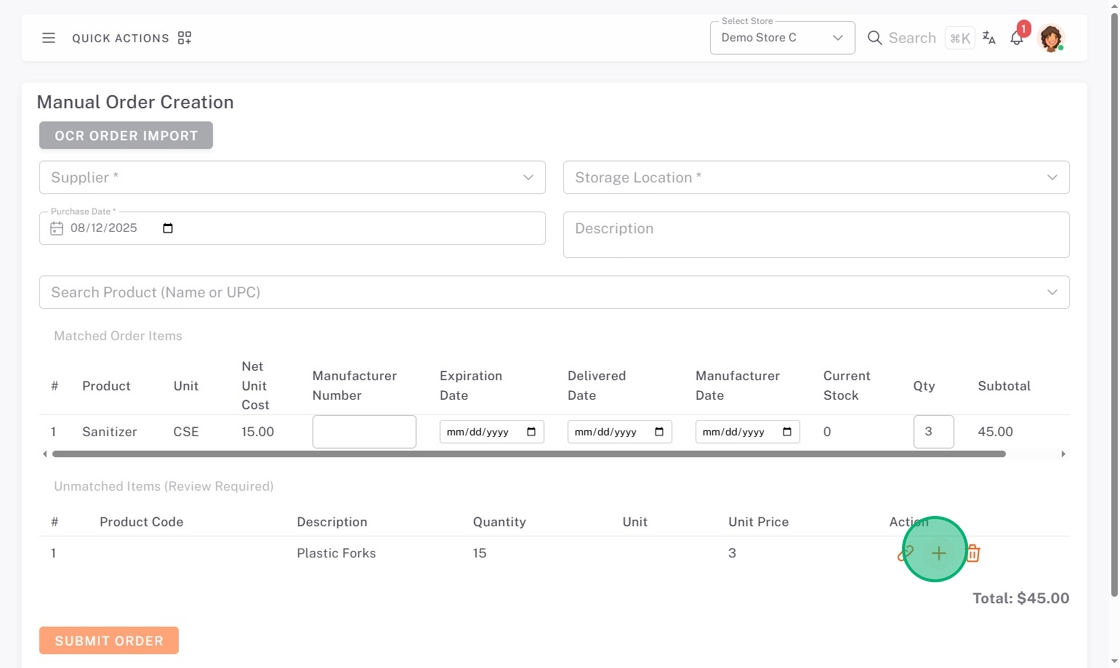
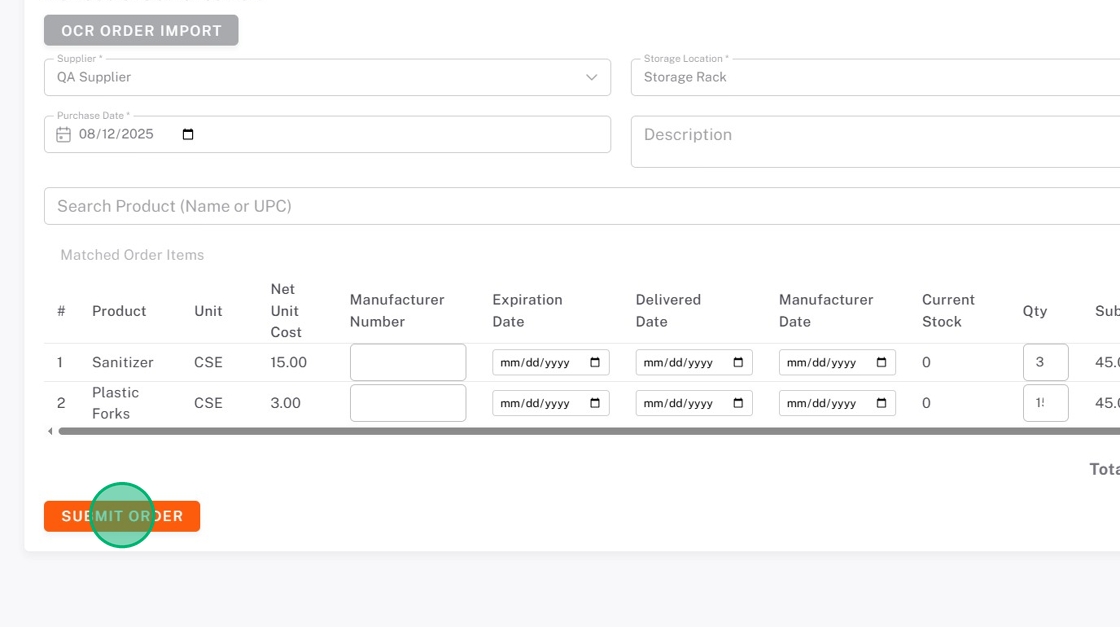
7. StockSmart will match the products from the invoice to StockSmart products. Check that the products are correct.
If a product match is not found, review is required. You can either link it to an existing product, create a new product, or delete.
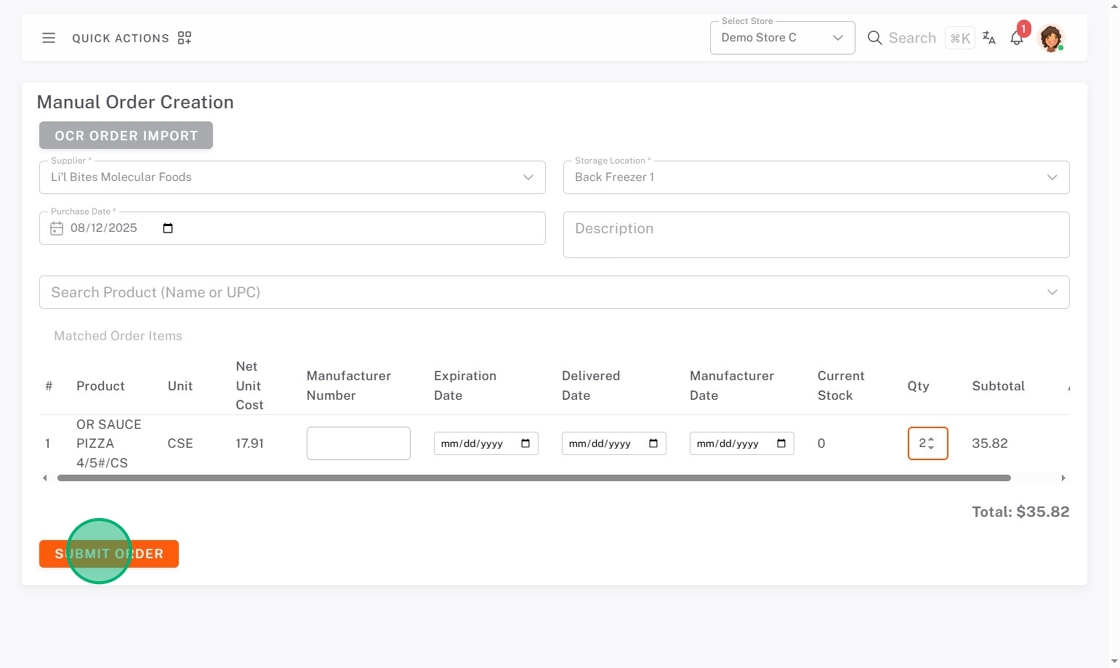
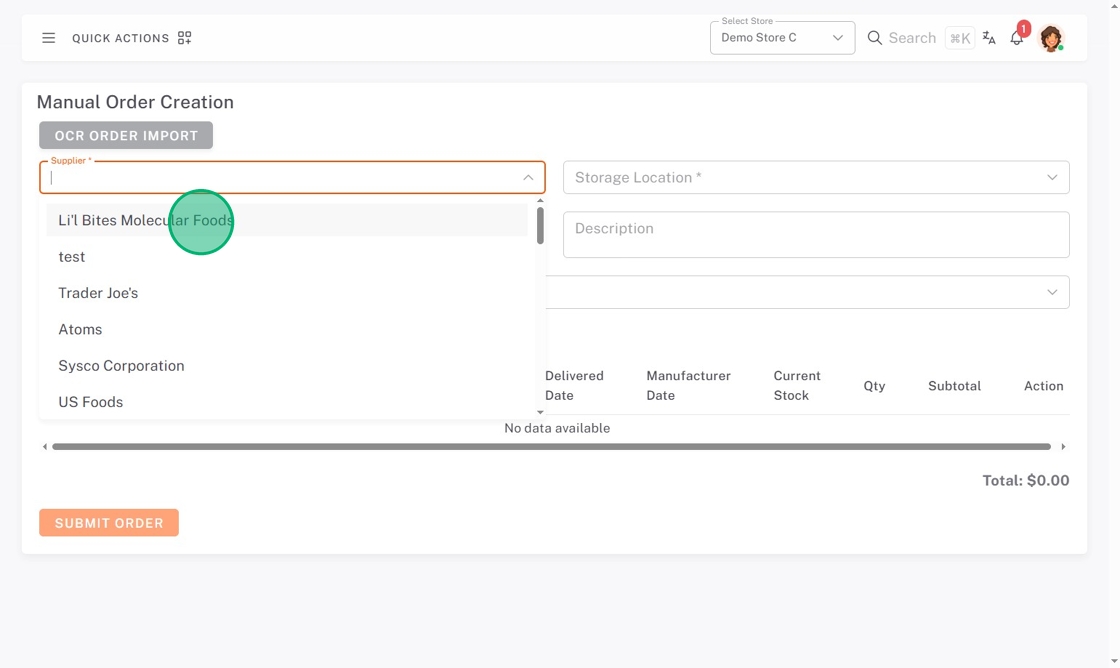
8. Select the Supplier from the dropdown.

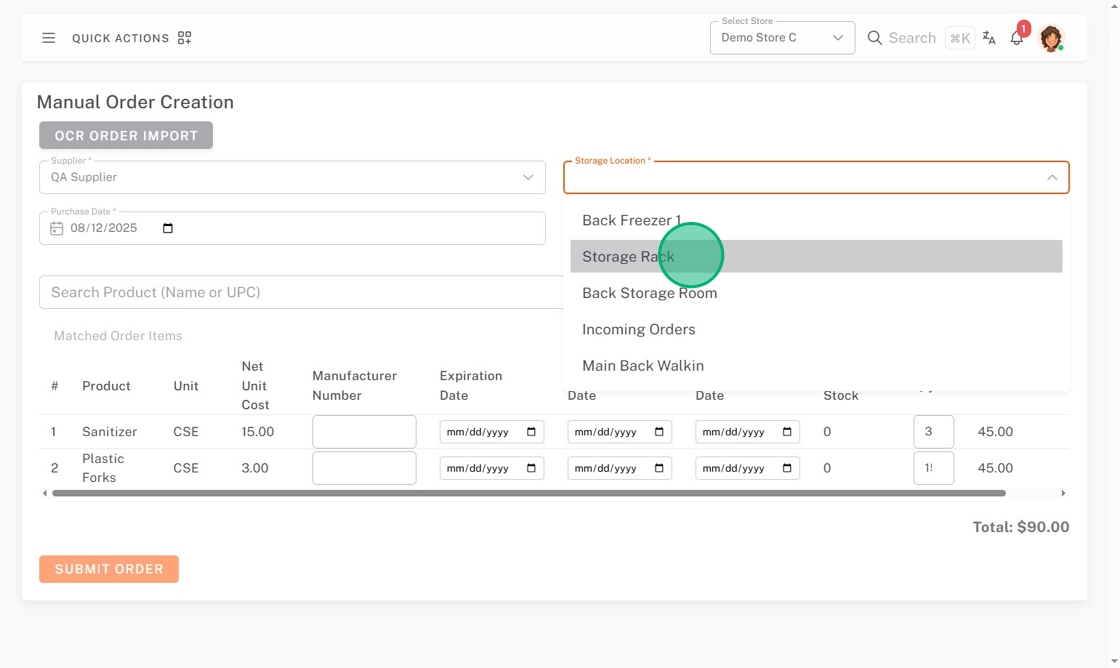
9. Select the Storage Location from the dropdown.
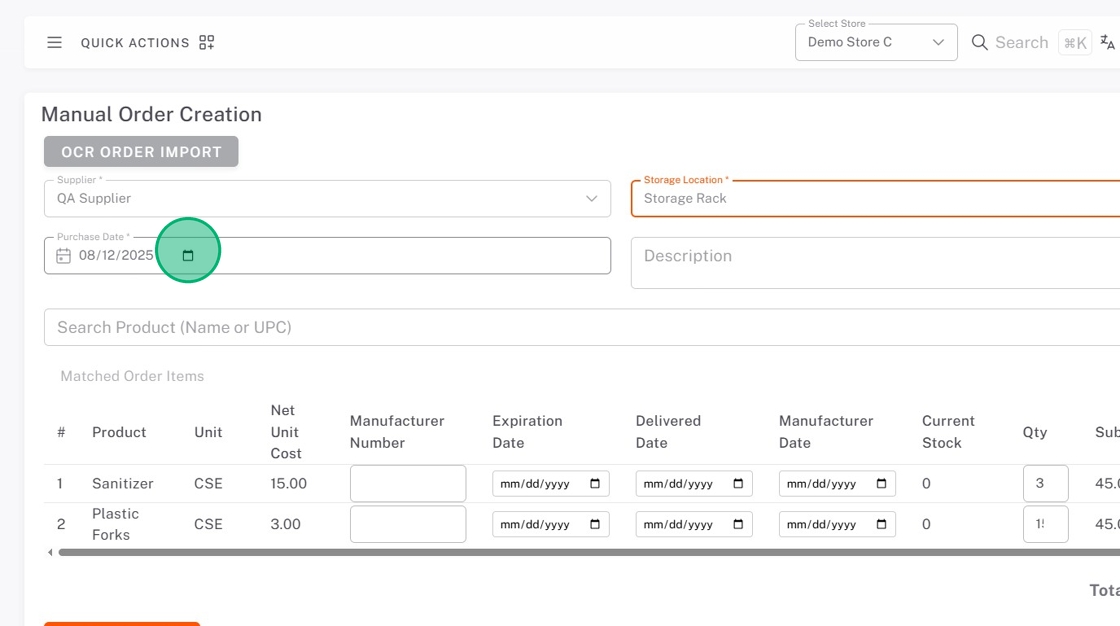
10. Enter the Purchase Date.
11. To delete a product, click the delete button (trash icon) next to the product.

12. Click Submit Order.
3. Manually enter each product
1. Click the menu button (three-line icon).
2. Click Orders, then Manual Order Entry.
3. Select the Supplier from the dropdown.
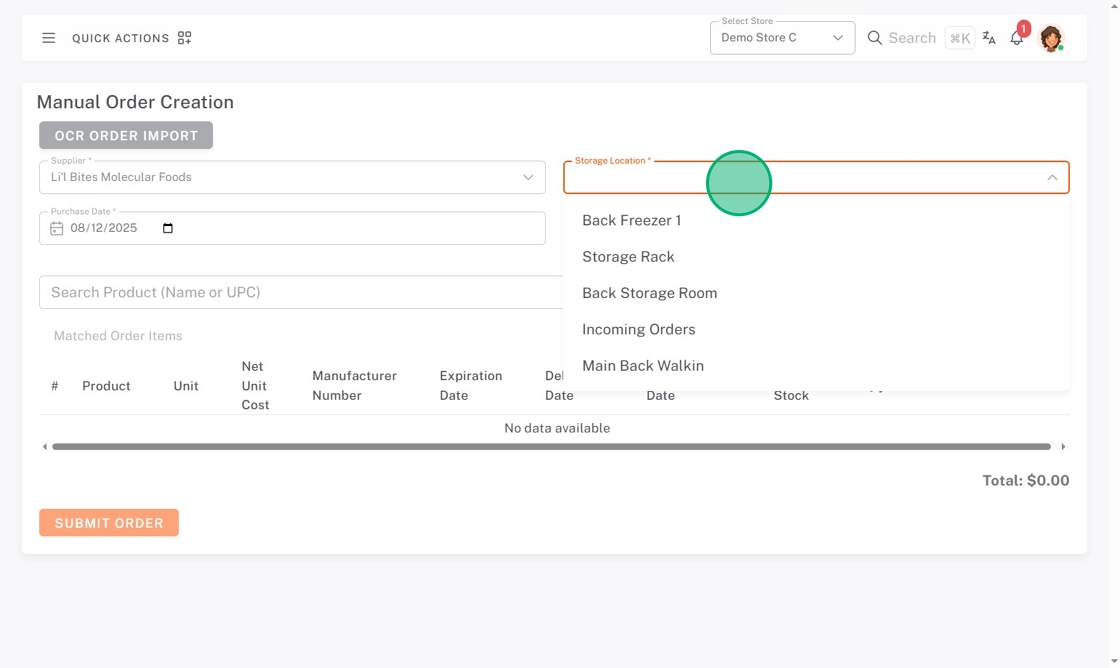
4. Click the Storage Location from the dropdown.
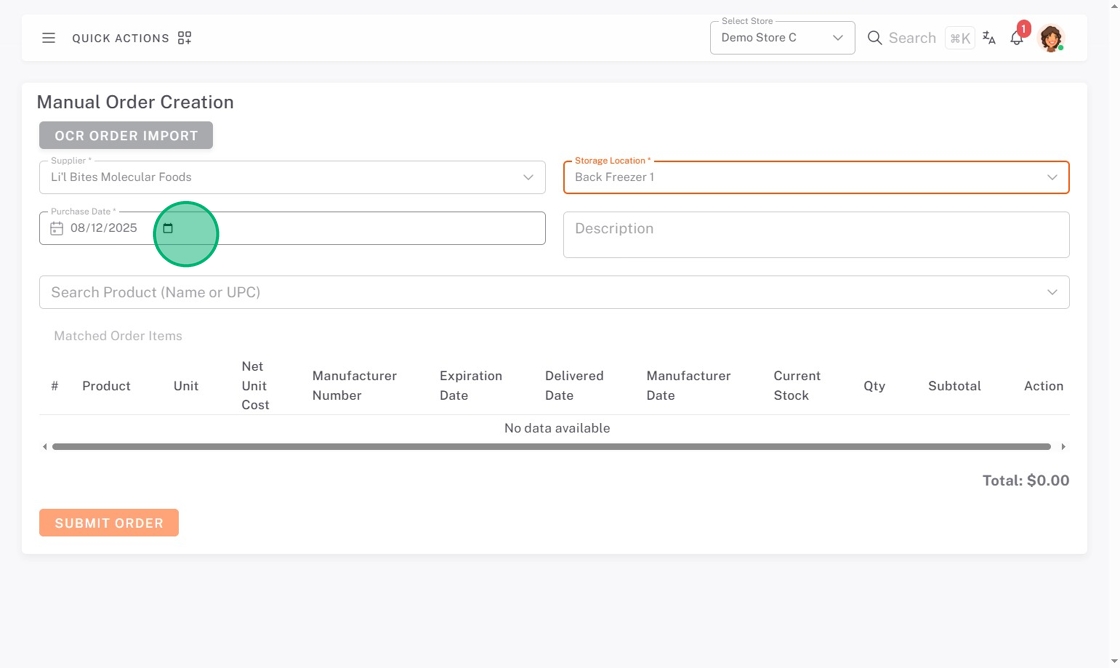
5. Enter the Purchase Date.
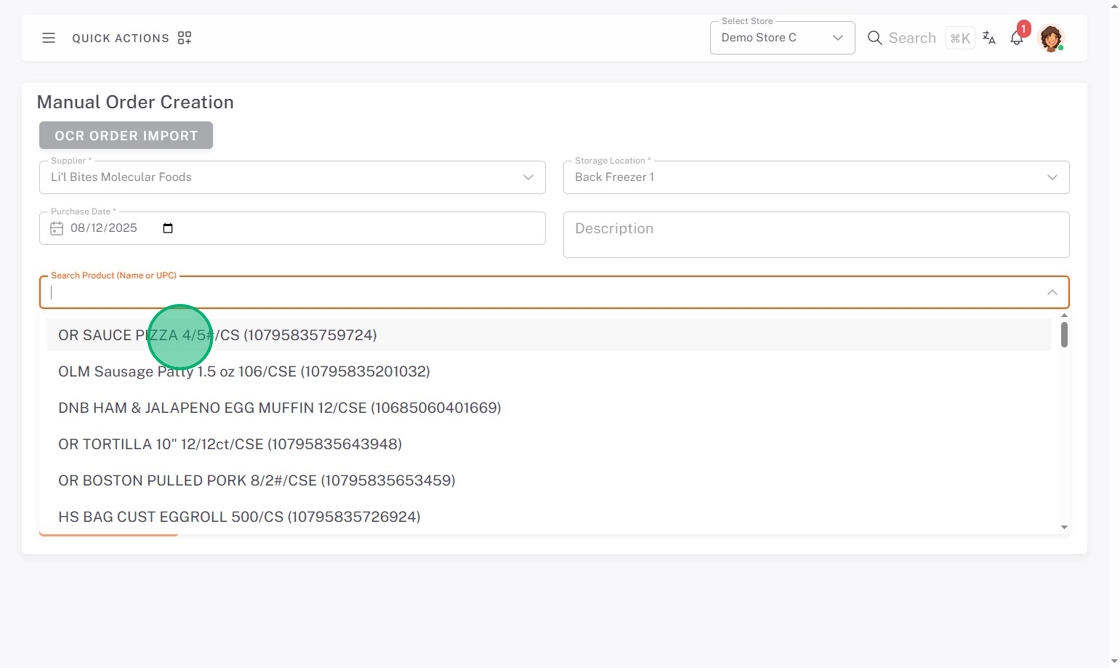
6. Search and select each product from the order.
7. Type product quantities (qty).

8. To delete a product, click the delete button (trash icon).
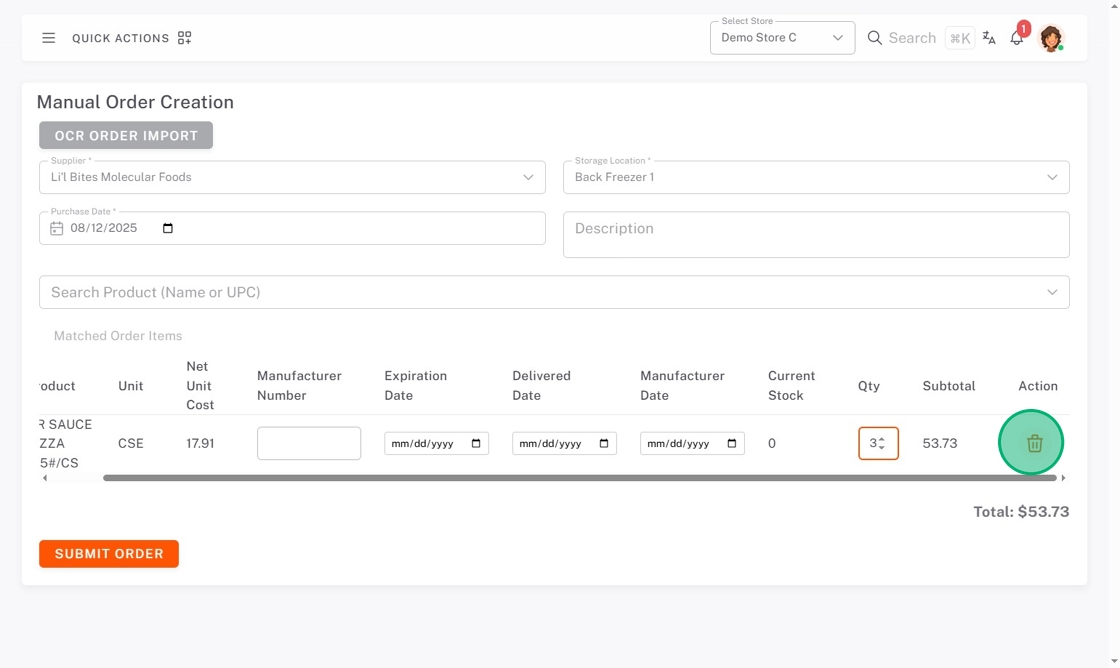
9. Click Submit Order.