Gérer les catégories
- Commencer
- Dispositifs
- Application
-
Portail
Groupes Aperçu du portail Catégories Profils d'imprimante Éléments de menu Sonde de température Liste de préparation Étiquettes rapides Contrôle des produits Médiathèque Échelle Historique d'impression Emplacements Remplacements d'emplacement Importation et exportation de masse Paramètres Listes Utilisateurs Soutien
- Accessoires
- Étiquettes
- Réparations
Ajoutez, modifiez, supprimez et réorganisez des catégories à partir de l'onglet Catégories du portail.
Ajouter une catégorie
1. Connectez-vous au portail www.datecodegenie.com à l'aide du navigateur recommandé. Voir Quel navigateur Internet dois-je utiliser pour accéder à mon portail DateCodeGenie® ?
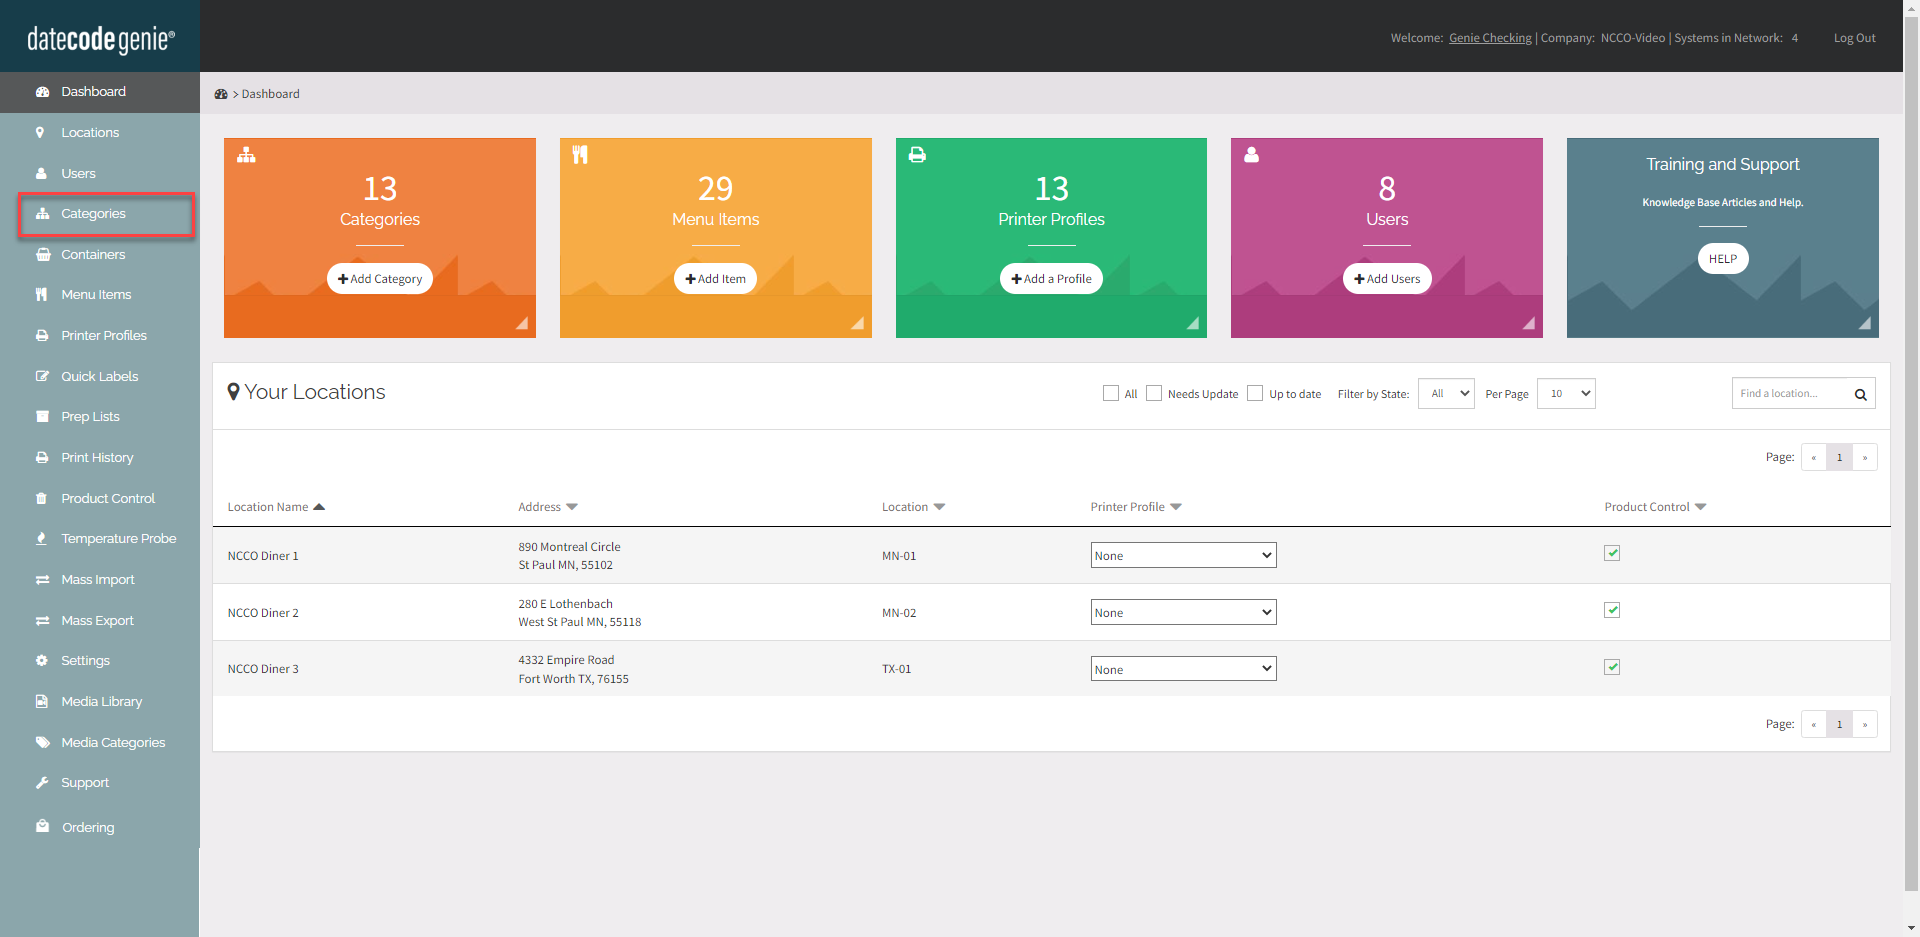
2. Cliquez sur l'onglet Catégories dans la barre latérale.
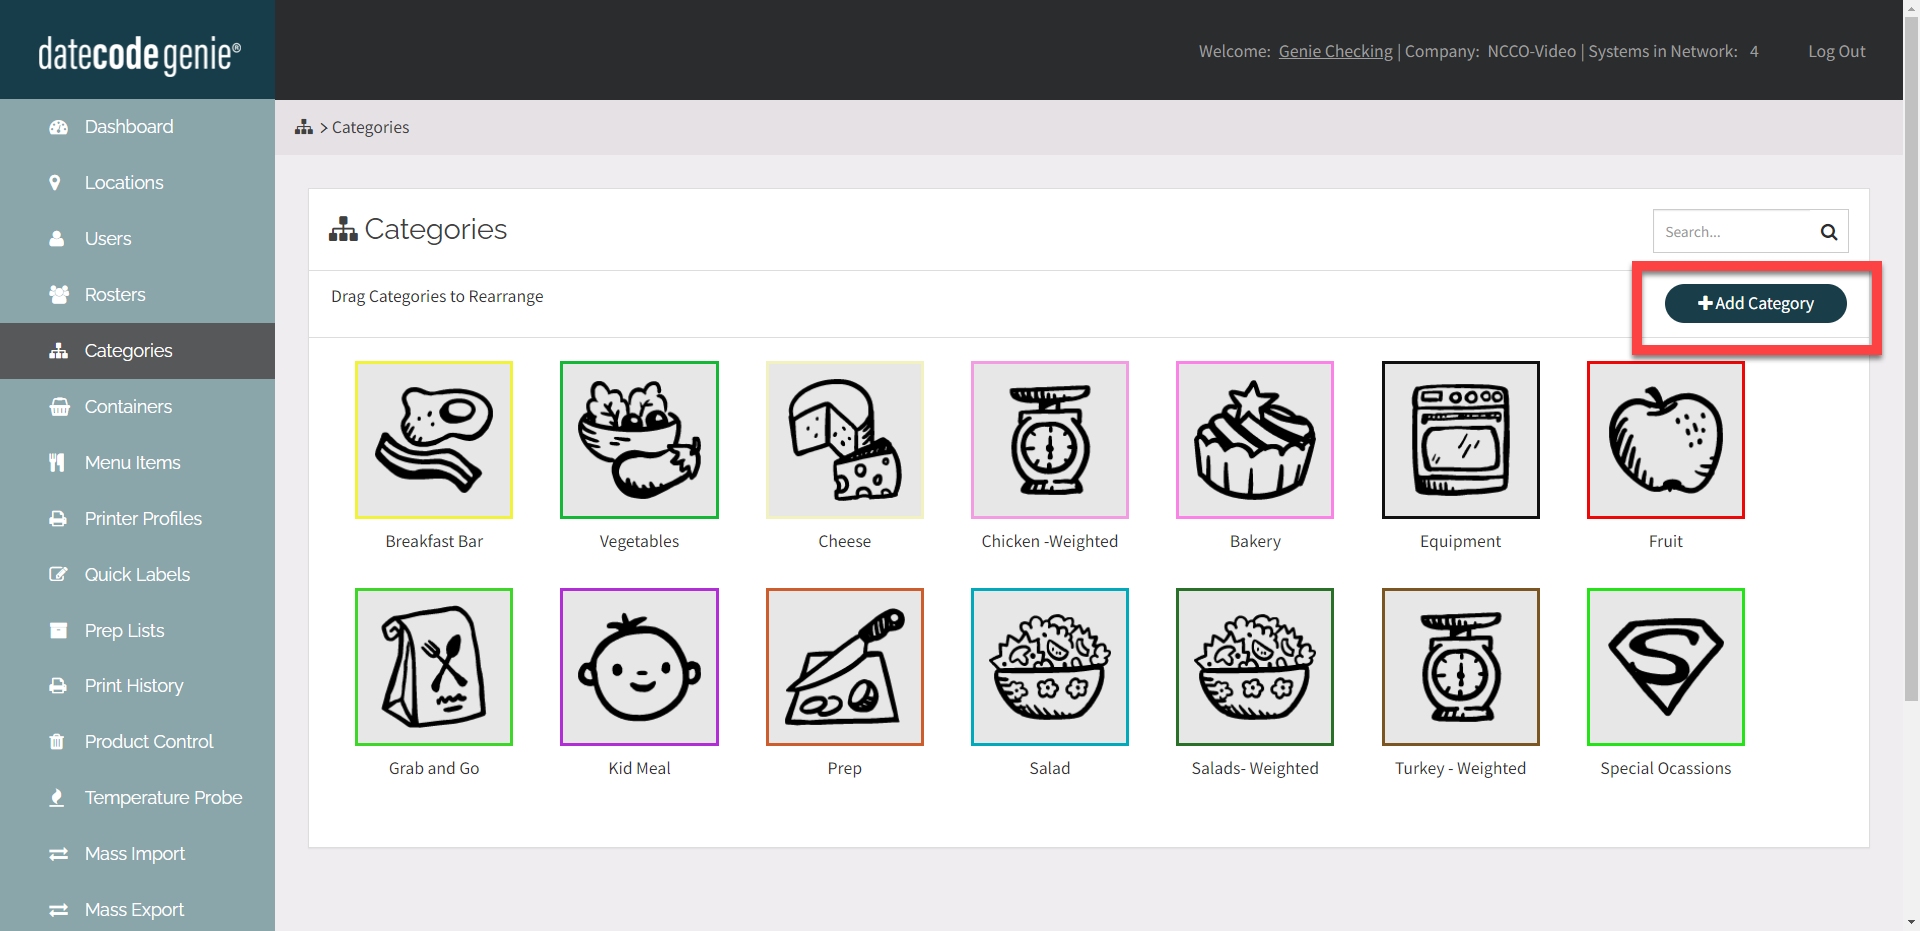
3. Cliquez sur le bouton +Ajouter une catégorie pour ajouter une nouvelle catégorie.
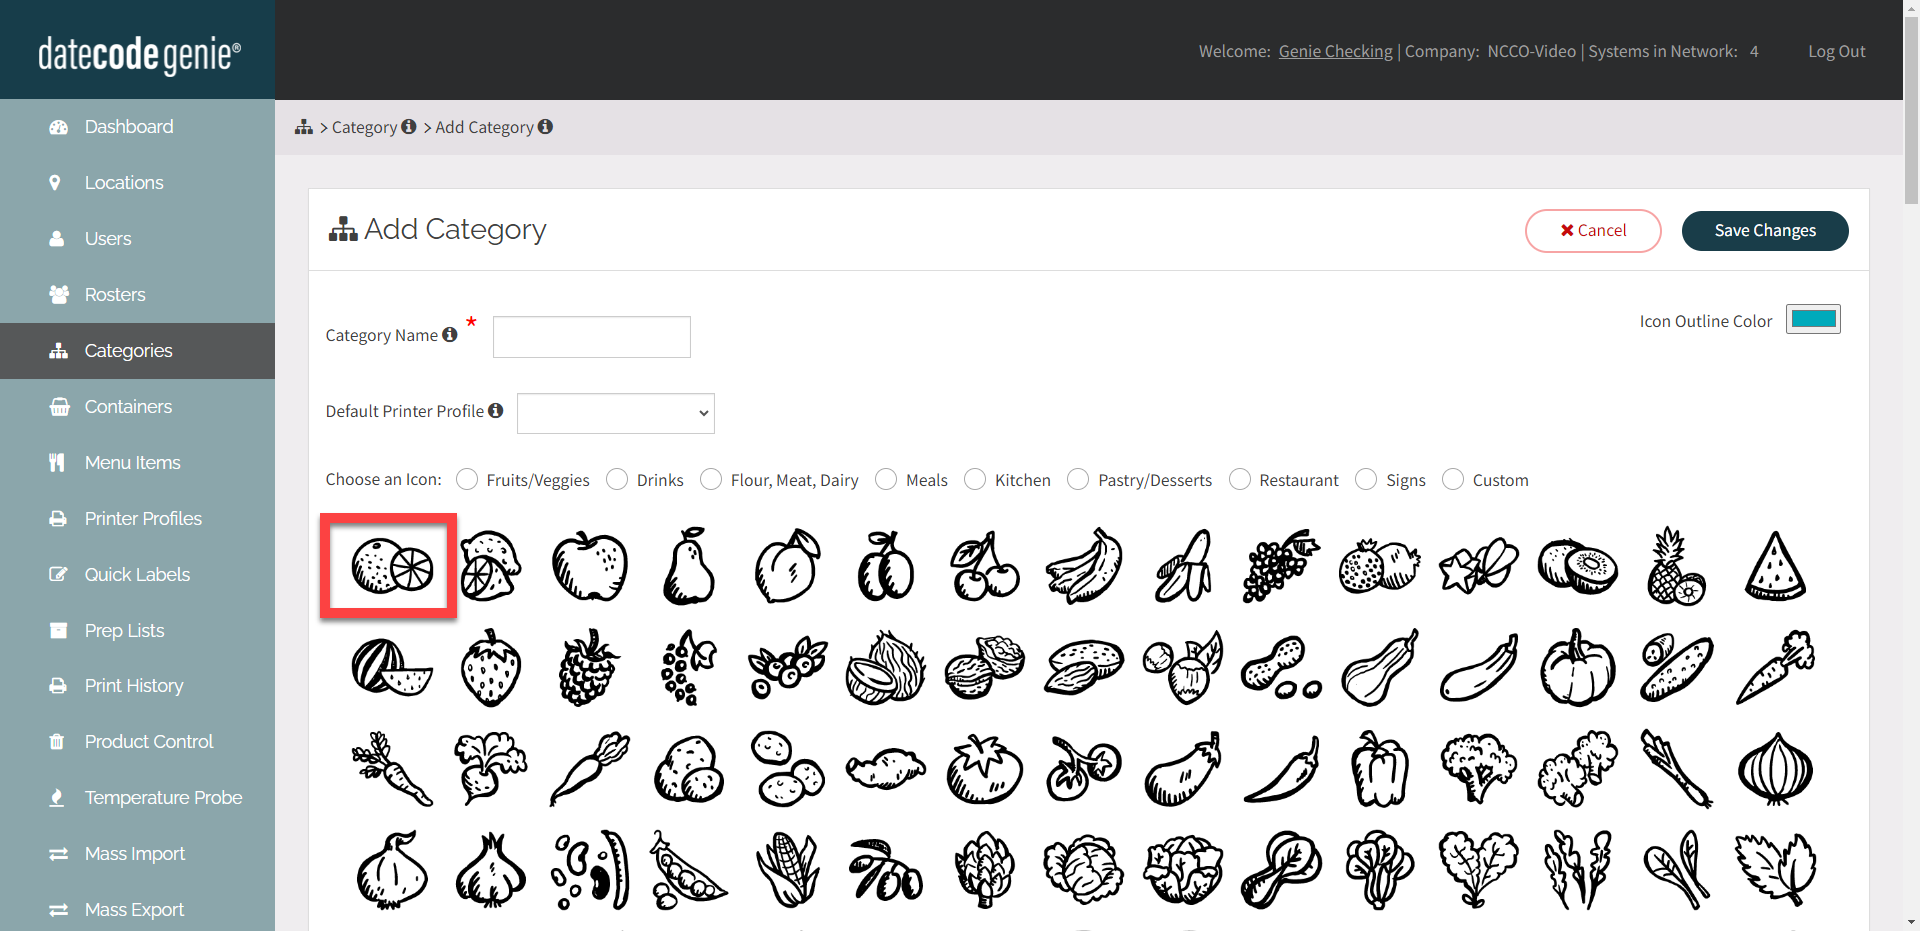
4. Entrez le nom de la catégorie .
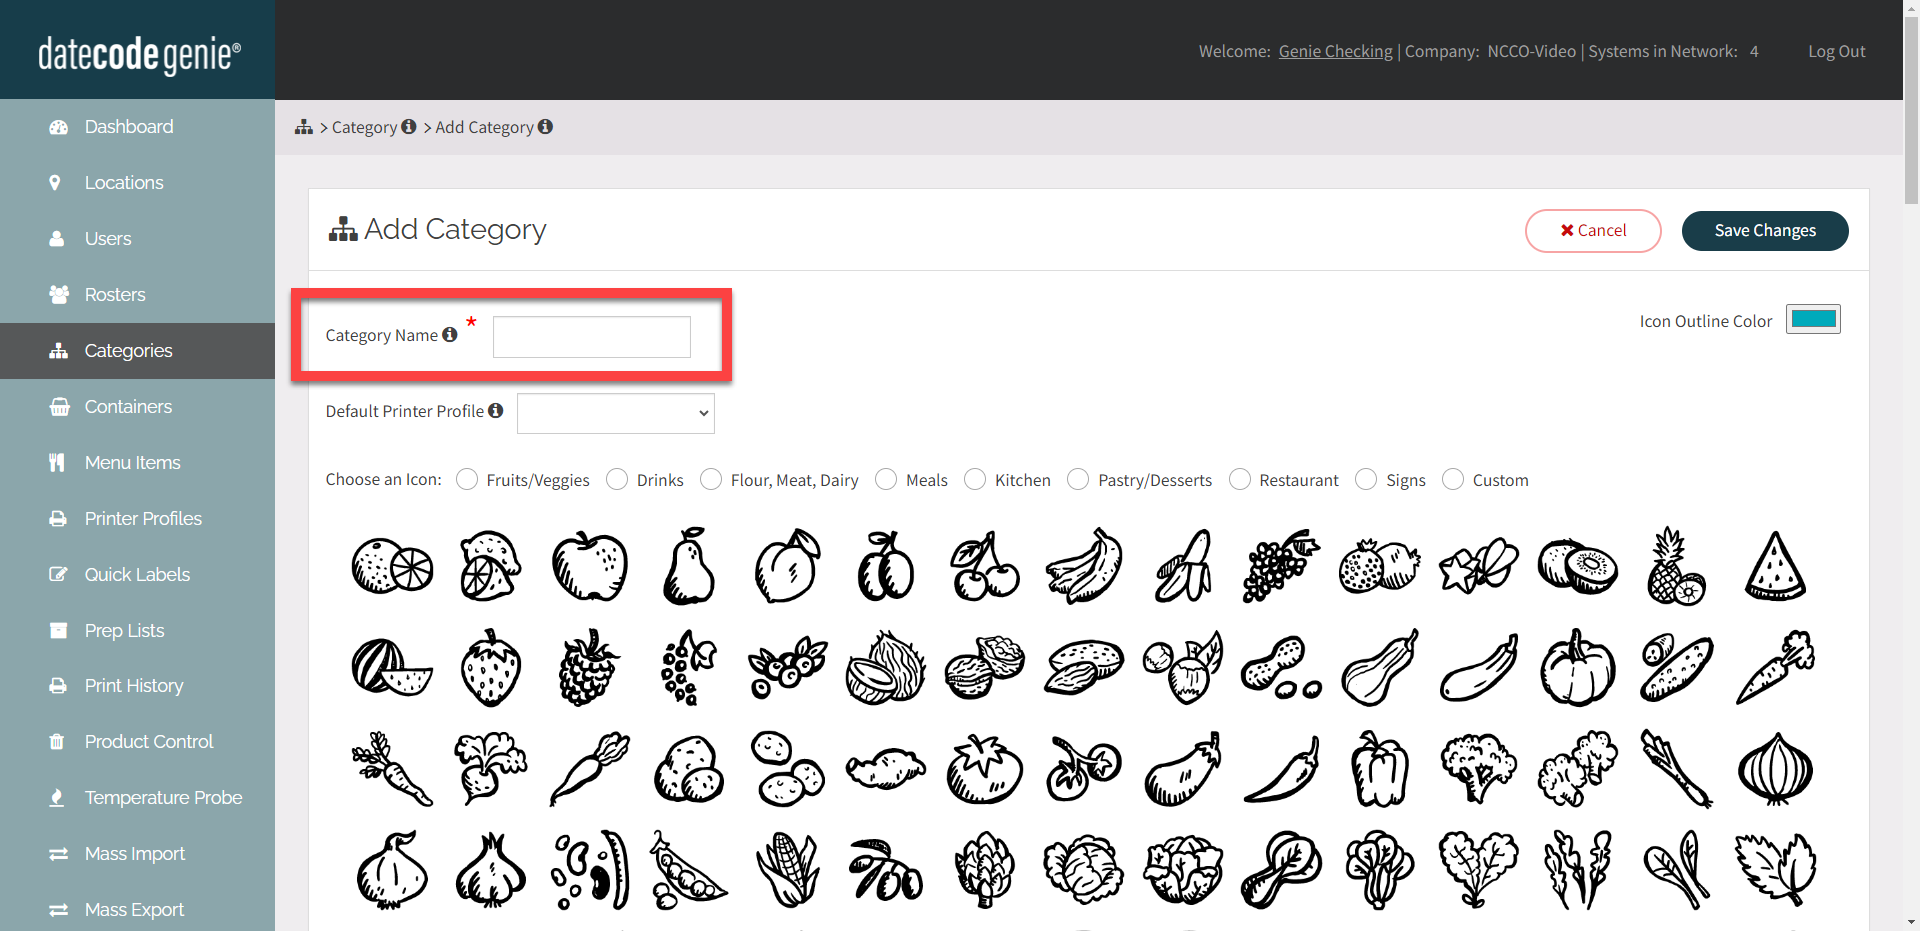
5. FACULTATIF : Sélectionnez le profil d'imprimante par défaut dans la liste déroulante.
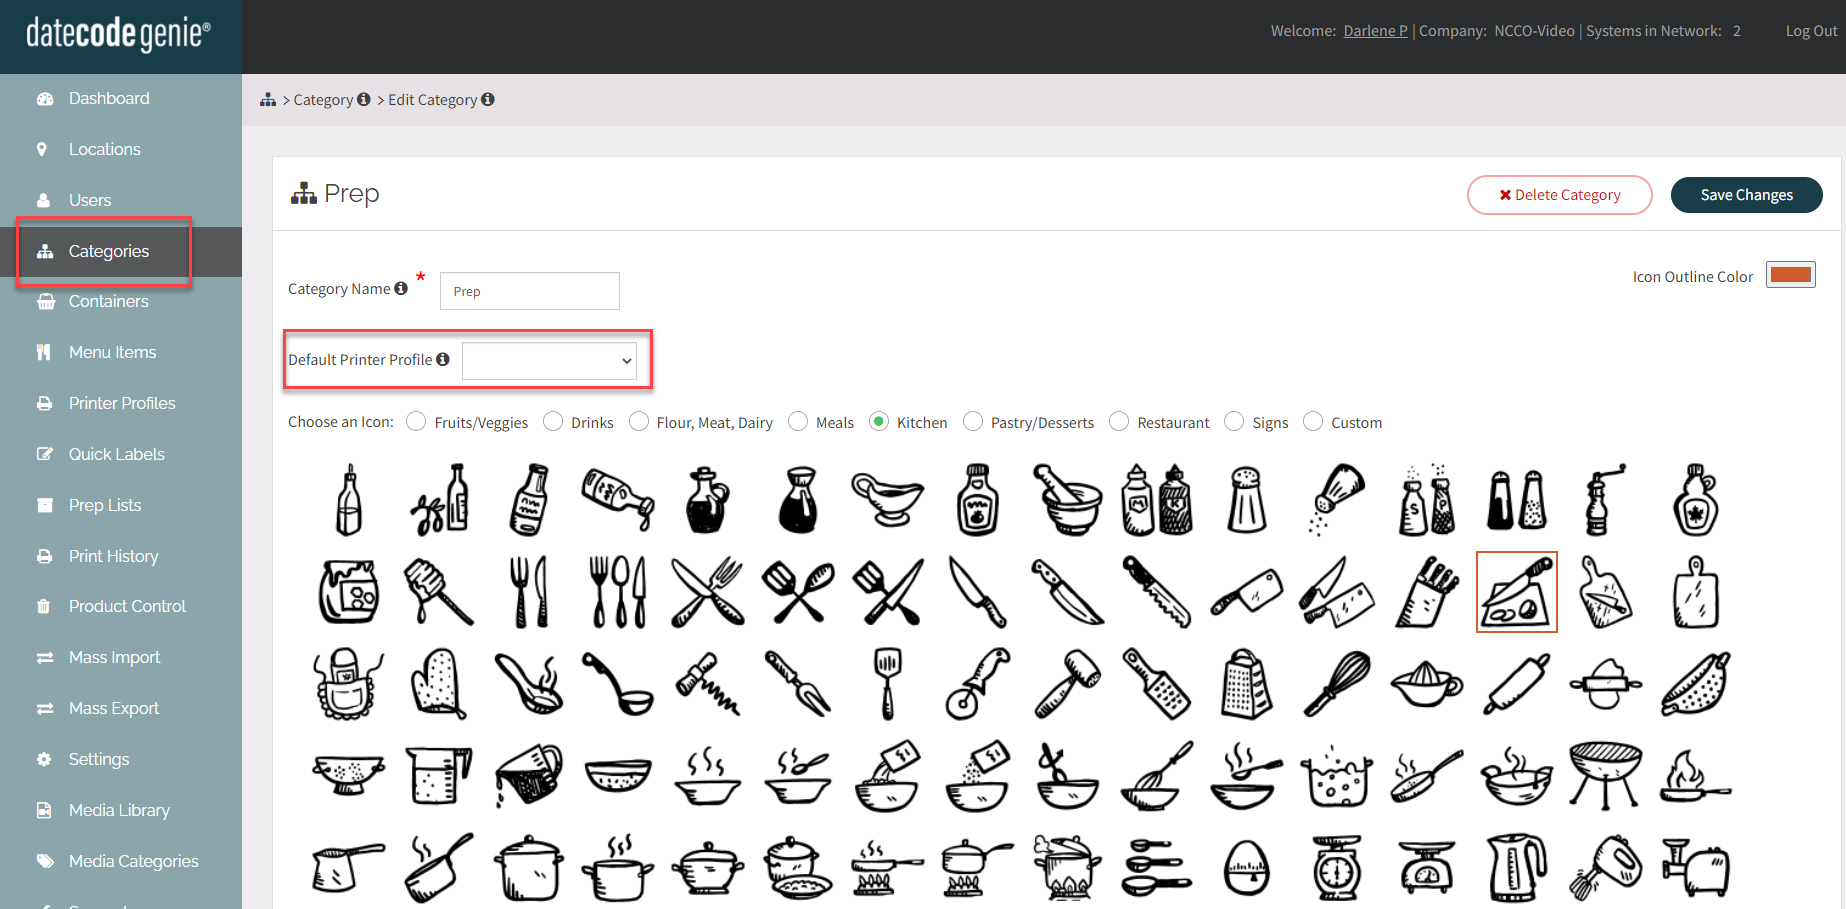
6. Choisissez une icône pour la catégorie ou téléchargez la vôtre sous Personnalisé.
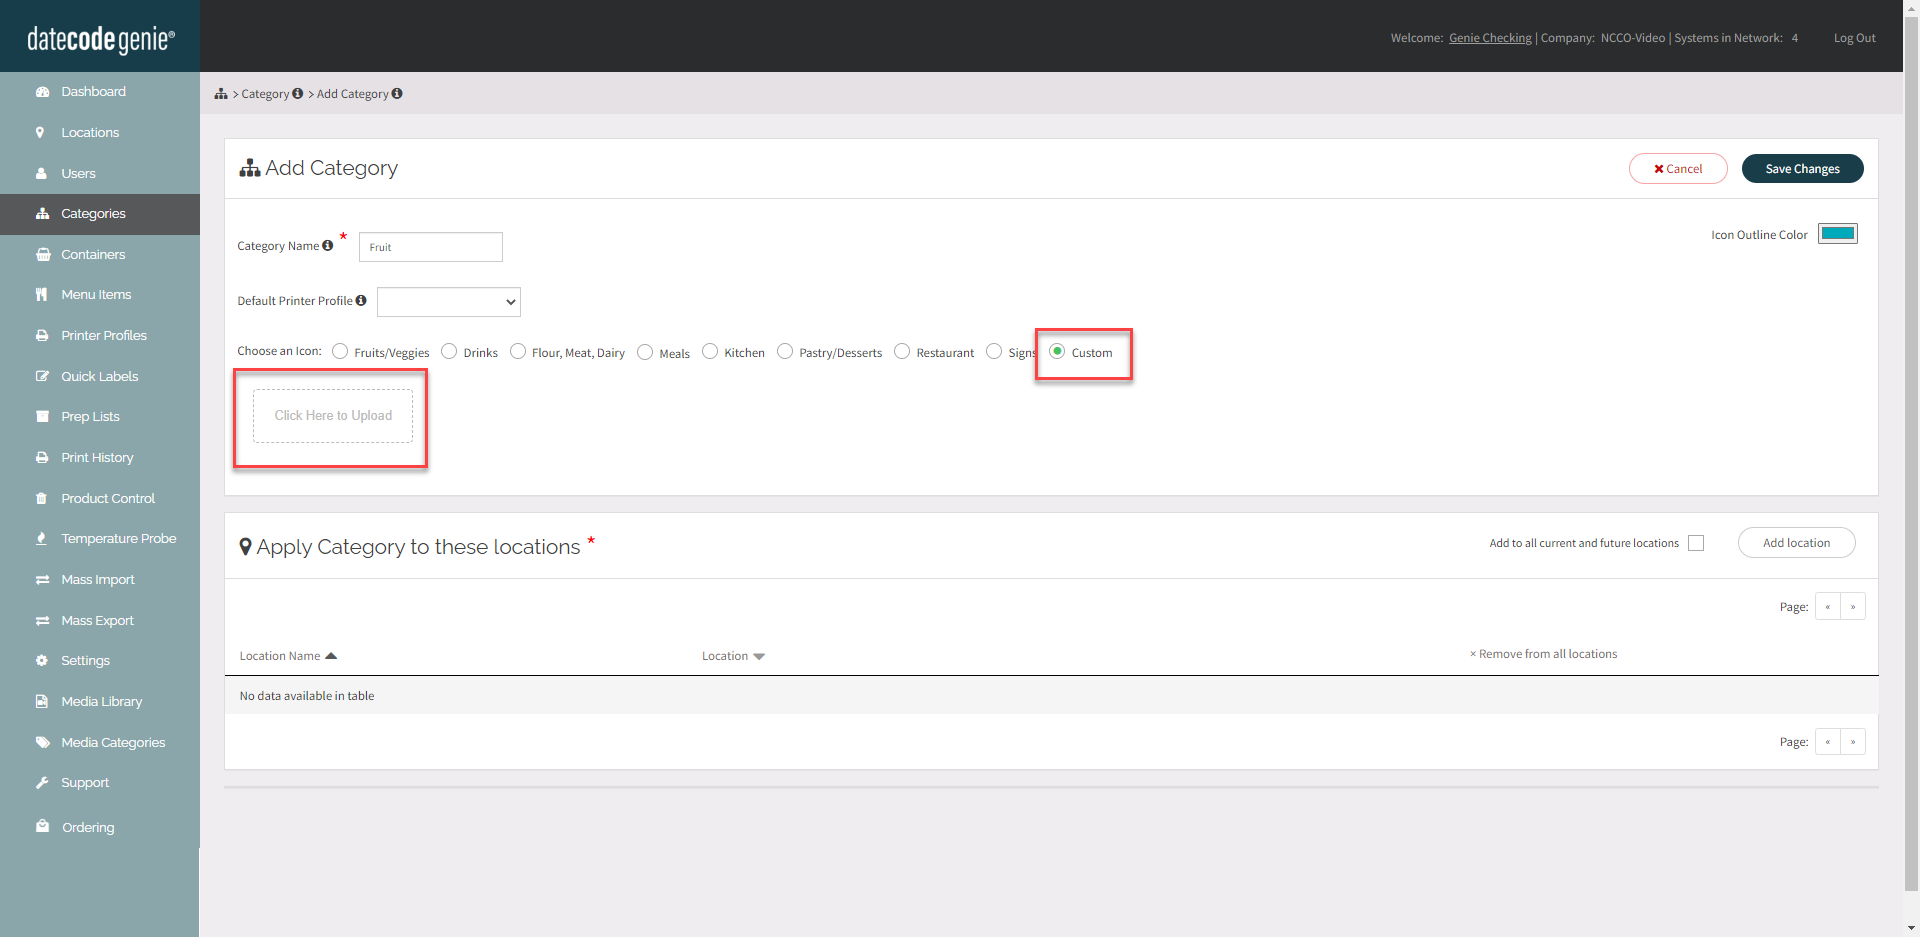 |
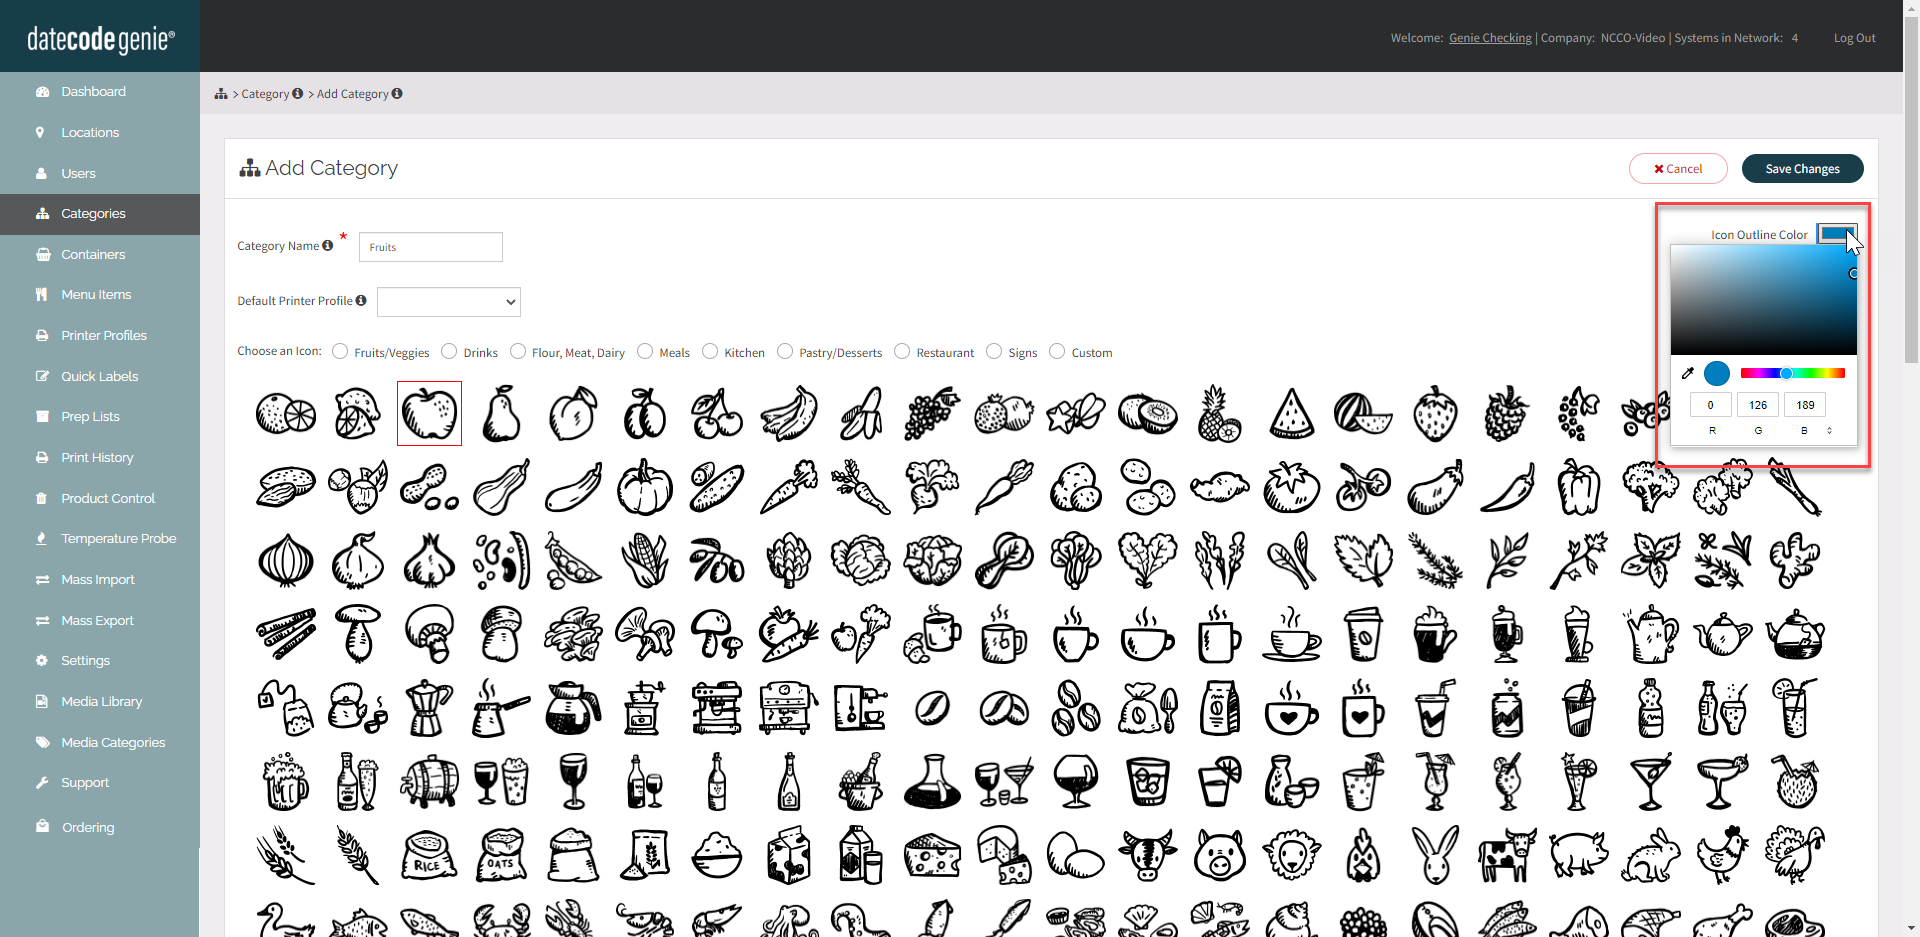
7. FACULTATIF : modifiez la couleur du contour de l'icône en cliquant sur la case de couleur dans le coin supérieur droit. Faites glisser le cercle pour ajuster la couleur préférée.
8. Cliquez sur le bouton Ajouter un emplacement et sélectionnez les emplacements disponibles dans la liste, ou cochez la case pour ajouter automatiquement tous les emplacements.
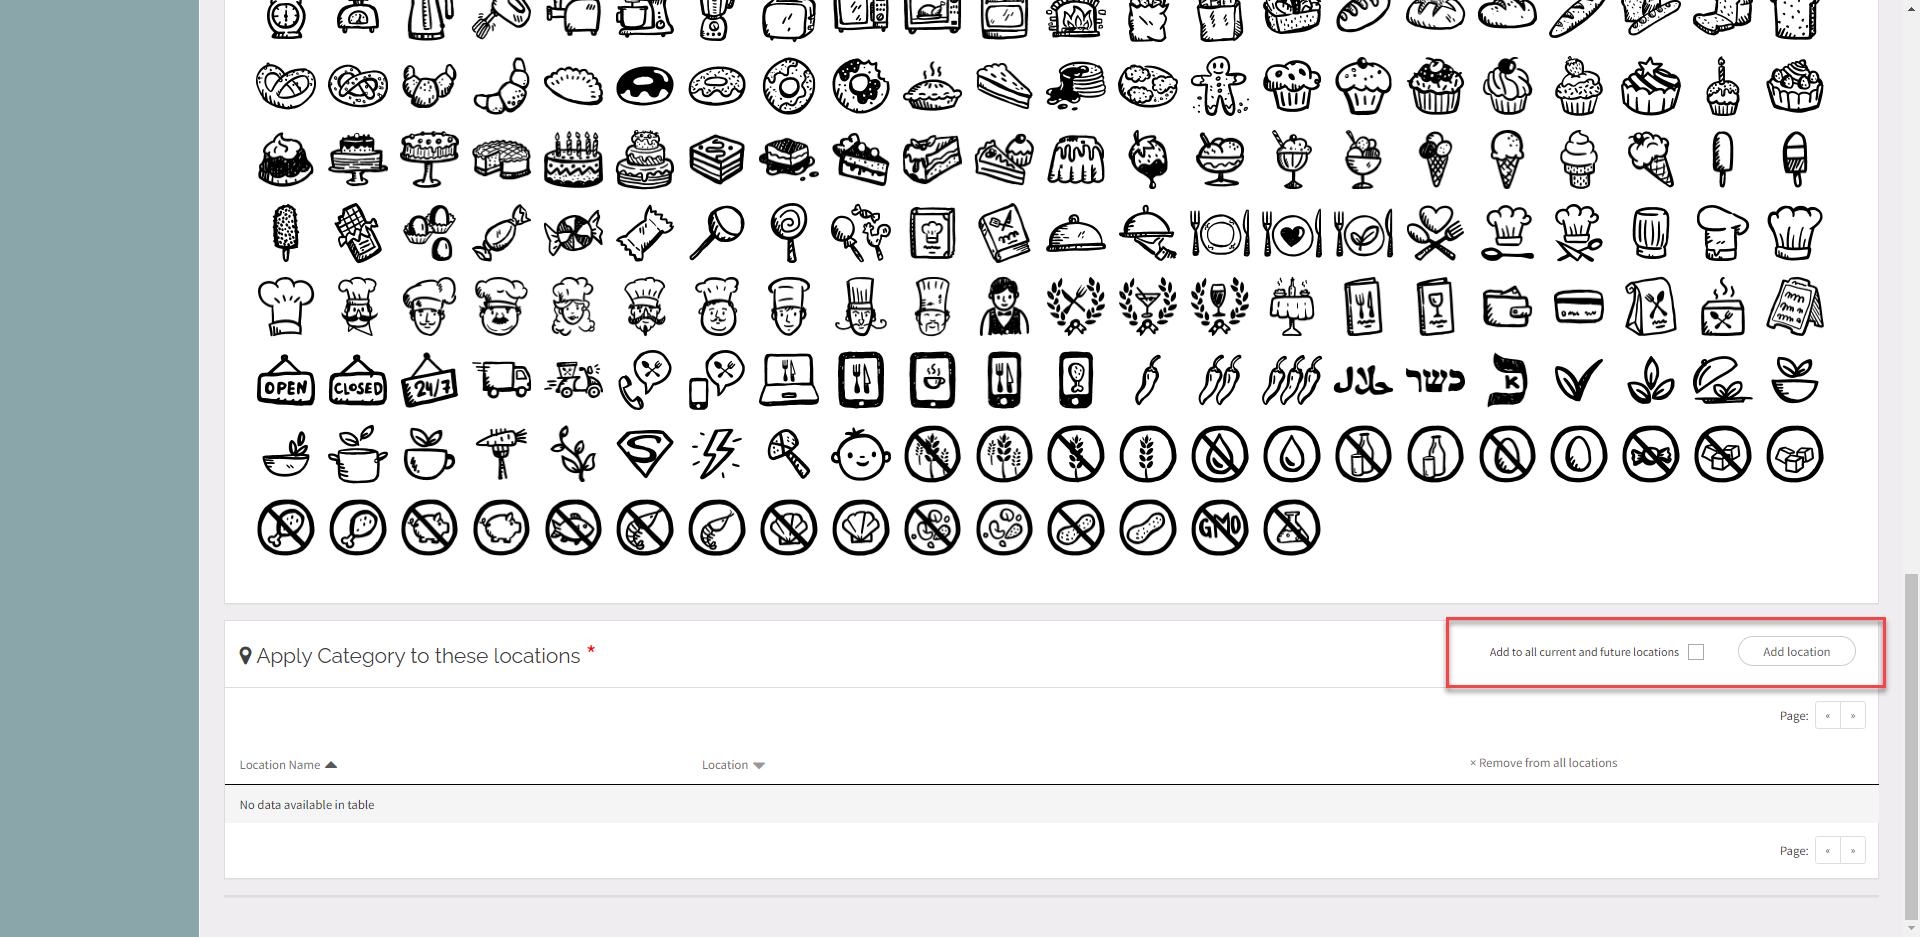
9. Cliquez sur le bouton Enregistrer les modifications .
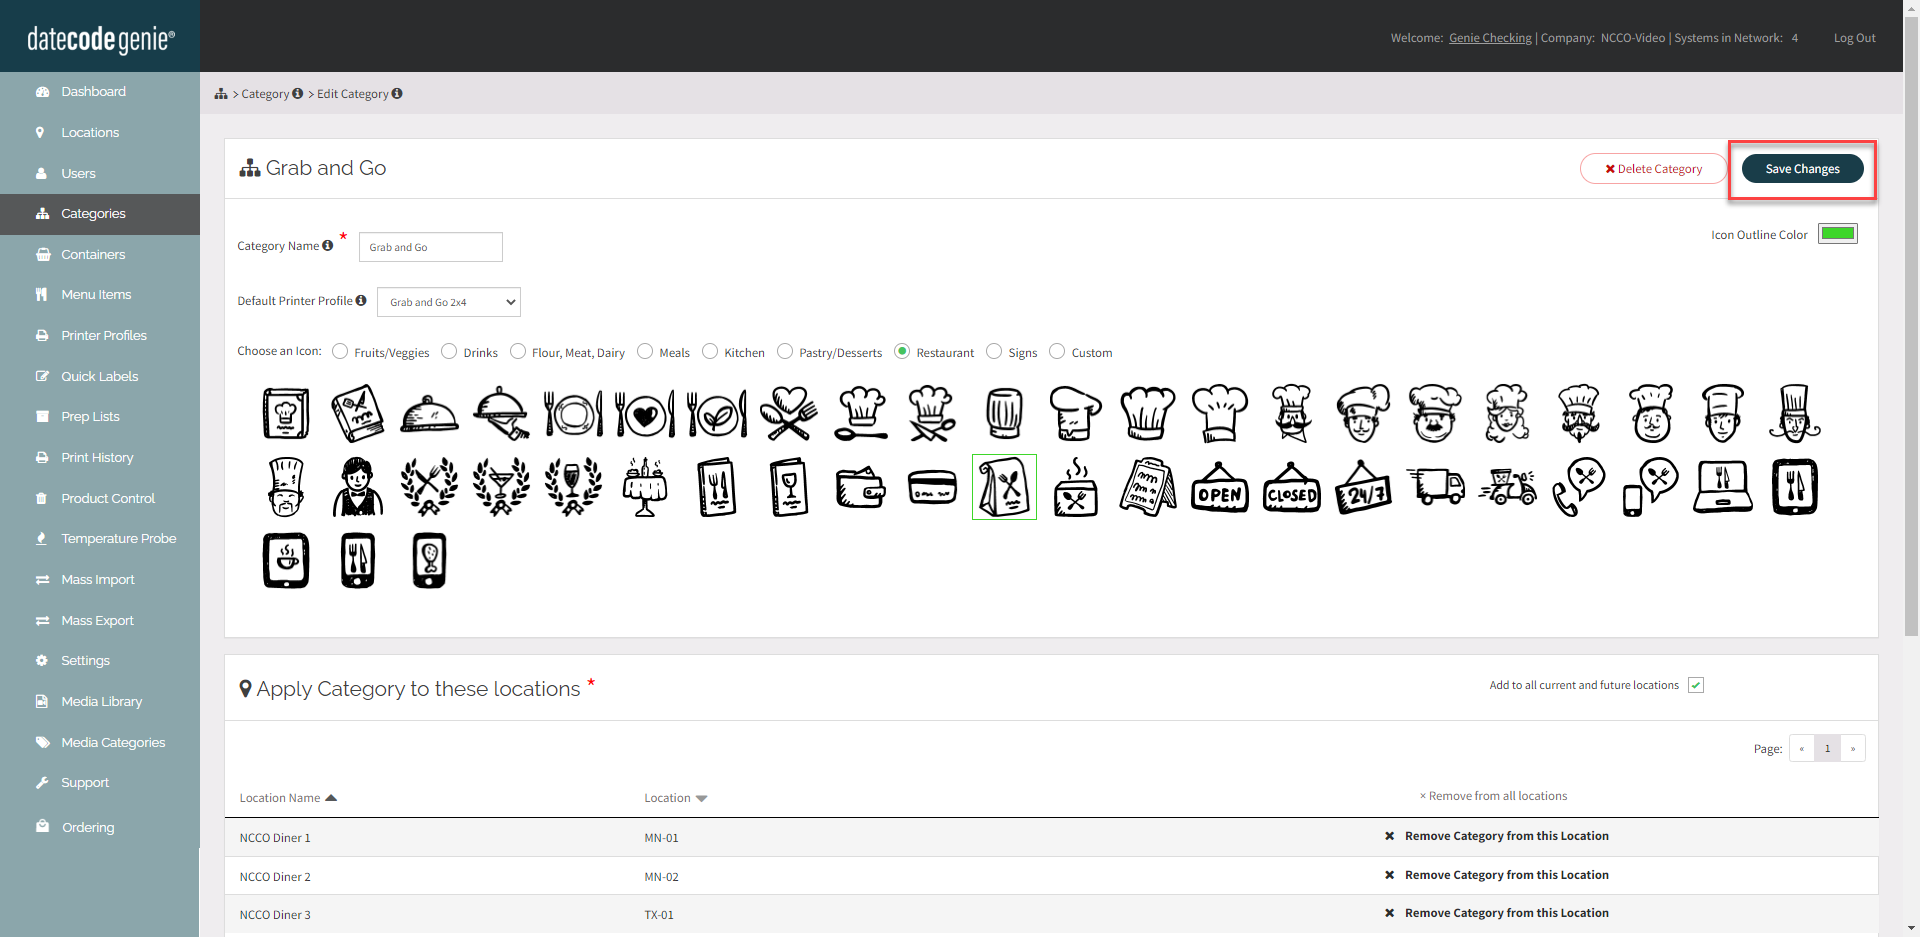
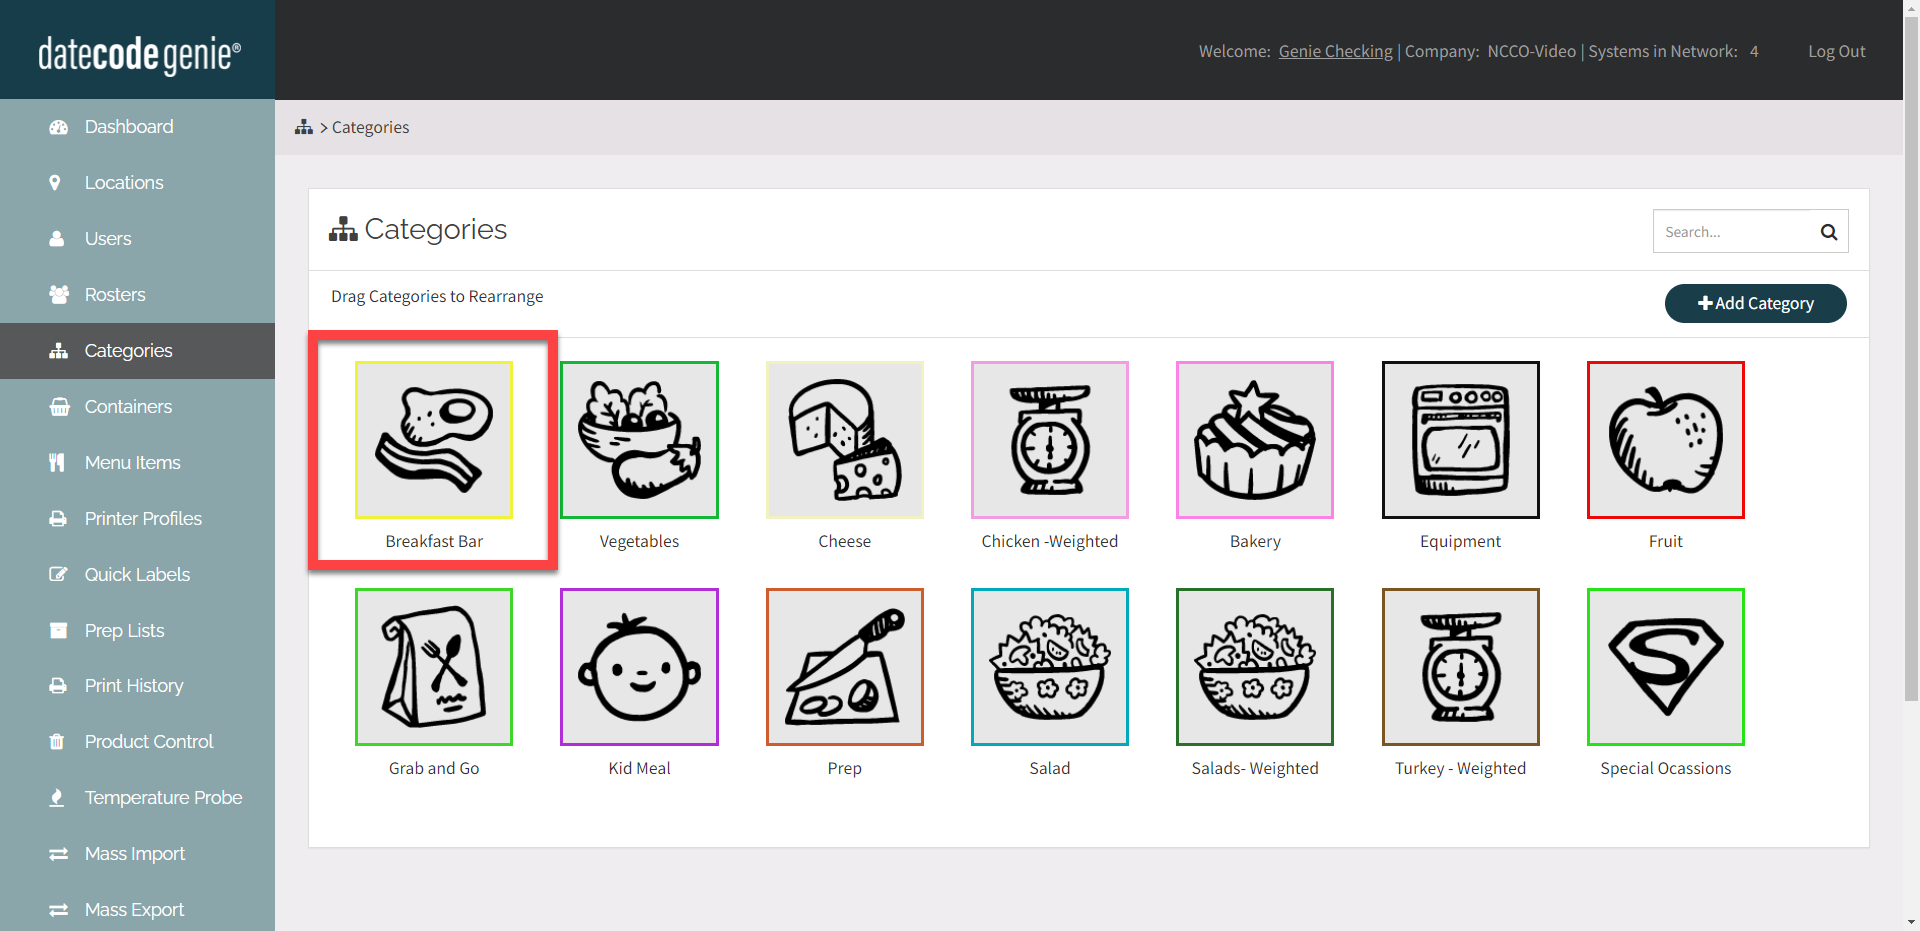
Modifier une catégorie
Cliquez sur l'icône d'une catégorie pour ouvrir la page de modification de la catégorie.
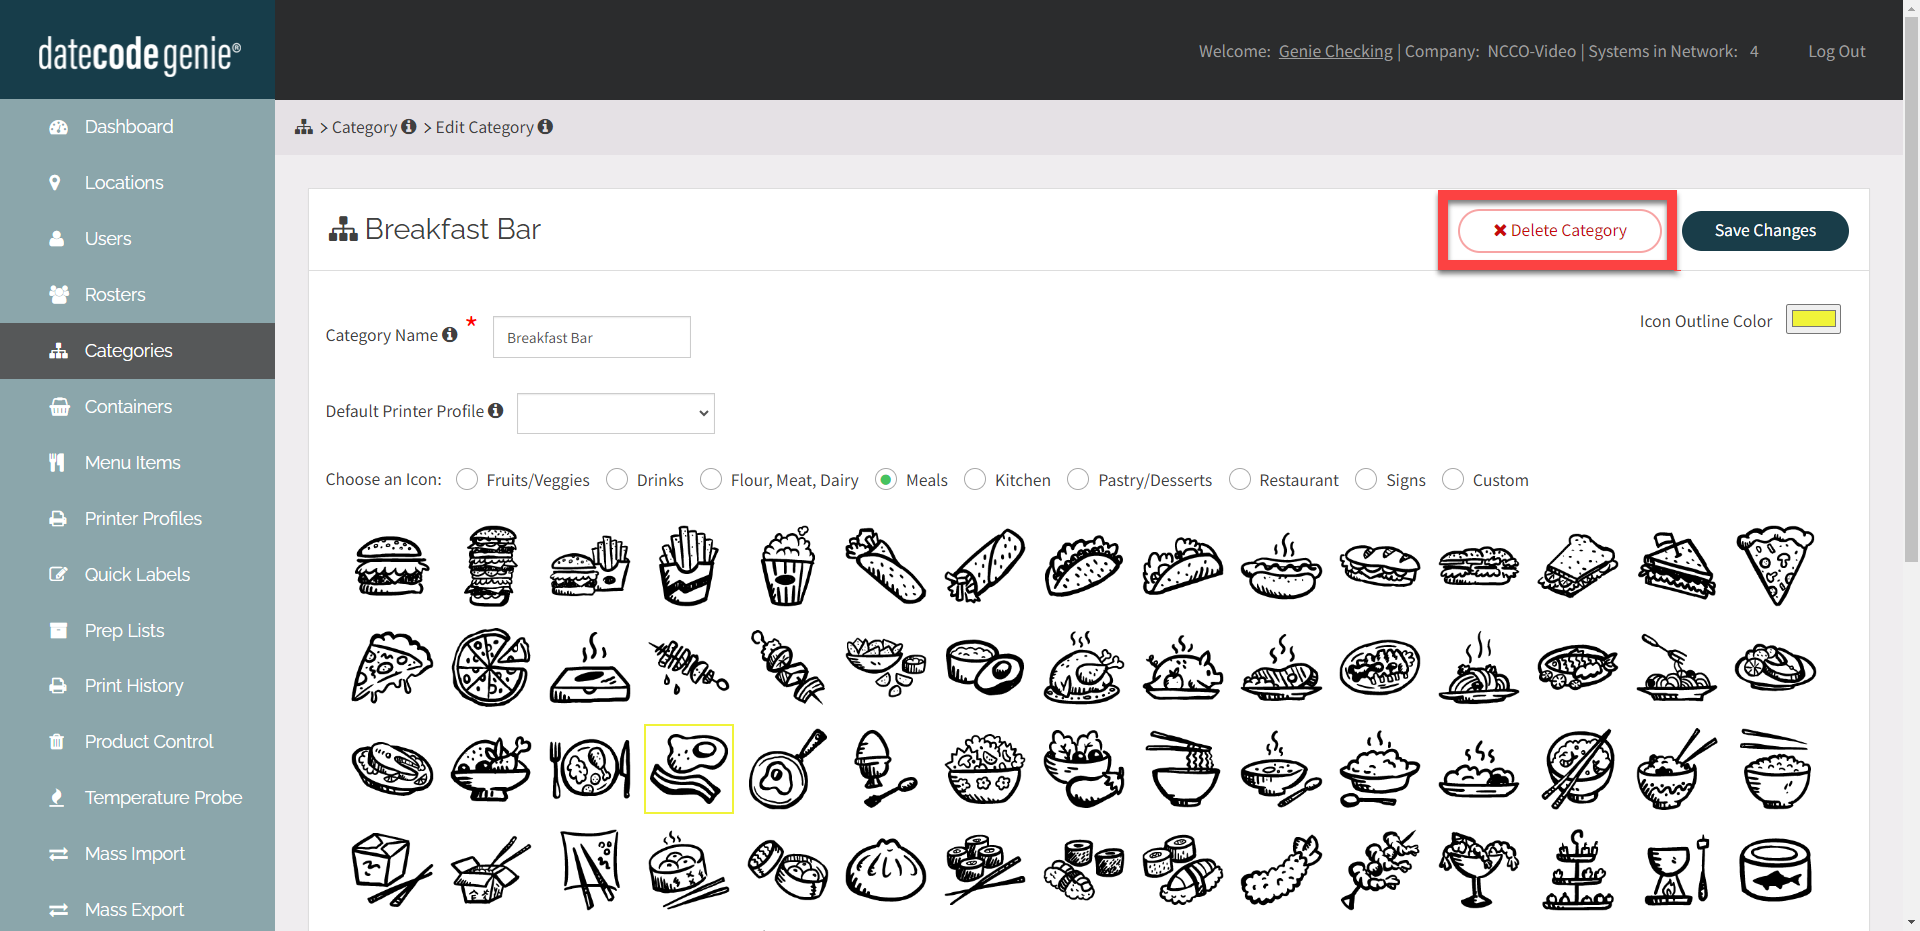
Supprimer une catégorie
Cliquez sur le bouton Supprimer la catégorie sur la page de modification de la catégorie.
Réorganiser les catégories
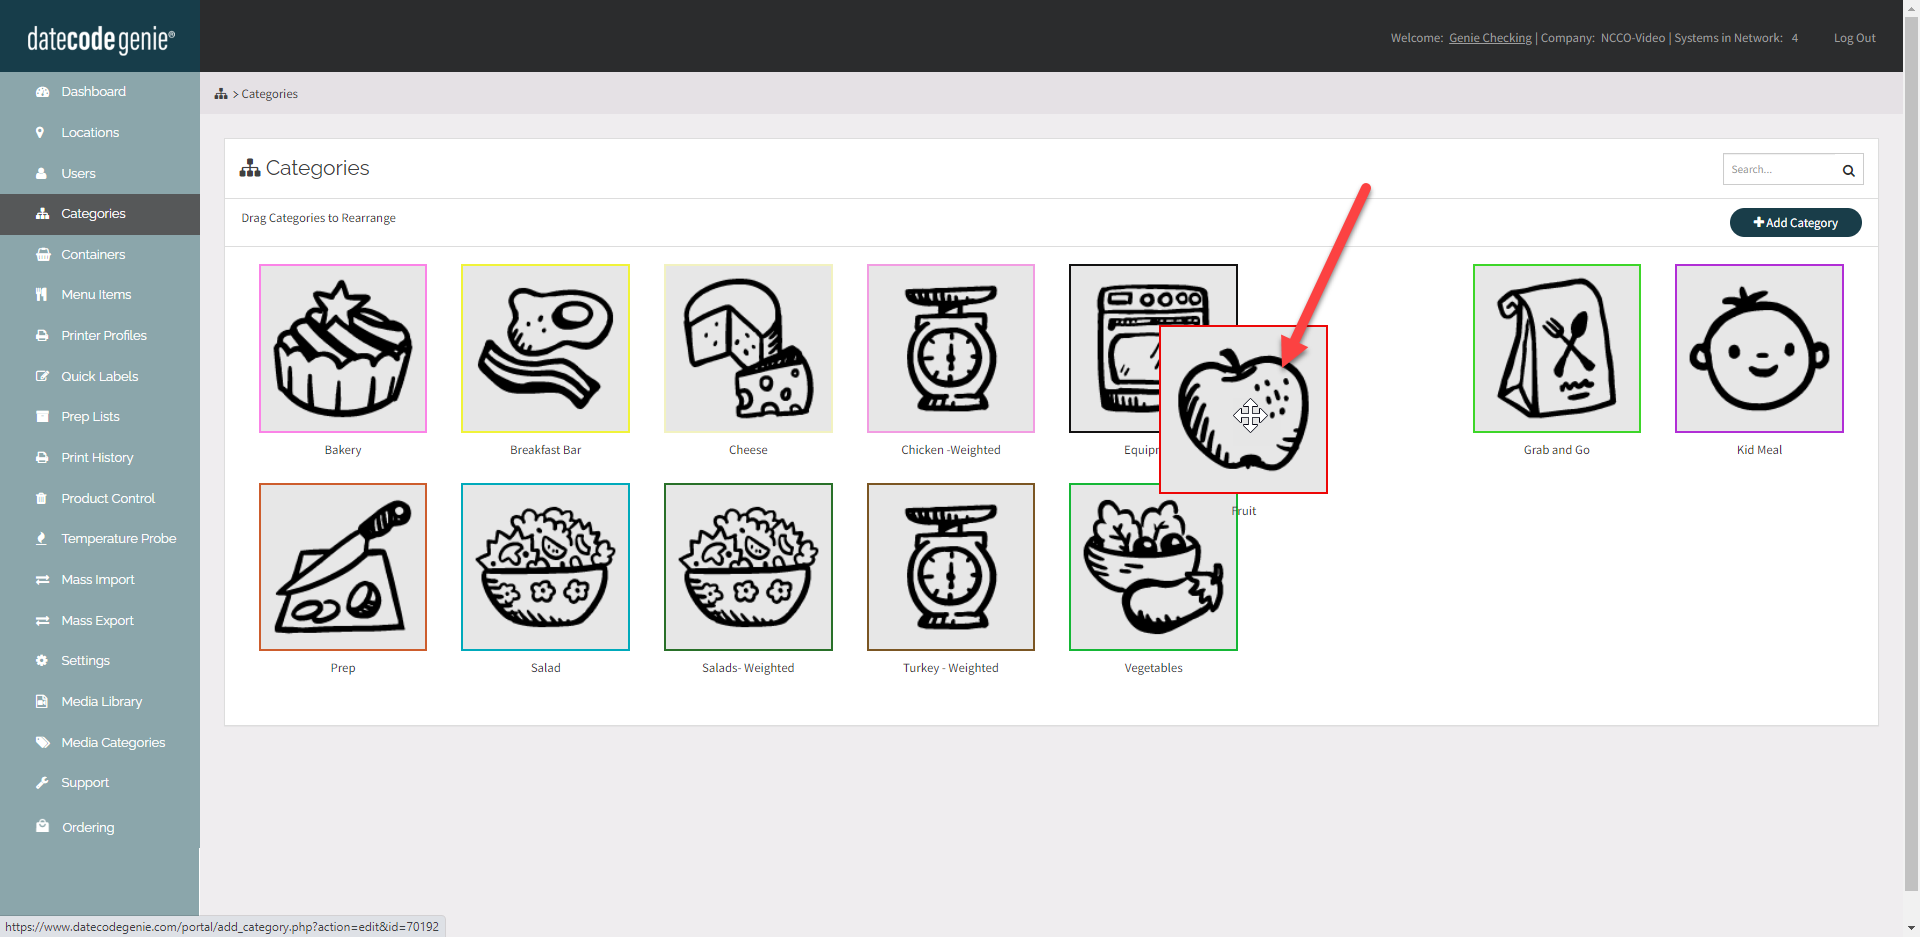
Les catégories apparaissent sur l'application dans l'ordre défini dans le portail. Faites glisser et déposez les icônes de catégorie pour les réorganiser.
