US English (US)
FR French
DE German
ES Spanish
IT Italian
NL Dutch
menu

Contact Us

No results found. Still need help? Contact us

  • Scheduled Assistance
  • Contact Us
English (US)
US English (US)
FR French
DE German
ES Spanish
IT Italian
NL Dutch
arrow_back
  • Getting Started
  • Devices
  • App
  • Portal
  • Admin Settings
  • Accessories
  • Labels
  • Repairs
  • APIs
  • Task Manager
  • Scheduled Assistance
  • Contact Us

Manage Categories

Contact Us

If you still have questions or prefer to get help directly from an agent, please submit a request.
We’ll get back to you as soon as possible.

  • Getting Started
    Getting Started Guides Set Up Training
  • Devices
    Troubleshooting Device Overview 2.0 Model X Series Model Fit Model Lite Model mC-Label3 Printer Device Tablet Internet Connection Warranty & Support
  • App
    Error Codes Troubleshooting App Overview Mobile App Subscription Prep Lists Product Control Rosters Scale Temperature Probe Print History Settings Language Location Overrides
  • Portal
    Portal Overview Locations Categories Menu Items Printer Profiles Users Settings Quick Labels Prep List Print History Mass Import and Export Media Library Location Overrides Product Control Rosters Scale Temperature Probe Groups
  • Admin Settings
    Start with Admin Settings Admin Settings Overview Locations Devices and Licenses
  • Accessories
    Bluetooth Scanner USB Scanner Temperature Probe Scale Label Rewinder Fit Printer Shelf Warranty
  • Labels
    Overview Troubleshooting
  • Repairs
    2.0 Model X Series Model Lite Model DateCodeGenie® Tablet
  • APIs
    Inbound APIs Outbound APIs
  • Task Manager
    Task Manager Overview Venues Forms Users Resources Task Manager App
+ More
  • Home
  • Portal
  • Categories

Add, edit, delete, and reorder categories from the Categories tab in the portal.

Add a Category

1. Log in to the portal at www.datecodegenie.com using the recommended browser. See What Internet Browser Should I Use To Access My DateCodeGenie® Portal?

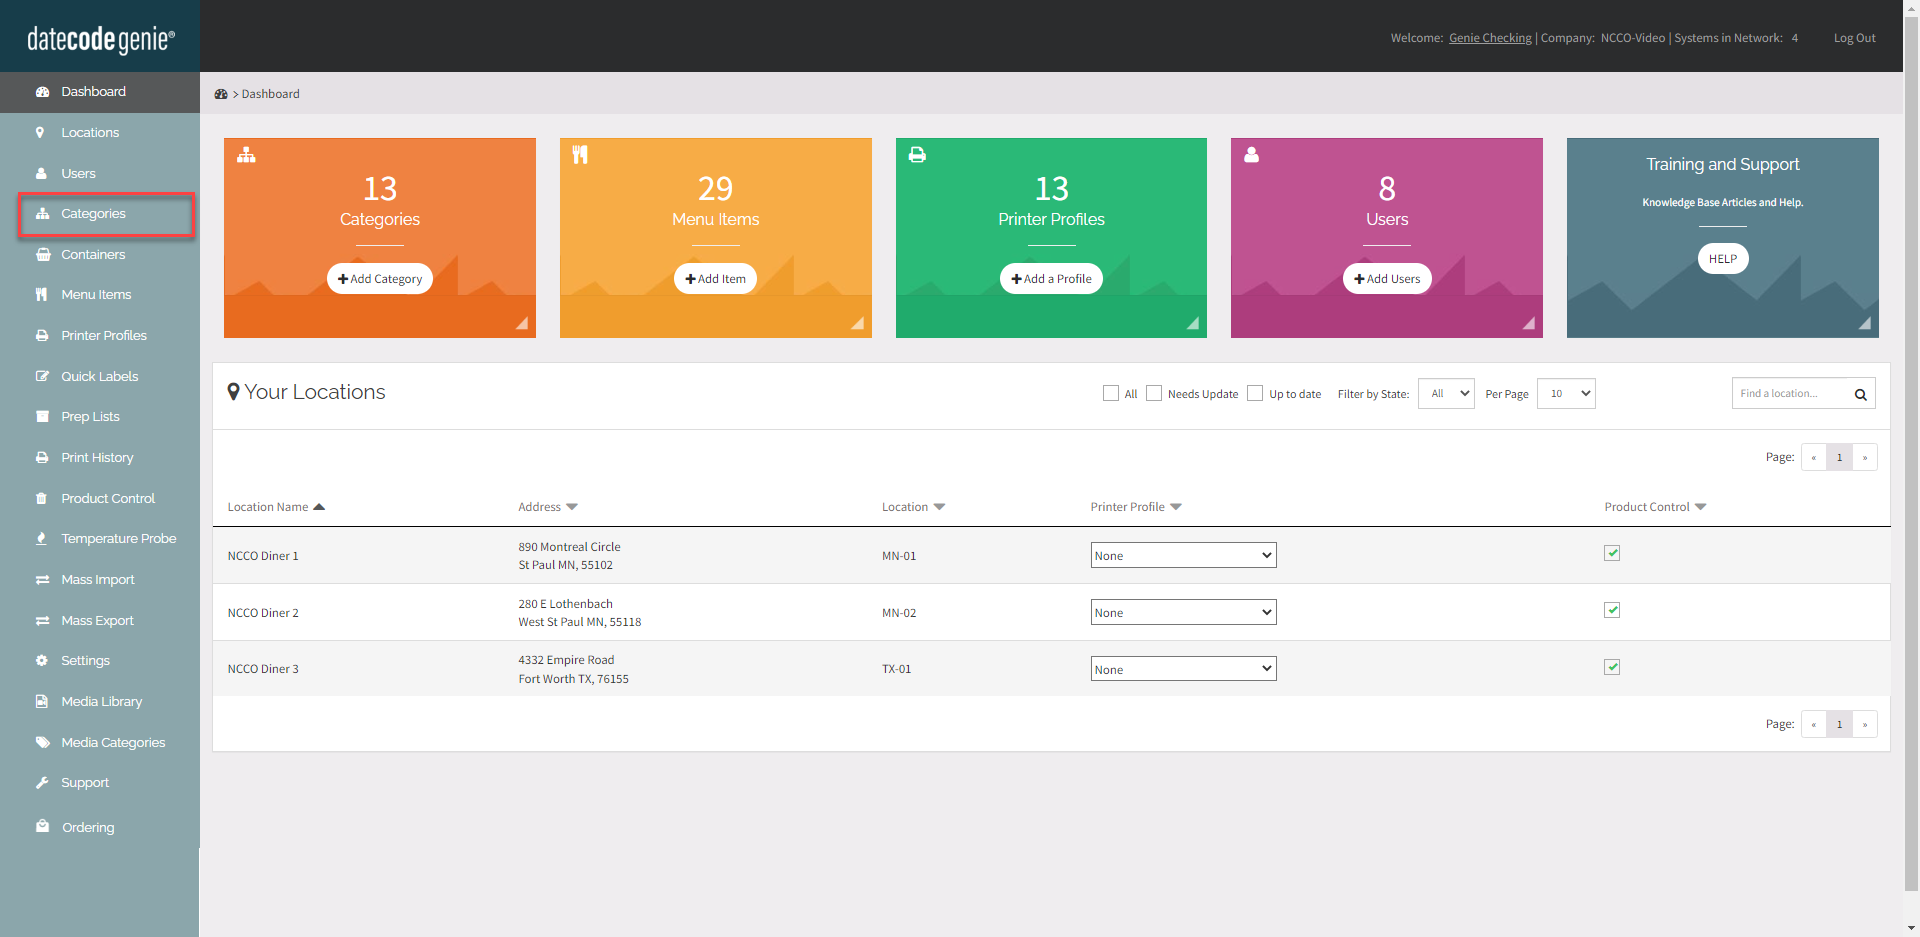
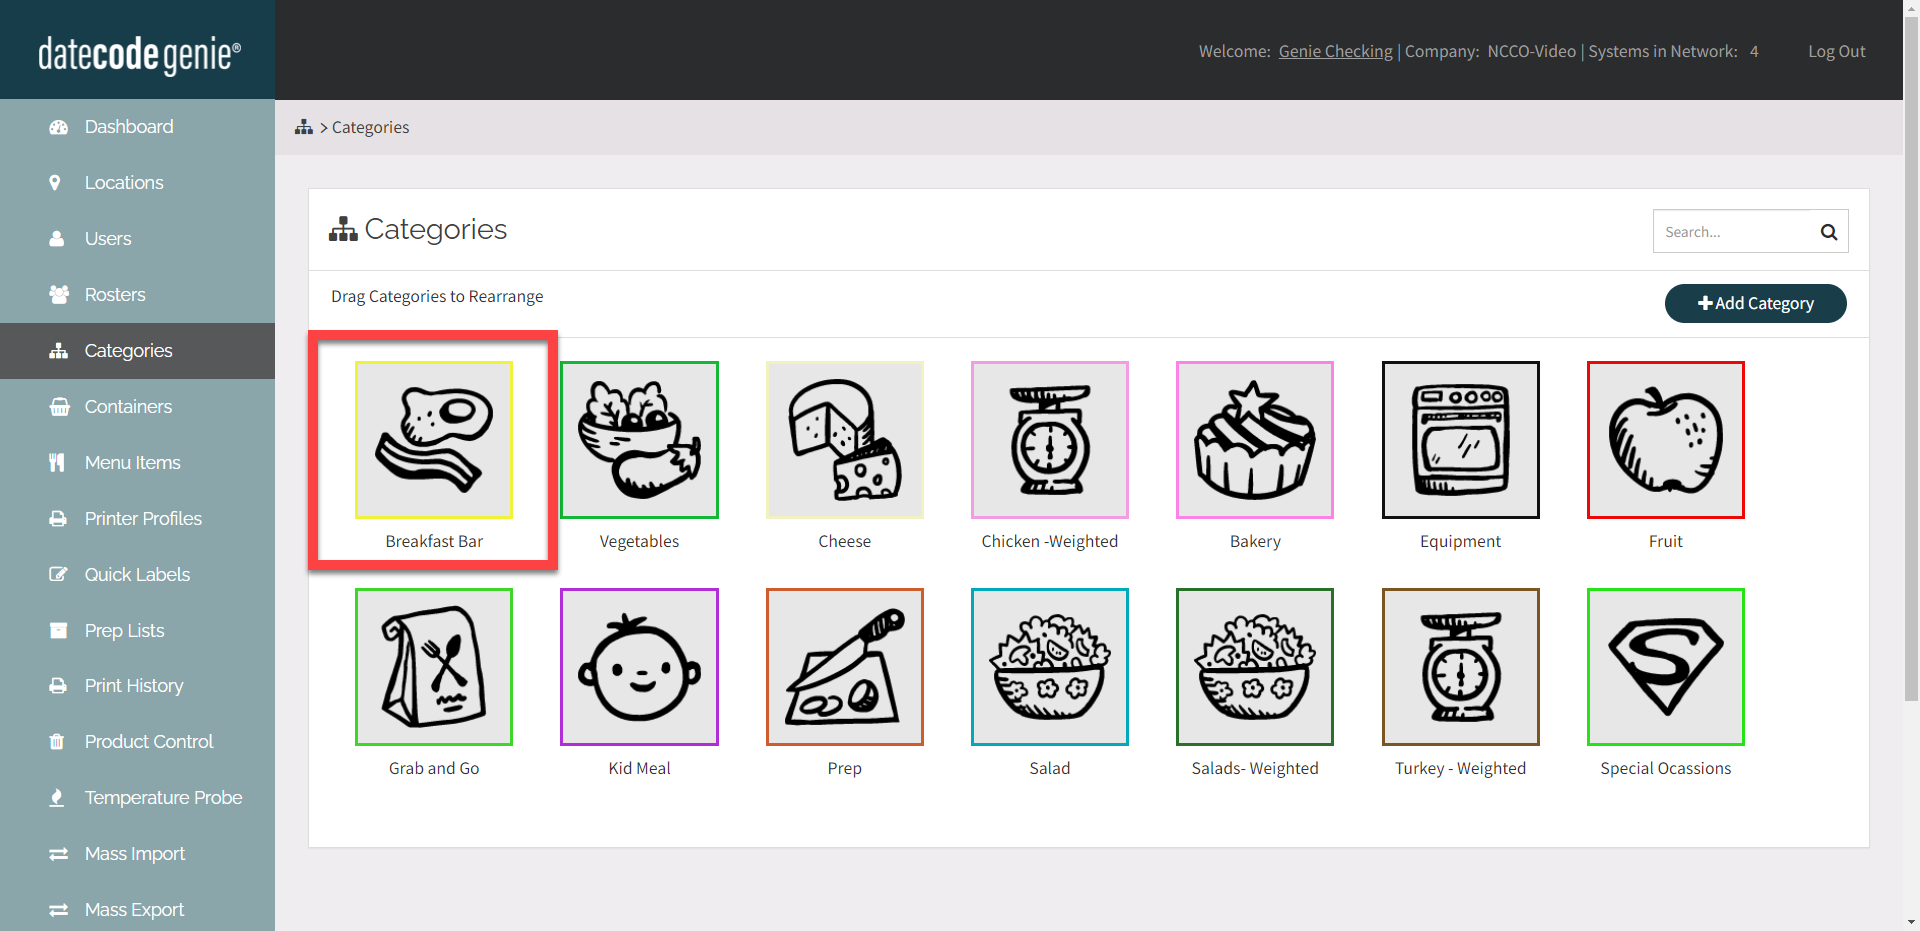
2. Click on the Categories tab on the side bar.

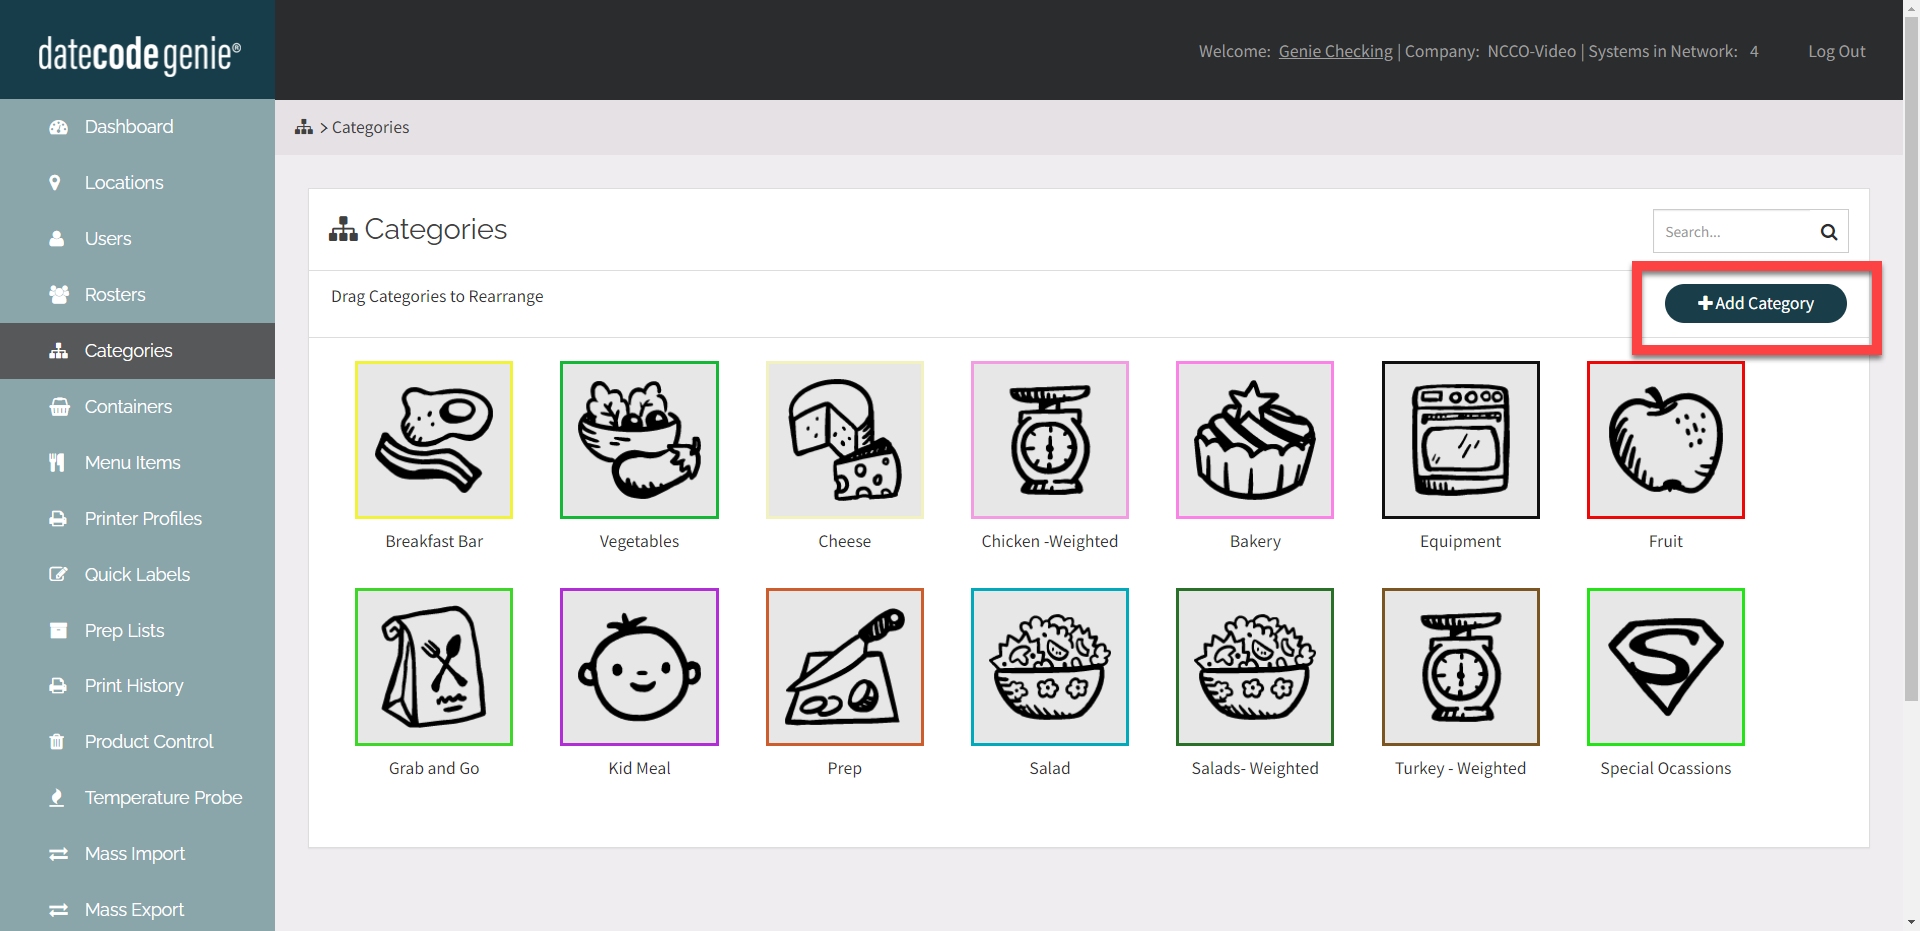
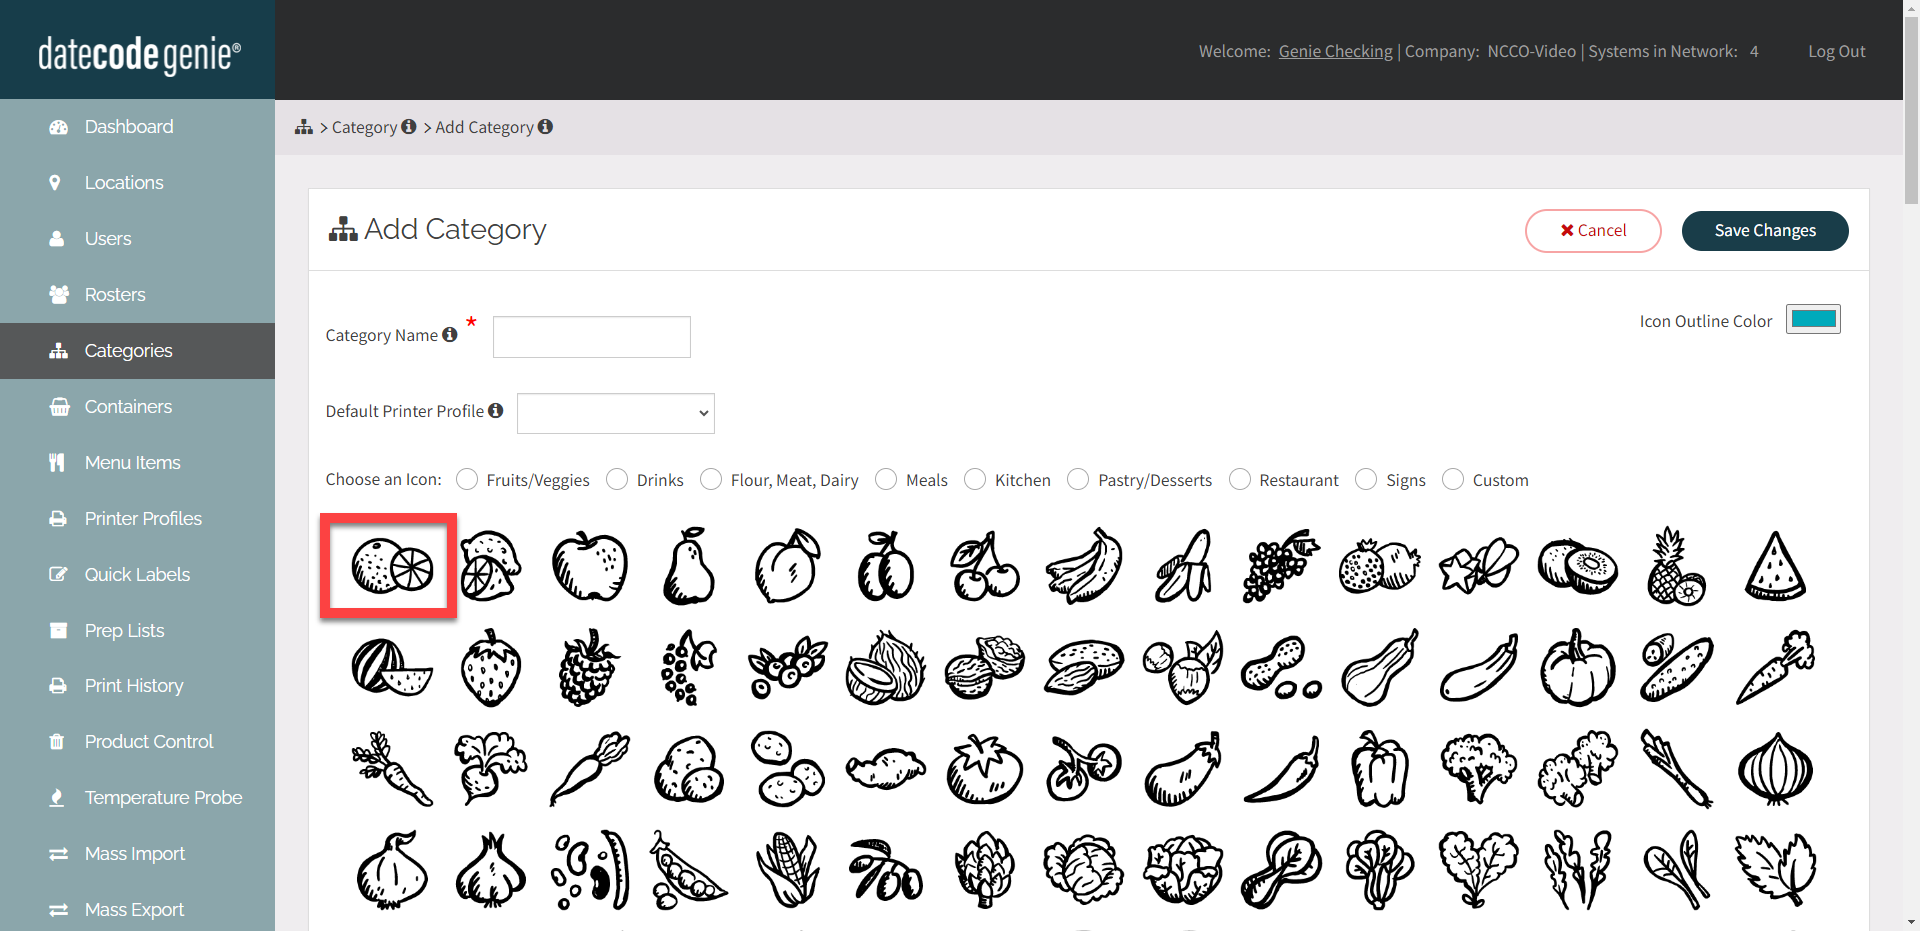
3. Click the +Add Category button to add a new category.

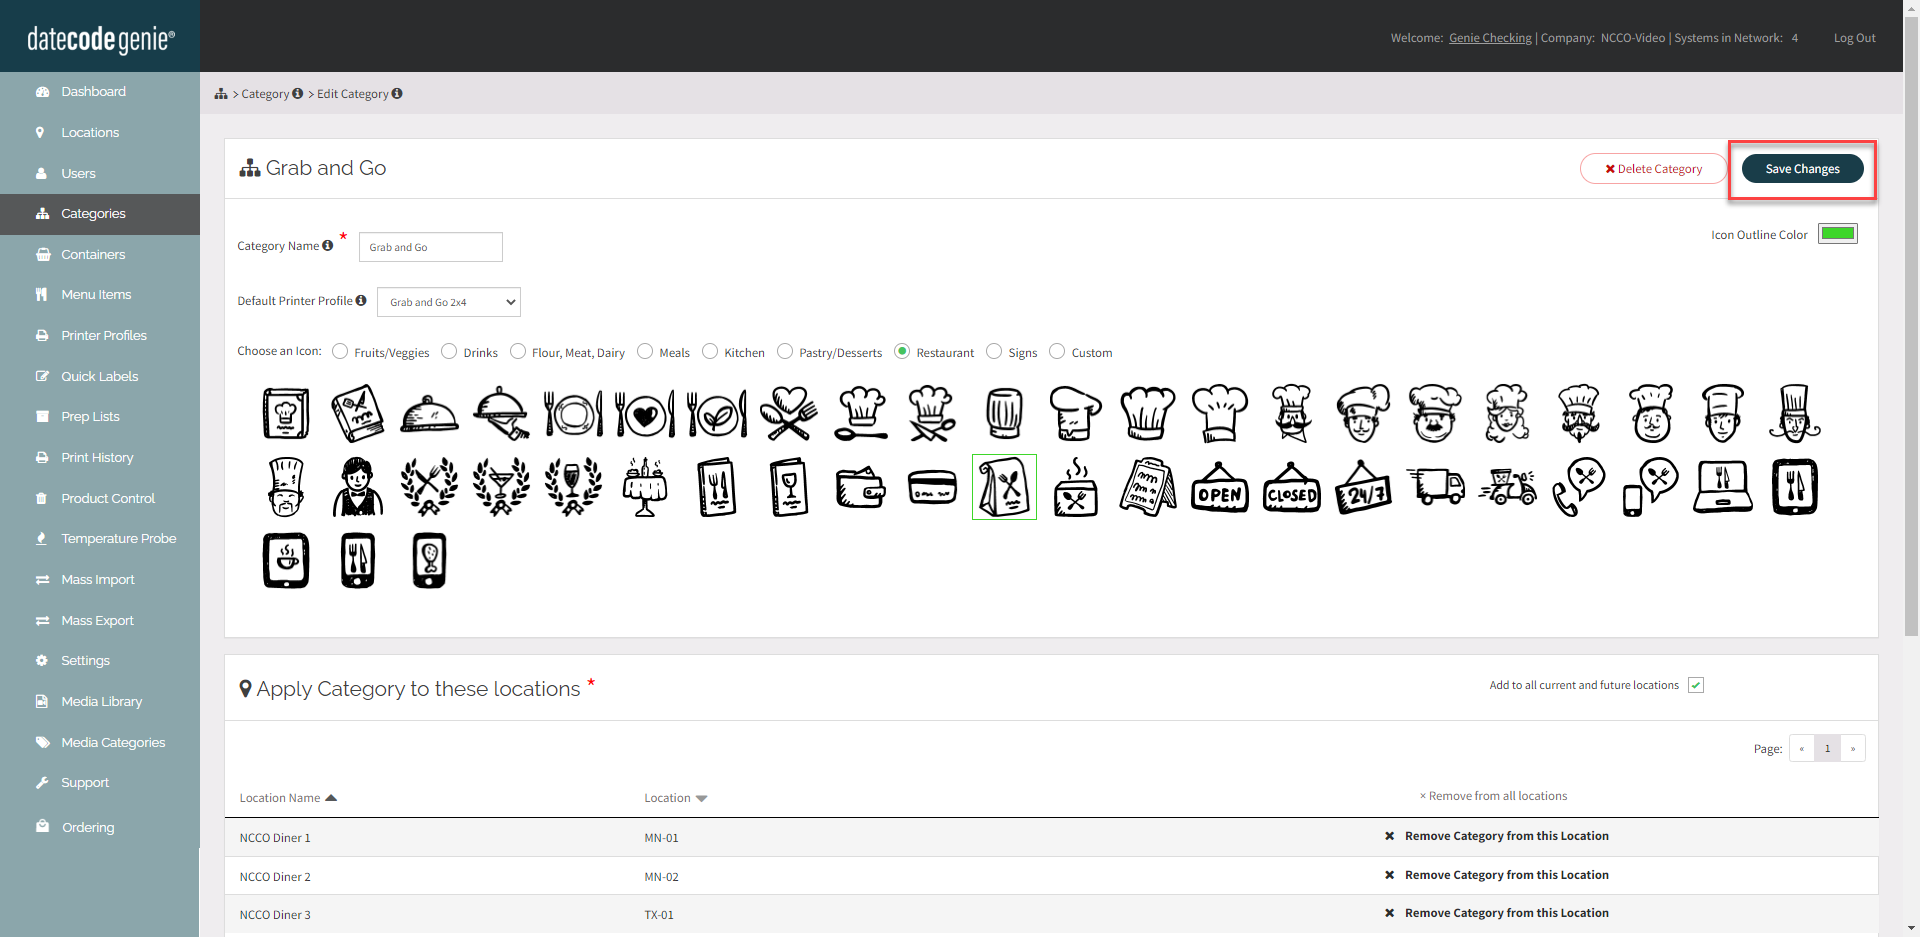
4. Enter the Category Name.

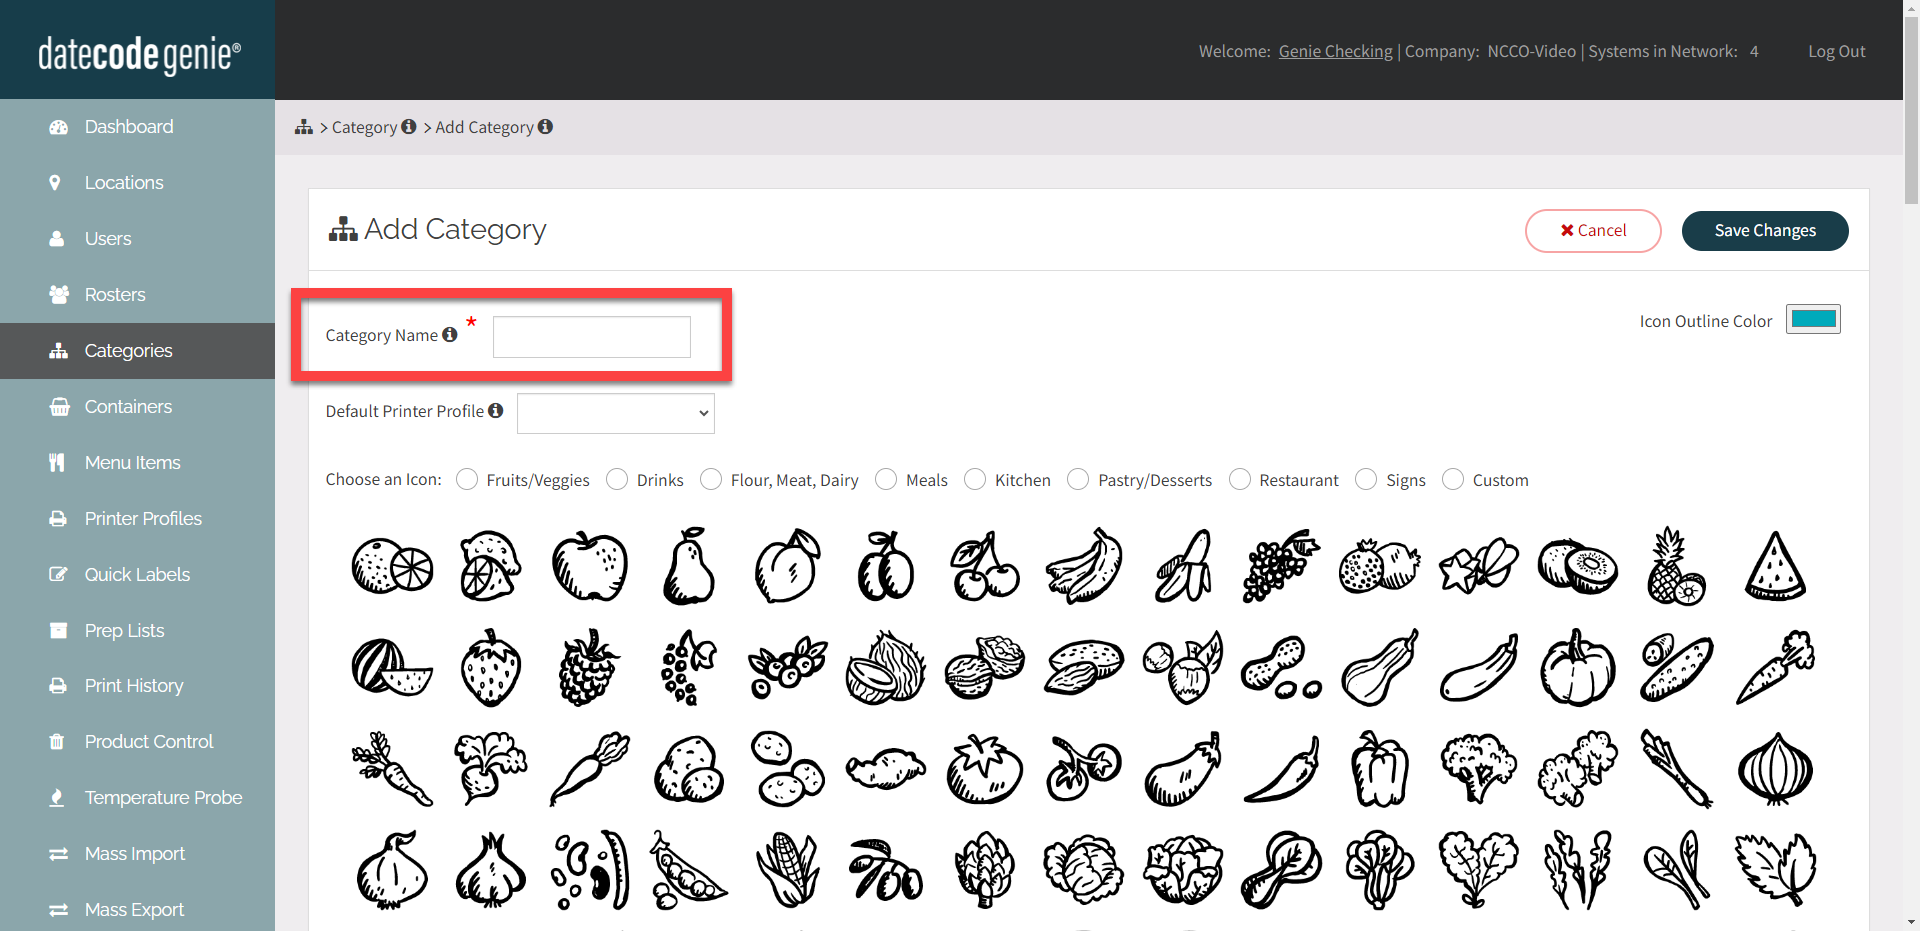
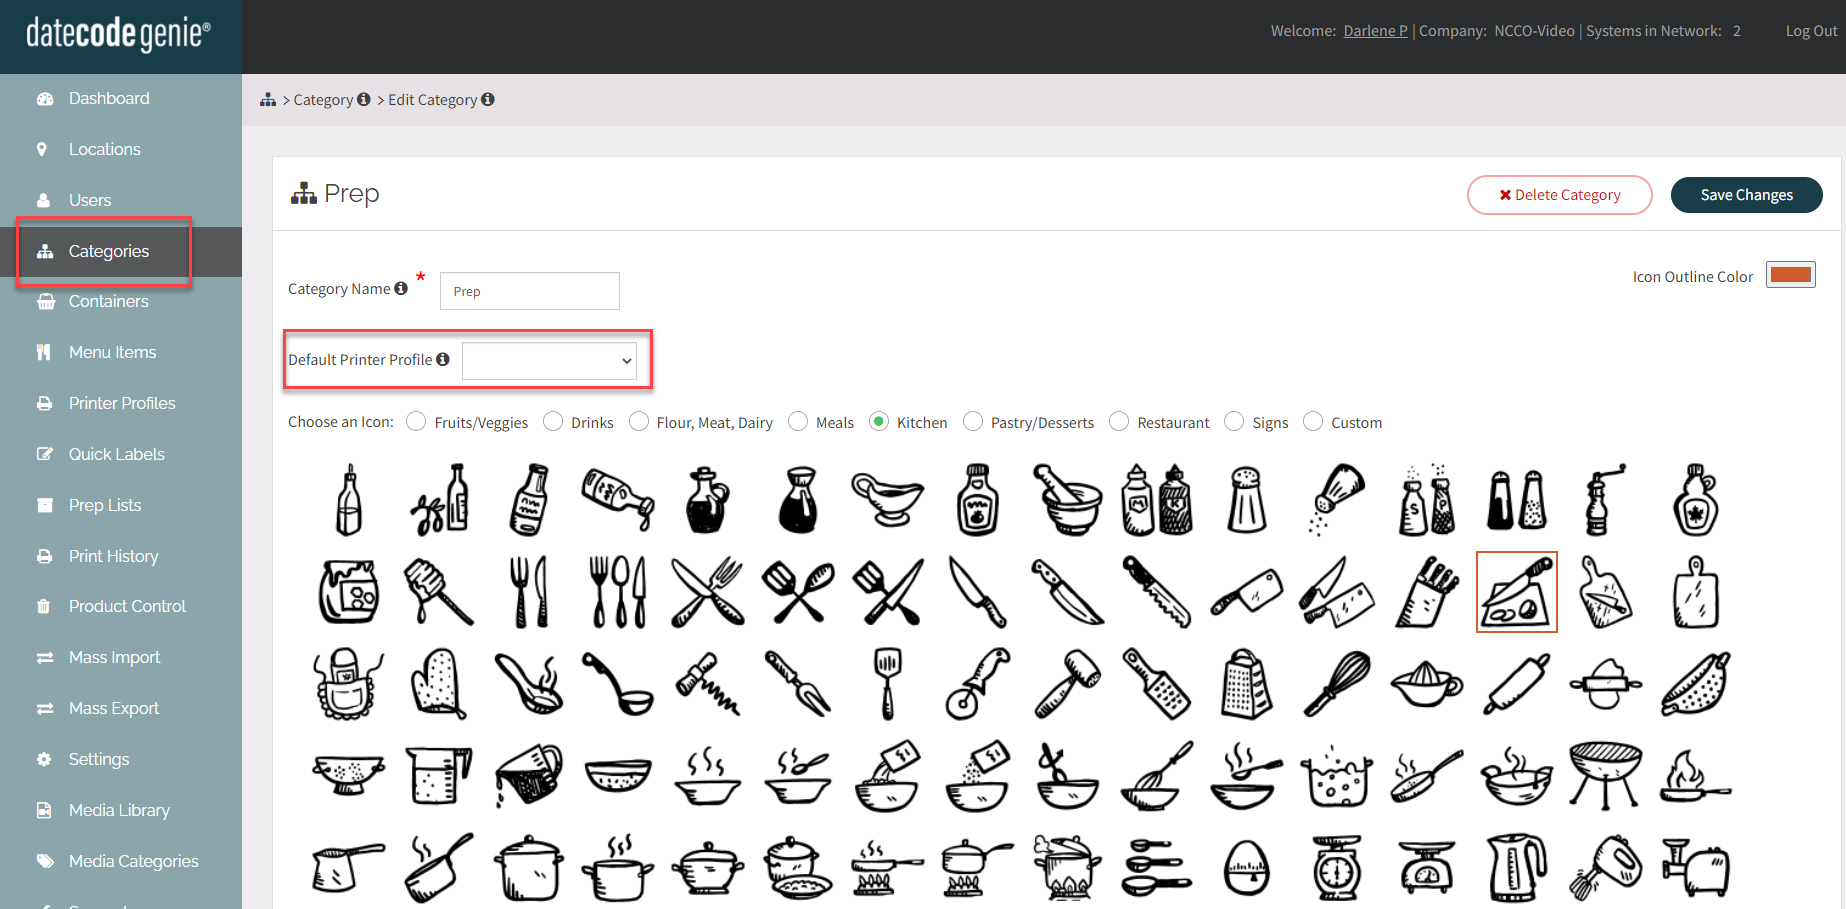
5. OPTIONAL: Select Default Printer Profile from dropdown.

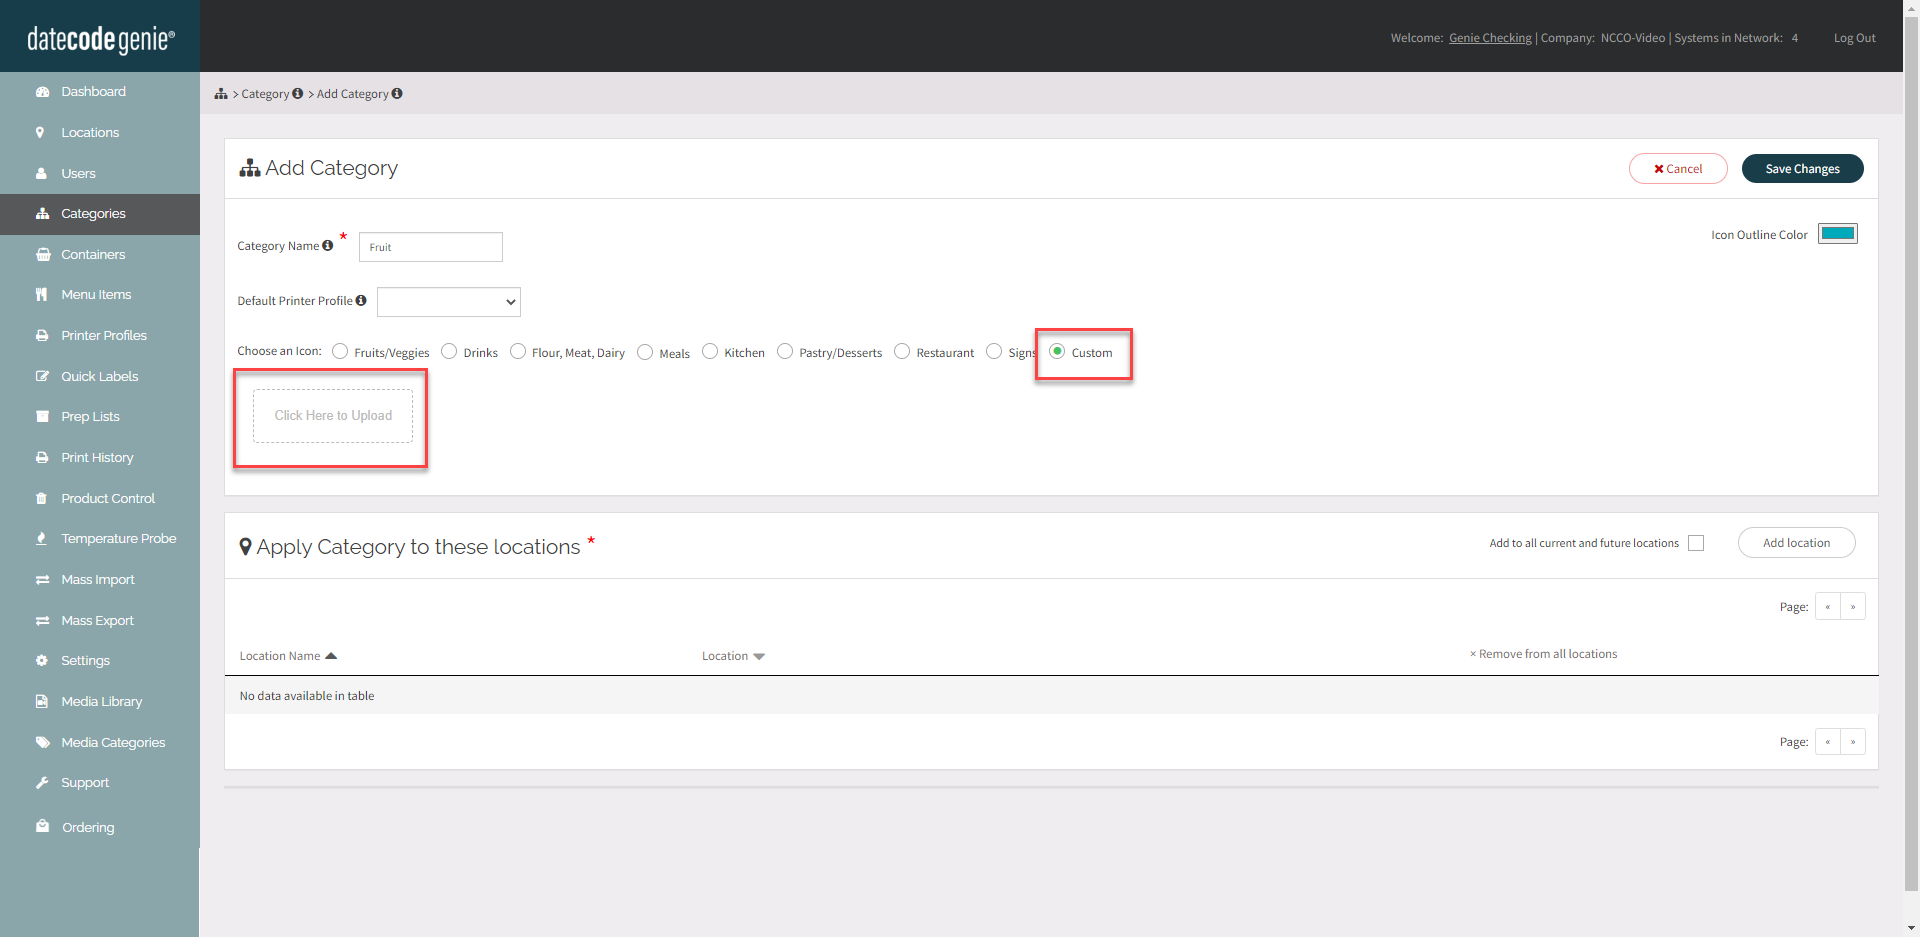
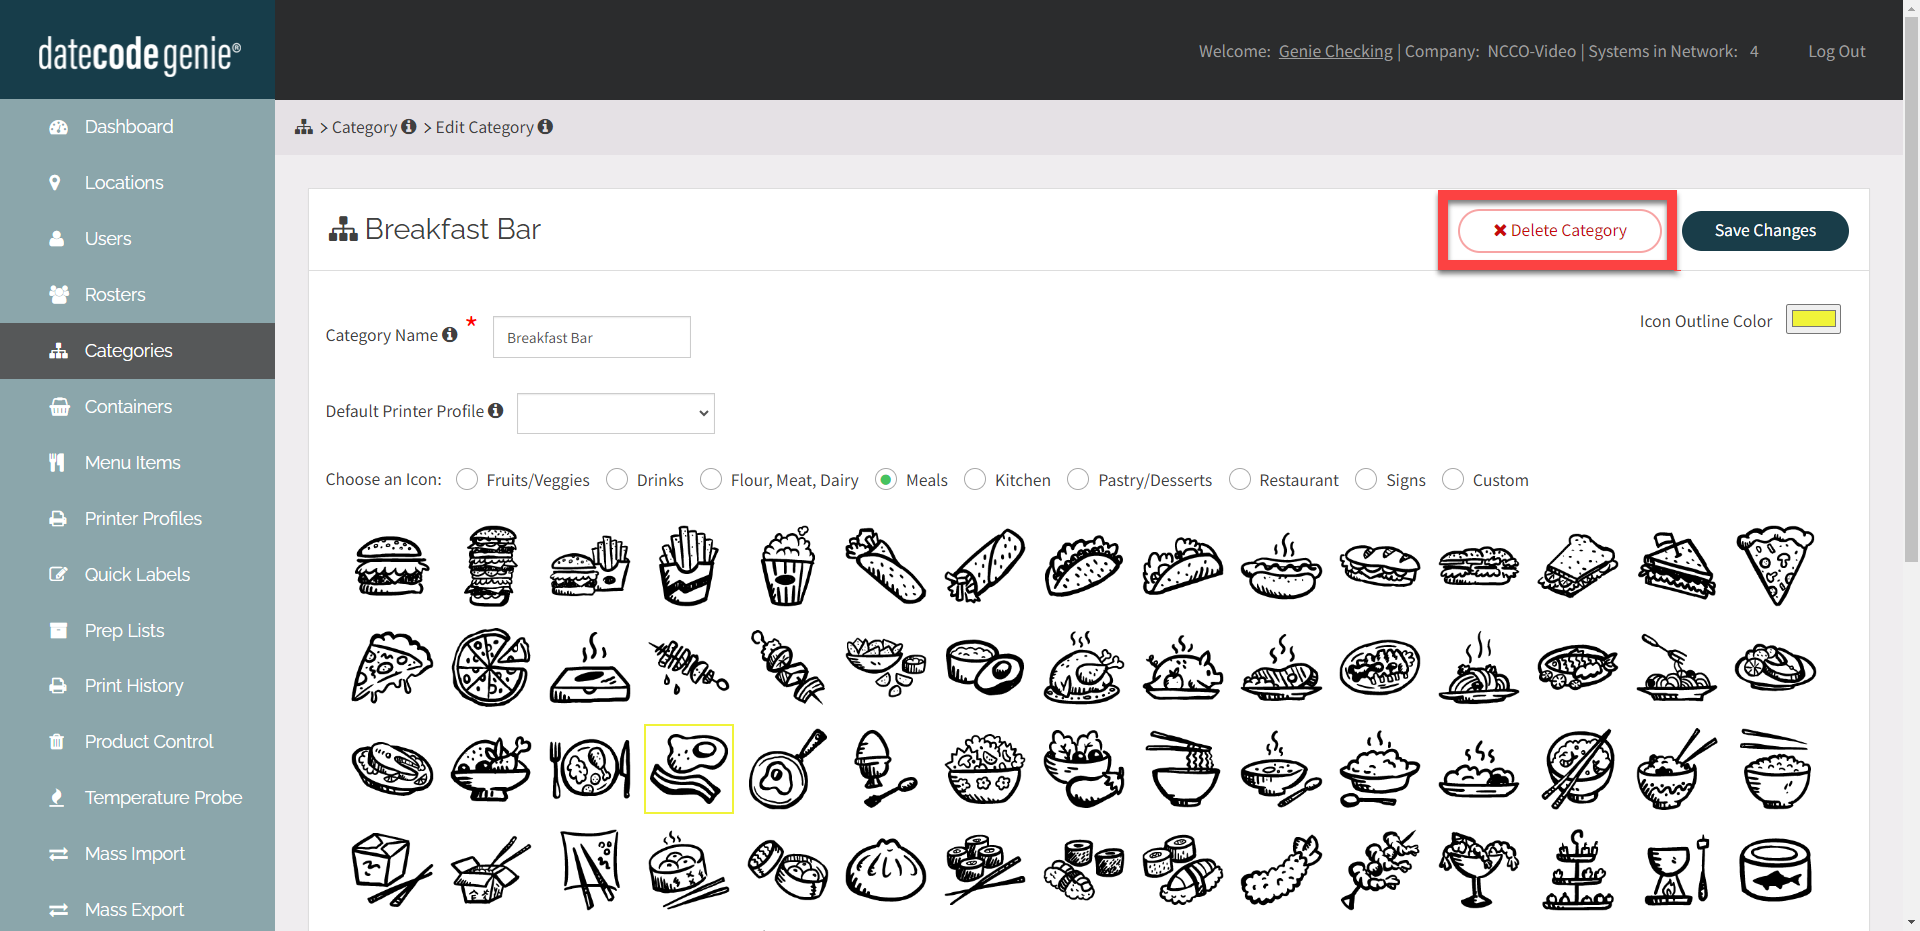
6. Choose an icon for the category or upload your own under Custom.

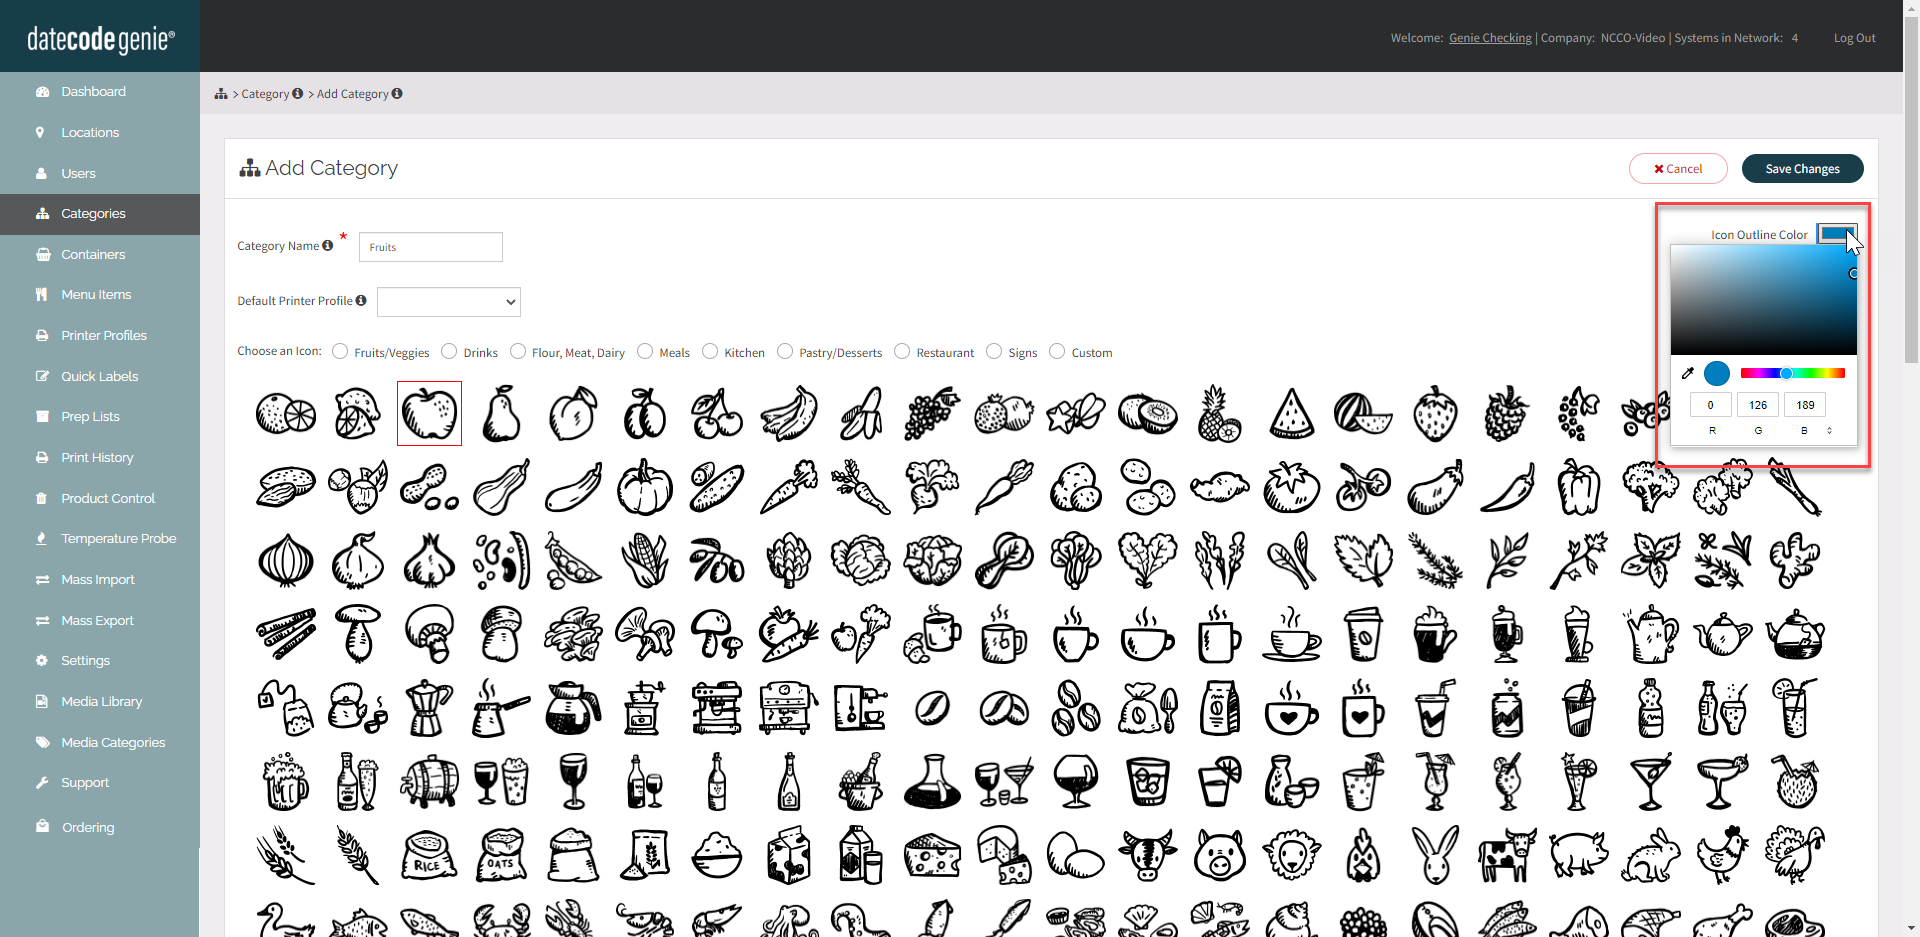
7. OPTIONAL: Change the Icon Outline Color by clicking on the color box in the upper right-hand corner. Slide the circle to adjust to the color preferred.

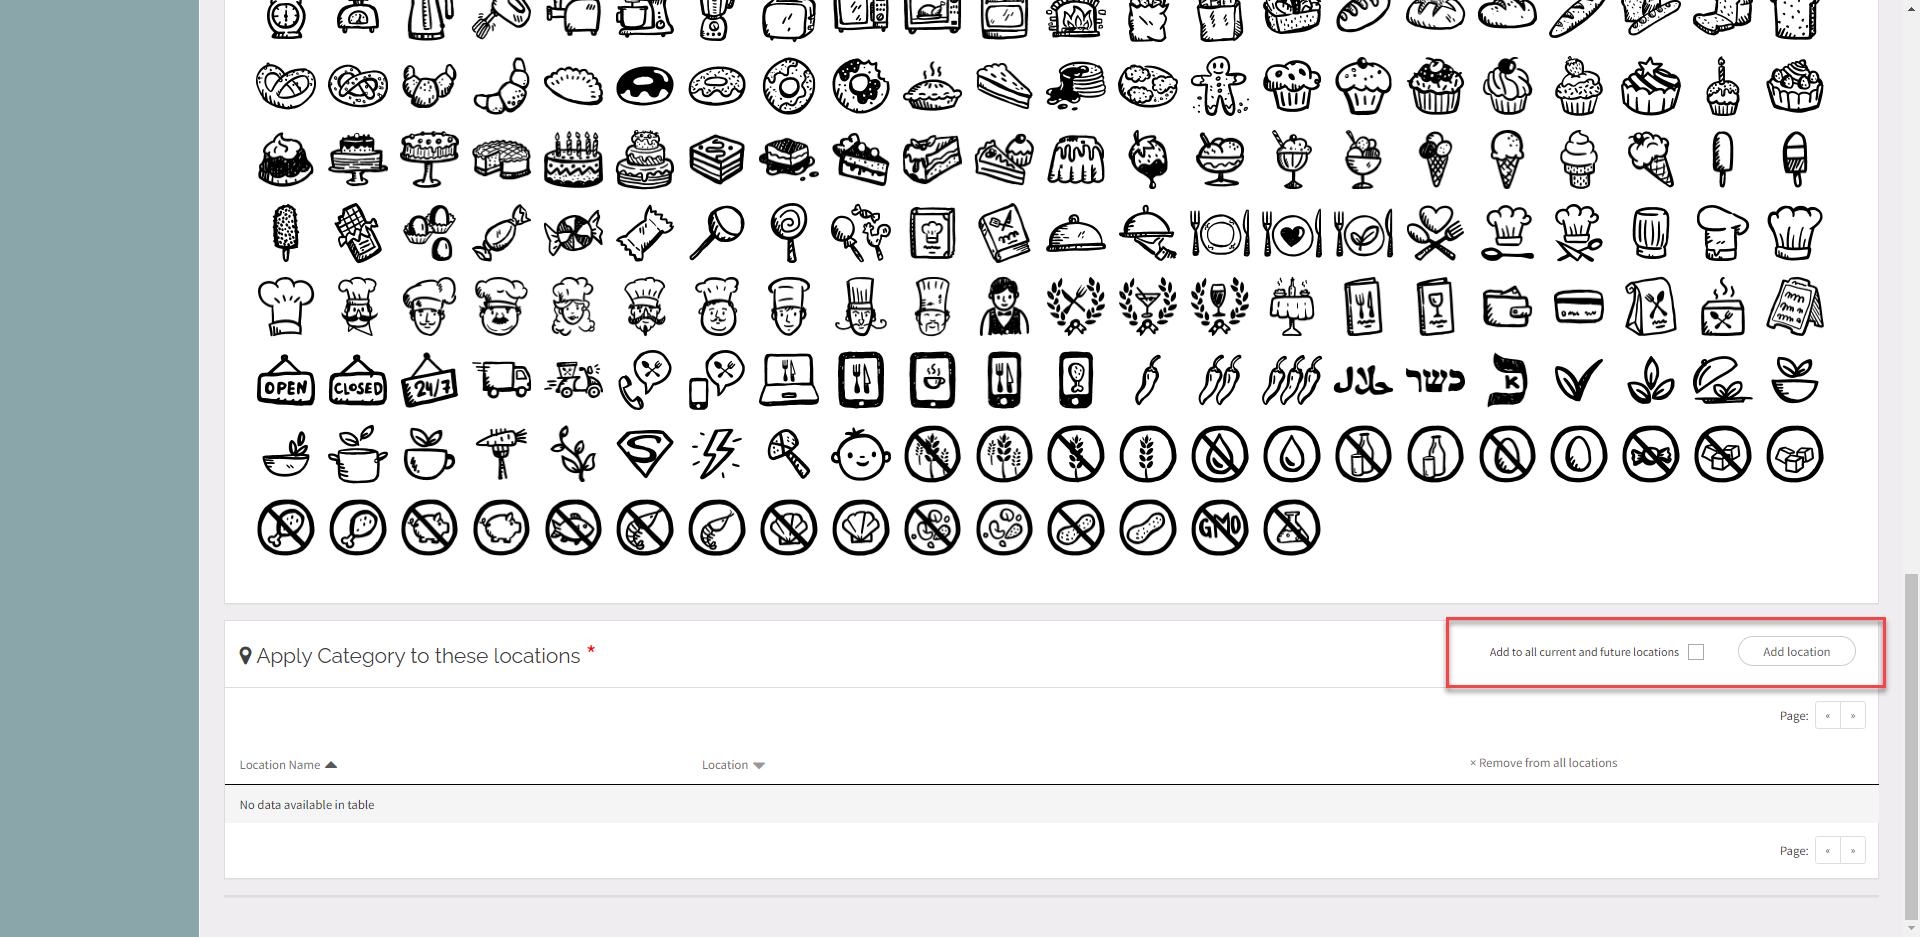
8. Click the Add Location button and select available locations from the list, or check the box to automatically add all locations.

9. Click the Save Changes button.


Edit a Category

Click on a category icon to open the edit category page. 


Delete a Category

Click the Delete Category button from the edit category page. 


Reorder Categories

Categories appear on the app in the order set in the portal. Drag and drop the category icons to reorder.


Related Articles

  • Category Preferences and Category Restrictions
  • Categories Not Appearing on the App
  • Allow Manager to Edit Categories in the Portal
  • Categories

Was this article helpful?

Yes
No
Give feedback about this article

Related Articles

  • Category Preferences and Category Restrictions
  • Categories Not Appearing on the App
  • Allow Manager to Edit Categories in the Portal
  • Categories
© 2025 DateCodeGenie

899 Montreal Circle, St. Paul, MN 55102

Privacy Policy

contact us
About NCCO

Knowledge Base Software powered by Helpjuice

Expand