US English (US)
FR French
DE German
ES Spanish
IT Italian
NL Dutch
menu

Contact Us

No results found. Still need help? Contact us

  • Scheduled Assistance
  • Contact Us
English (US)
US English (US)
FR French
DE German
ES Spanish
IT Italian
NL Dutch
arrow_back
  • DateCodeGenie
  • RightBytes
  • Task Manager
  • Scheduled Assistance
  • Contact Us

Manage Devices in Admin Settings

Contact Us

If you still have questions or prefer to get help directly from an agent, please submit a request.
We’ll get back to you as soon as possible.

  • DateCodeGenie
    Getting Started Devices App Portal Admin Settings Accessories Labels Repairs APIs
  • RightBytes
    InsightsLite StockSmart
  • Task Manager
    Task Manager Overview Venues Forms Approvals Analytics Users Resources Task Manager App Task Manager Hardware Troubleshooting
+ More
  • Home
  • DateCodeGenie
  • Admin Settings
  • Devices and Licenses

Table of Contents

NOTICE NOTE NOTE

NOTICE

This article is for portals with Admin Settings only. See Migrate Portal Data to Admin Settings


Portal Administrators can add, edit, and delete devices from the Devices and Licenses tab in admin settings, if admin settings is activated for your company.

Add Device

1. Log in to the portal at www.datecodegenie.com using the recommended browser. See What Internet Browser Should I Use To Access My DateCodeGenie® Portal?

2. Click Admin Settings from the sidebar, then click on Edit Devices & Licenses.

3. Click Devices and Subscriptions.

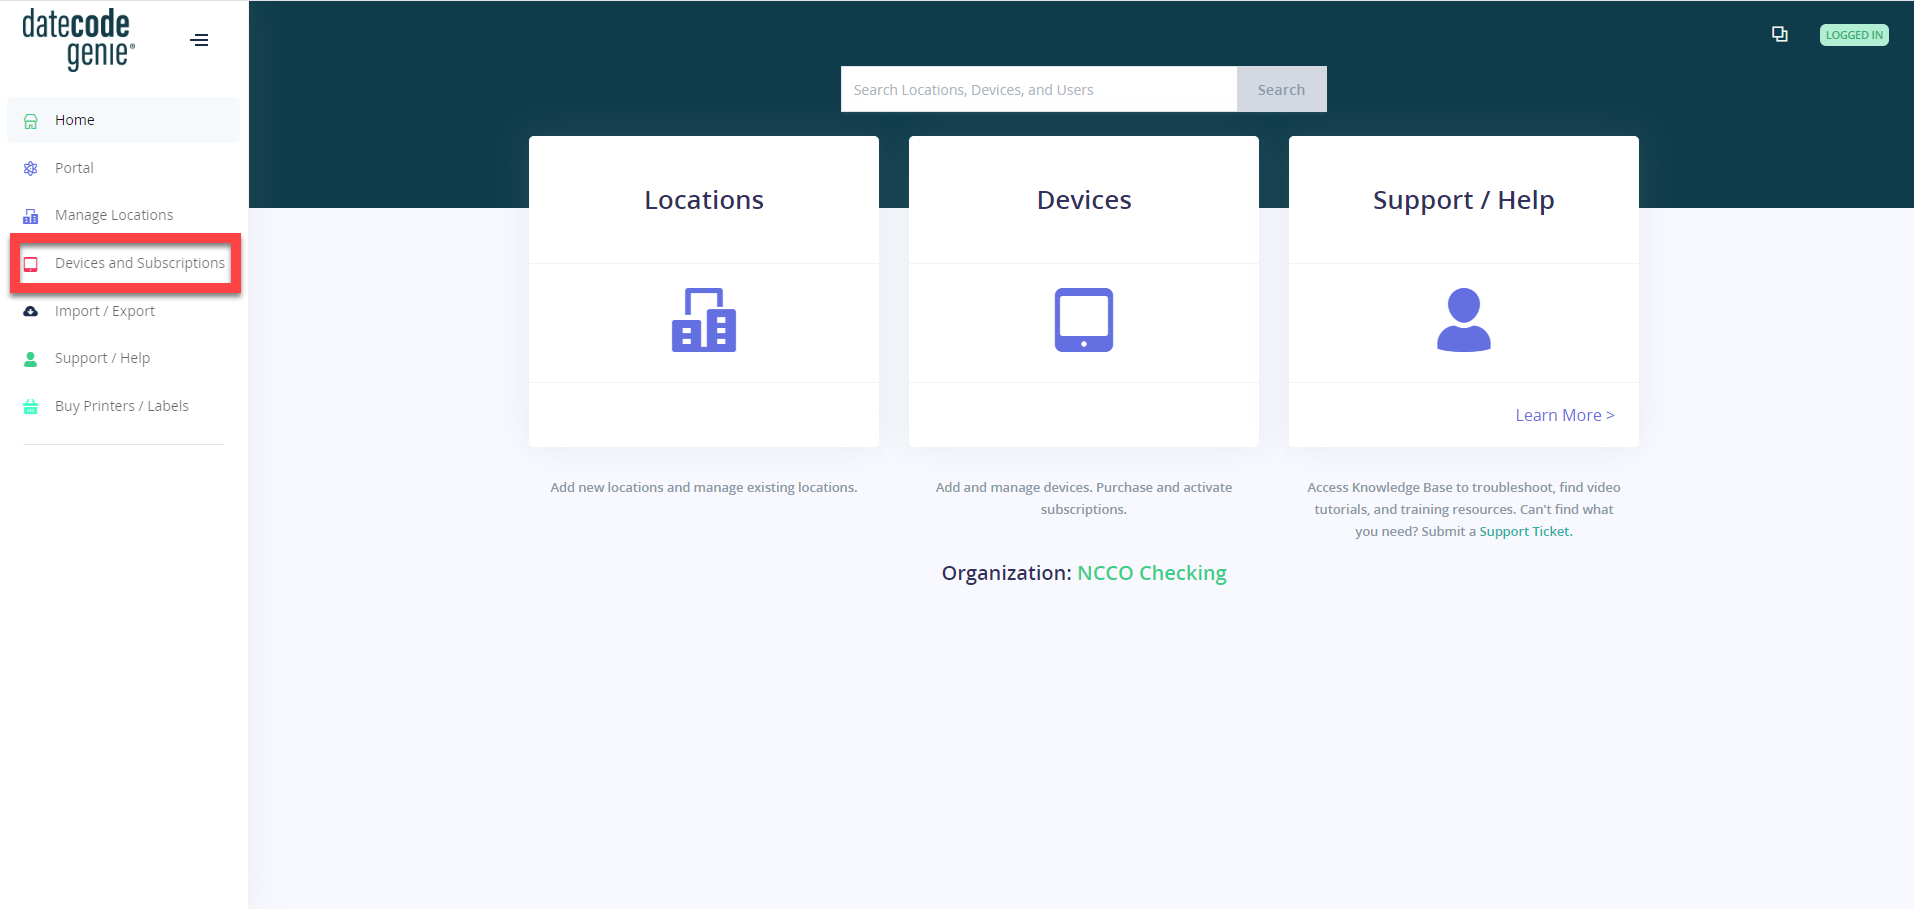
4. Click +ADD A DEVICE.

NOTE

A license is required to add a subscription device in Admin Settings. Total available licenses are shown in the devices and licenses window. To add a subscription, see Change Number of Devices for Your Subscription.


5. Enter device name, and select the assigned location and printer purchased as these fields are required.

NOTE

The grayed out fields cannot be edited because they are auto-generated.


6. Click Save Changes.


Edit Device

Click the Edit button to the right of the device you want to edit.


Delete Device

1. Click the delete button to the right of the device you want to delete.

2. Click Delete to continue, or Cancel to go back.

The pop-up states that the device will not appear in Admin Settings and your portal after the device is deleted.


Related Articles

  • Admin Settings Overview
  • Change Number of Devices for your Subscription
  • Change Subscription Payment Method in Admin Settings

Was this article helpful?

Yes
No
Give feedback about this article

Related Articles

  • Admin Settings Overview
  • Change Number of Devices for your Subscription
  • Change Subscription Payment Method in Admin Settings
© 2025 DateCodeGenie

899 Montreal Circle, St. Paul, MN 55102

Privacy Policy

contact us
About NCCO

Knowledge Base Software powered by Helpjuice

Expand