Manage Storage Locations in StockSmart
Table of Contents
Add storage locations to StockMart to track where your inventory is being stored.
Storage locations are managed under the Inventory tab.
TIPS & TRICKS
Before adding products, have storage locations entered to easily set the product's default storage locations.
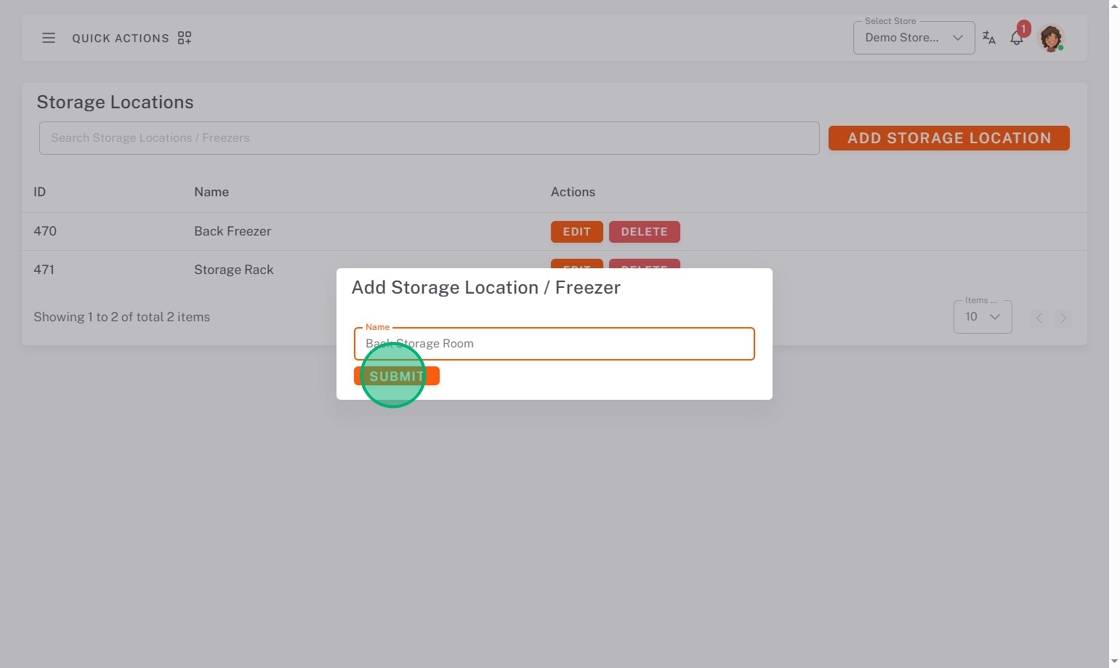
Add a Storage Location
1. Go to https://stocksmart.rightbytes.com/login
2. Choose your store from the Select Store dropdown.
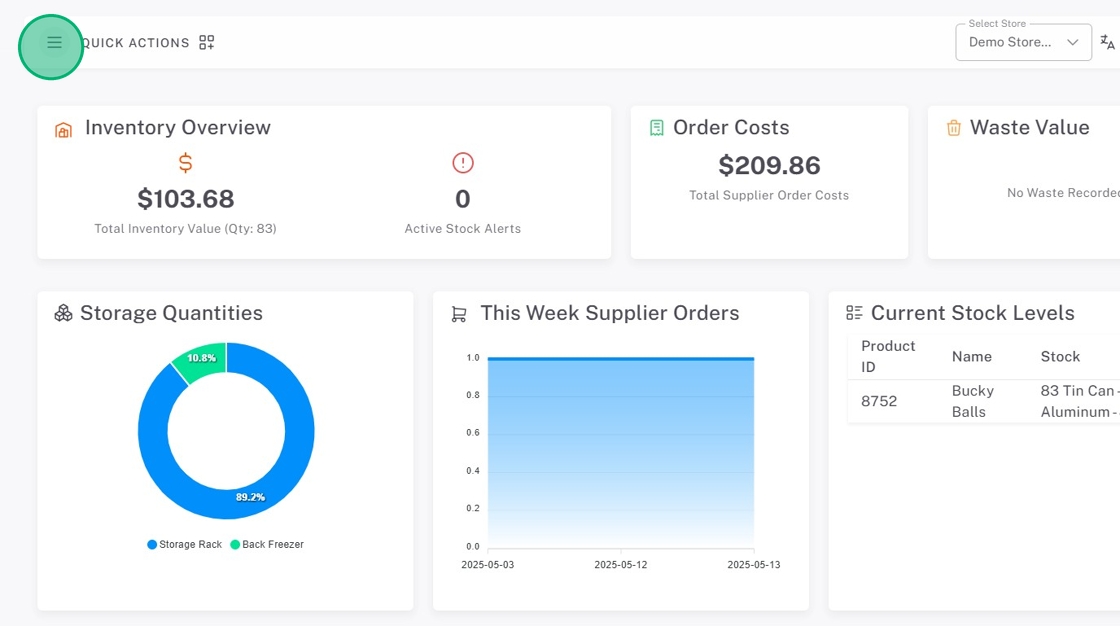
3. Click the menu button (three-line icon).
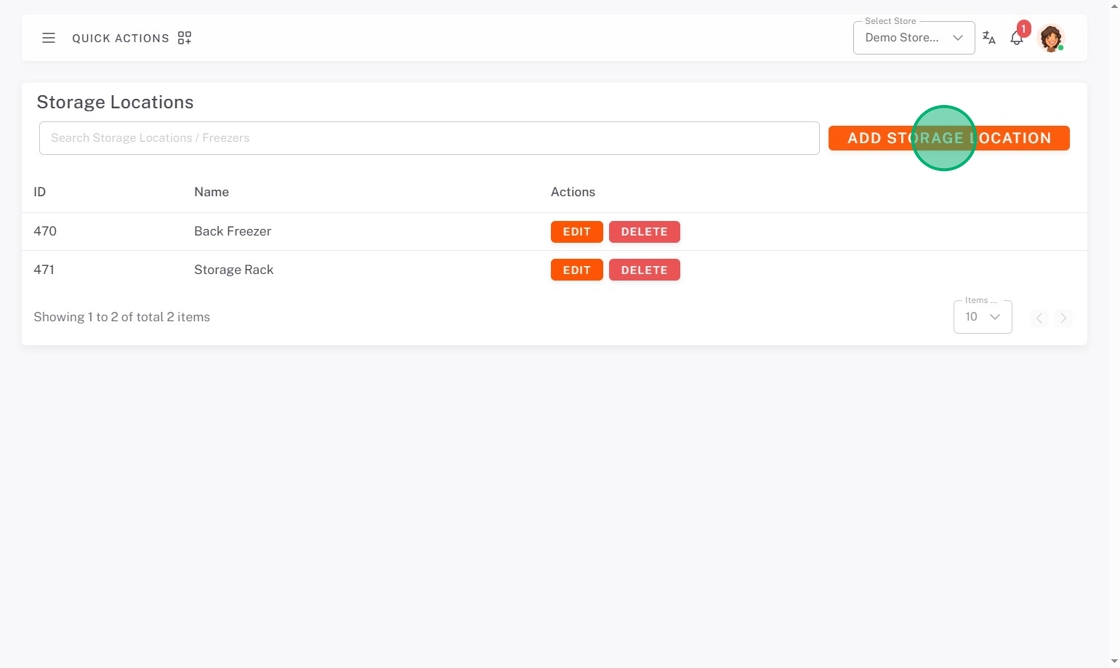
4. Click Inventory, then Storage Locations.

5. Click Add Storage Location.
6. Type the Name.

7. Click Submit.
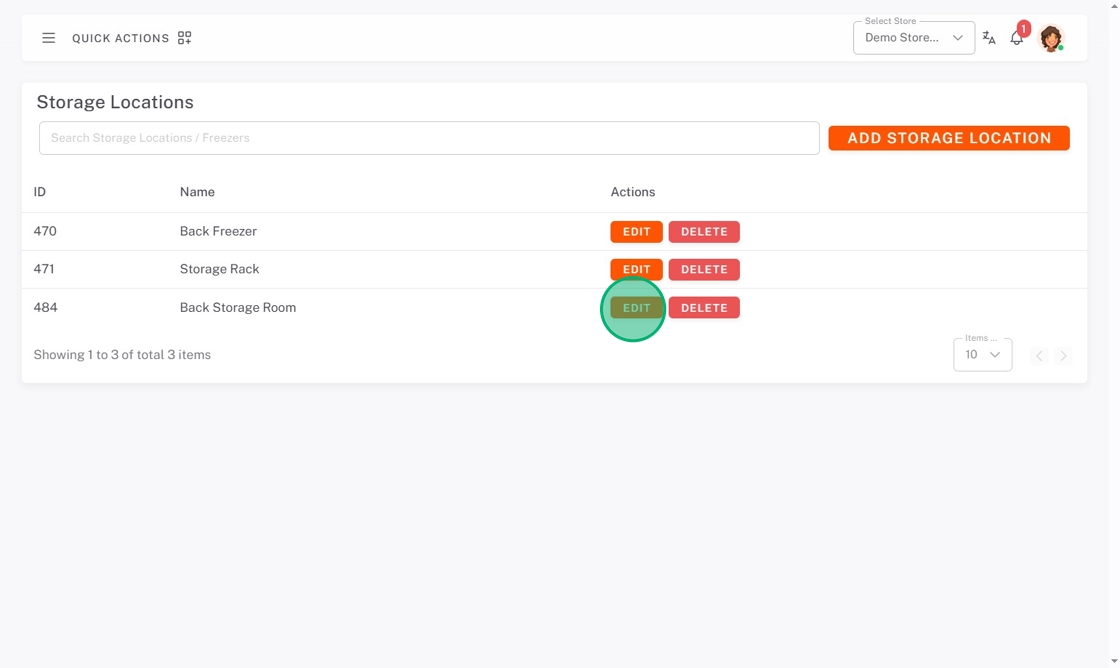
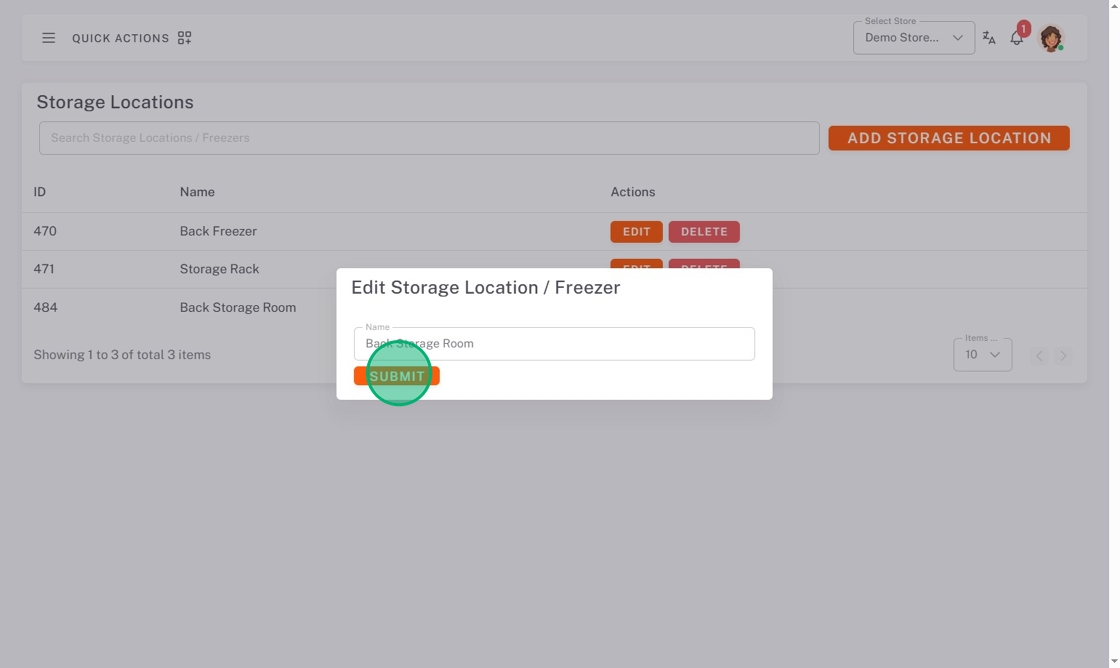
Edit a Storage Location
1. Click Edit next to the storage location.
2. Make edits, then click Submit.
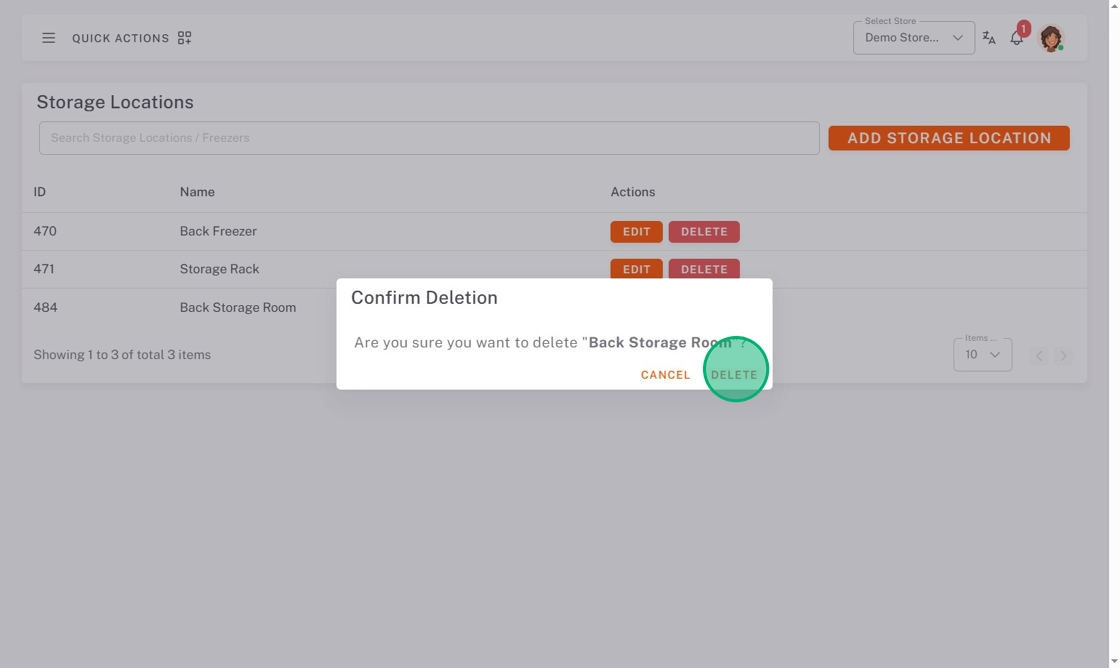
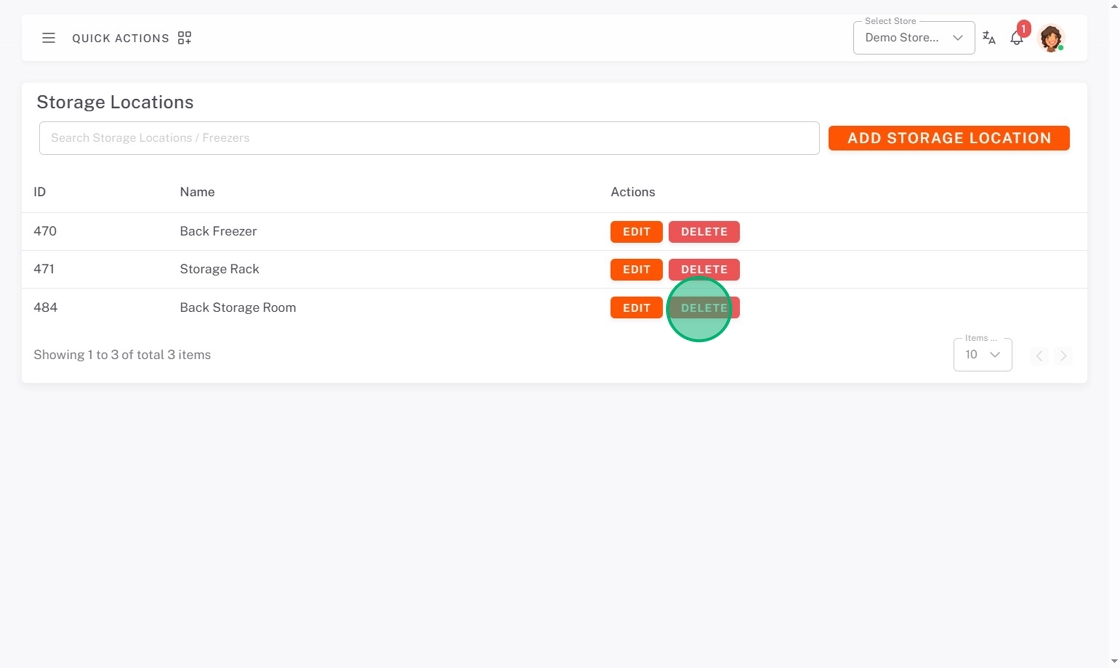
Delete a Storage Location
1. Click Delete next to the storage location.
2. Click Delete on the pop-up.