Understanding the Print Preview Page
The print preview page displays after a menu item is selected on the DateCodeGenie® app to set up printer profile to print.

The print preview page may be different based on permissions, app settings, add-on options, and features on the selected printer profile.
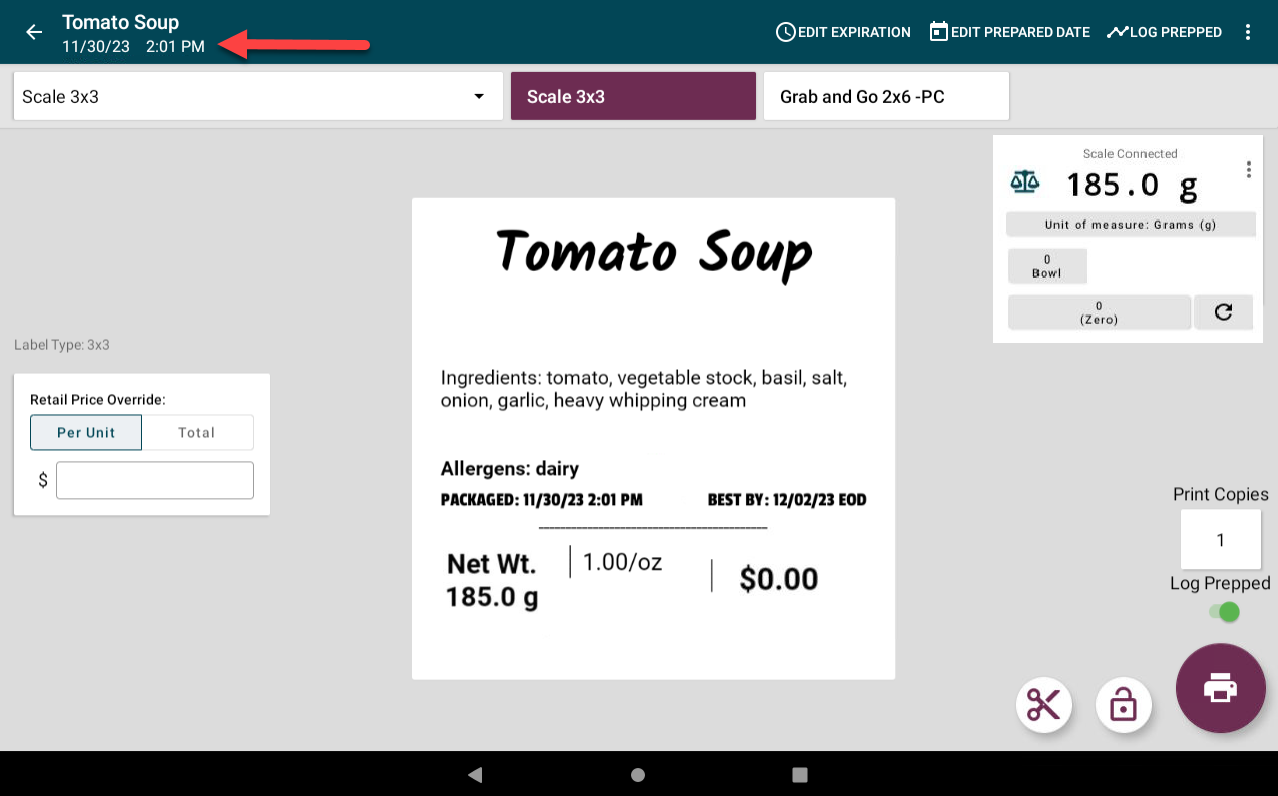
App Notification Bar
Provides information and actions for the menu item selected.
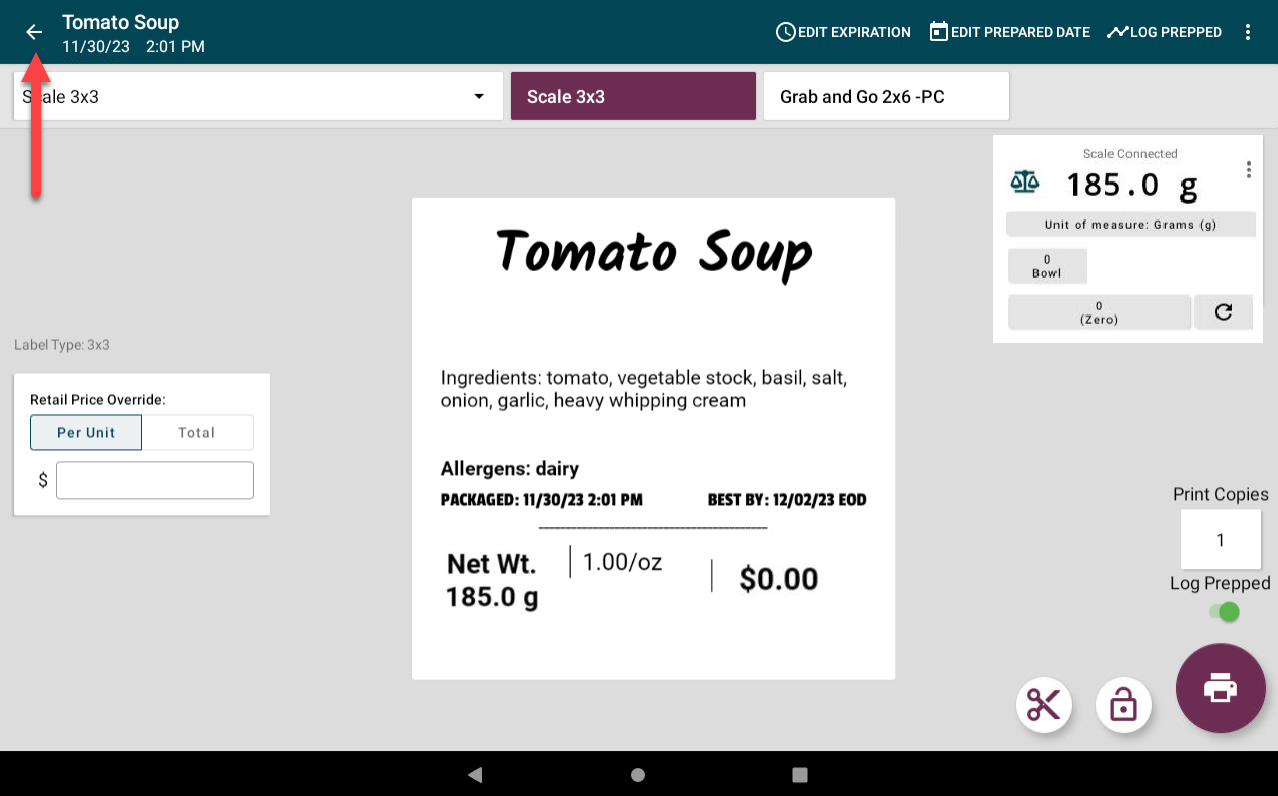
| Back Button (arrow icon): Return to the app dashboard. |
|
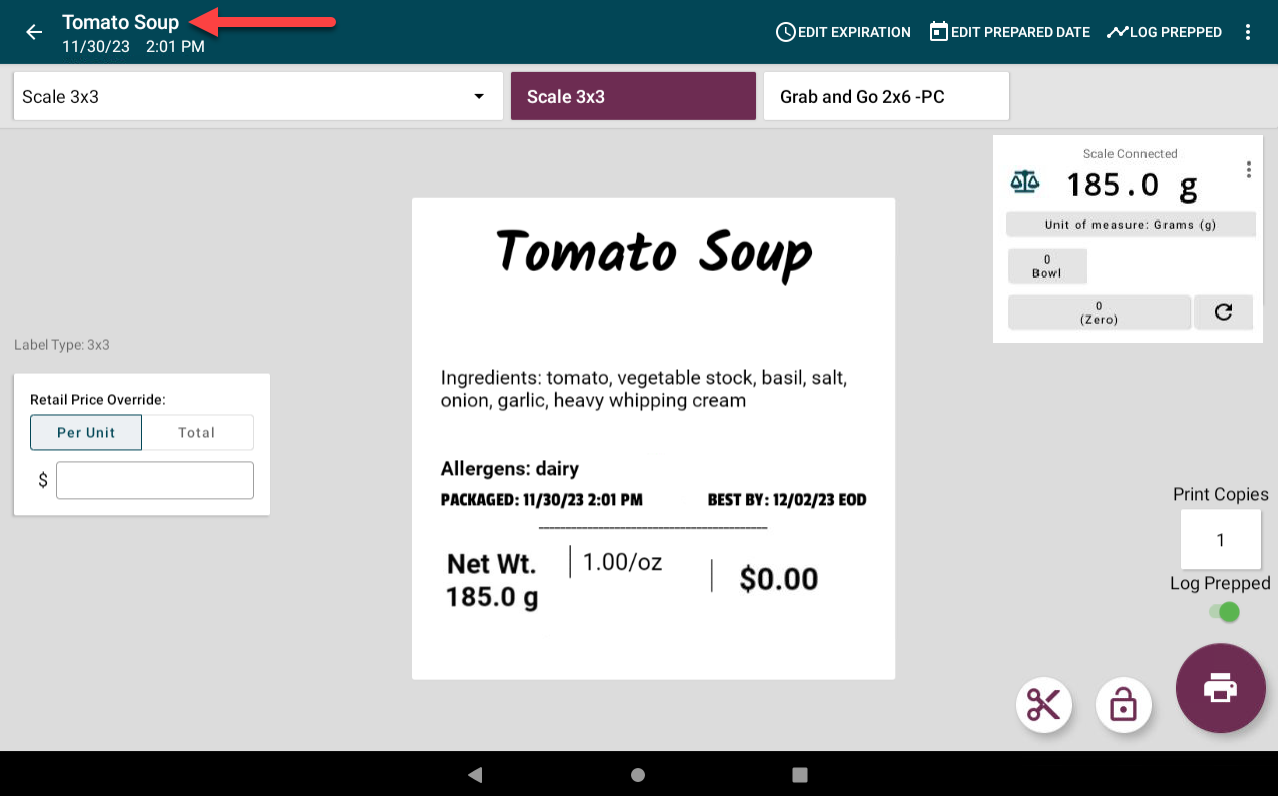
| Menu Item Name: The selected menu item name. |
|
| Date and Time: The current date and time. |
|
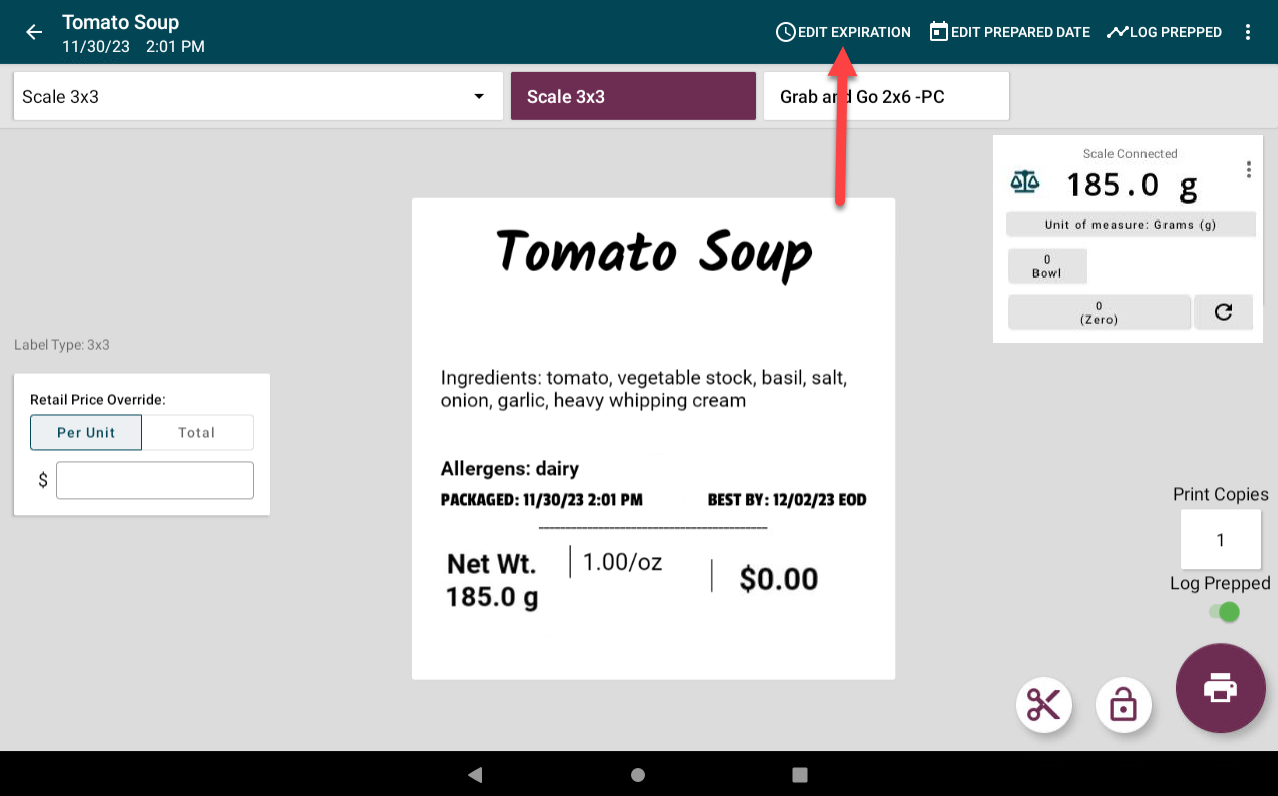
| Edit Expiration: Adjust the expiration date. Allowed to Edit Expiration Date and Time Permission must be turned on. |
|
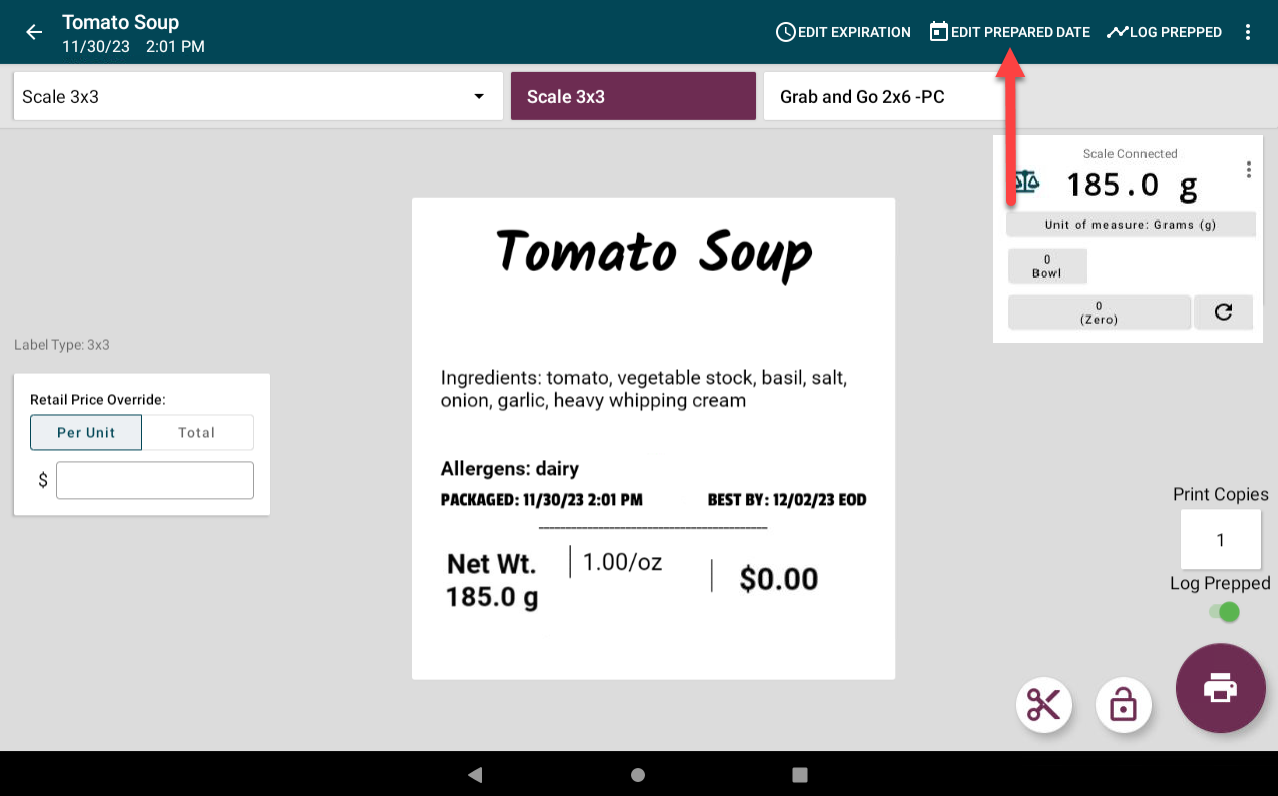
| Edit Prepared Date: Modify the prepared date. Allowed to Edit Prepared Date and Time Permission must be turned on. |
|
| Log Prepped: Track the quantity of menu items prepped without printing a label. Requires Product Control Tracking add-on. |
|
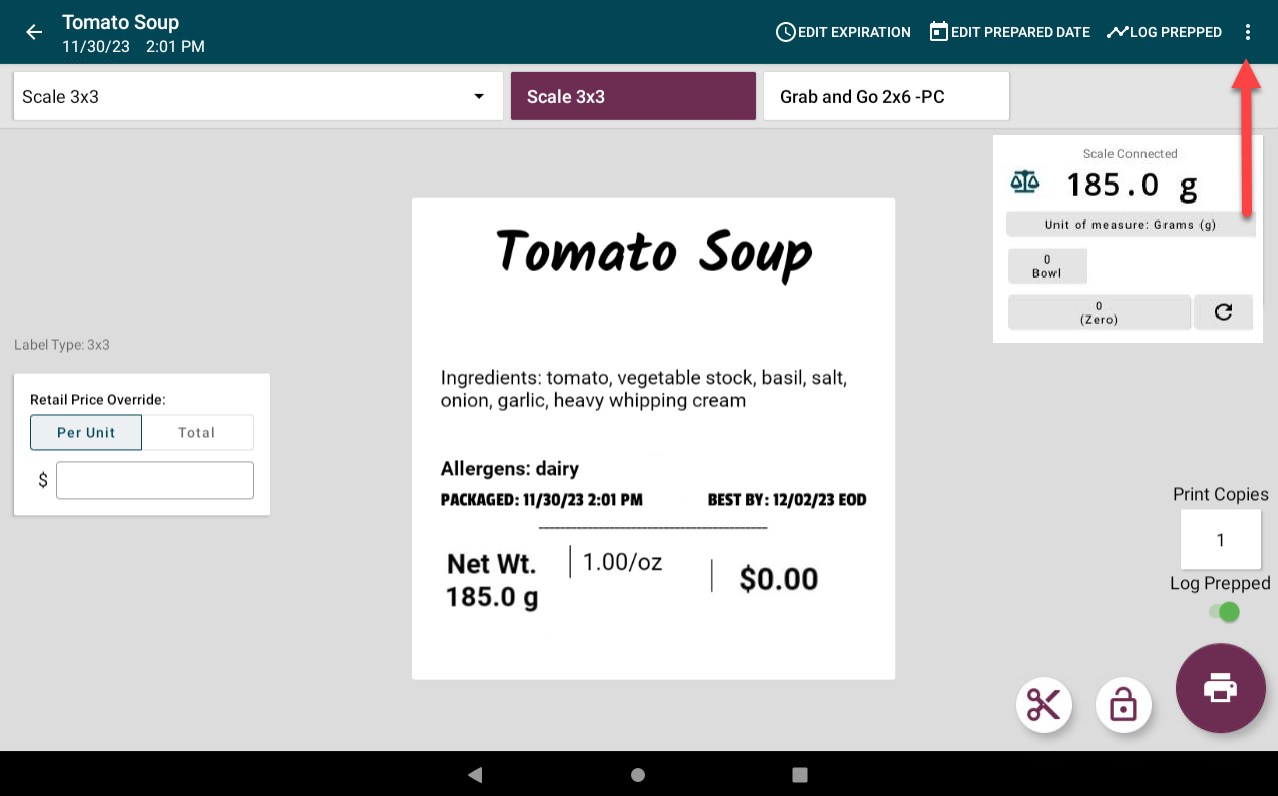
| Menu Item Options (3 dots icon): Additional options for the menu item, including update pricing and media files assigned. |
|

Action Bar
Displays printer profile options.
Allowed to select different printer profile, overriding default printer profile permission must be turned on for the action bar to appear.
| Printer Profiles Dropdown: Select printer profile to print from the list. |
|
| Hot Buttons: Shortcut to selecting a printer profile. Allowed to select hot buttons, overriding default printer profile permission must be turned on for hot buttons to appear. |
|
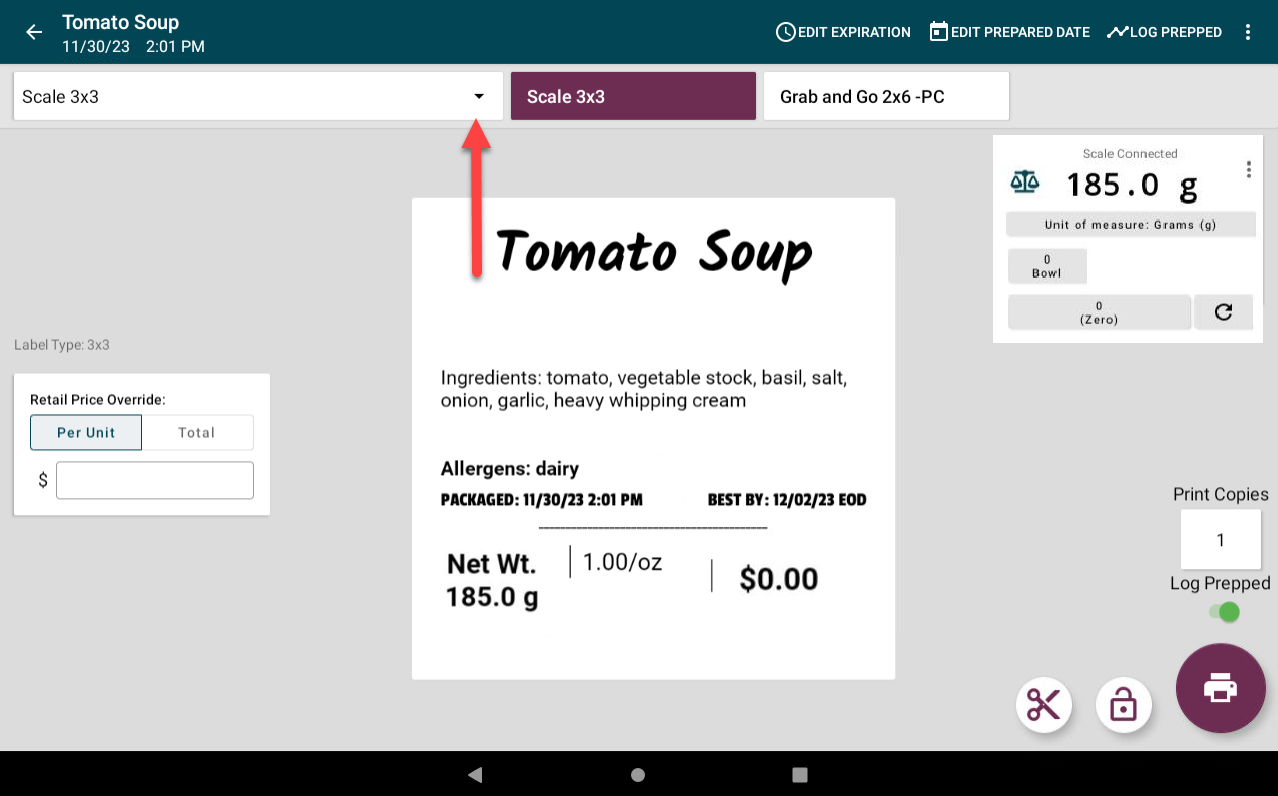

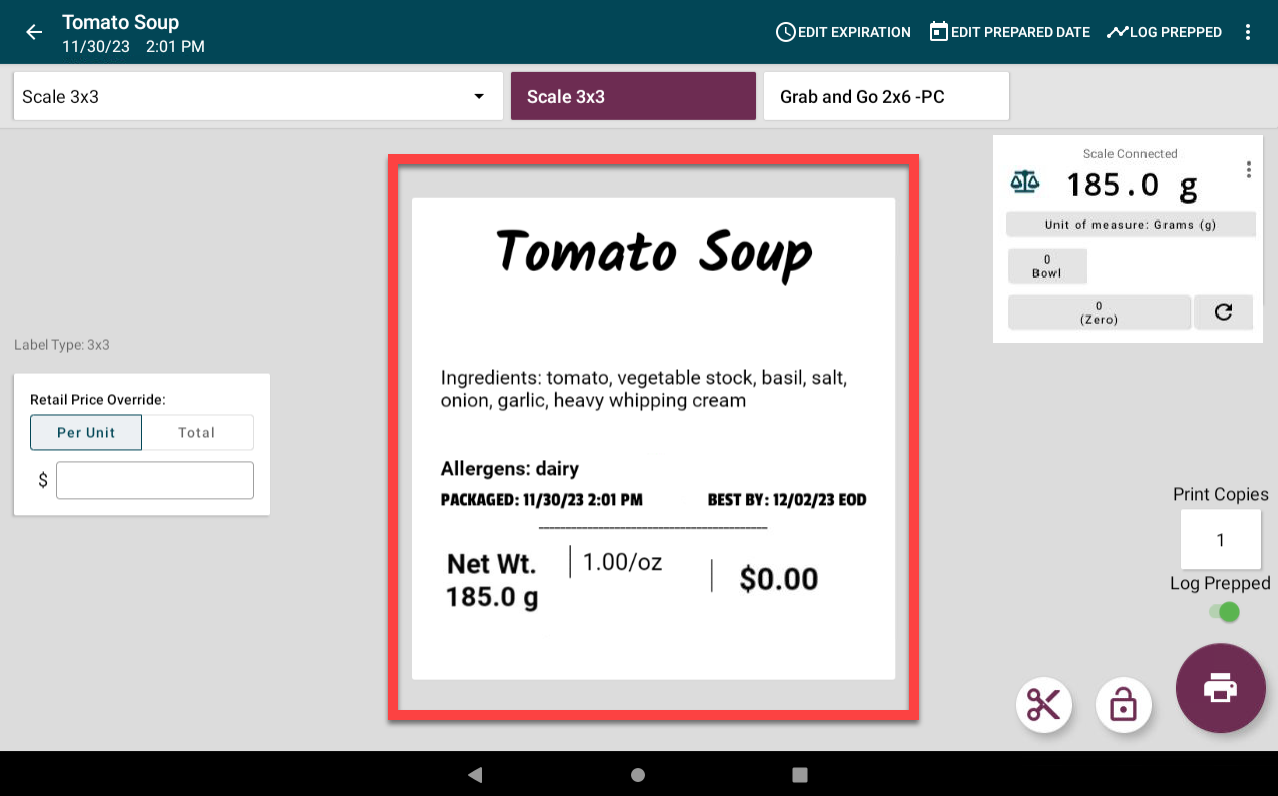
Main Body
Includes the label preview, available features to edit, accessory detail boxes, and buttons for printing.
| Label Preview: Preview of what will print on the label. |
|
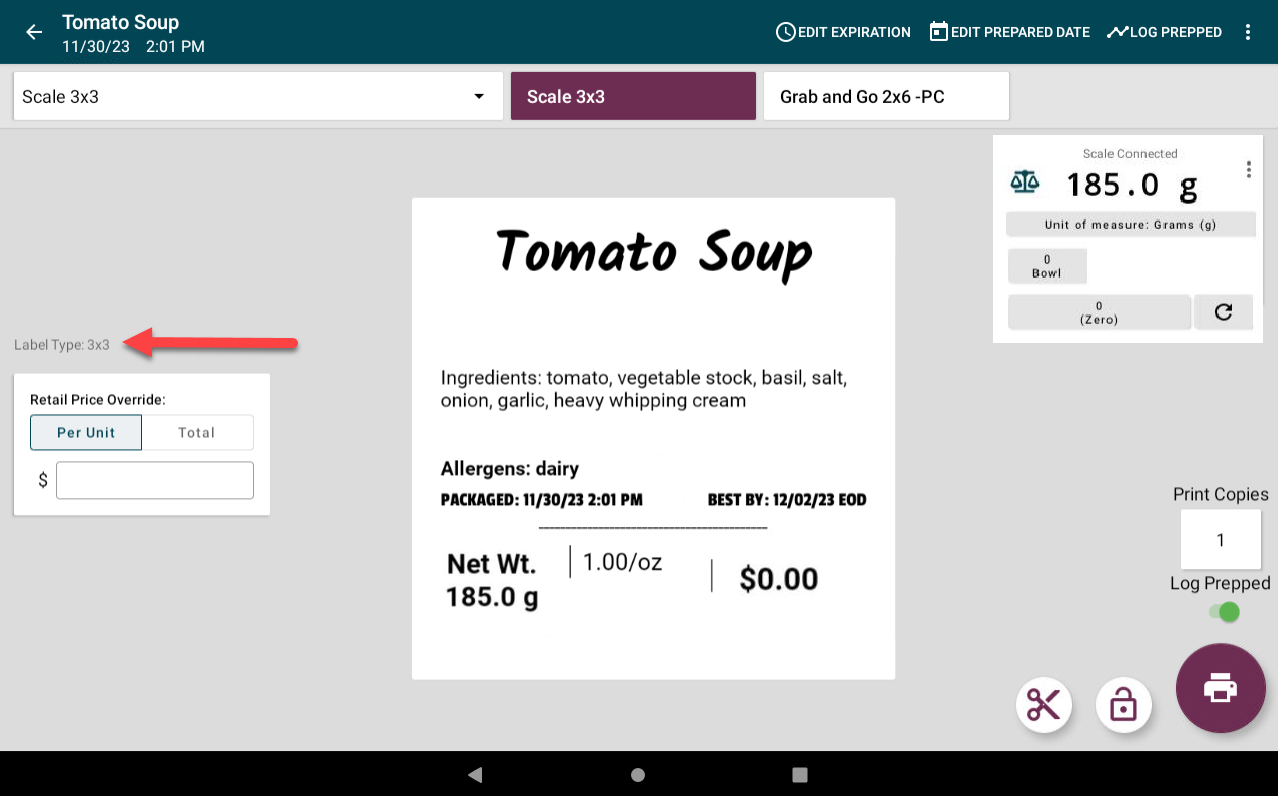
| Label Type: Label size of printer profile selected. |
|
|
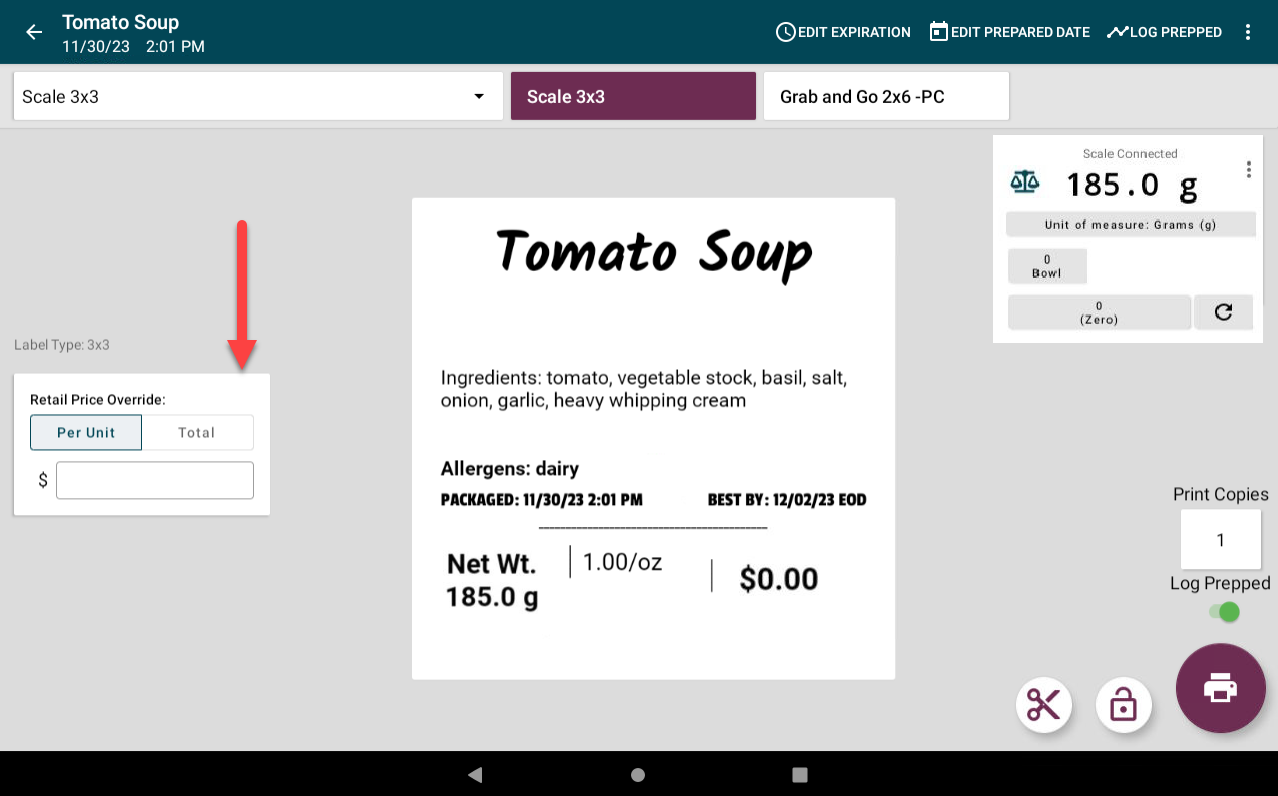
Retail Price Override Box: Override set price while using the scale. Allow Price Adjustment Permission must be turned on, and selected printer profile must have a scale feature added for this to appear. |
|
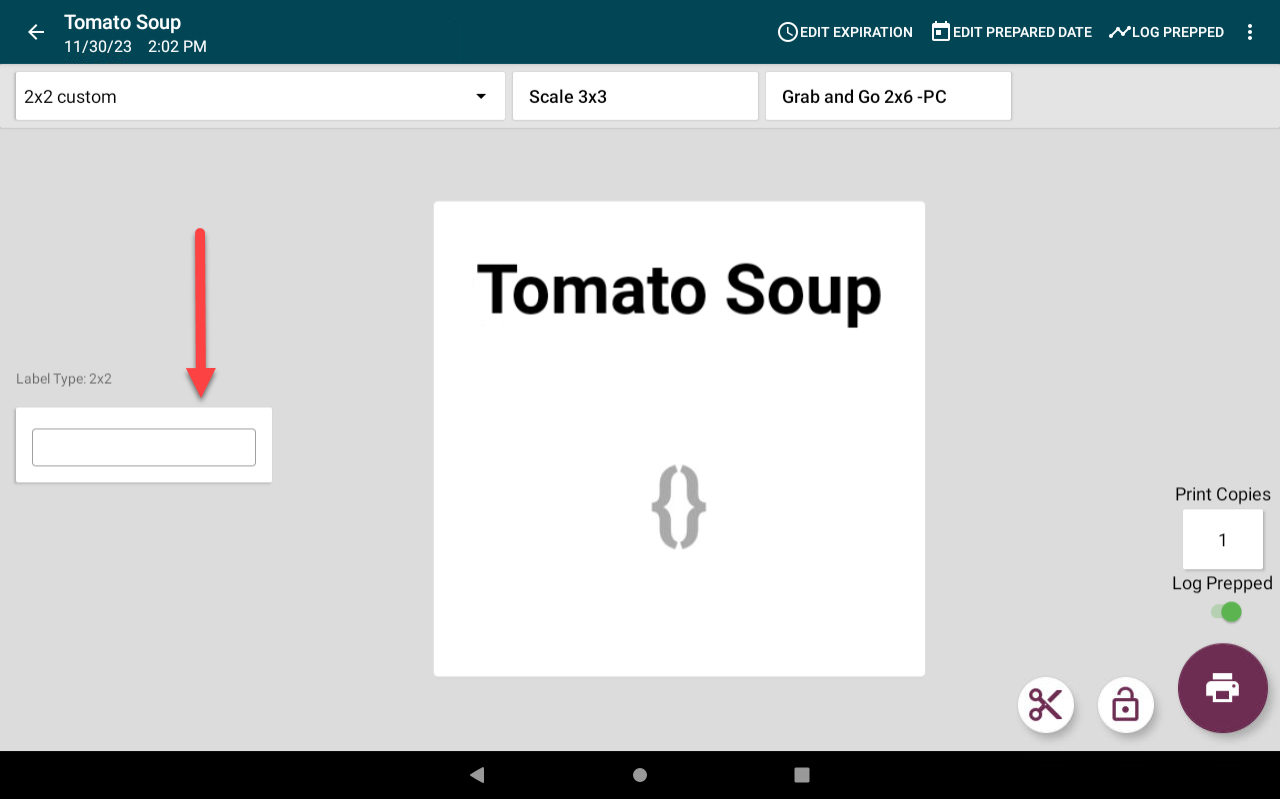
| Custom Dynamic Field: Add text to the custom dynamic field on the label. Printer profile must have the custom dynamic field feature added for this to appear. |
|
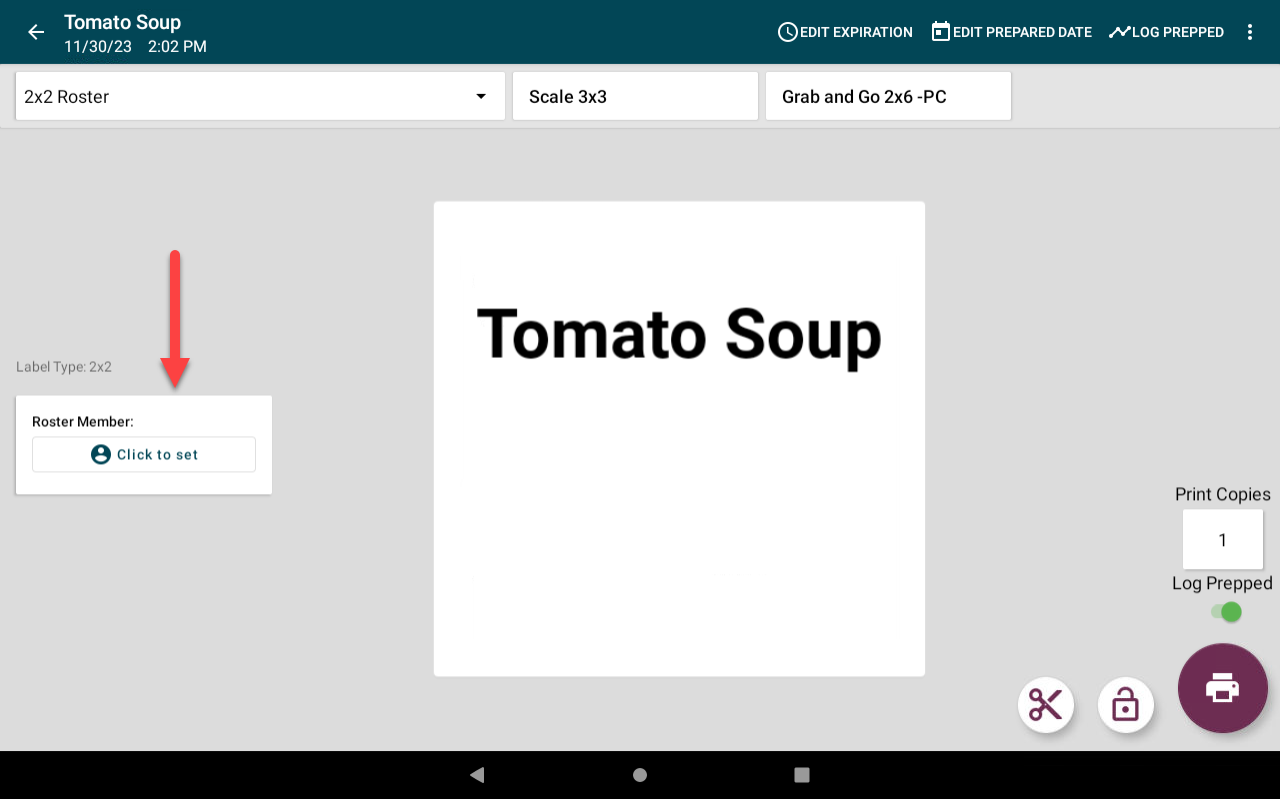
| Roster Member Box: Select roster member to print on the label. Rosters add-on needed, and the printer profile must have roster features added for this to appear. |
|
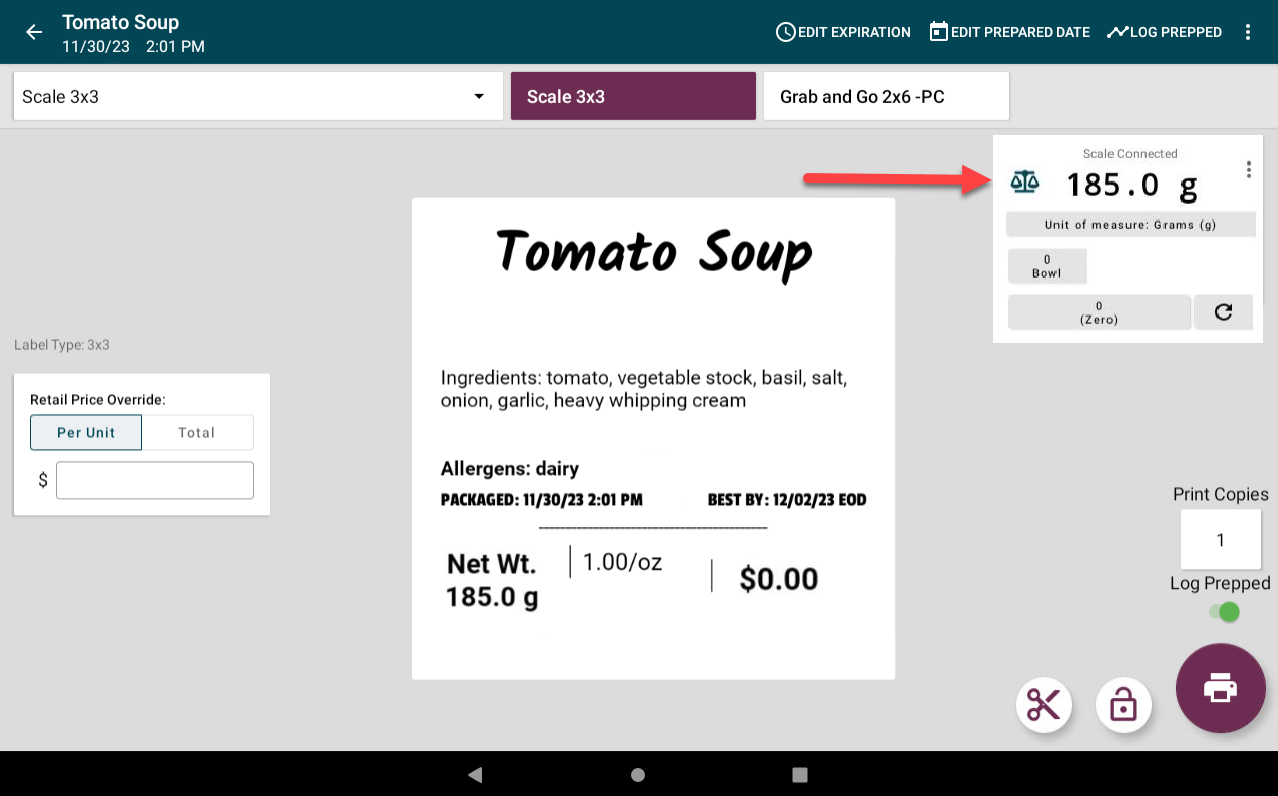
| Scale Detail Box: Shows scale weight and edit scale detail. Printer profile must have scale feature added for this to appear. |
|
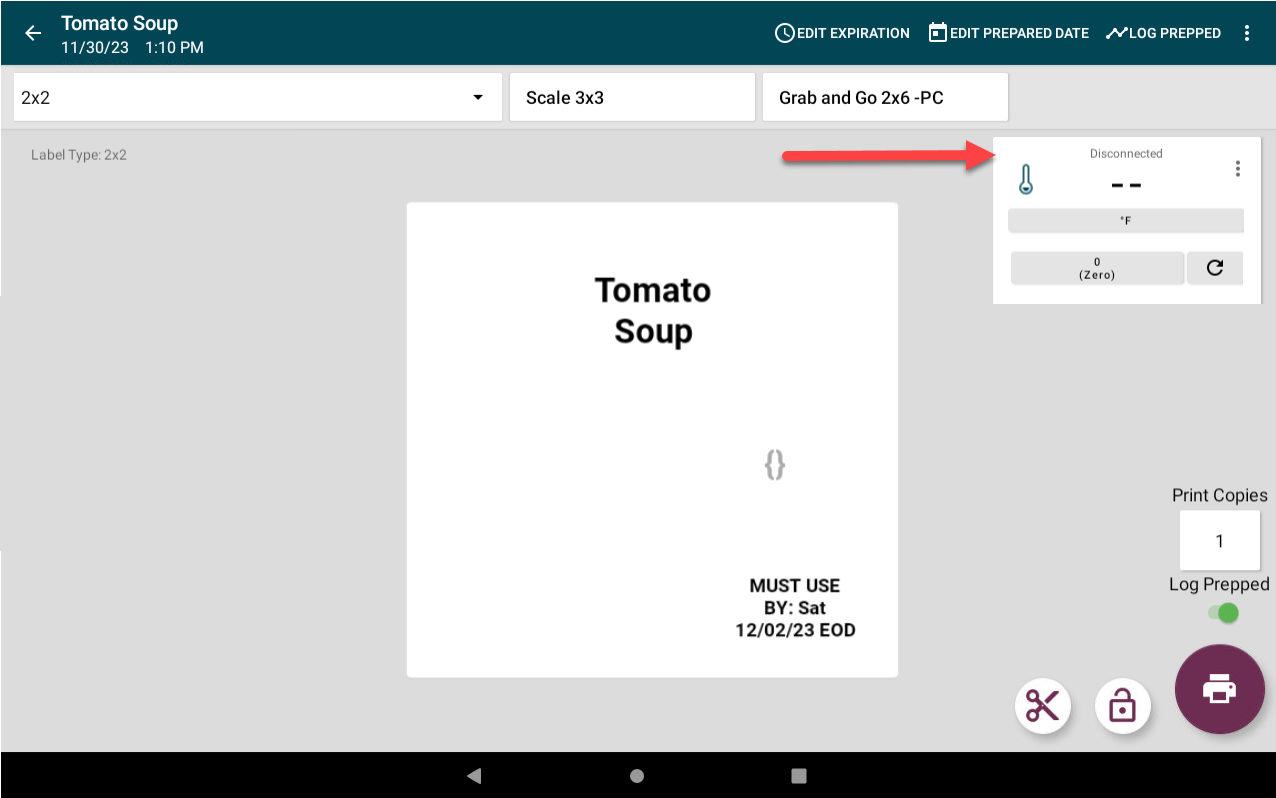
| Temperature Probe Detail Box: Shows temperature measured by temperature probe. Printer profile must have temperature feature for this to appear. |
|
| Cut Button (Scissors Icon): Turn on cutting after printing. Appears when Enable Cut app setting is turned off. |
|
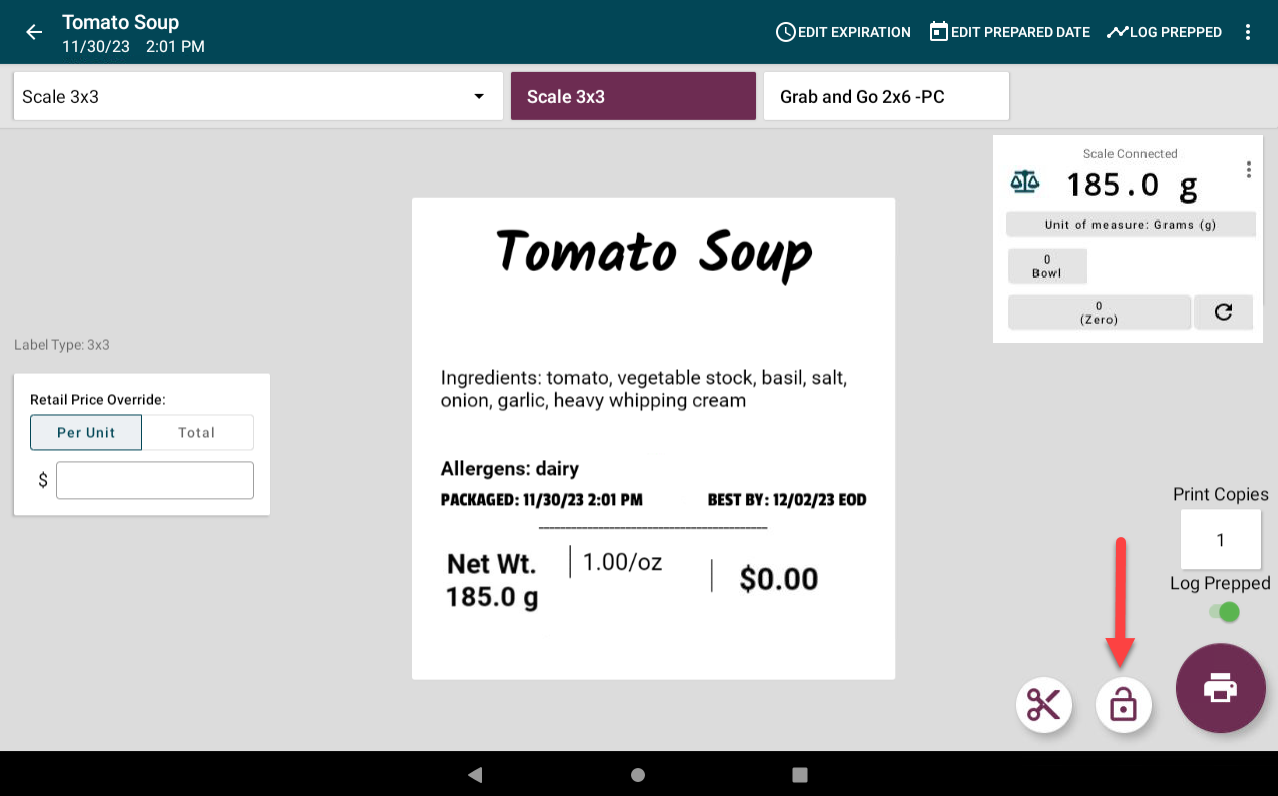
| Hold Button (Lock Icon): Print a label each time new item is placed on the scale. Appears when Enable Auto-Print setting is turned on. |
|
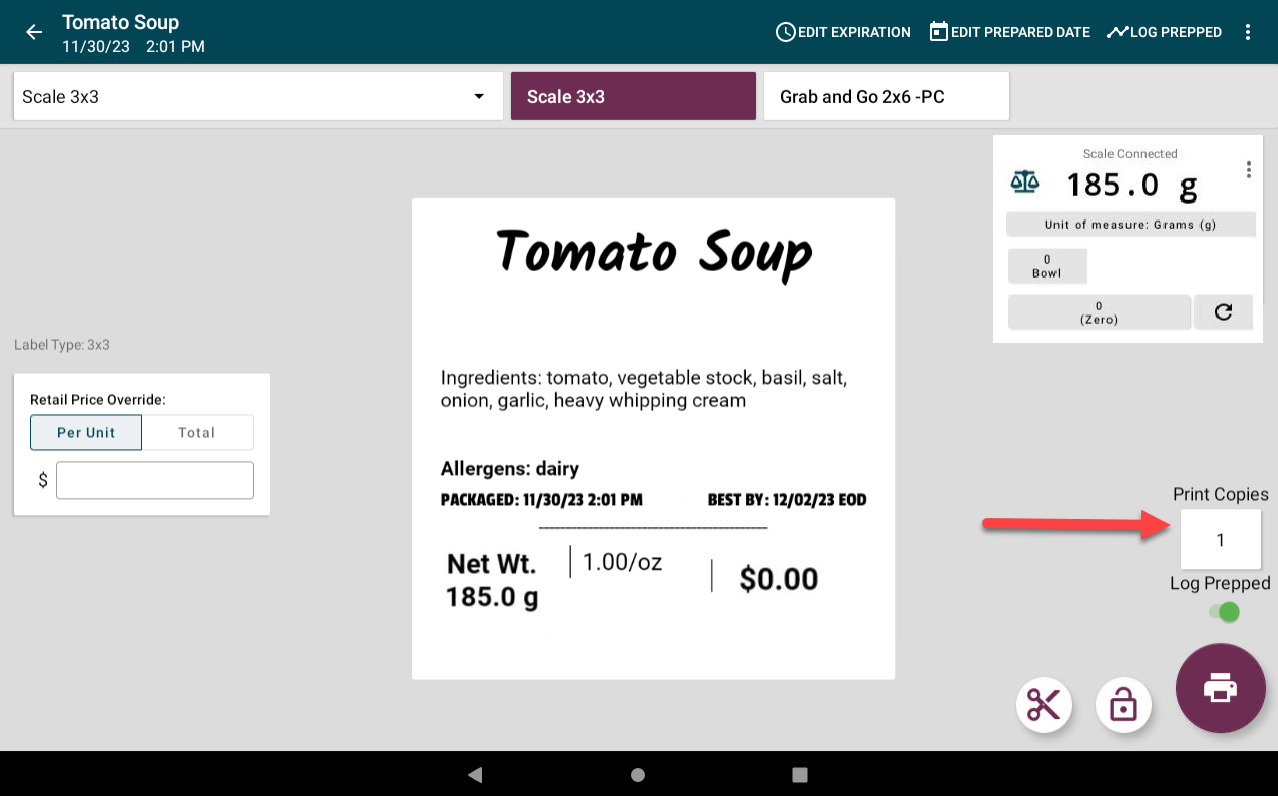
| Print Copy Box: Change number of labels to print. |
|
| Log Prepped Toggle: Turn on prep quantity tracking. Product Control Tracking add-on needed, and auto set 1/1 ratio must be checked in the portal for that menu item for this to appear. |
|
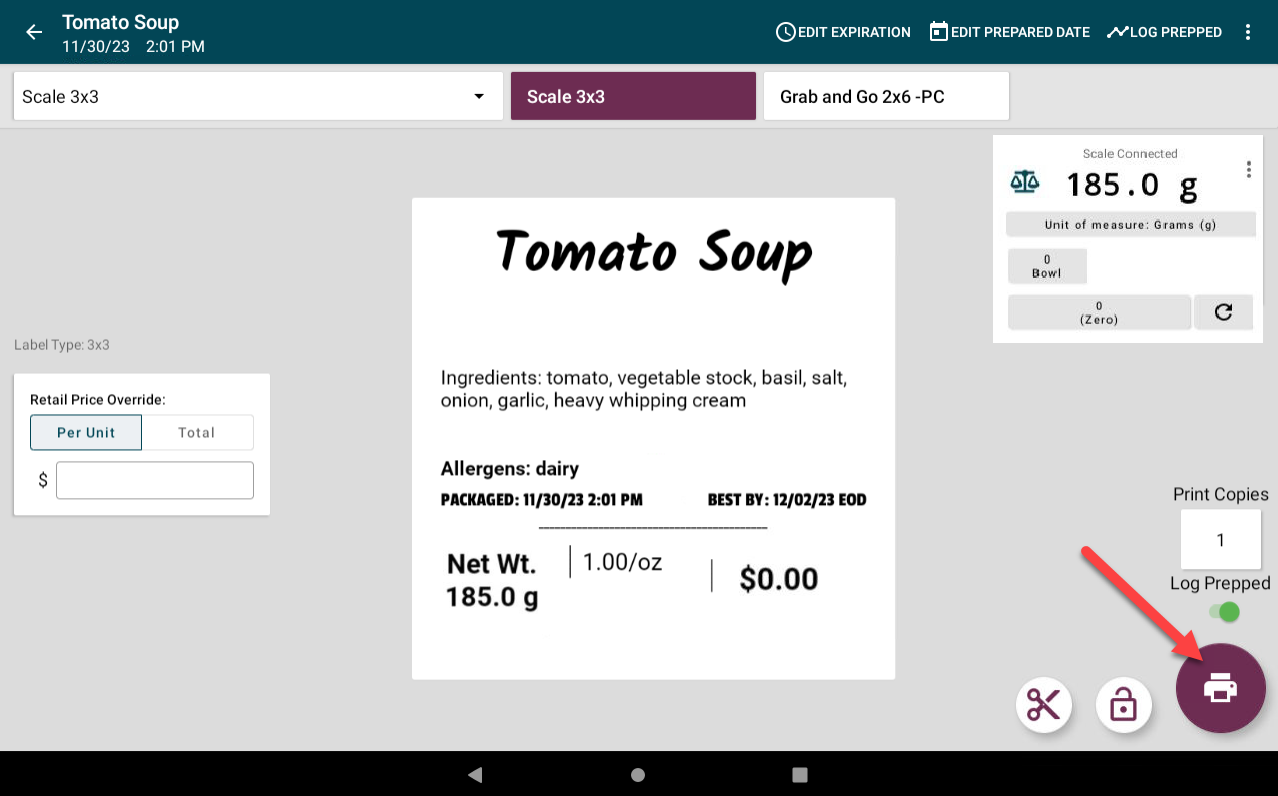
| Print Button (Printer Icon): Print label. |
|