
Change Label Types for the mC-Label3 printer
Table of Contents
Change label types for the mC-Label3 printer through the settings on the DateCodeGenie® mobile app.
First, select the printer type.
Select the printer type as Star MCL
1. Log in with your username and password, if required.

2. Tap the navigation button (three line icon).

3. Scroll and tap Settings.

4. Scroll to the Printer section, and tap Printer Type dropdown arrow to tap Star MCL.


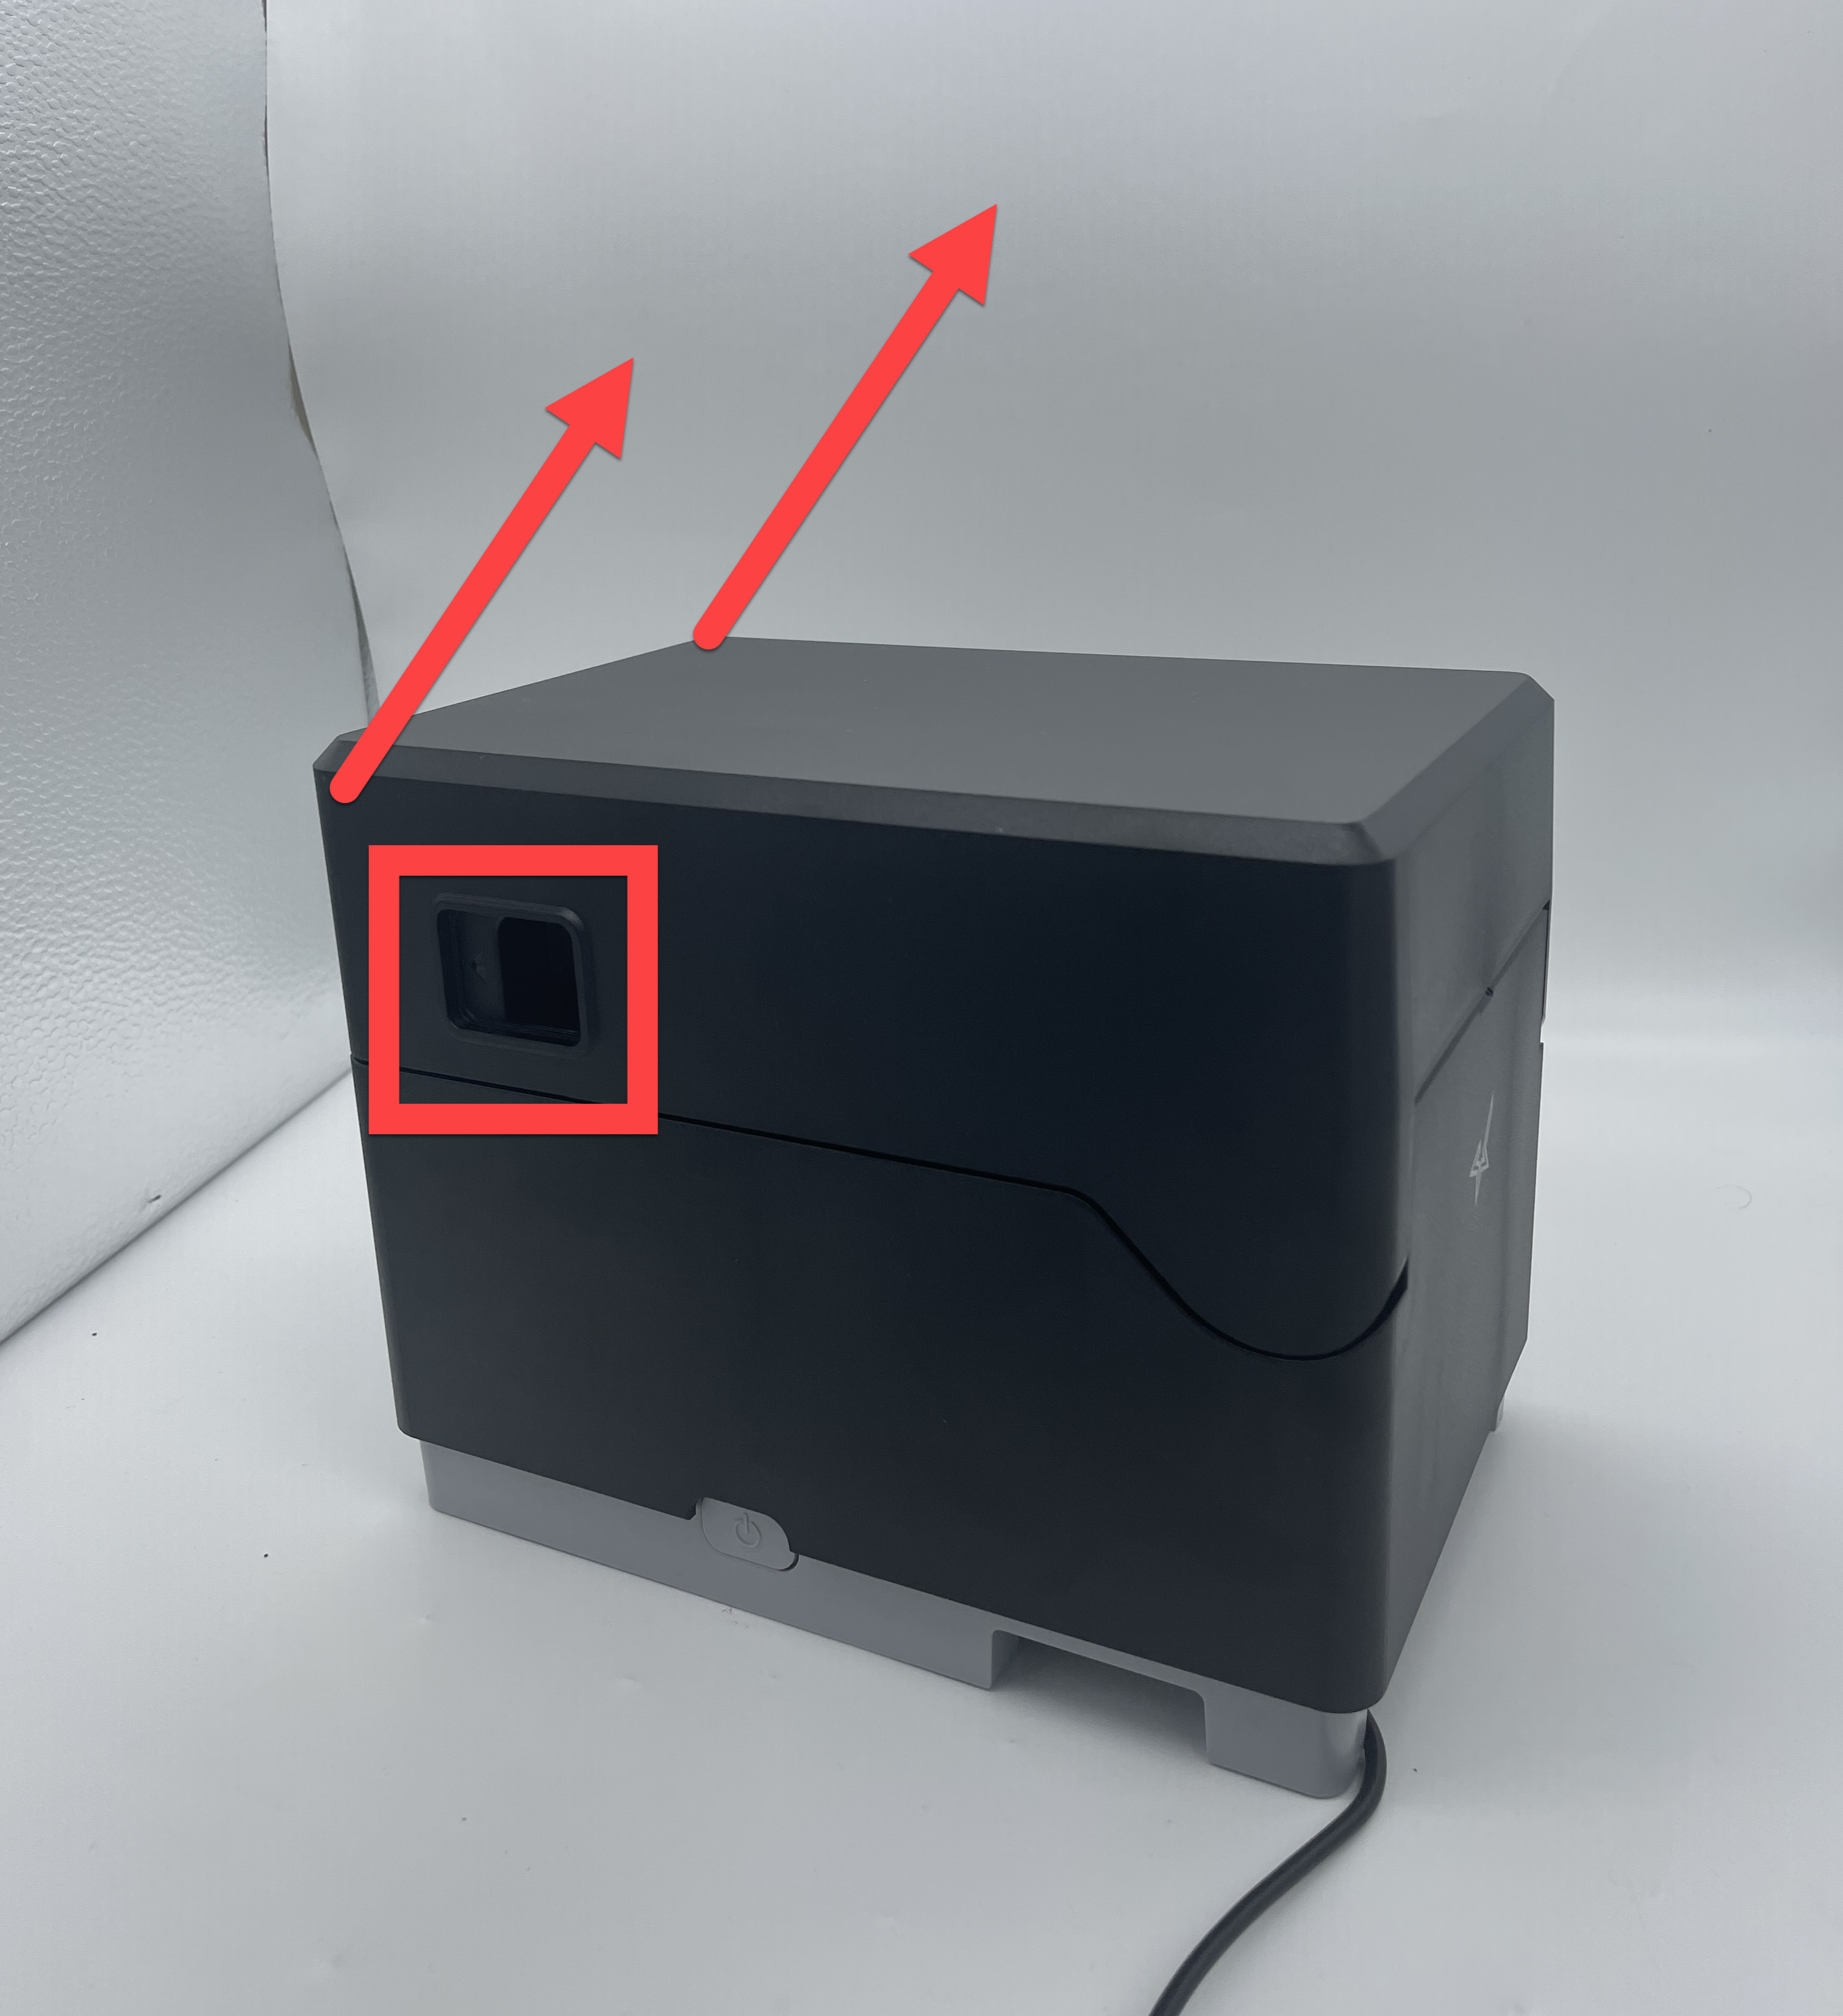
5. Turn on the printer by pressing the printer power button on the side of printer.

6. The power LED flashes blue during startup and will display a steady blue light when ready to print.

There are two label type options:
Change label type to linerless
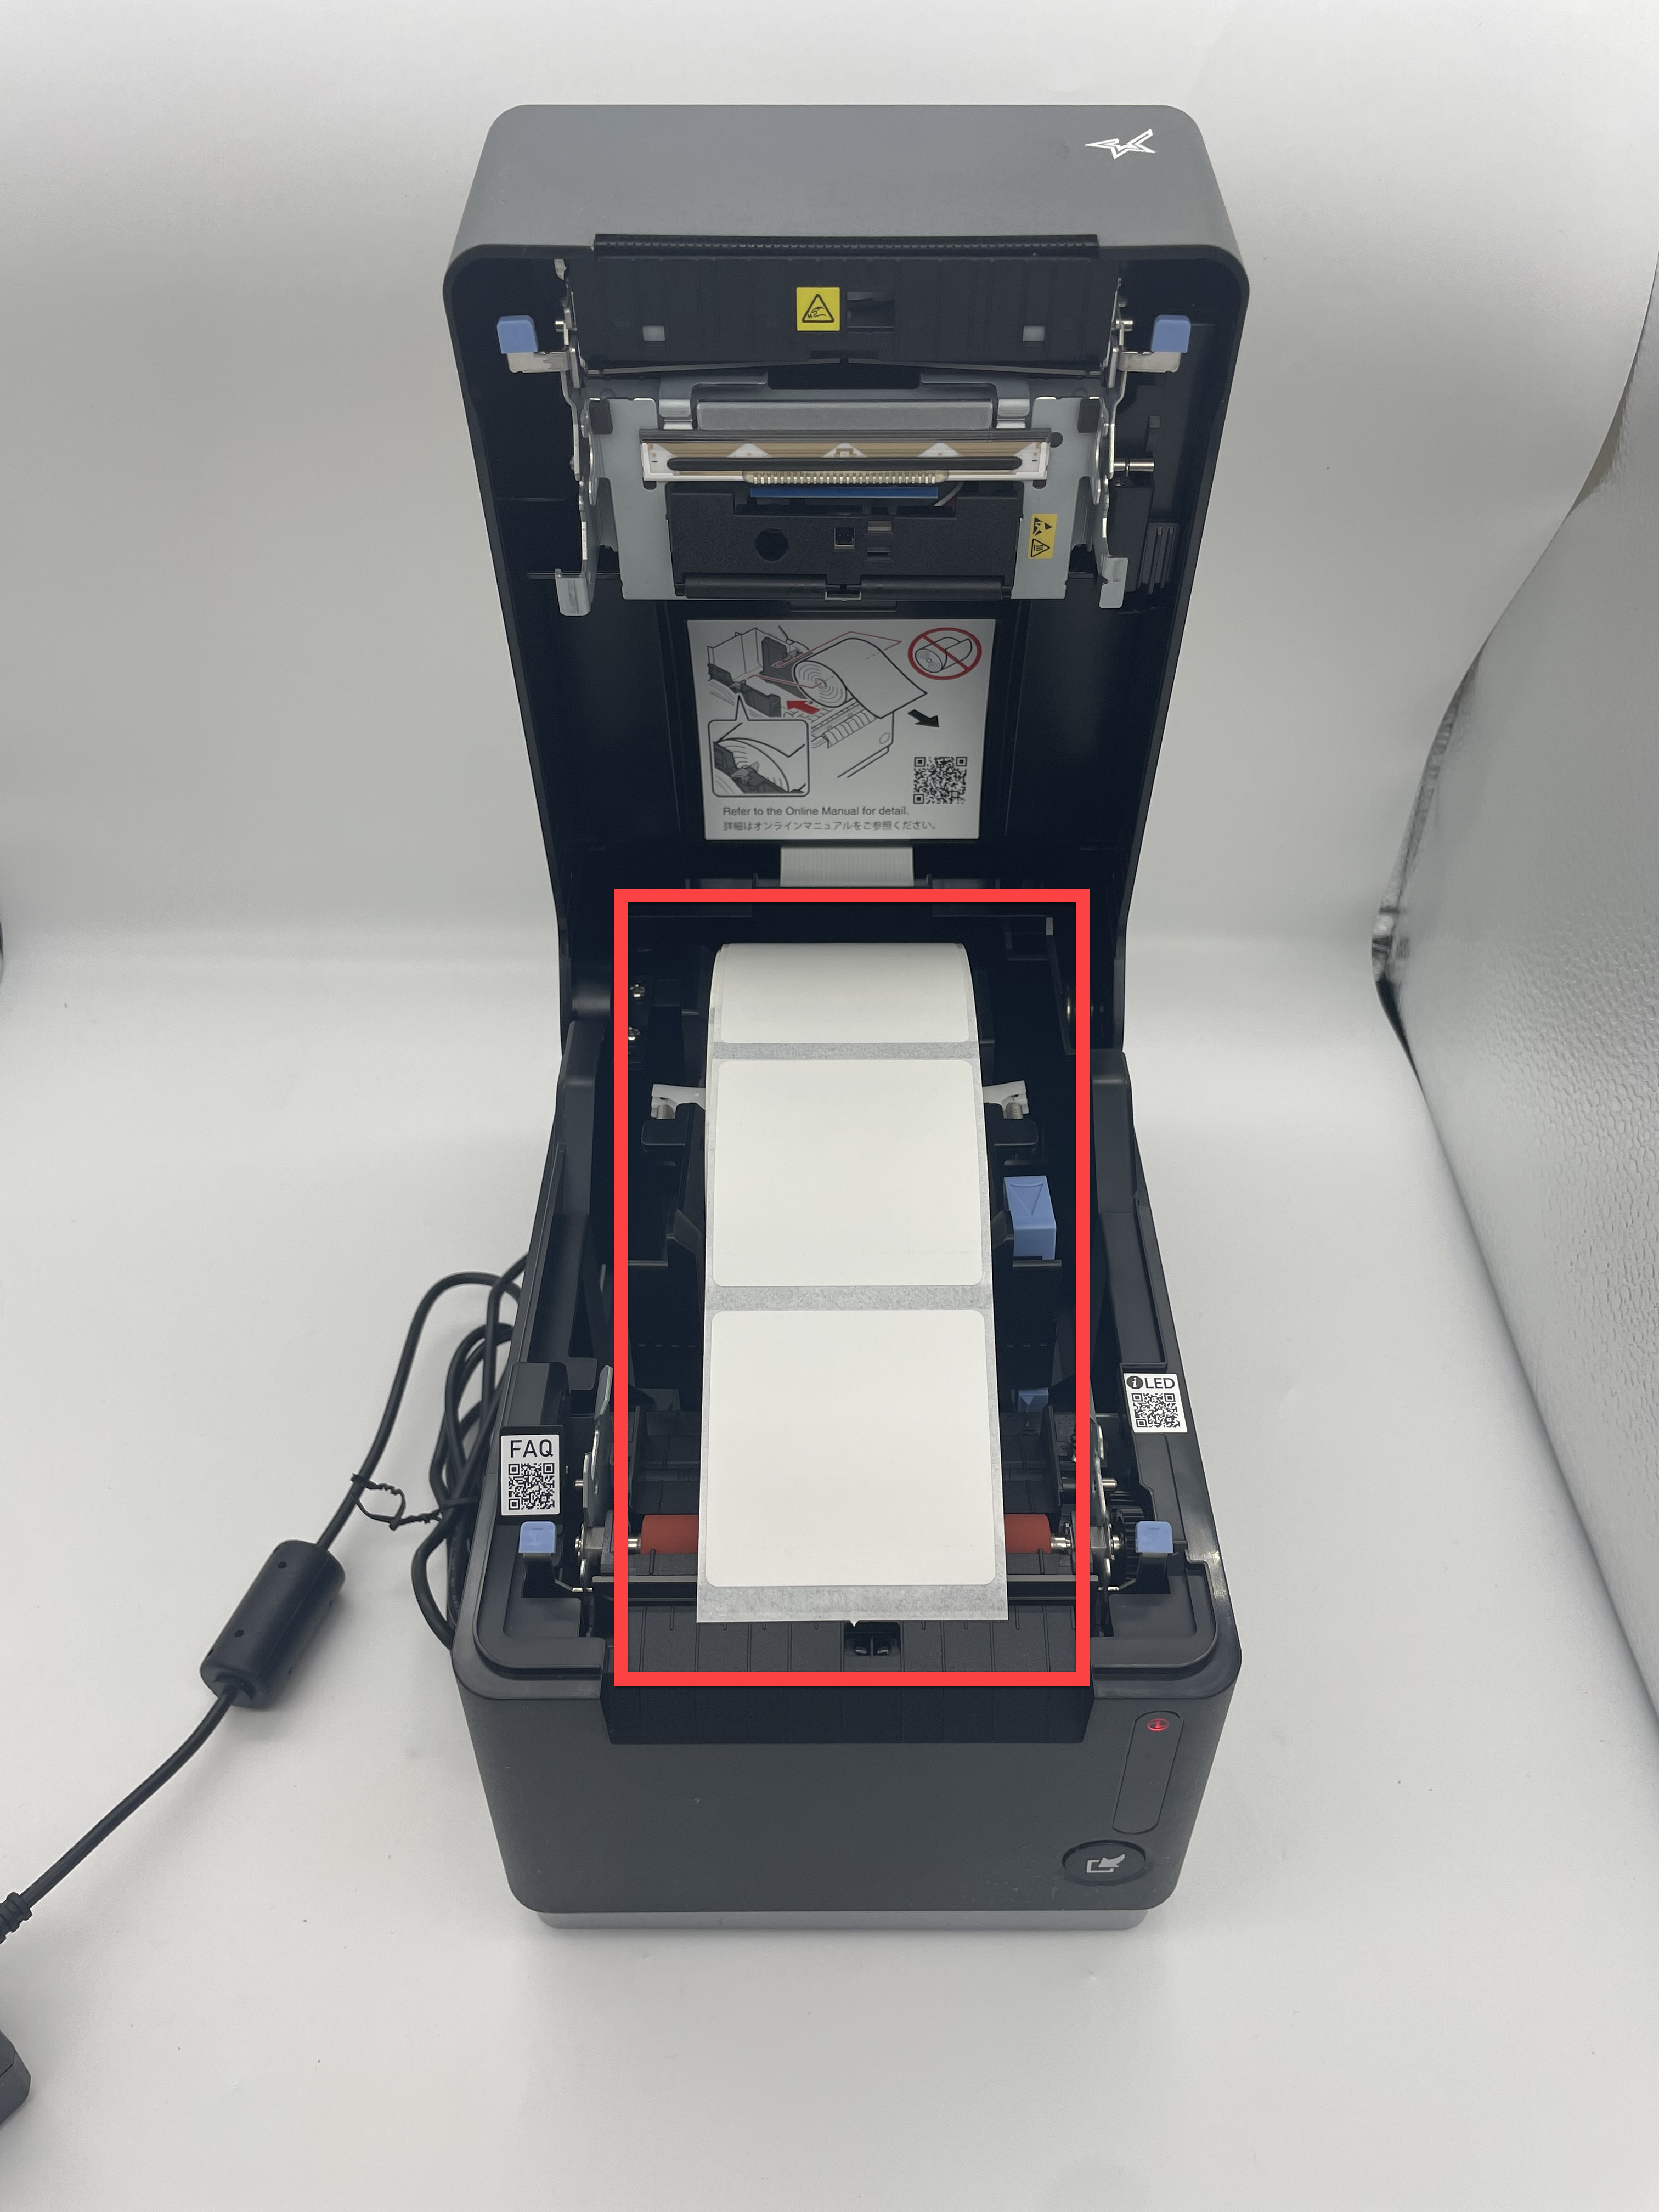
1. Open printer cover and load black line labels. See Load Labels in the mC-Label3 Printer
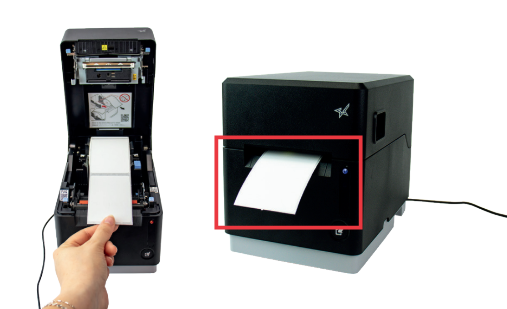
2. Extend black line labels over the edge of printer and close printer lid.
3. Press the feed button.

4. Go to Settings in the app.
5. Tap SET Continuous Feed.

6. The Power status LED will blink rapidly and a popup in the app will appear "Success Continuous Feed Set" and tap OK.

7. Remove the black line label roll and load linerless label roll into the printer.

8. Extend linerless labels over the edge of printer and close printer lid.
 |
 |
9. Press the feed button.
NOTE
The length that feeds through the printer should be a small amount and the printer should cut the label.
Change label type to black line
1. Open the printer cover.
2. Remove the linerless label roll and replace with a black line label roll.
3. Extend black line labels over the edge of printer and close printer lid.
4. Go the Settings in the app.
5. Tap Set Blackmark Detection.

6. The power status LED will blink rapidly and a popup in the app will appear “Success Black Mark Set”. Tap OK.

7. Press the feed button.
NOTE
The printer will feed a length of label and cut it in the middle of the black line.
