DateCodeGenie® Lite Overview
The Lite model device includes a 10″ touch screen tablet with a silicone case and a single, stand-alone printer.
To see all articles and learn more about the Lite device, see Lite Model.
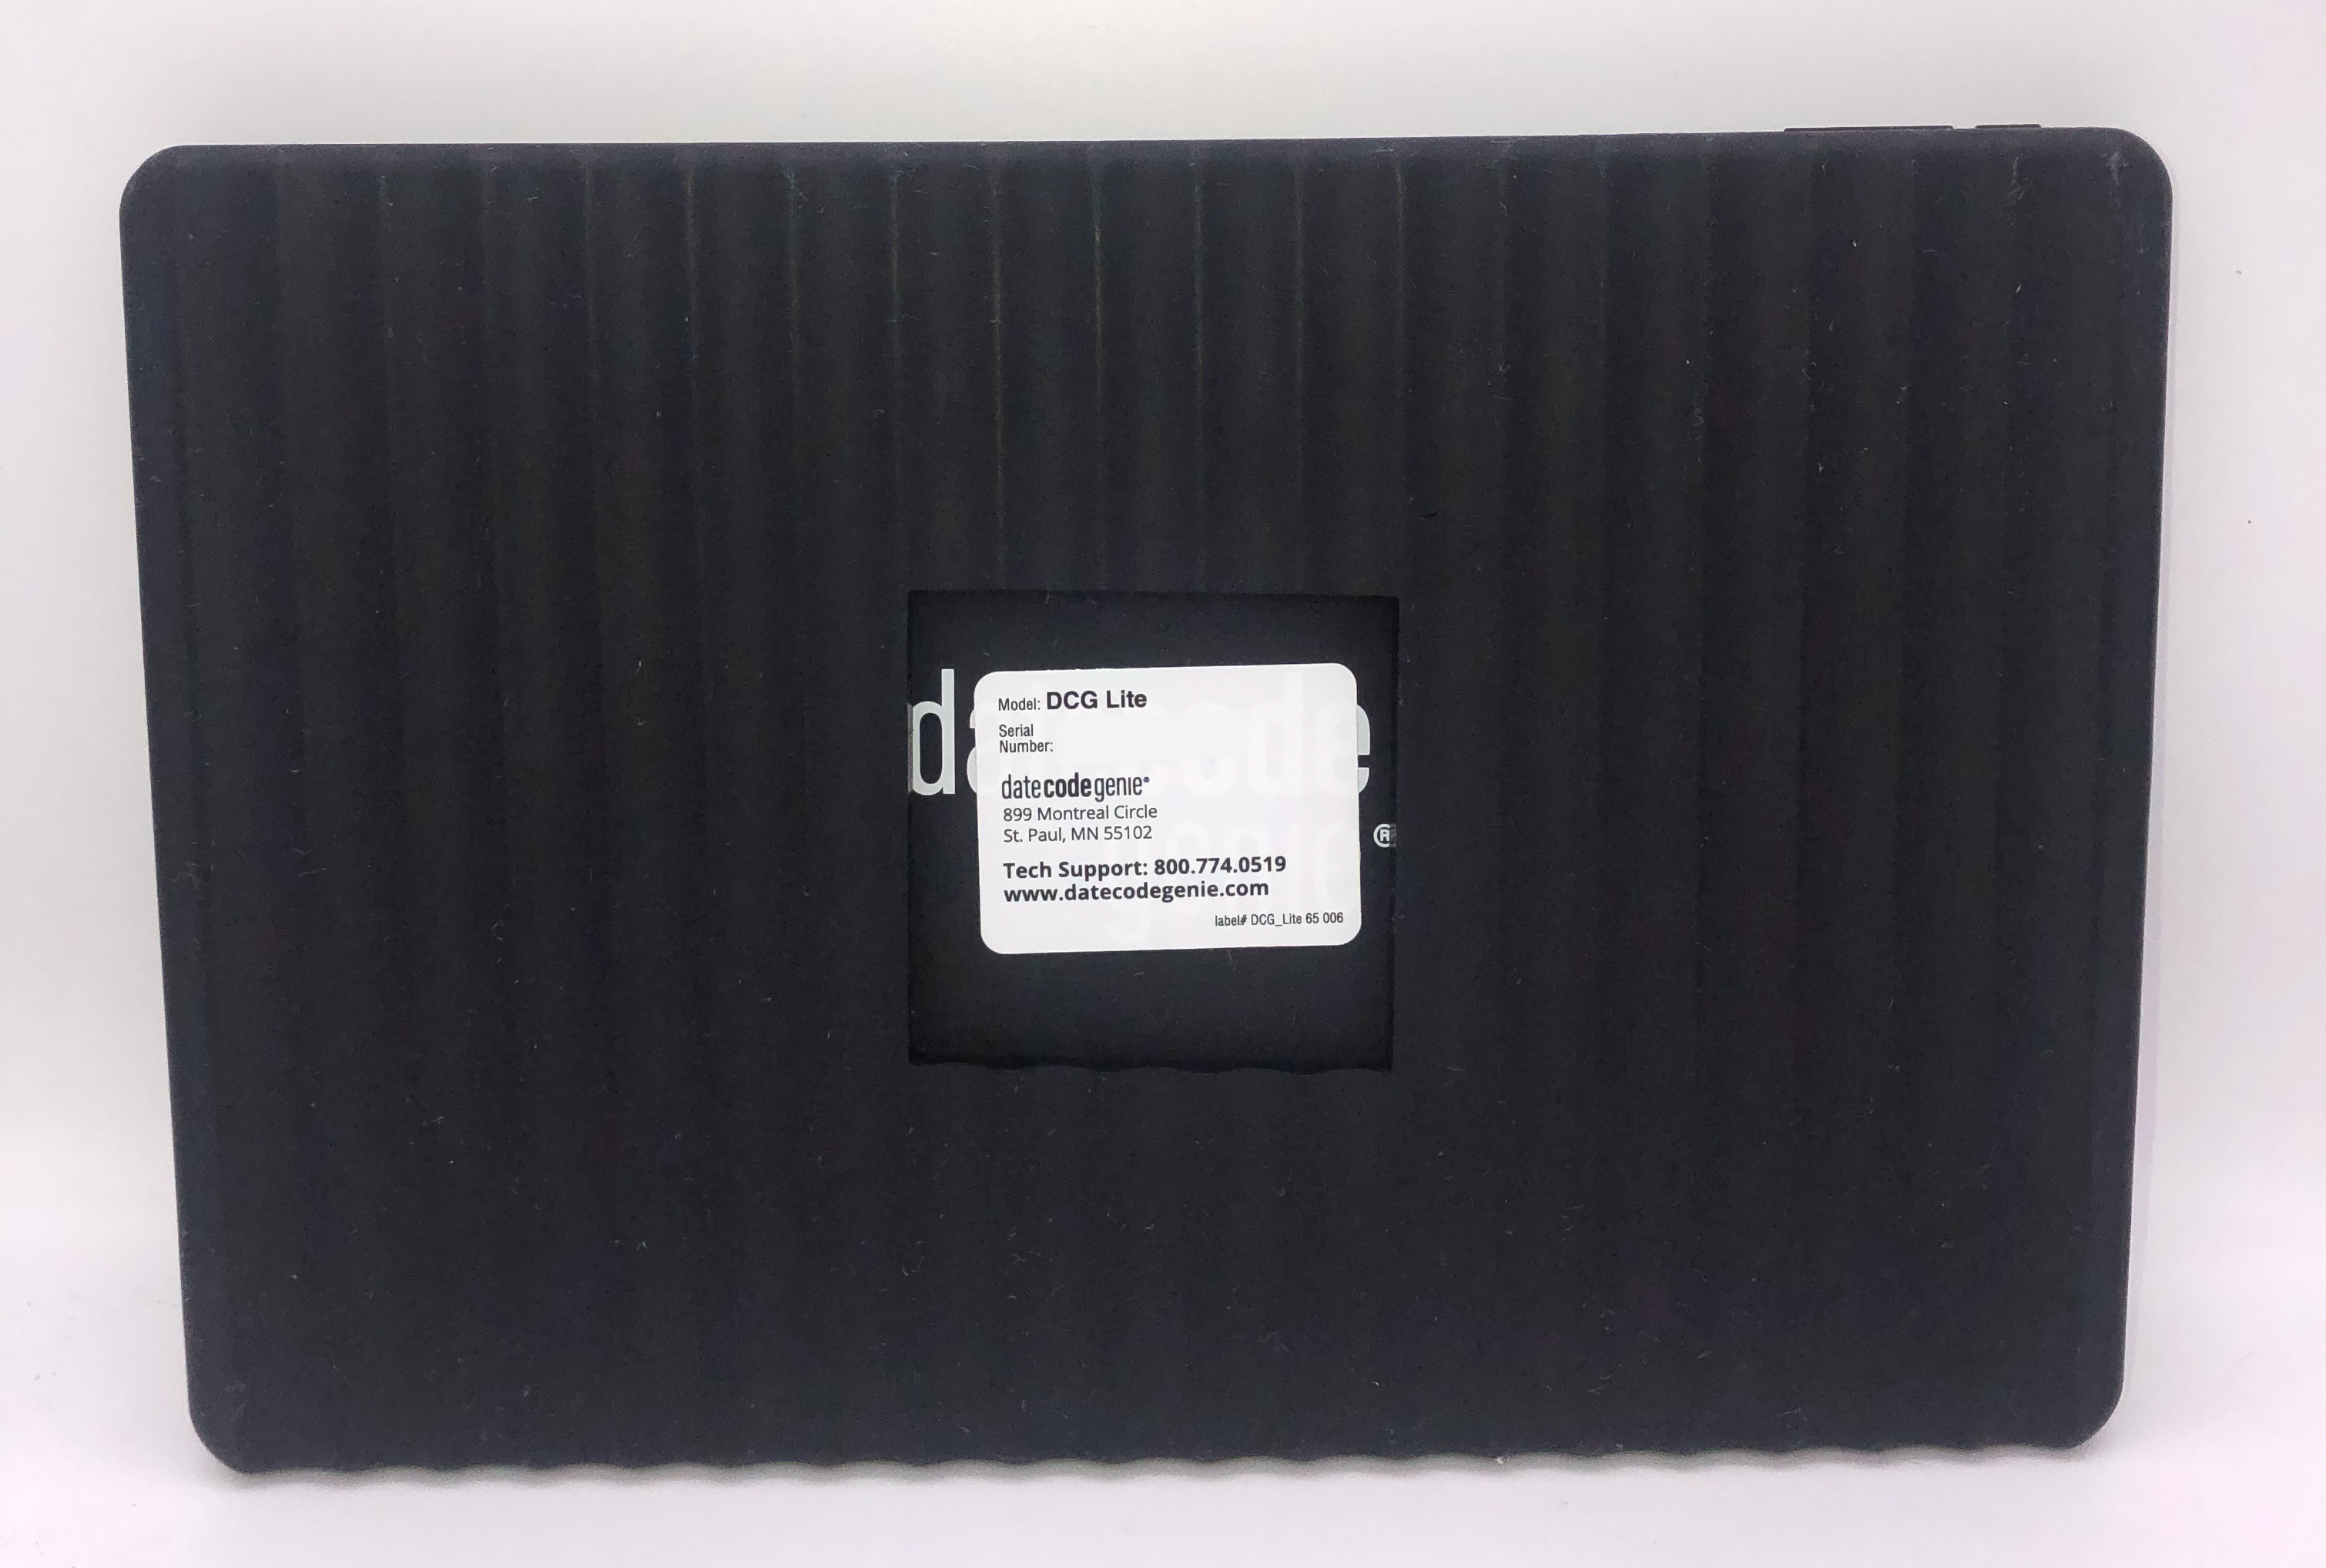
| Front | Back | |
|---|---|---|
| Tablet | 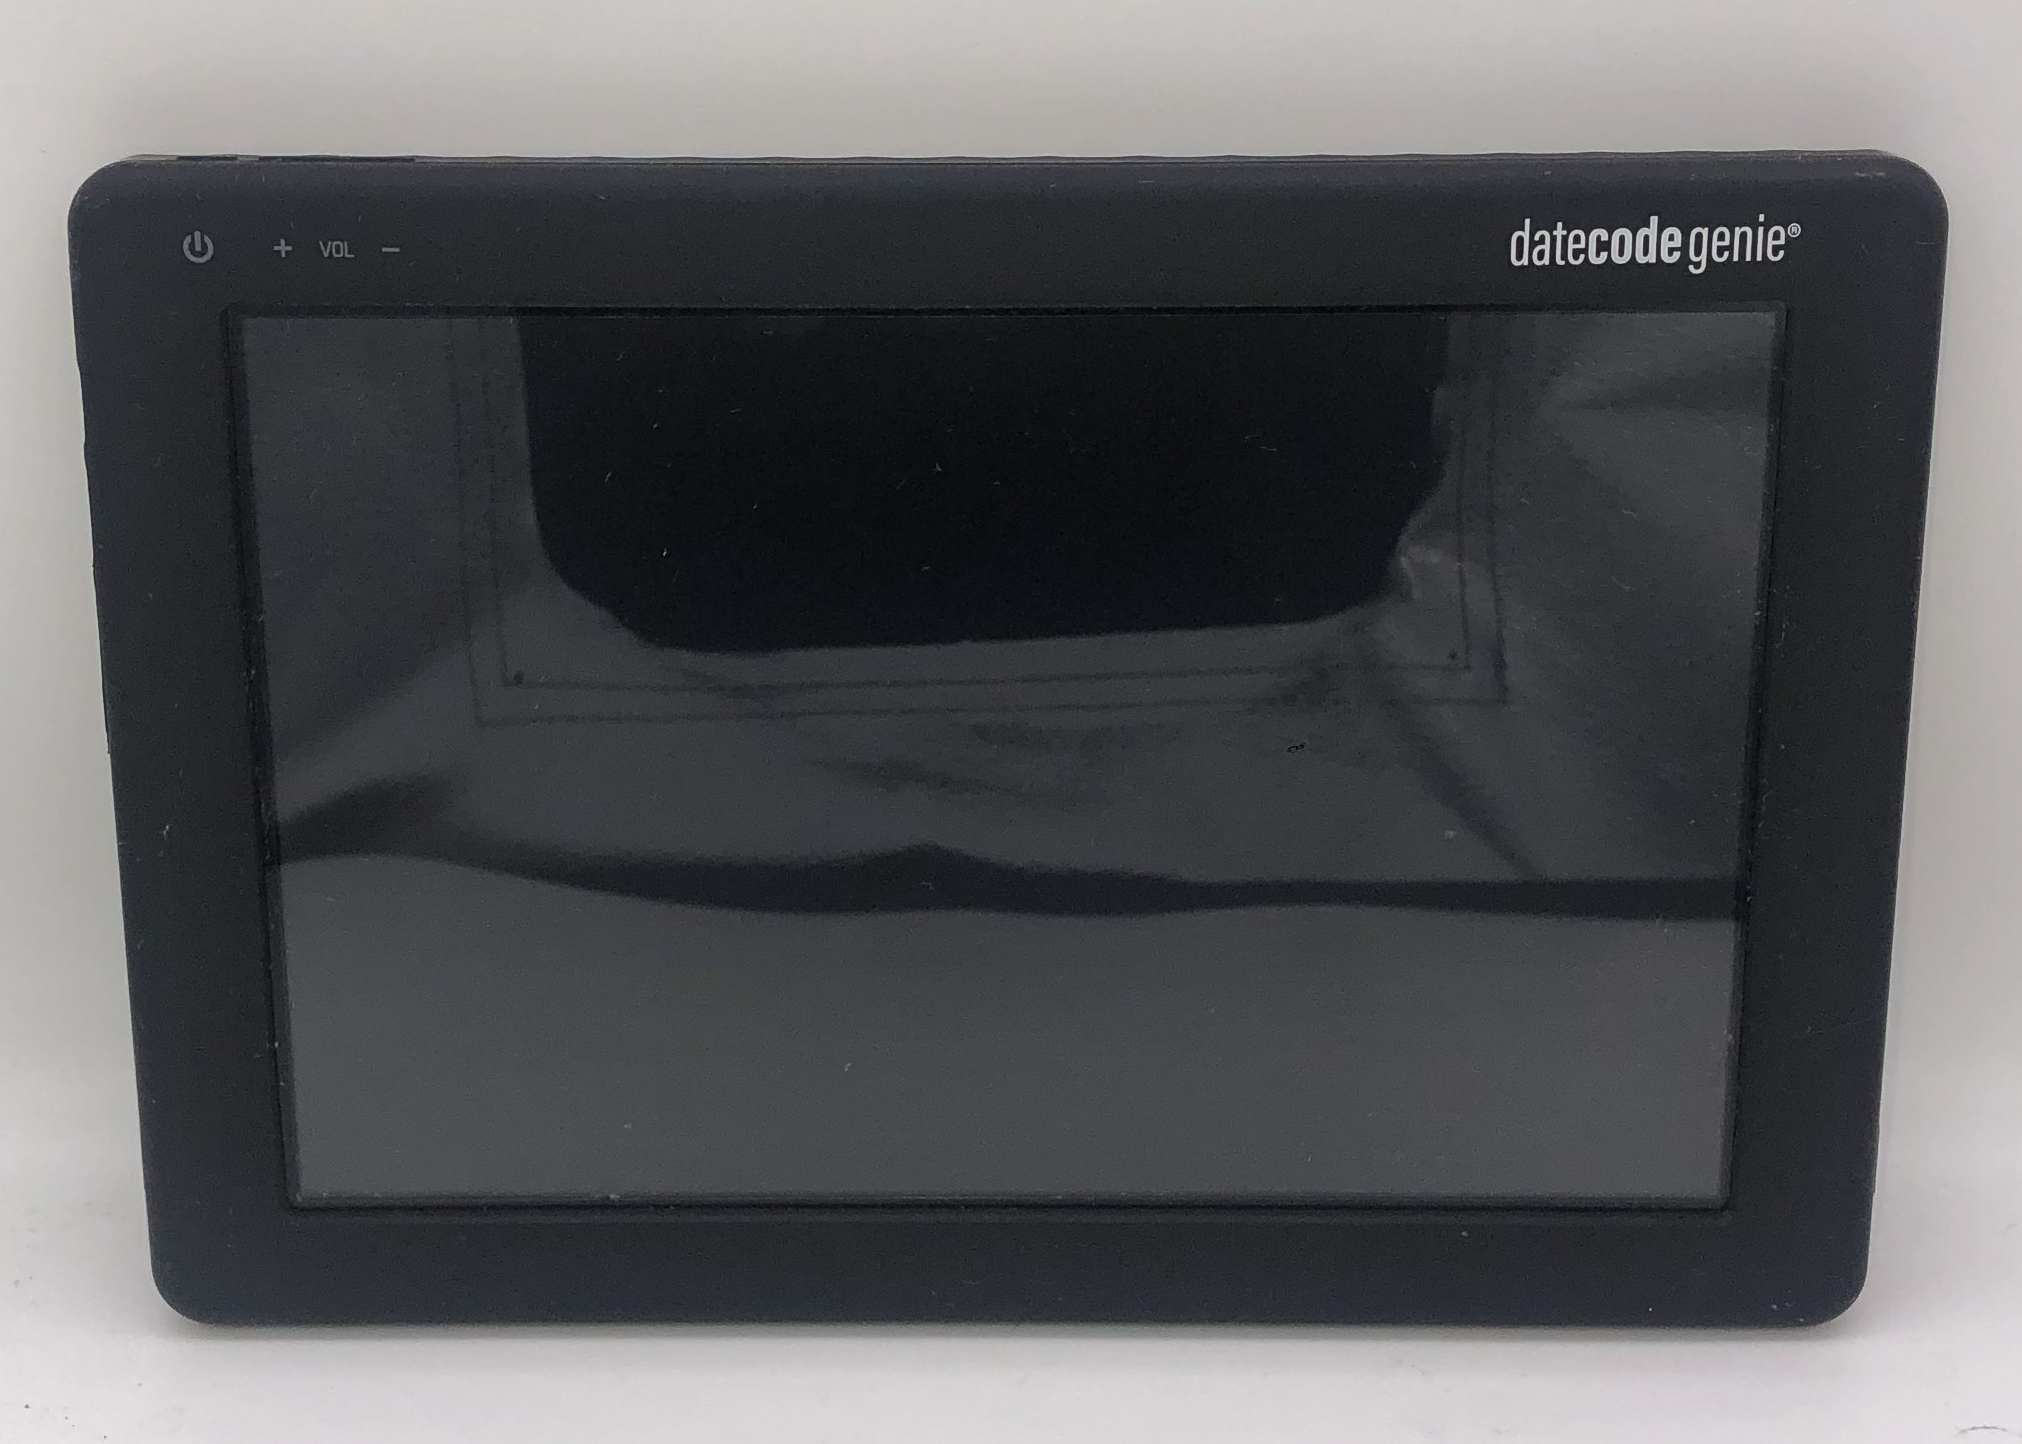 |
 |
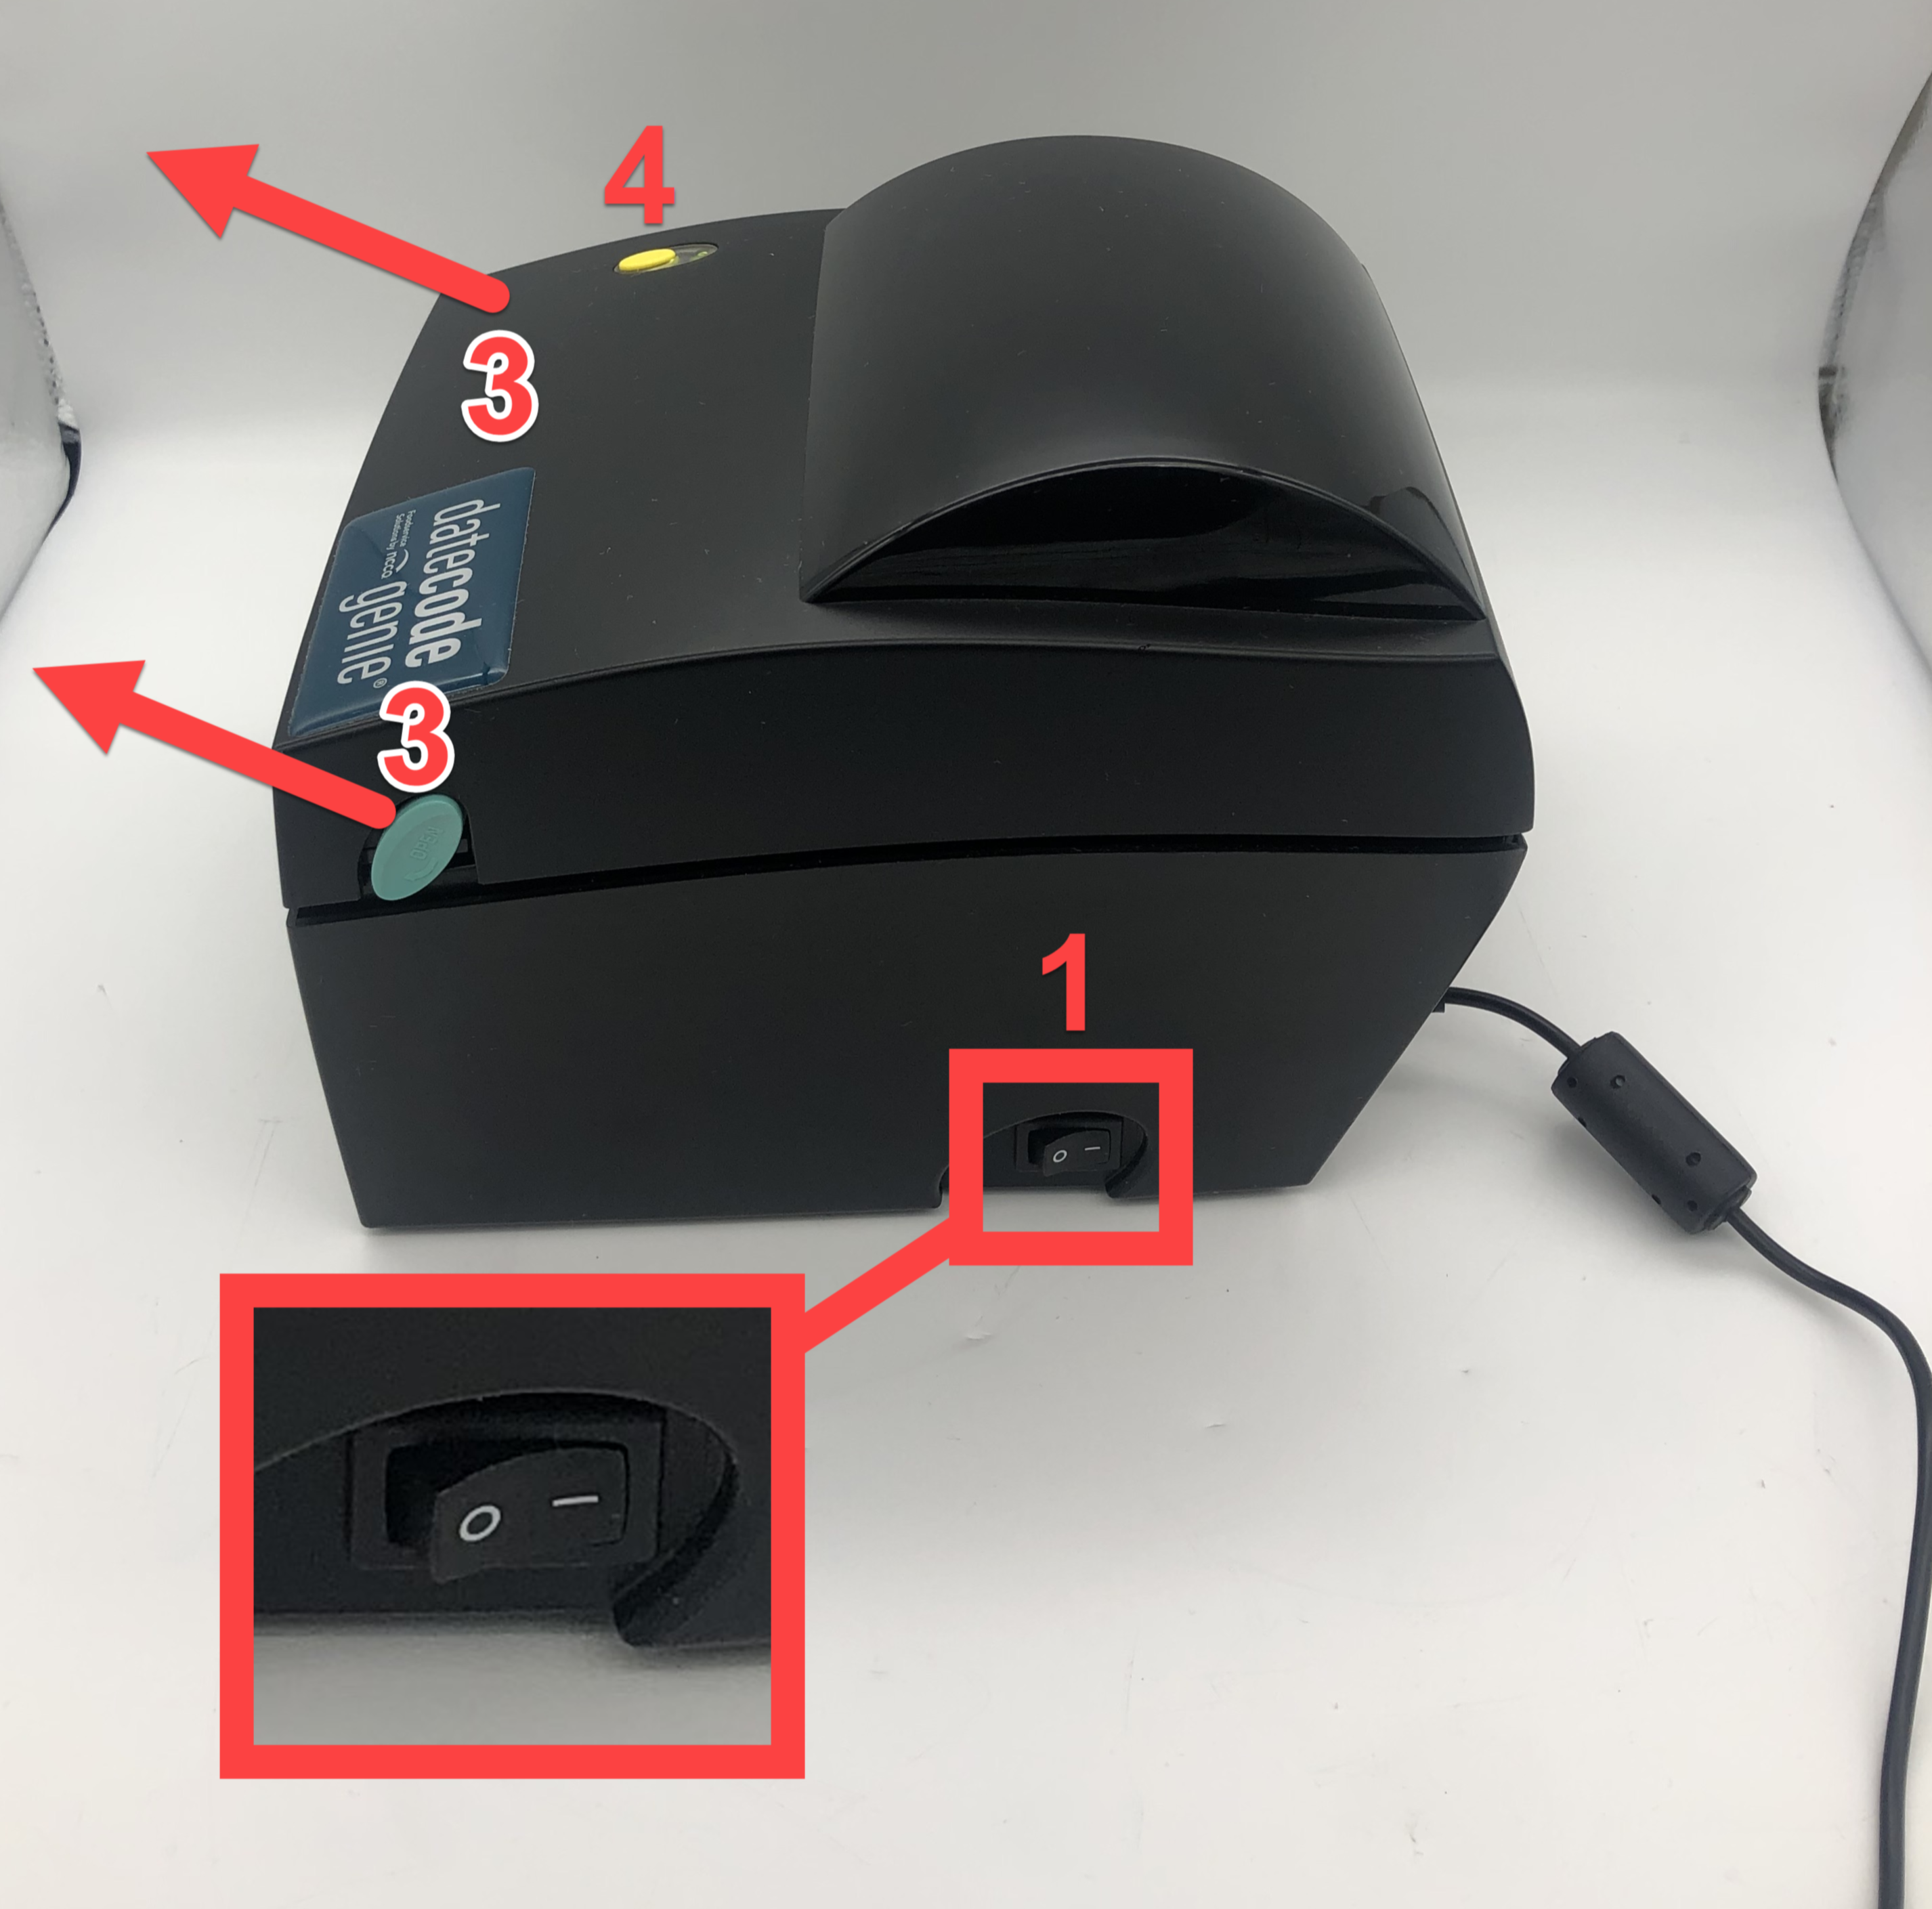
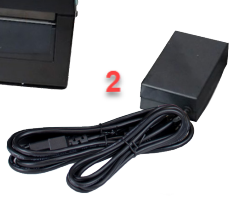
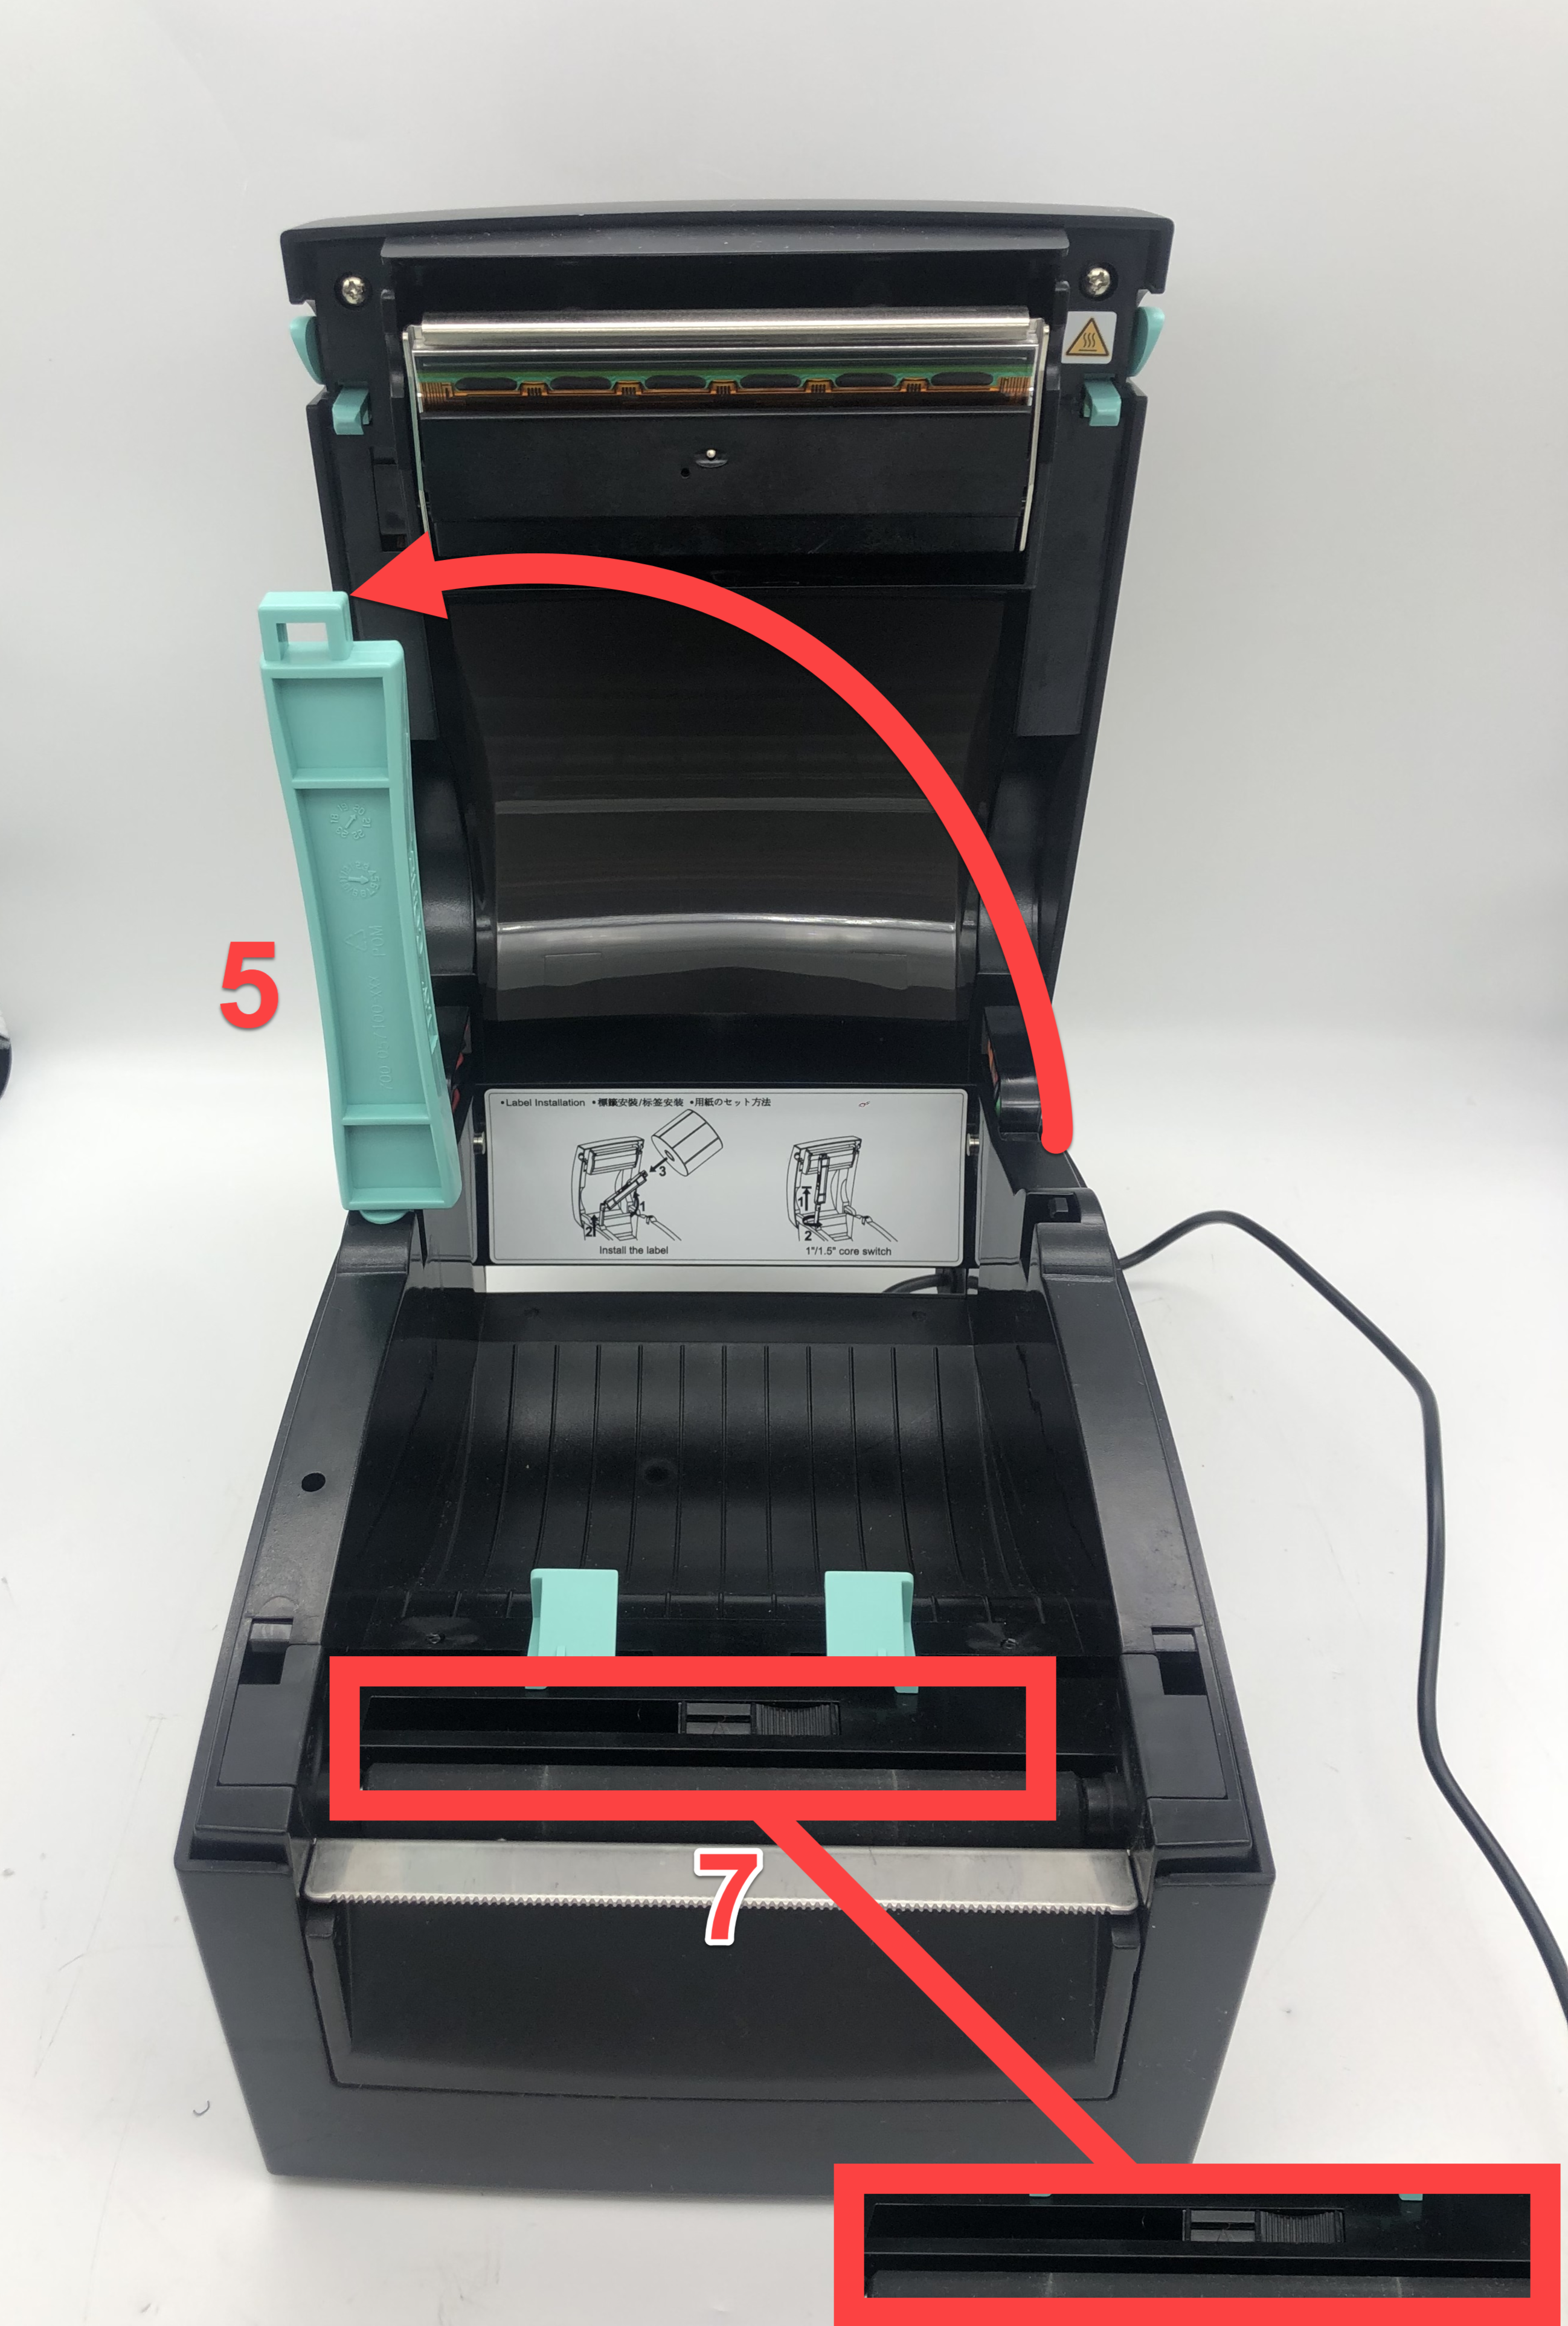
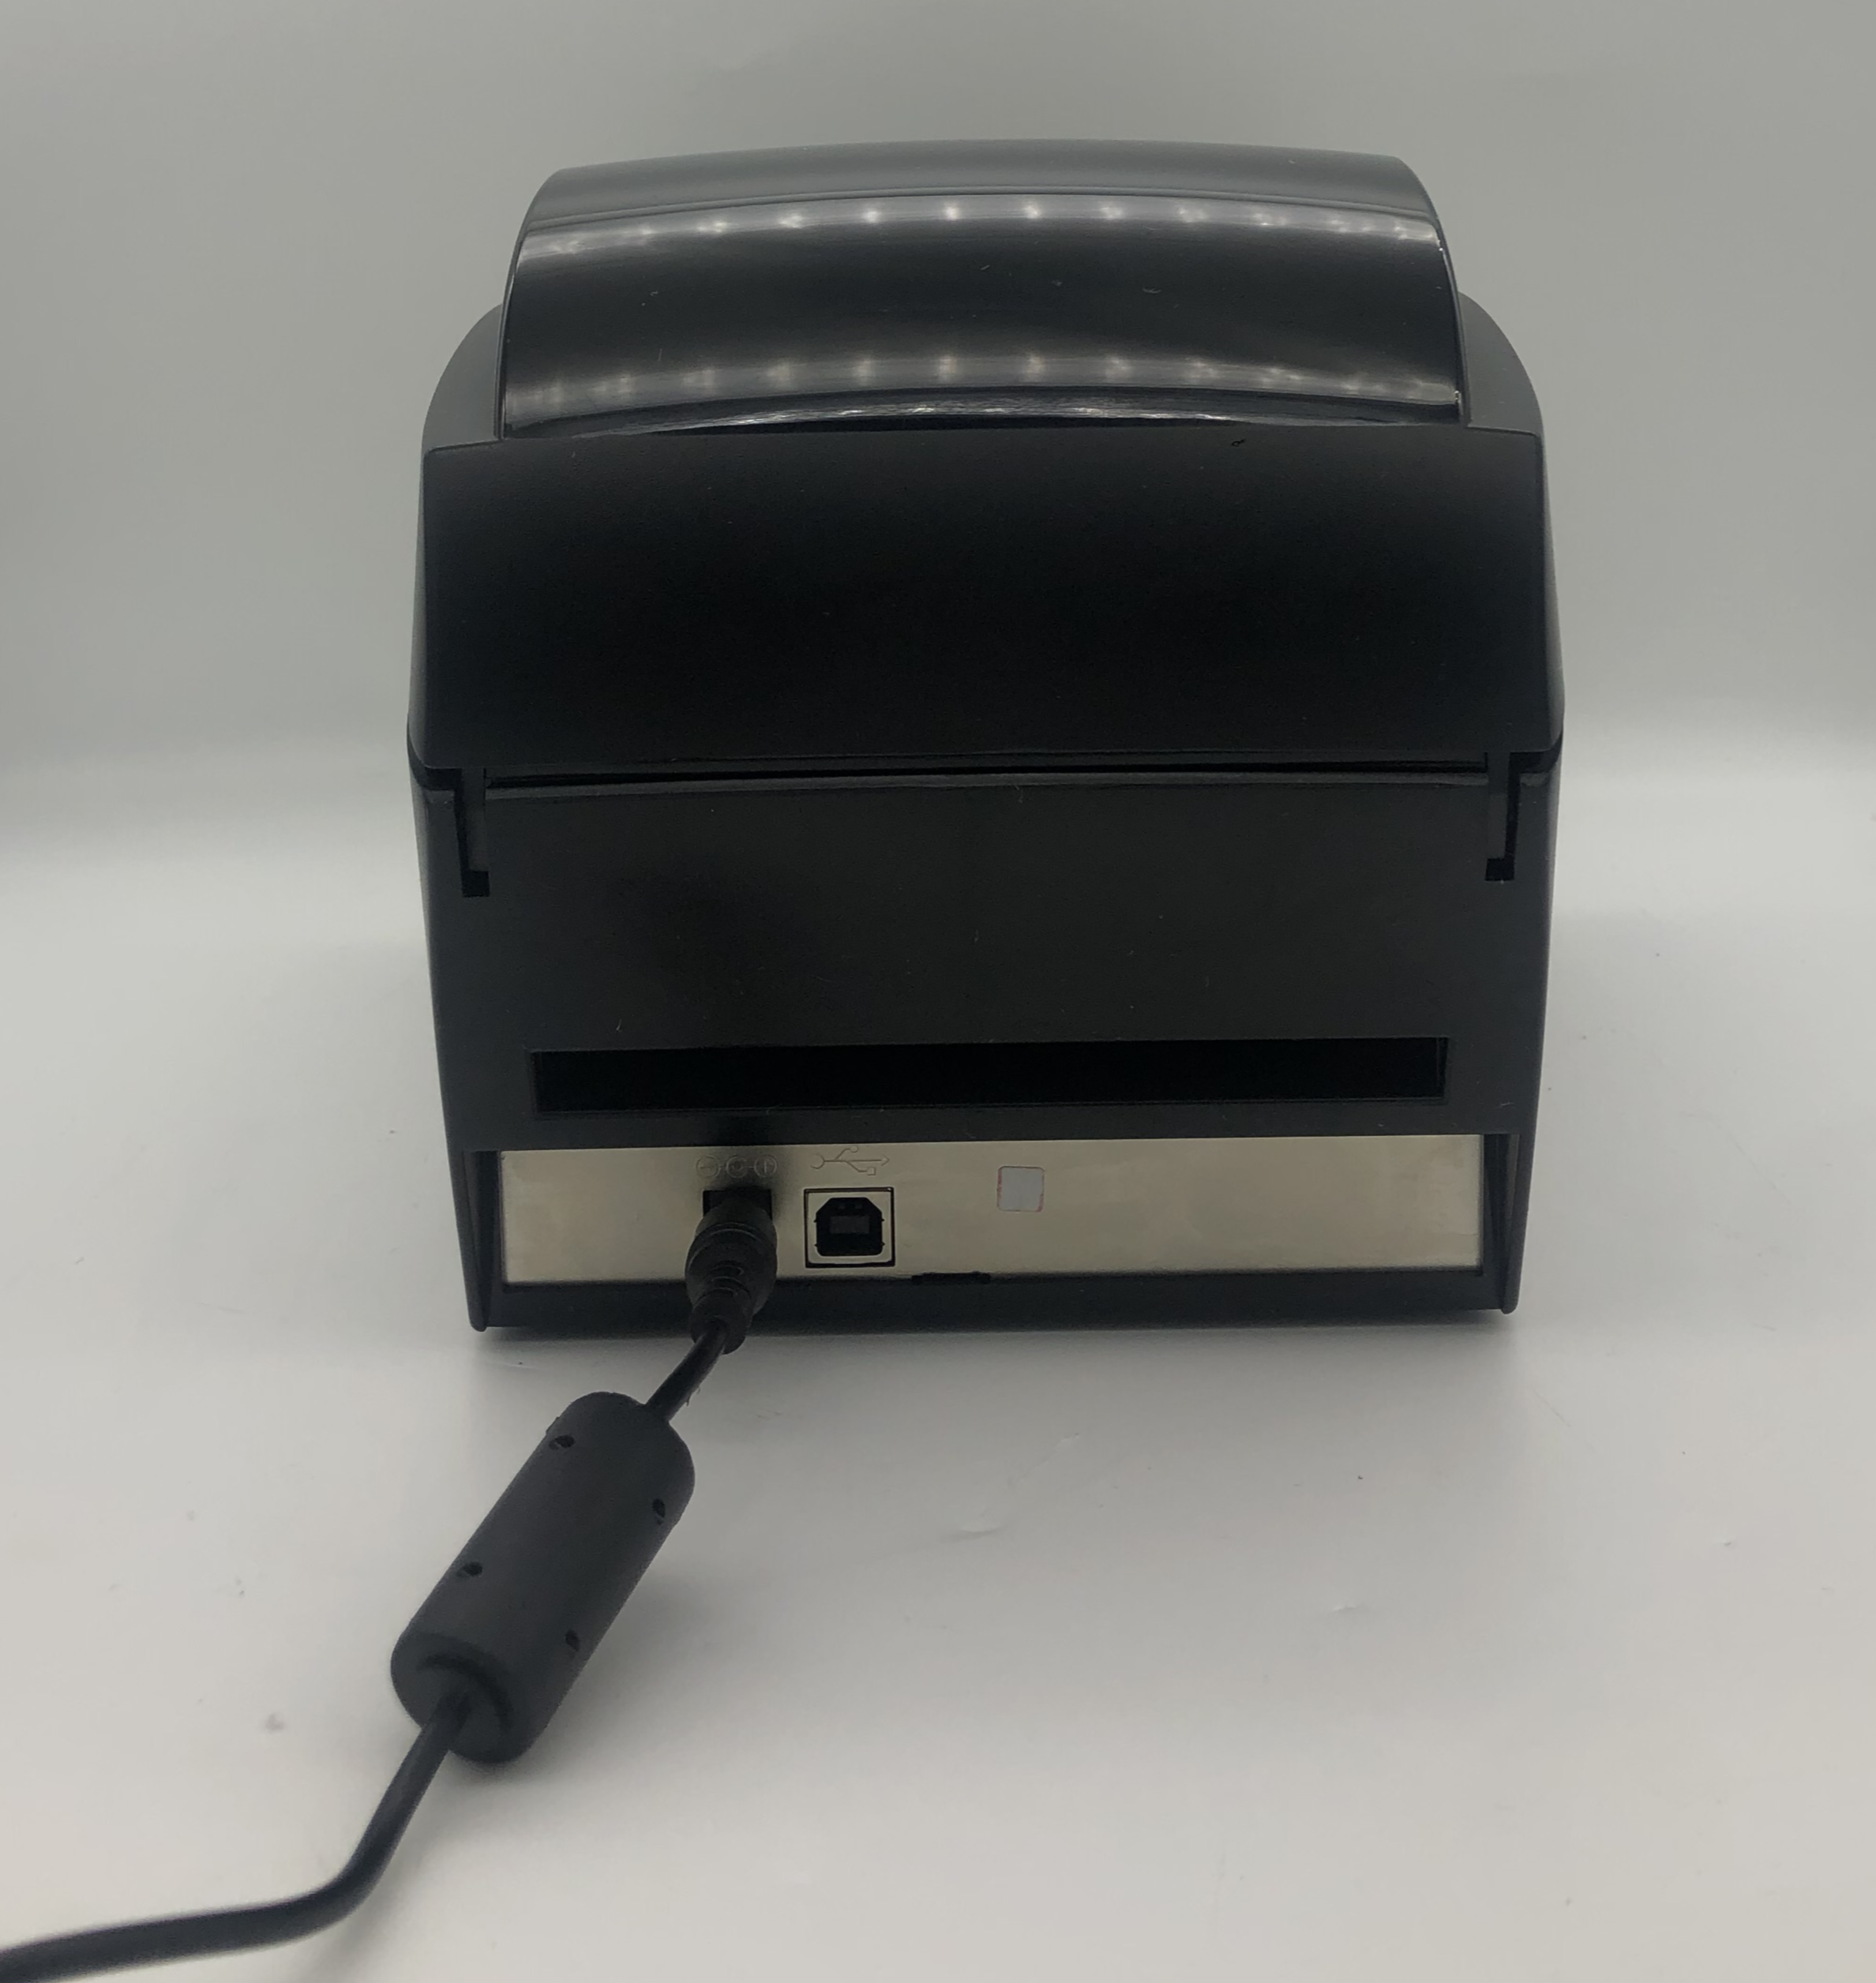
| Printer | 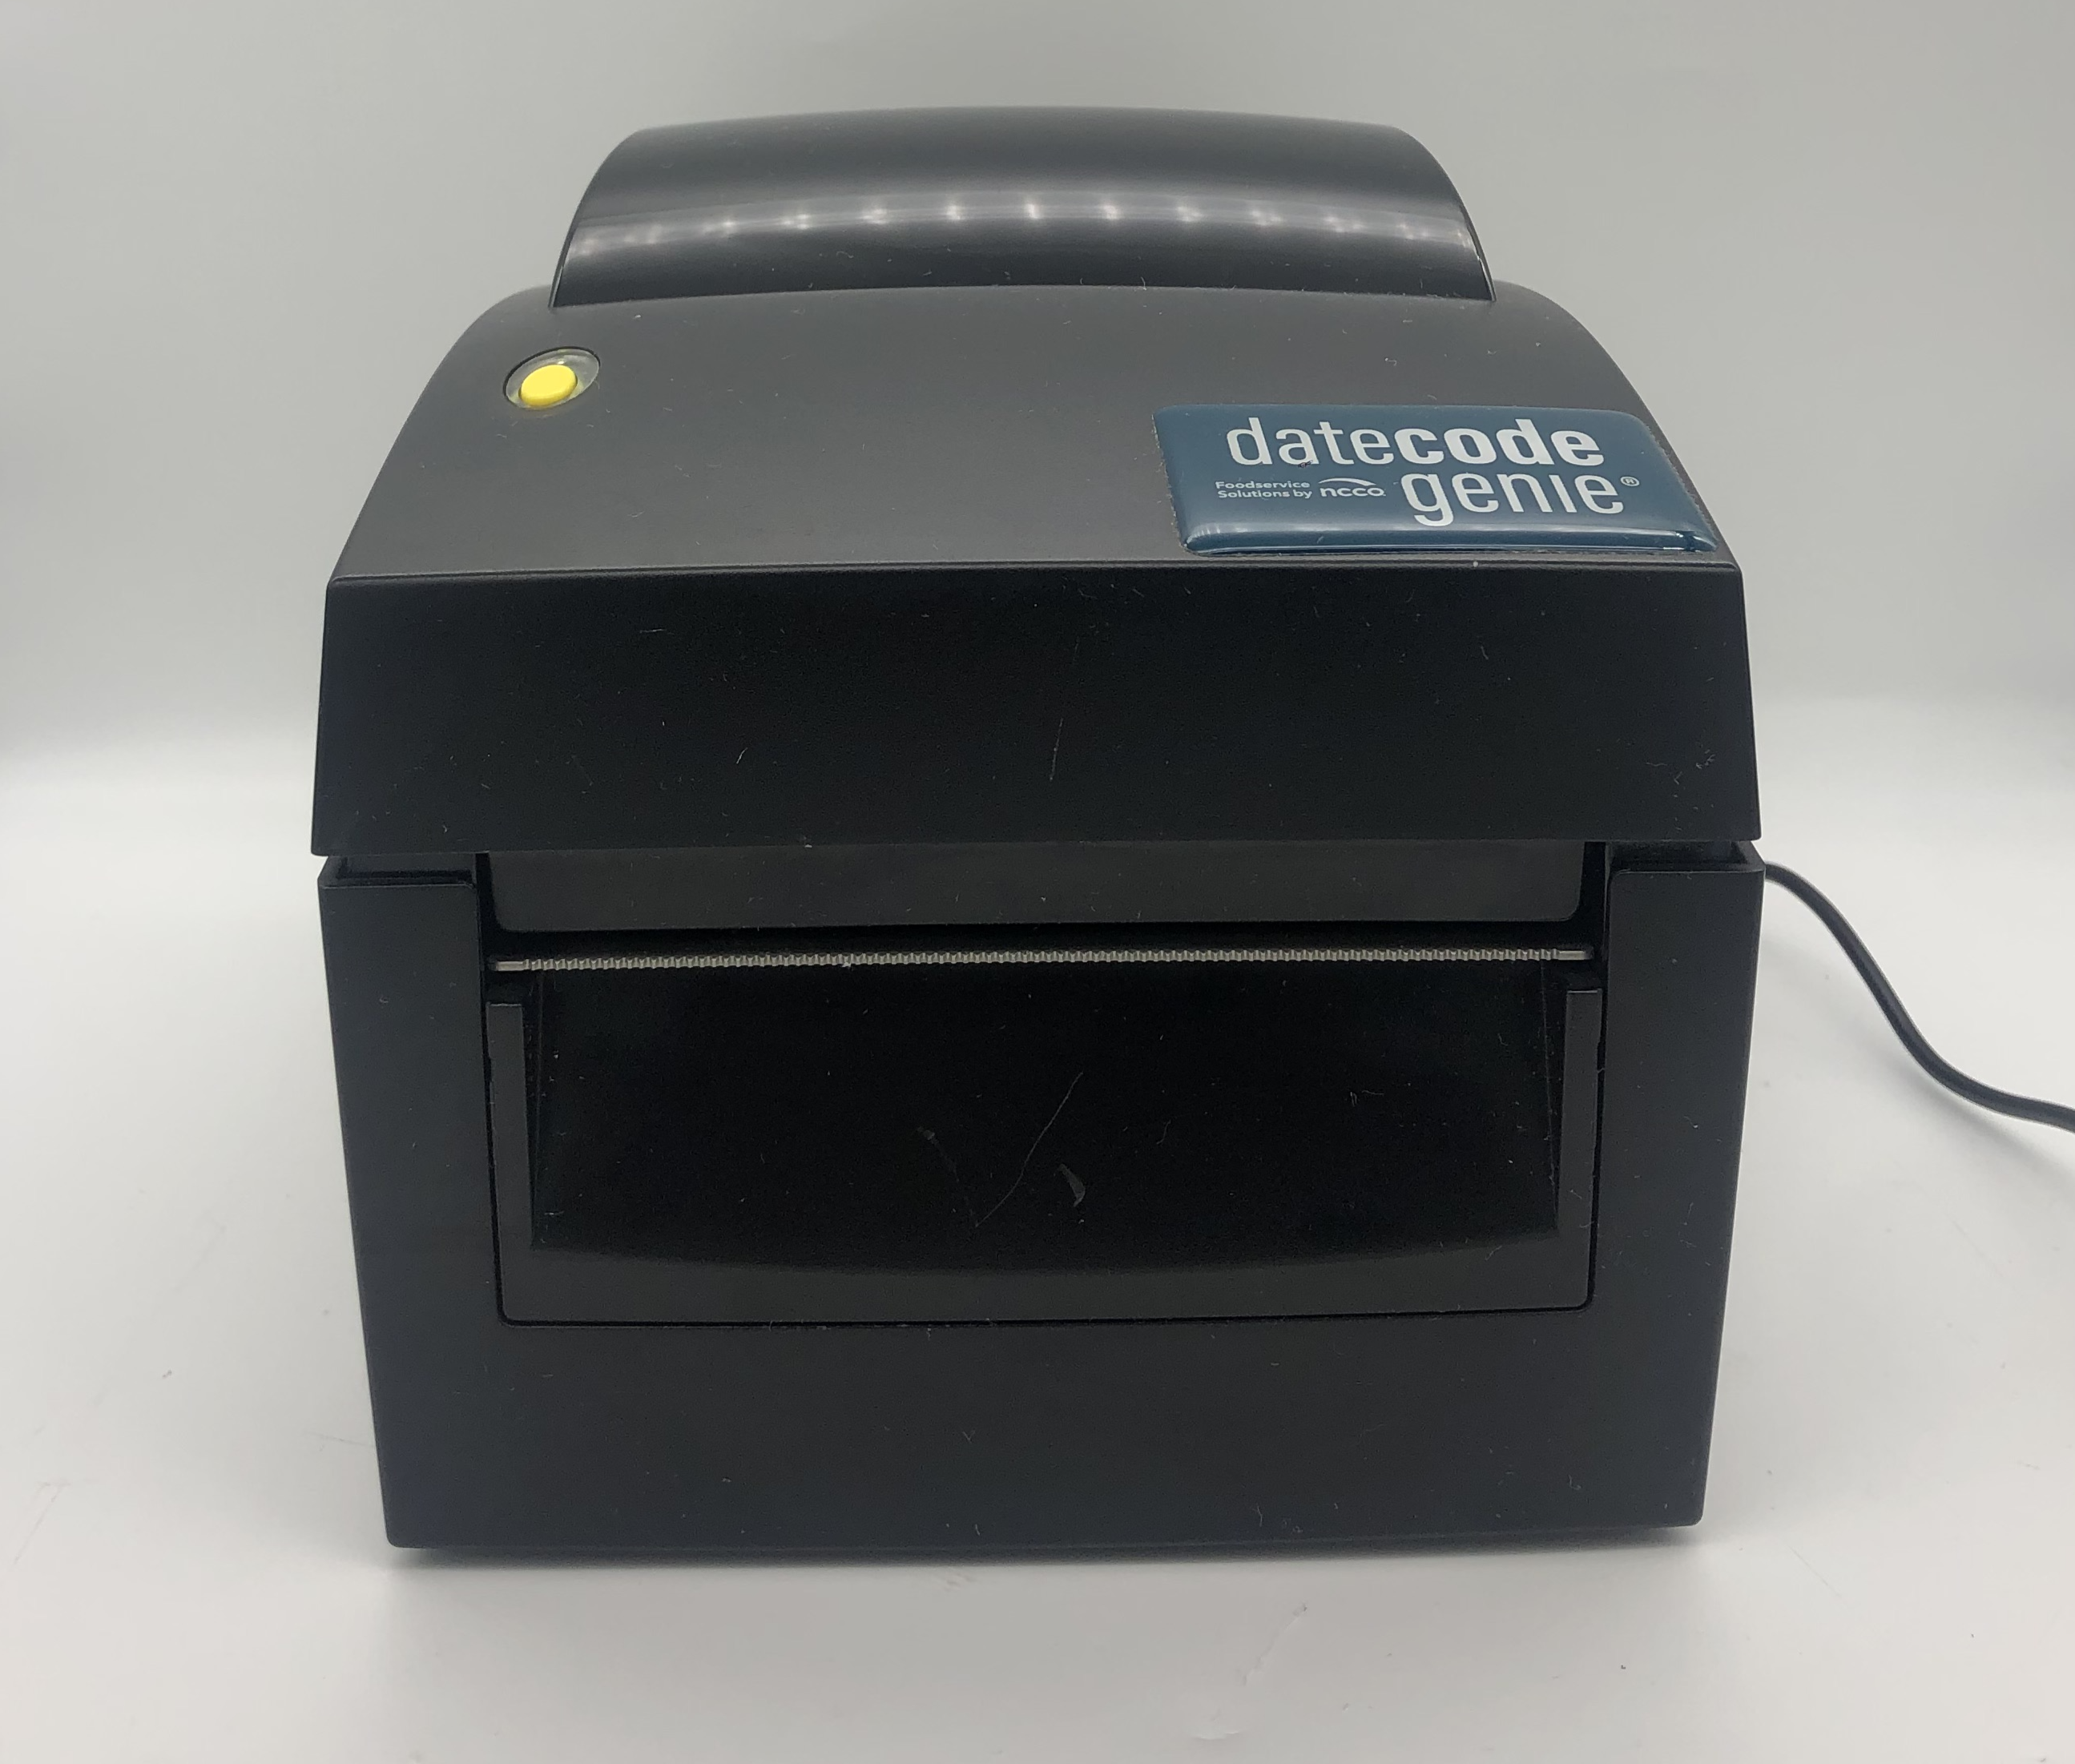 |
 |
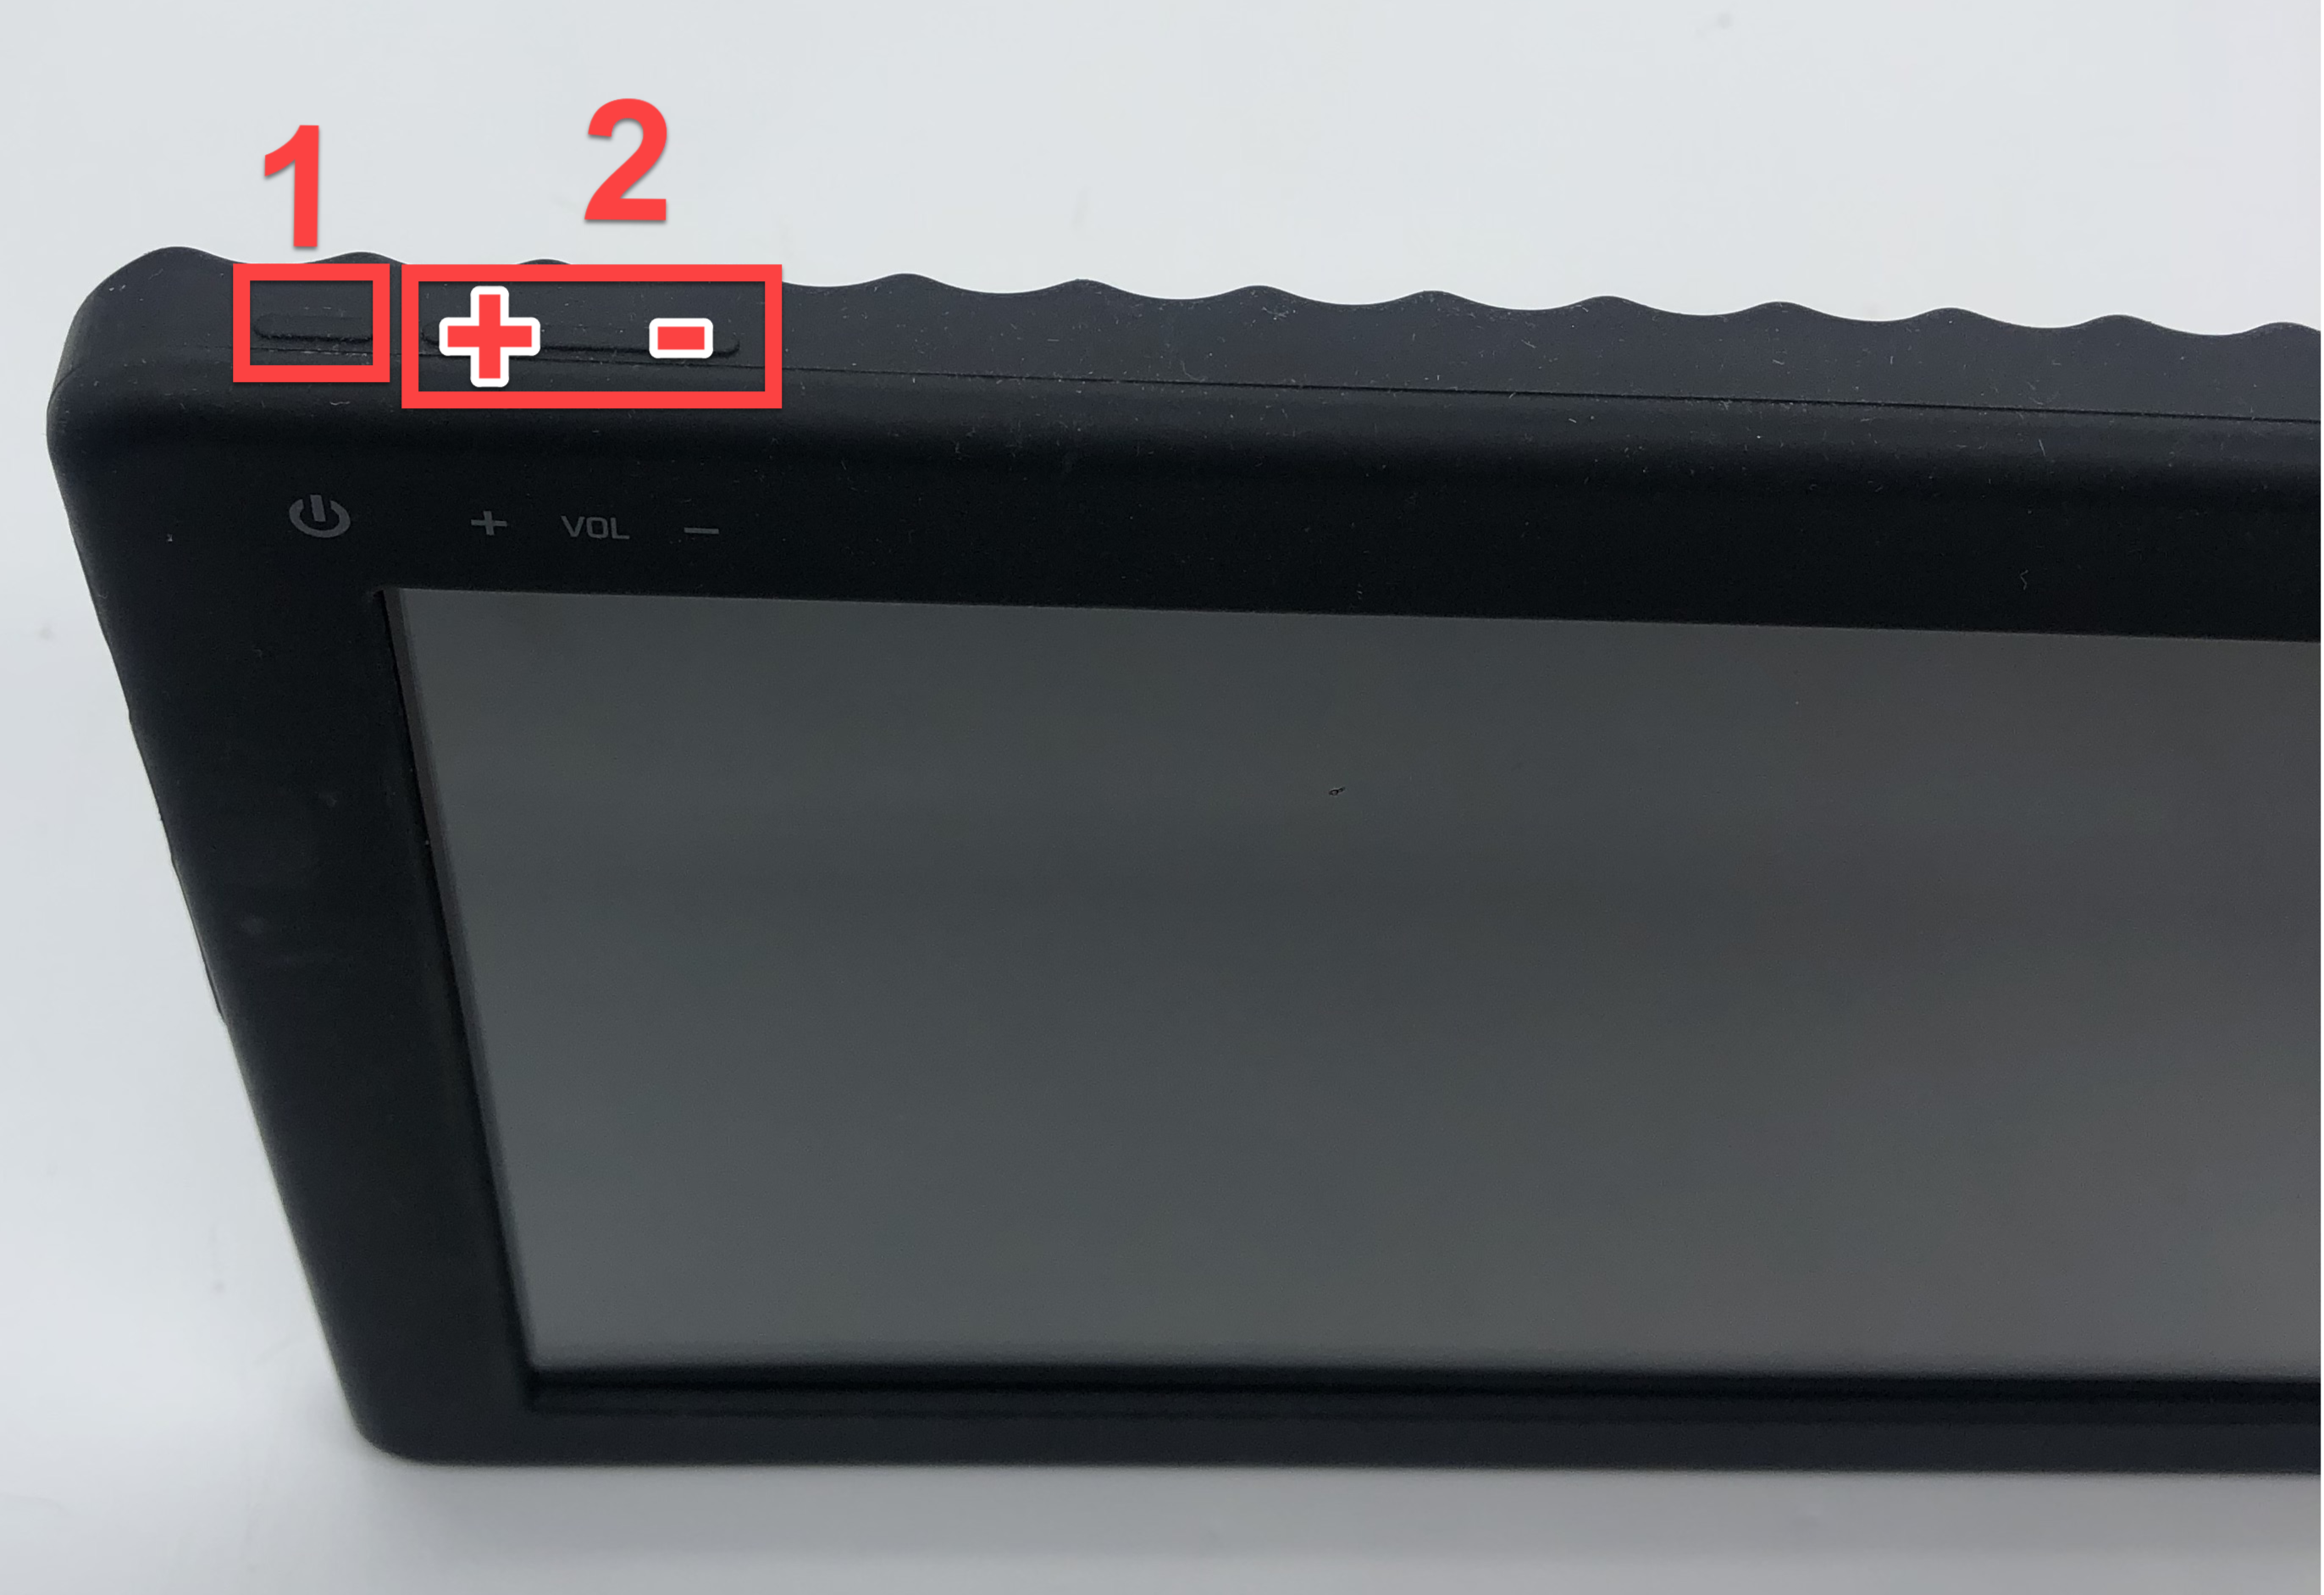
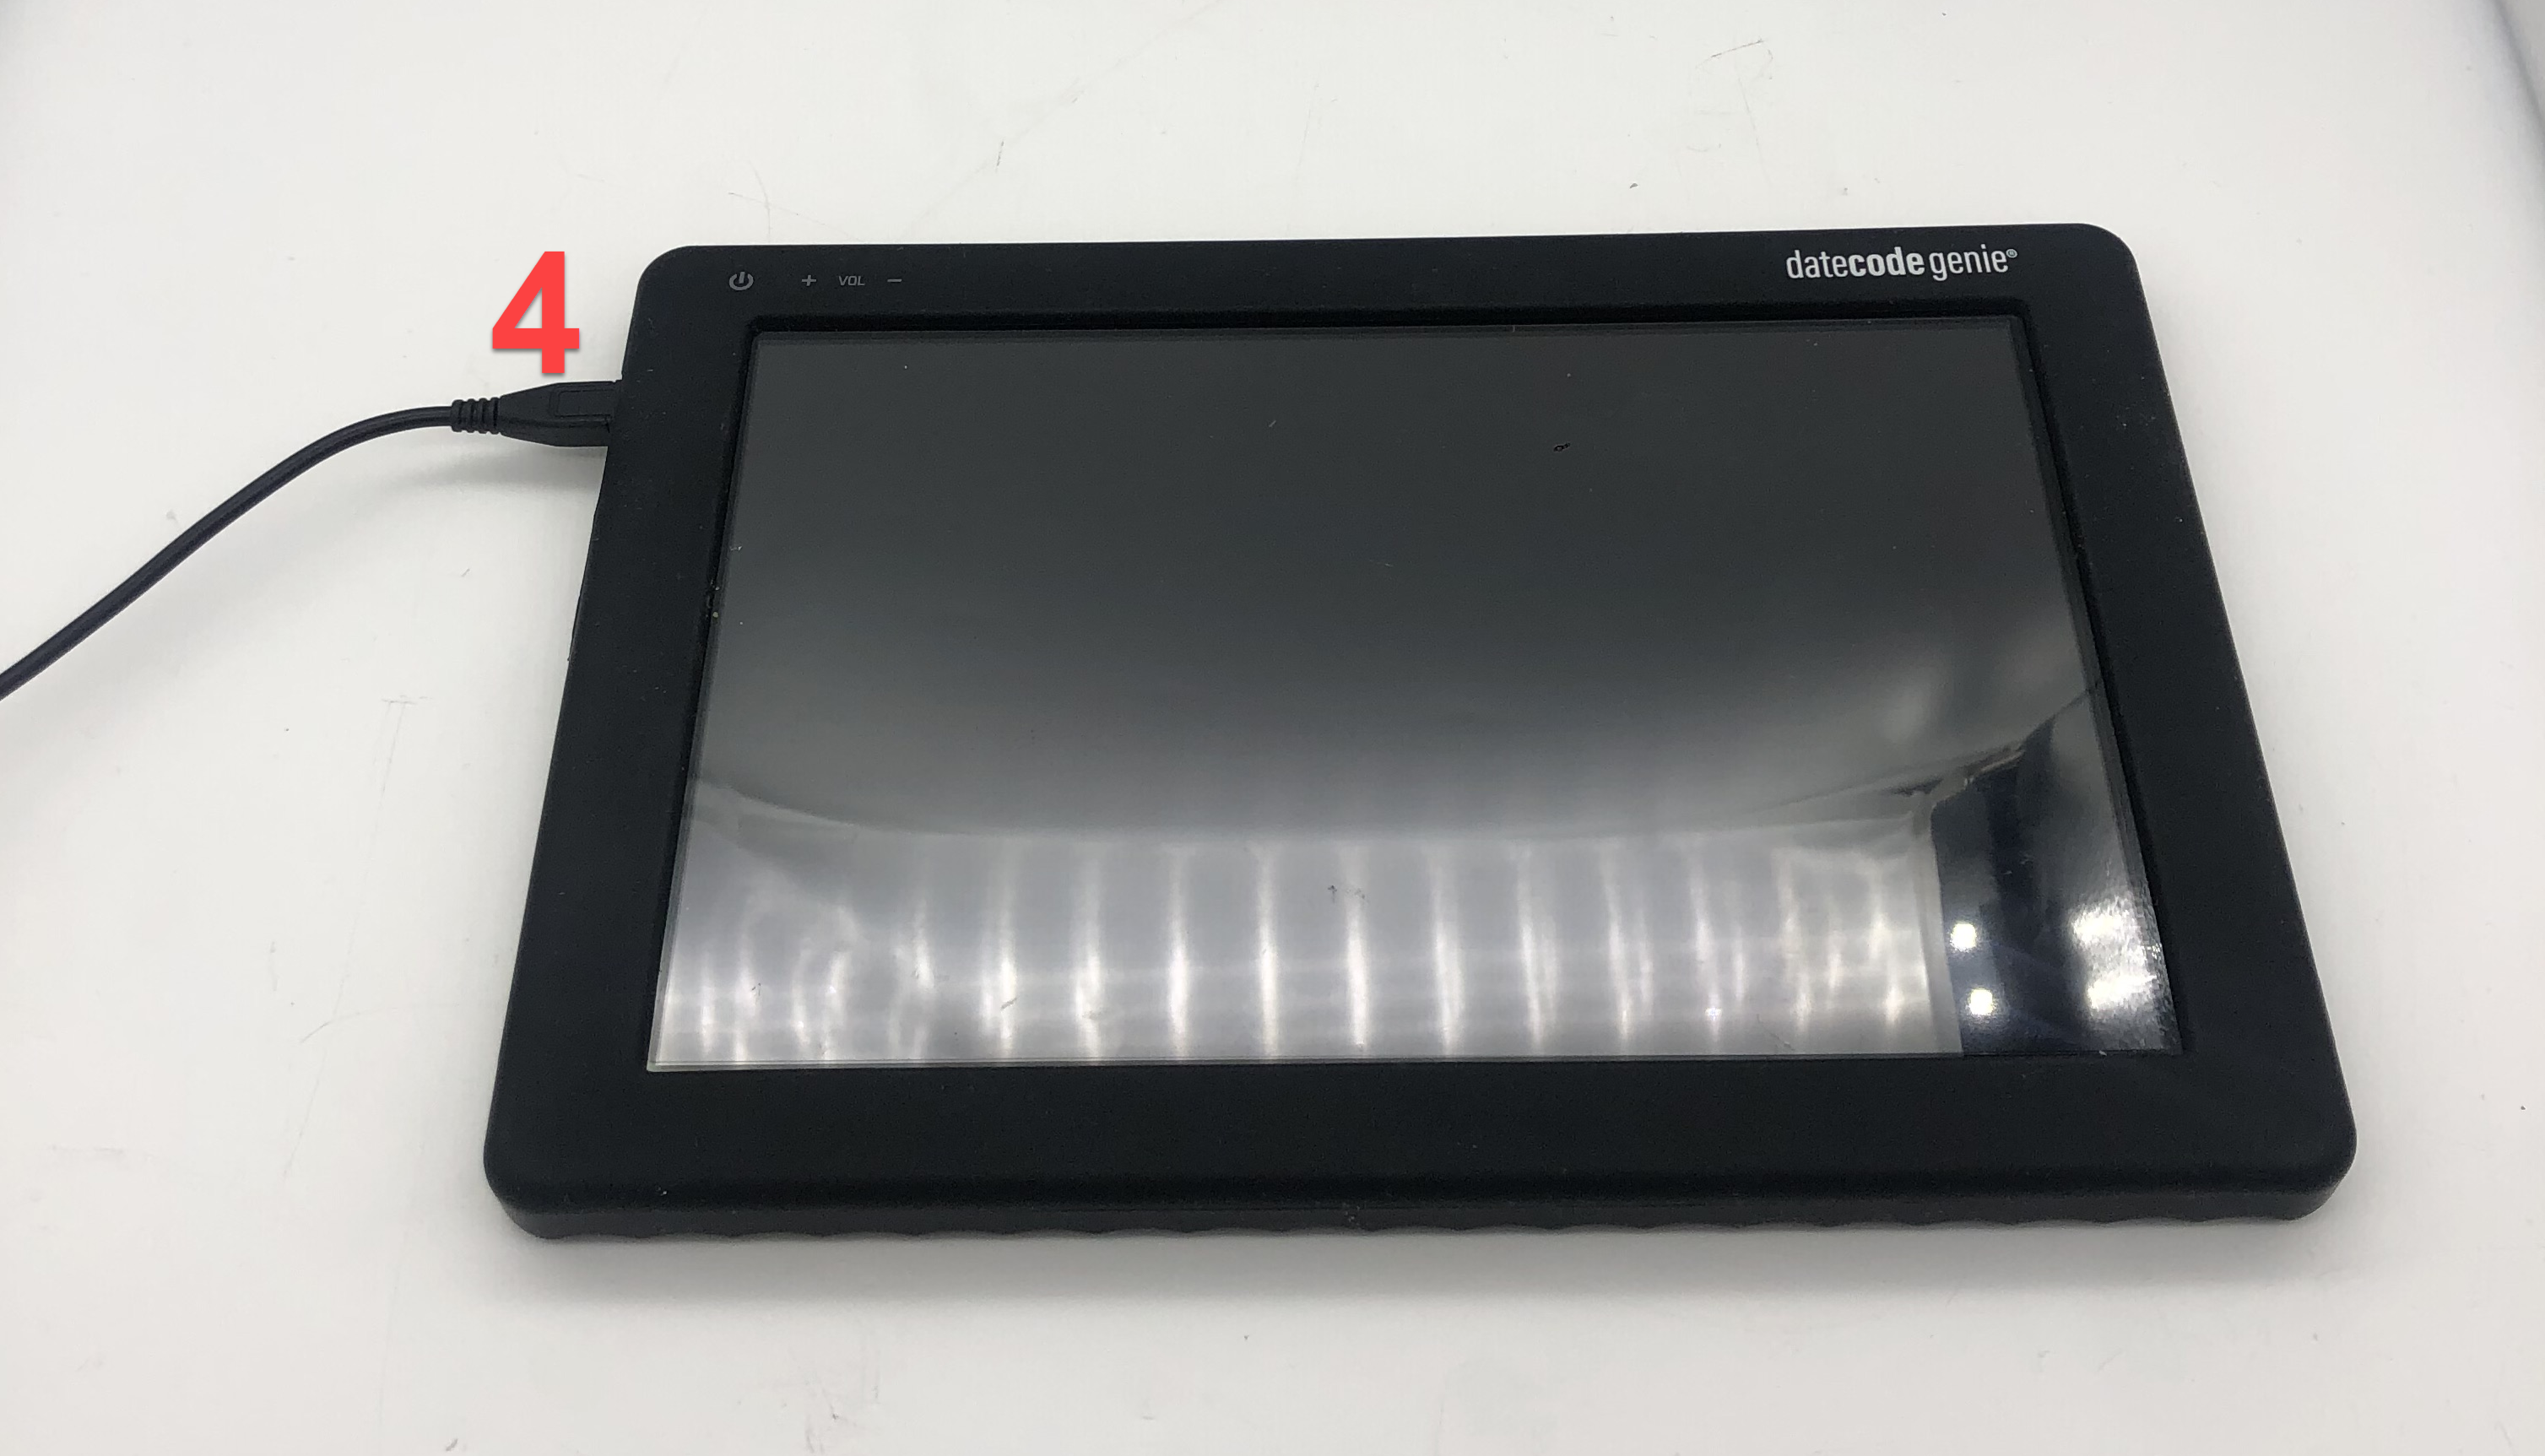
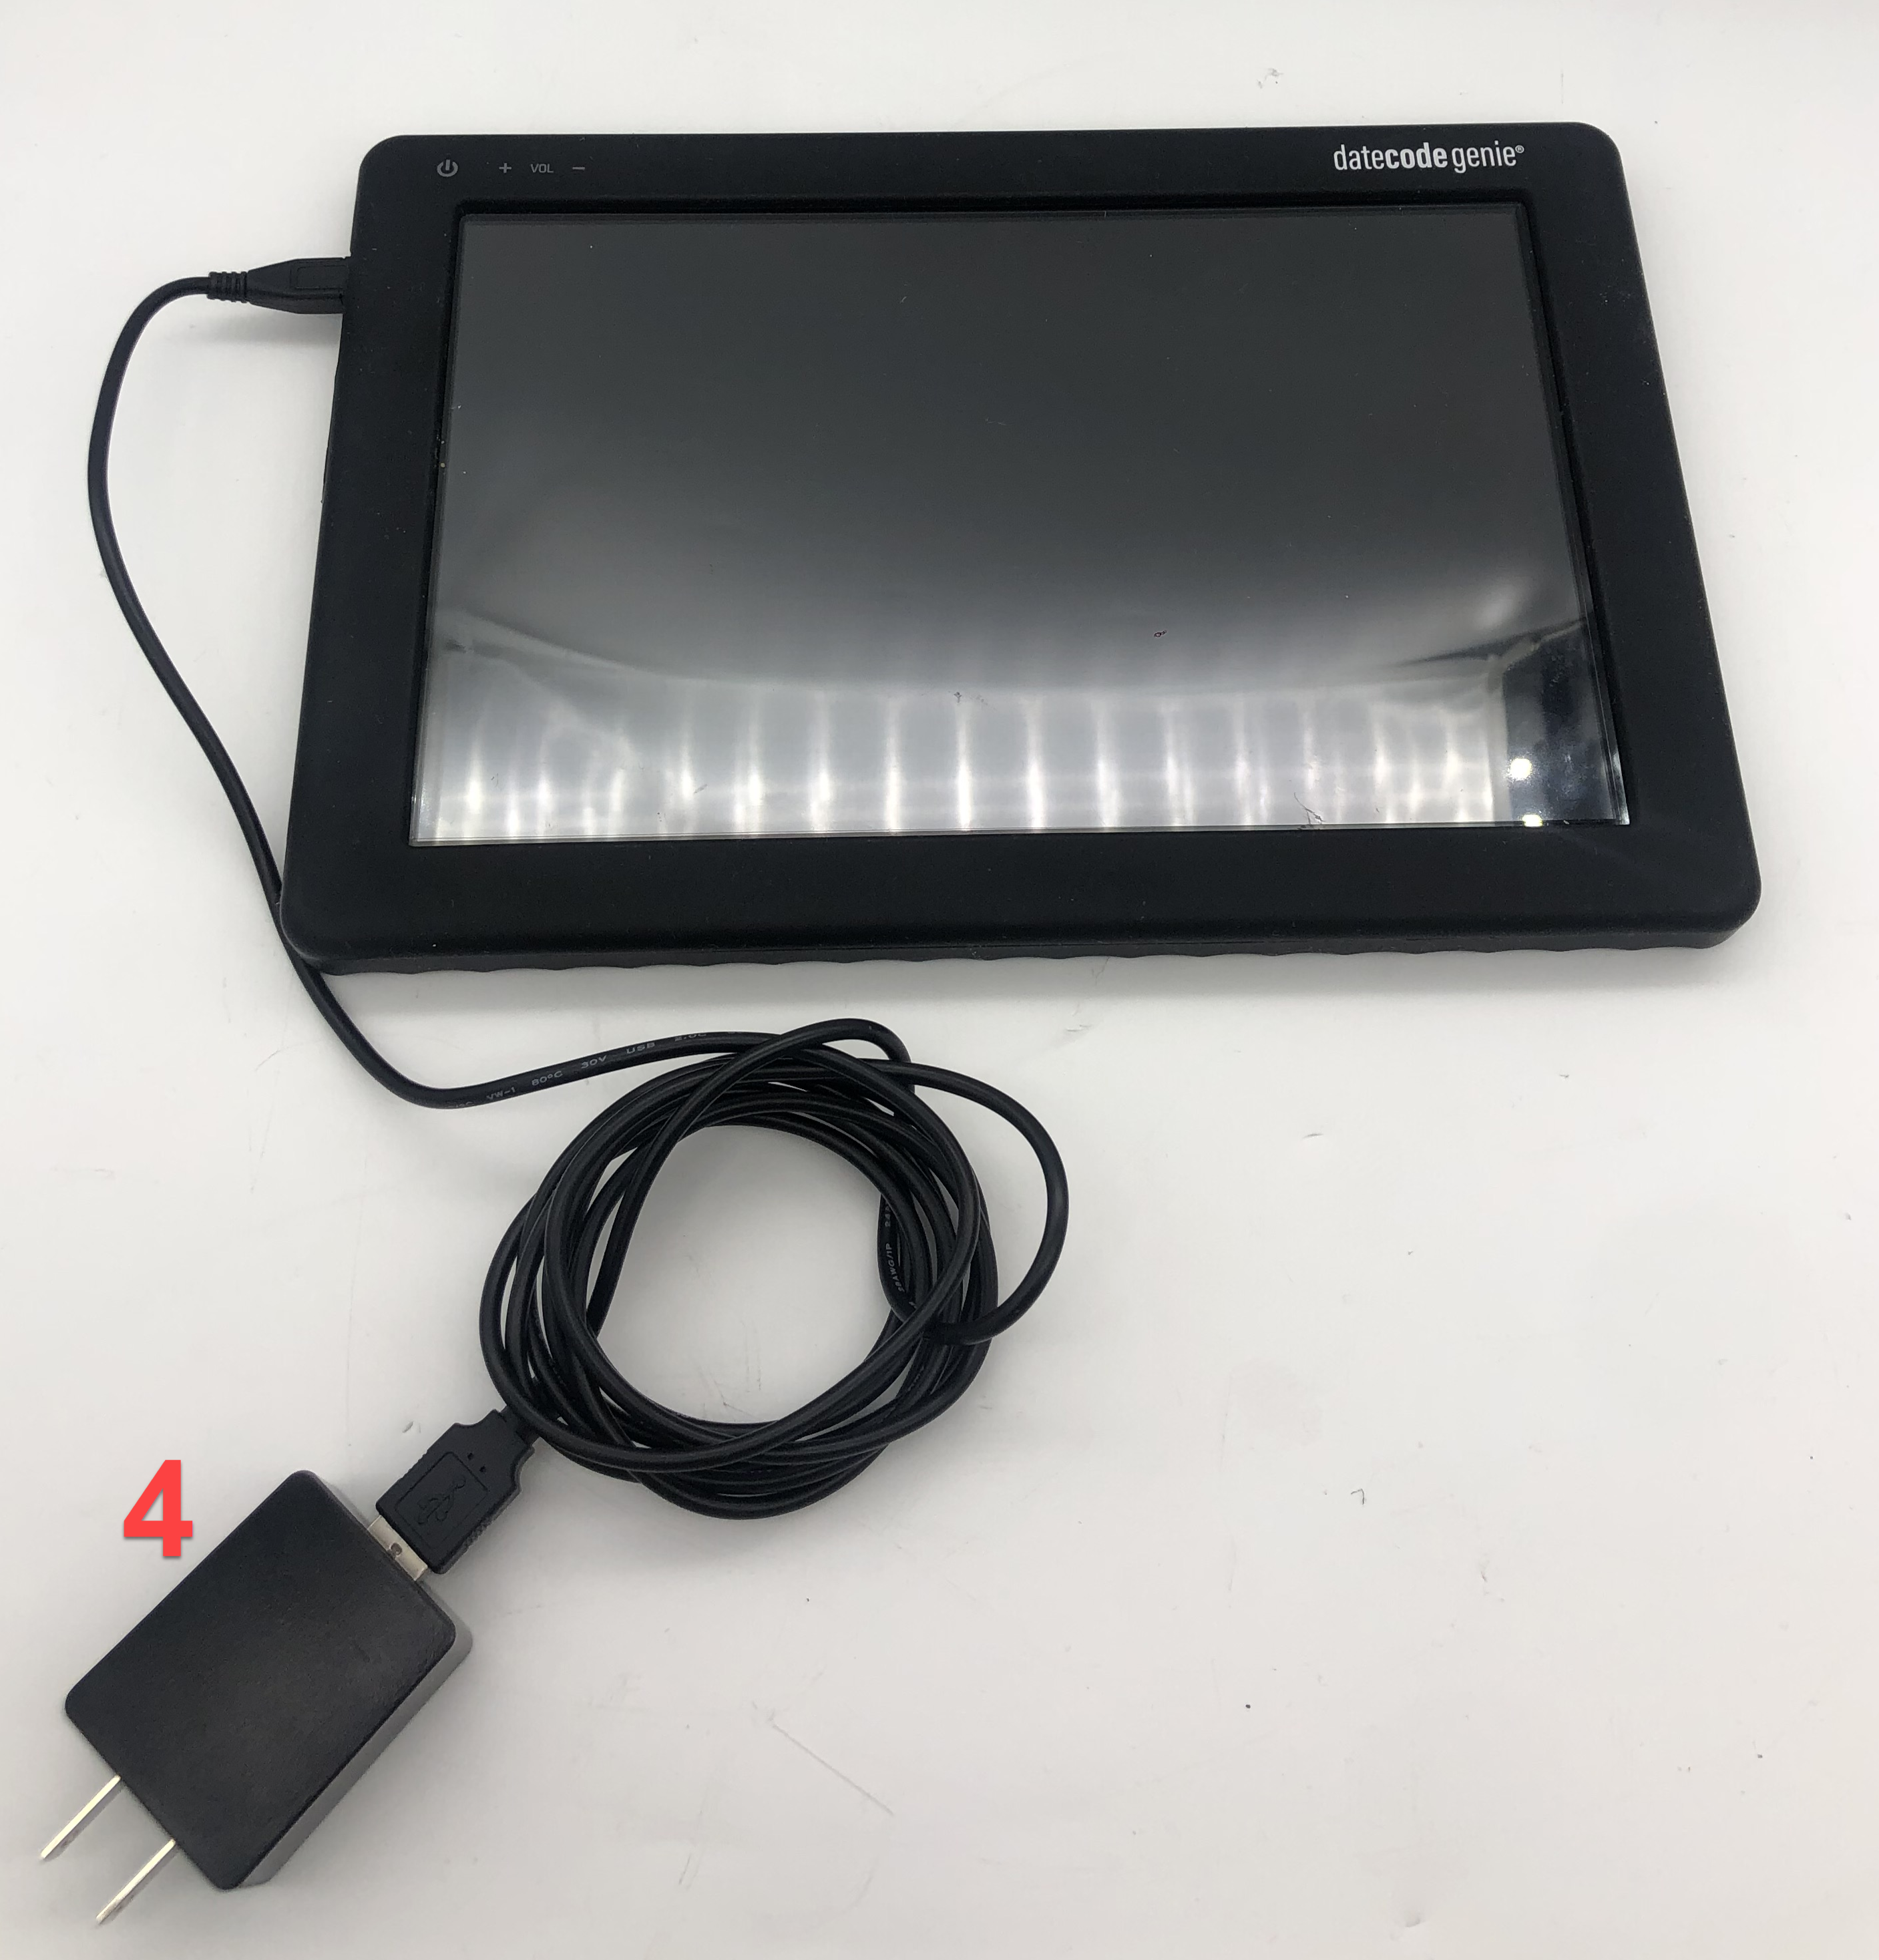
Tablet
|
|
|
|
| 5. USB port |  |

Printer
NOTELiquid detection indicator location may vary depending on printer model. |
|
|
|