
Manage Menu Items
Table of Contents
Add, edit, and delete menu items from the Menu Items tab in the portal.
Add a Menu Item
1. Login to www.datecodegenie.com using the recommended browser, see What Internet Browser Should I Use to Access My DateCodeGenie® Portal?
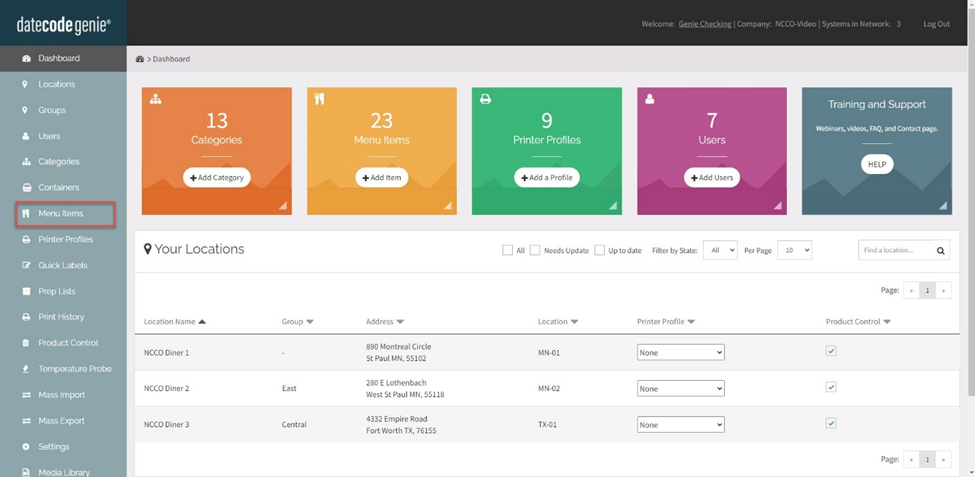
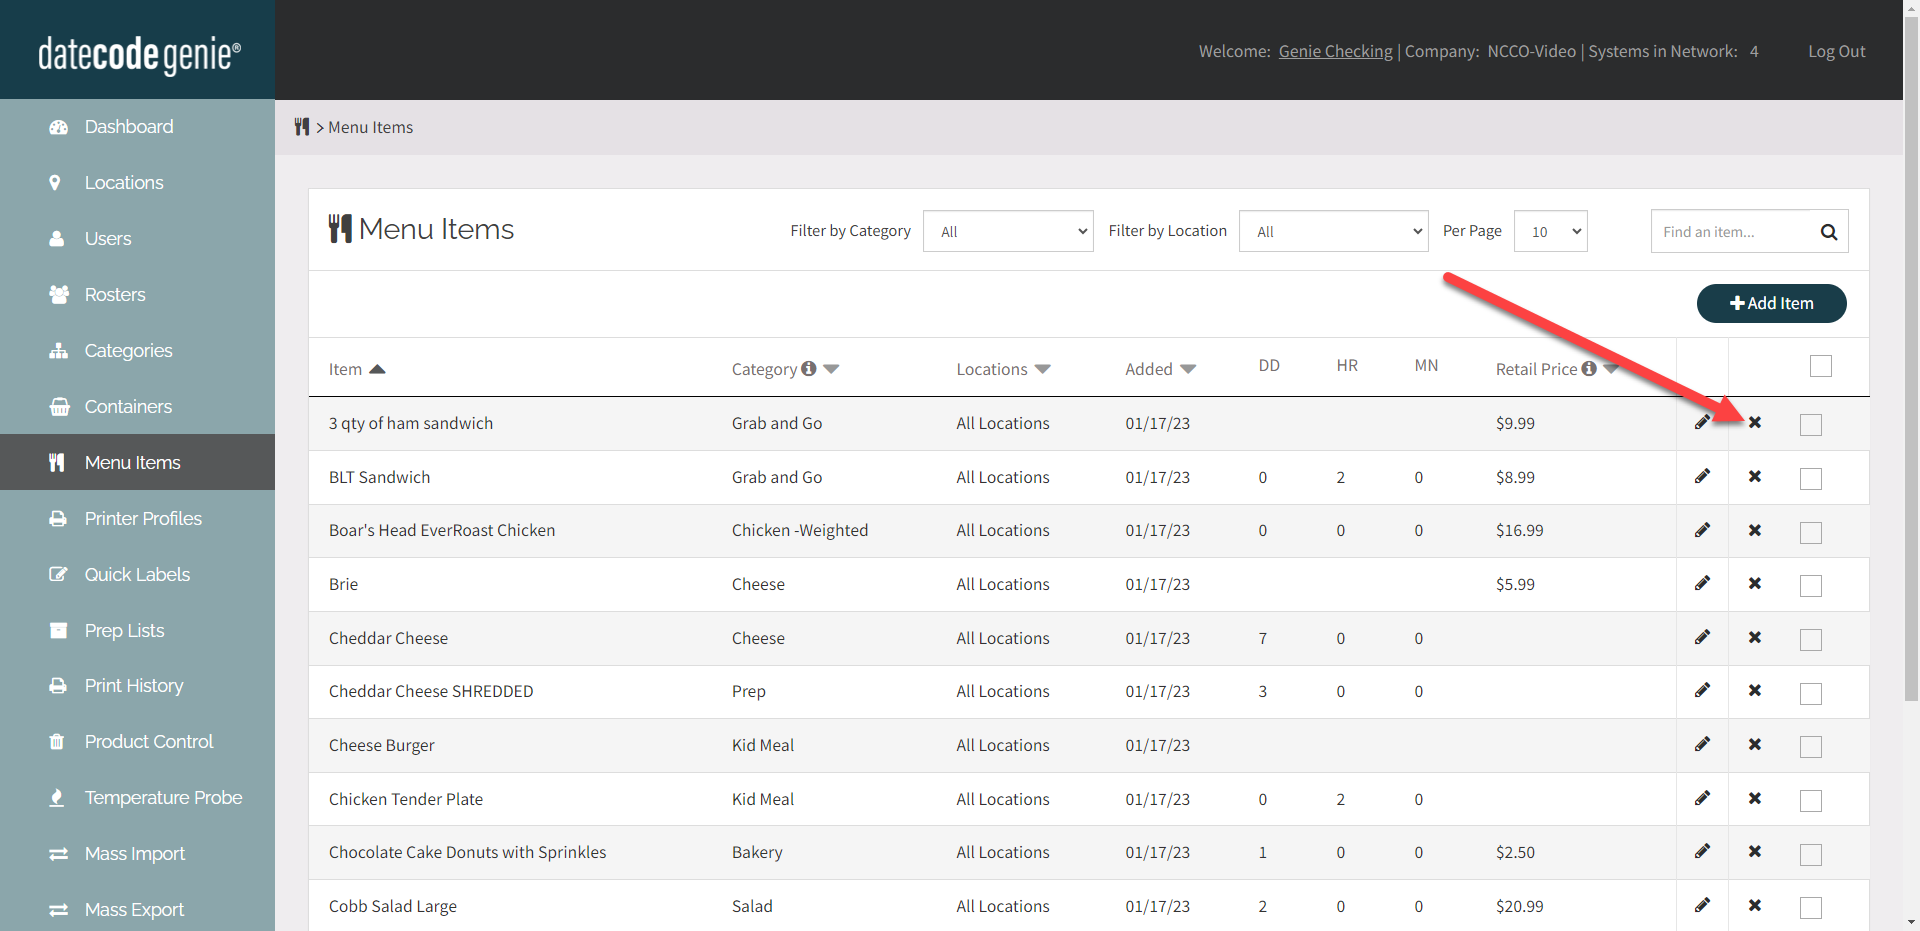
2. Click on the Menu Items tab on the sidebar.
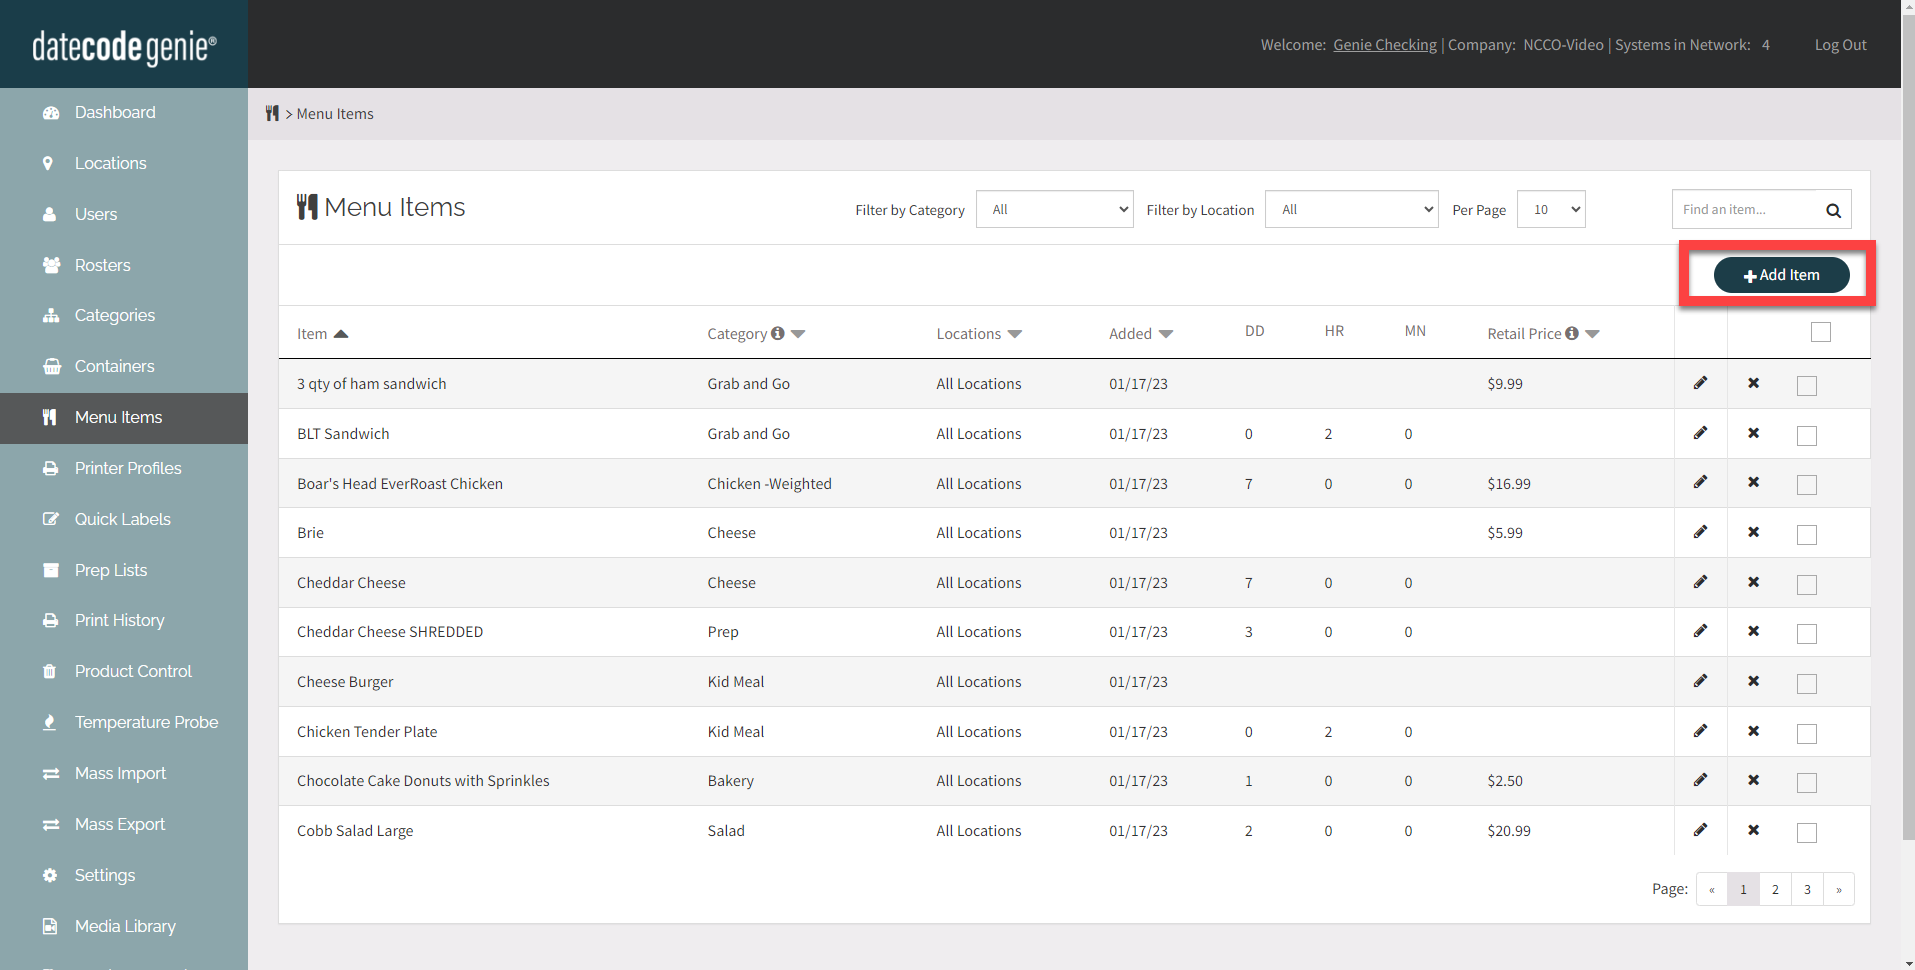
3. Click the +Add Item button to open a new add item page.
NOTE
If the +Add Item button is not displayed, the Add or Edit Menu Items Permission is not turned on. Contact your Portal Administrator about turning on this permission.
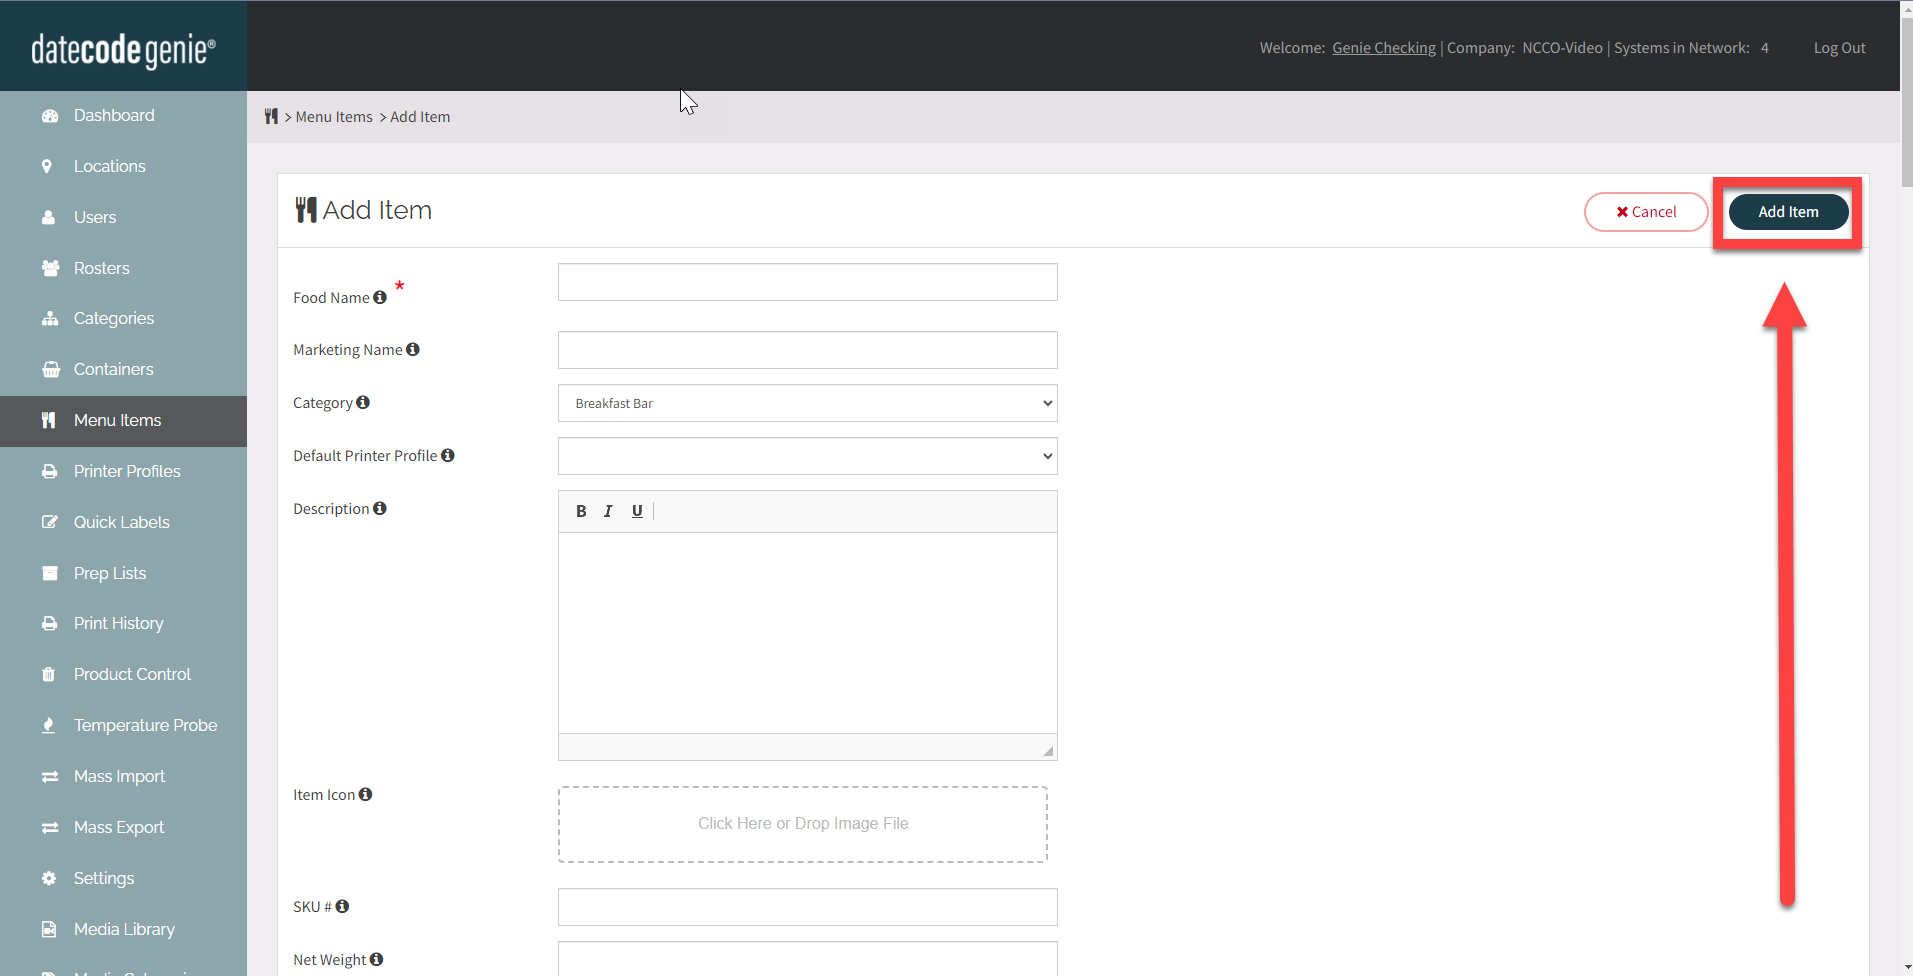
4. Add the data to desired fields. Required fields are noted by the red asterisk.

5. Scroll and click Add Item to add your item.
Edit a Menu Item
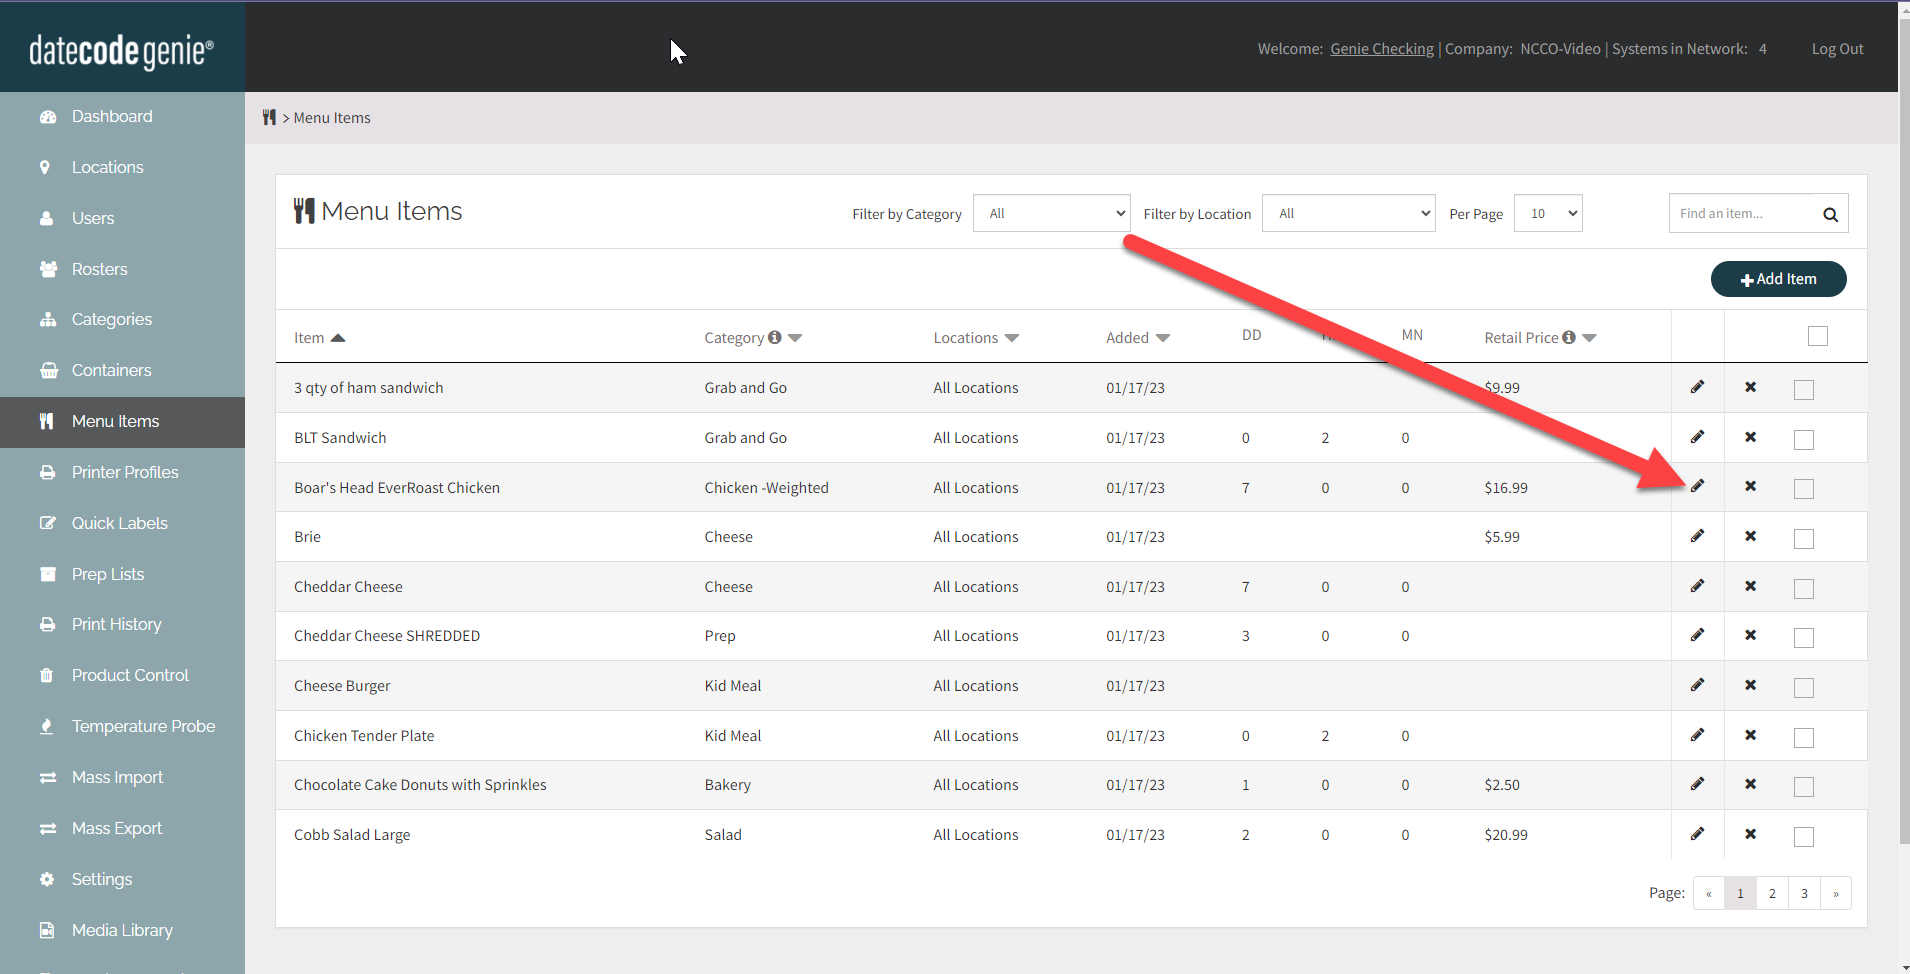
Click the Edit button (pencil icon) to the right of the menu item to open the menu item page and edit.
Delete a Menu Item
There are multiple ways to delete menu items.
TIPS & TRICKS
- Sort the page by maximum number first to view more menu items at once.

- Filter menu items by the category column to group them, making it easier to check and remove items by category.

Option 1: Delete one menu item at a time.
1. Click the Delete button (x icon) to the right of the menu item to remove the menu item.
2. A warning appears at the top of the screen, click OK to confirm the deletion of the menu item.

Option 2: Delete multiple menu items at one time.
1. Check the box next to each menu item

2. Click Delete Items.

3. A warning appears at the top of the screen, click OK to confirm the deletion of all the checked menu items at one time.

Option 3: Delete all menu items on page.
1. Click the box in the header below the + Add Item to automatically check all the menu items on the page.

2. A warning appears at the top of the screen, click OK to confirm the deletion of the menu item.

