US English (US)
FR French
DE German
ES Spanish
IT Italian
NL Dutch
menu

Contact Us

No results found. Still need help? Contact us

  • Scheduled Assistance
  • Contact Us
English (US)
US English (US)
FR French
DE German
ES Spanish
IT Italian
NL Dutch
arrow_back
  • Getting Started
  • Devices
  • App
  • Portal
  • Admin Settings
  • Accessories
  • Labels
  • Repairs
  • APIs
  • Task Manager
  • Scheduled Assistance
  • Contact Us

Change the Enabled Cut Setting on the App

Contact Us

If you still have questions or prefer to get help directly from an agent, please submit a request.
We’ll get back to you as soon as possible.

  • Getting Started
    Getting Started Guides Set Up Training
  • Devices
    Troubleshooting Device Overview 2.0 Model X Series Model Fit Model Lite Model mC-Label3 Printer Device Tablet Internet Connection Warranty & Support
  • App
    Error Codes Troubleshooting App Overview Mobile App Subscription Prep Lists Product Control Rosters Scale Temperature Probe Print History Settings Language Location Overrides
  • Portal
    Portal Overview Locations Categories Menu Items Printer Profiles Users Settings Quick Labels Prep List Print History Mass Import and Export Media Library Location Overrides Product Control Rosters Scale Temperature Probe Groups
  • Admin Settings
    Start with Admin Settings Admin Settings Overview Locations Devices and Licenses
  • Accessories
    Bluetooth Scanner USB Scanner Temperature Probe Scale Label Rewinder Fit Printer Shelf Warranty
  • Labels
    Overview Troubleshooting
  • Repairs
    2.0 Model X Series Model Lite Model DateCodeGenie® Tablet
  • APIs
    Inbound APIs Outbound APIs
  • Task Manager
    Task Manager Overview Venues Forms Users Resources Task Manager App
+ More
  • Home
  • App
  • Settings

The Enable Cut setting allows automatic cutting or not cutting of labels after each print job. This setting is available on the app of 2.0, Fit, or X model devices only and defaults to cutting labels. All user types can update this setting.

Steps:

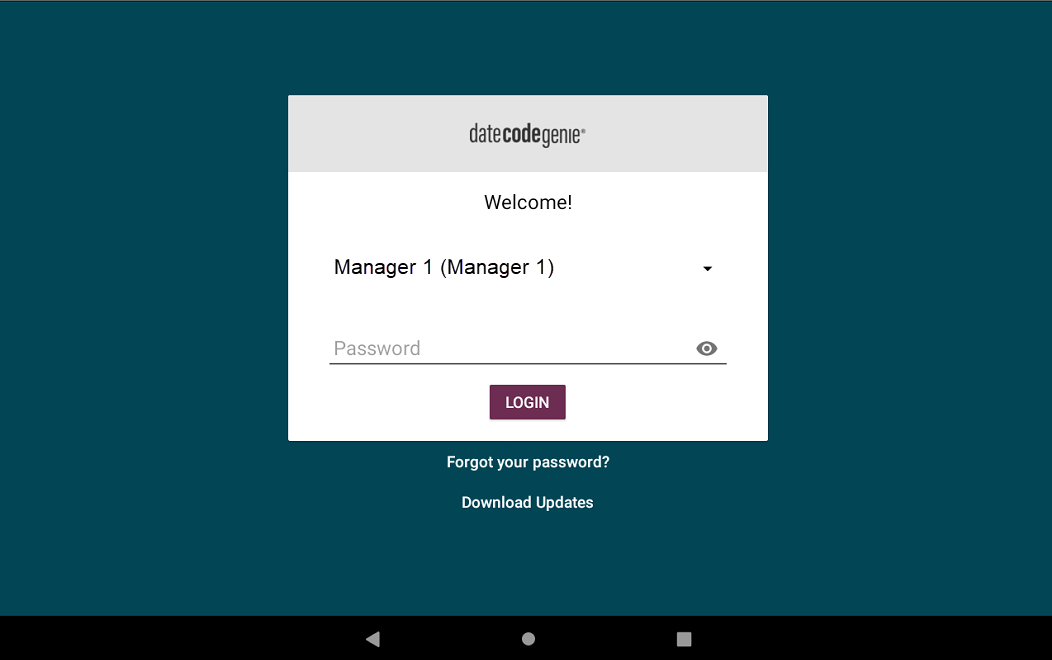
1. Log in to the app with your username and password, if required.

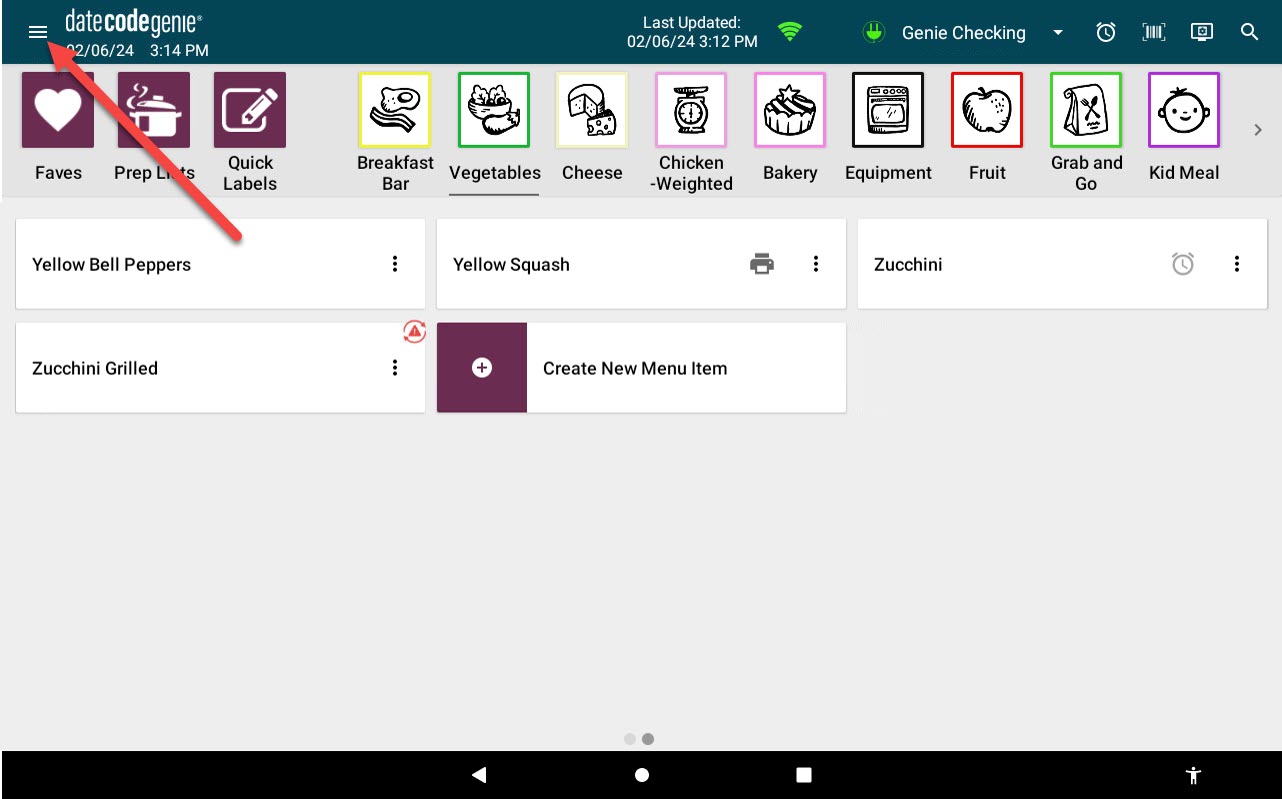
2. Tap the Navigation Button to open available options.

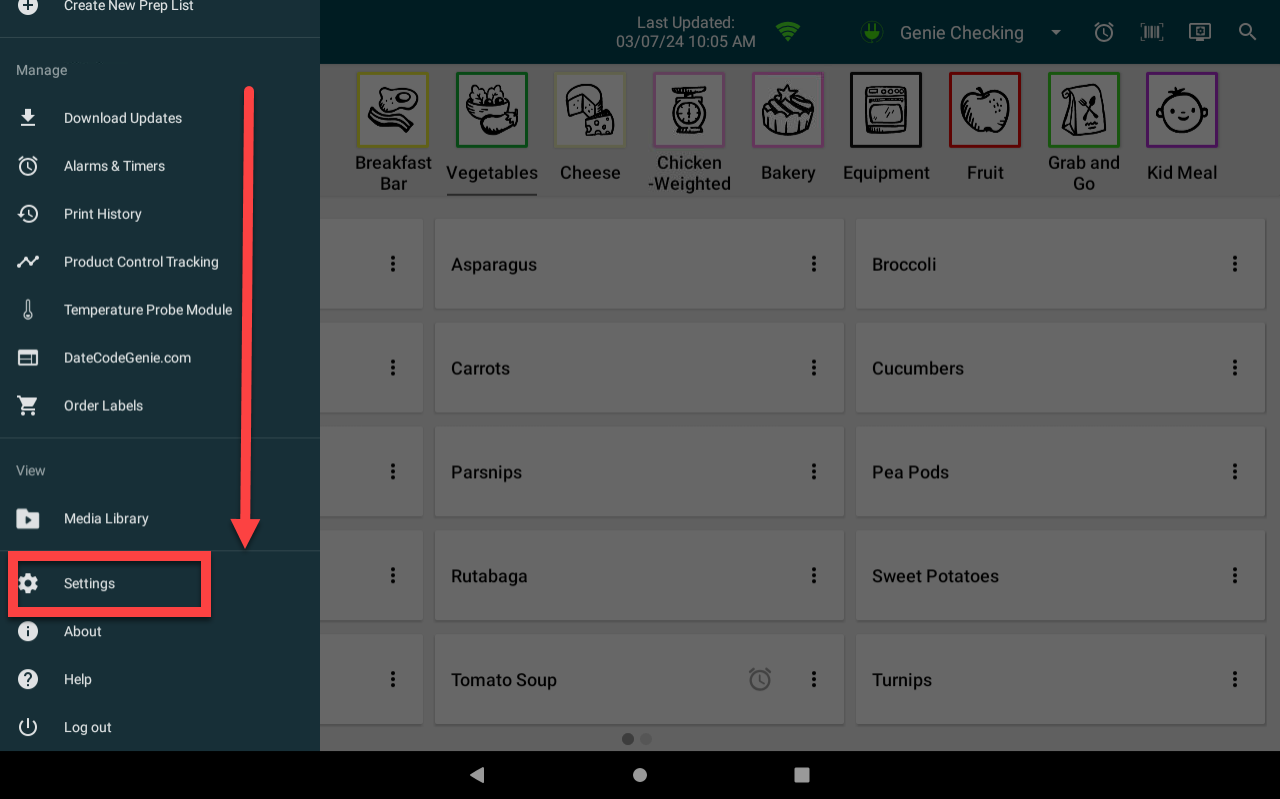
3. Scroll to the Settings section and tap to open. 

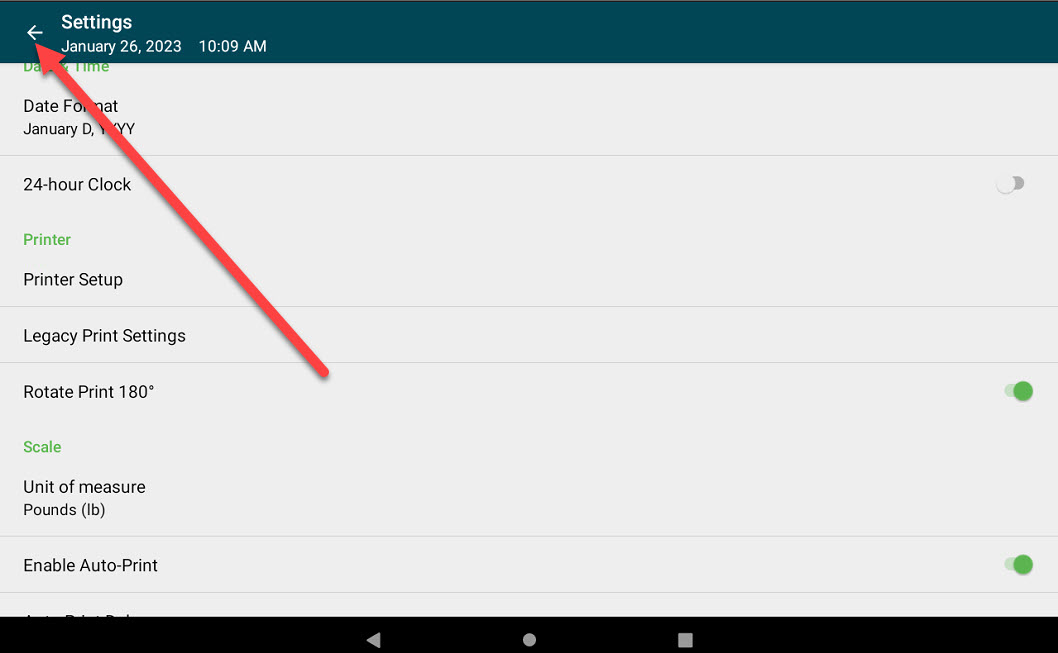
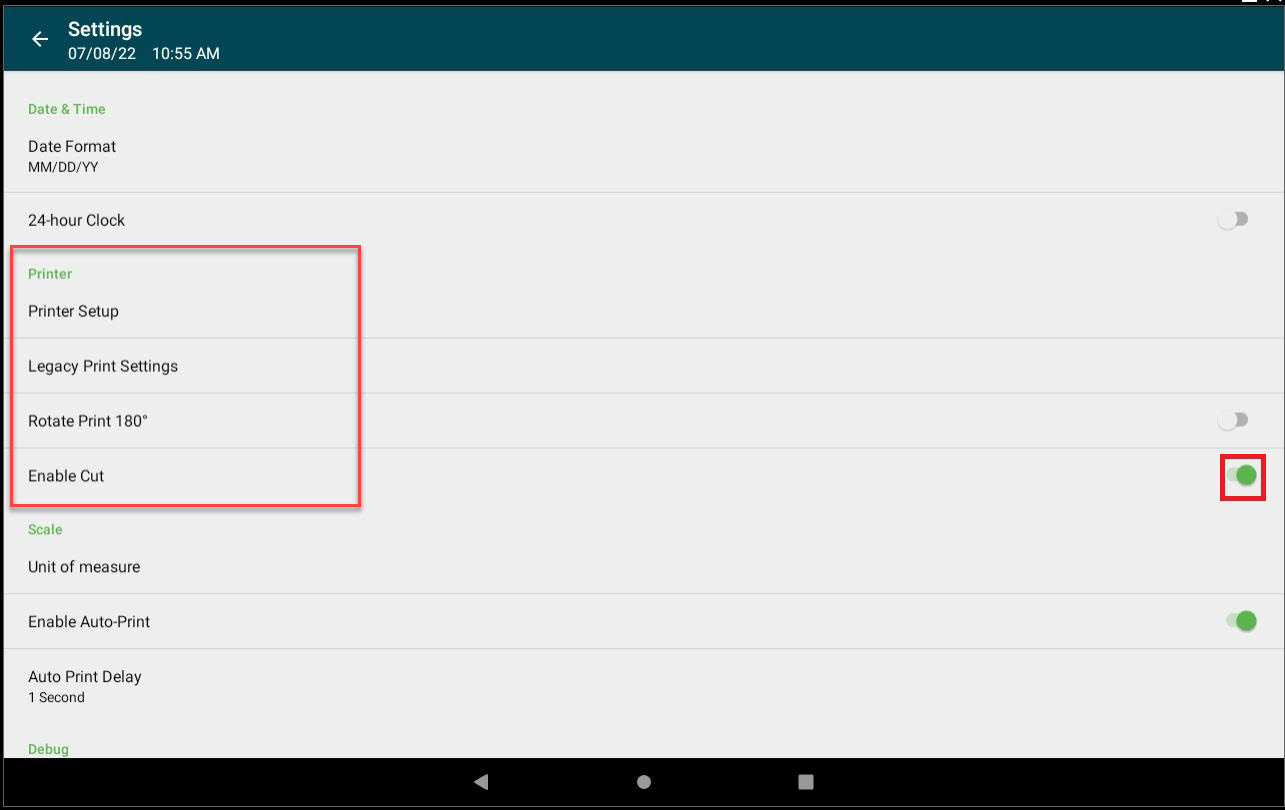
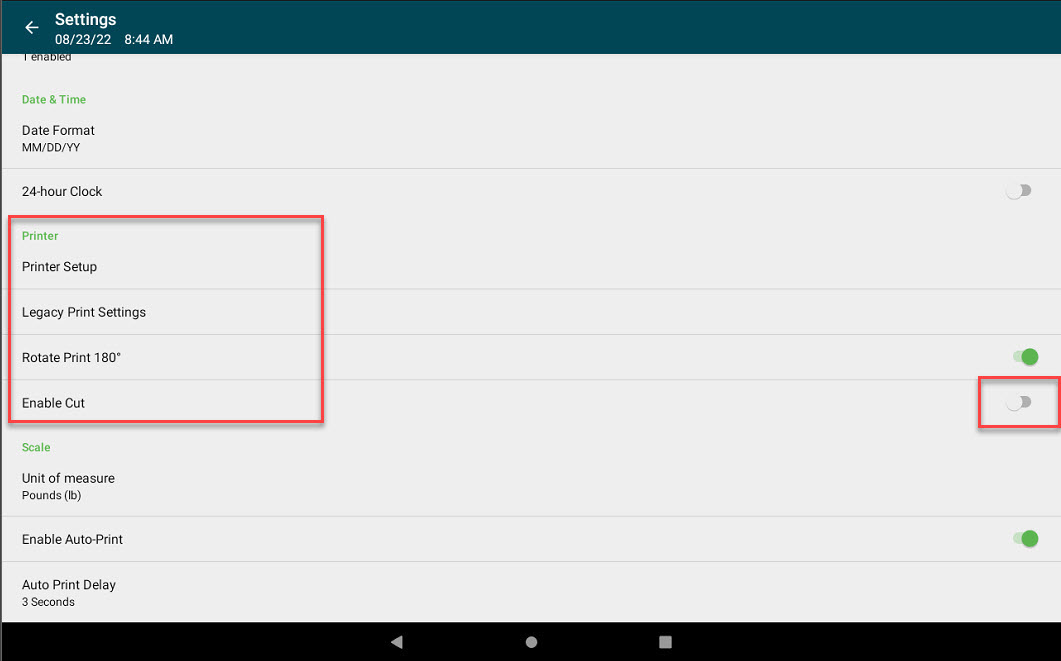
4. Scroll to the Printer section, find Enable Cut and tap the toggle to turn on or off.

  1. Tap toggle to turn green and cut labels after printing.

NOTE

Cutting labels is the default setting.


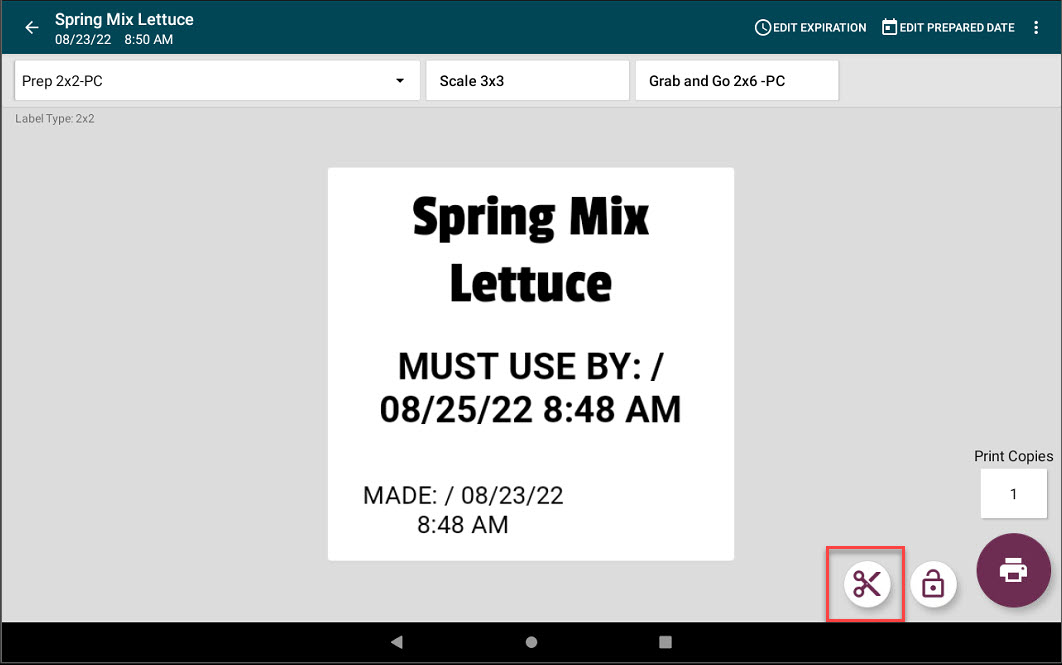
b. Tap toggle to turn white and labels will not cut after printing and the Cut Button (scissor icon) will display on the Print Preview Page.


5. Tap the Back Button (arrow icon) to return to the App Dashboard.

Related Articles

  • Turn Off Label Cutting
  • Change the Auto Print Setting
  • Change the Auto Print Delay Setting for the Scale

Was this article helpful?

Yes
No
Give feedback about this article

Related Articles

  • Turn Off Label Cutting
  • Change the Auto Print Setting
  • Change the Auto Print Delay Setting for the Scale
© 2025 DateCodeGenie

899 Montreal Circle, St. Paul, MN 55102

Privacy Policy

contact us
About NCCO

Knowledge Base Software powered by Helpjuice

Expand