US English (US)
FR French
DE German
ES Spanish
IT Italian
NL Dutch
menu

Contact Us

No results found. Still need help? Contact us

  • Scheduled Assistance
  • Contact Us
English (US)
US English (US)
FR French
DE German
ES Spanish
IT Italian
NL Dutch
arrow_back
  • Getting Started
  • Devices
  • App
  • Portal
  • Admin Settings
  • Accessories
  • Labels
  • Repairs
  • APIs
  • Task Manager
  • Scheduled Assistance
  • Contact Us

Configure a Static IP Address

Contact Us

If you still have questions or prefer to get help directly from an agent, please submit a request.
We’ll get back to you as soon as possible.

  • Getting Started
    Getting Started Guides Set Up Training
  • Devices
    Troubleshooting Device Overview 2.0 Model X Series Model Fit Model Lite Model mC-Label3 Printer Device Tablet Internet Connection Warranty & Support
  • App
    Error Codes Troubleshooting App Overview Mobile App Subscription Prep Lists Product Control Rosters Scale Temperature Probe Print History Settings Language Location Overrides
  • Portal
    Portal Overview Locations Categories Menu Items Printer Profiles Users Settings Quick Labels Prep List Print History Mass Import and Export Media Library Location Overrides Product Control Rosters Scale Temperature Probe Groups
  • Admin Settings
    Start with Admin Settings Admin Settings Overview Locations Devices and Licenses
  • Accessories
    Bluetooth Scanner USB Scanner Temperature Probe Scale Label Rewinder Fit Printer Shelf Warranty
  • Labels
    Overview Troubleshooting
  • Repairs
    2.0 Model X Series Model Lite Model DateCodeGenie® Tablet
  • APIs
    Inbound APIs Outbound APIs
  • Task Manager
    Task Manager Overview Venues Forms Users Resources Task Manager App
+ More
  • Home
  • Devices
  • Internet Connection

The instructions below are only for tablets using Android: 6 and above. To know what model your Android Tablet is, see What Android Version Is My Tablet

NOTES

  • This article is for DateCodeGenie® devices with integrated printers or Lite model device tablets only. For mobile app users, refer to your tablet's manufacturer information for tablet setup assistance.
  • If Settings does not display on the app list, see Using KioskHome for Tablet Access 
 

For Android 9 Tablet Models:

Steps:

1. Tap the home button (circle icon) to return to tablet home screen.
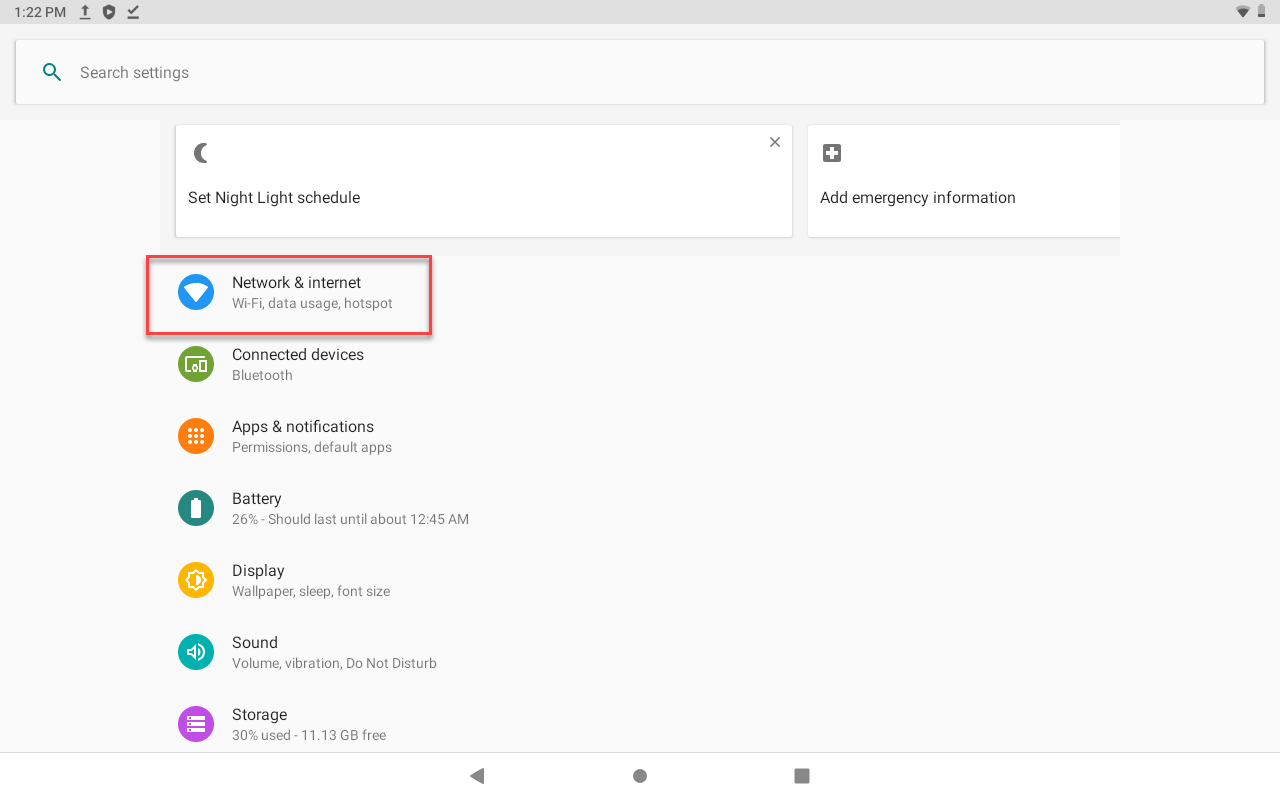
2. Tap Settings.

3. Tap Network and internet.

4. Tap Wi-Fi.

NOTE

Wi-Fi name may be different than shown.


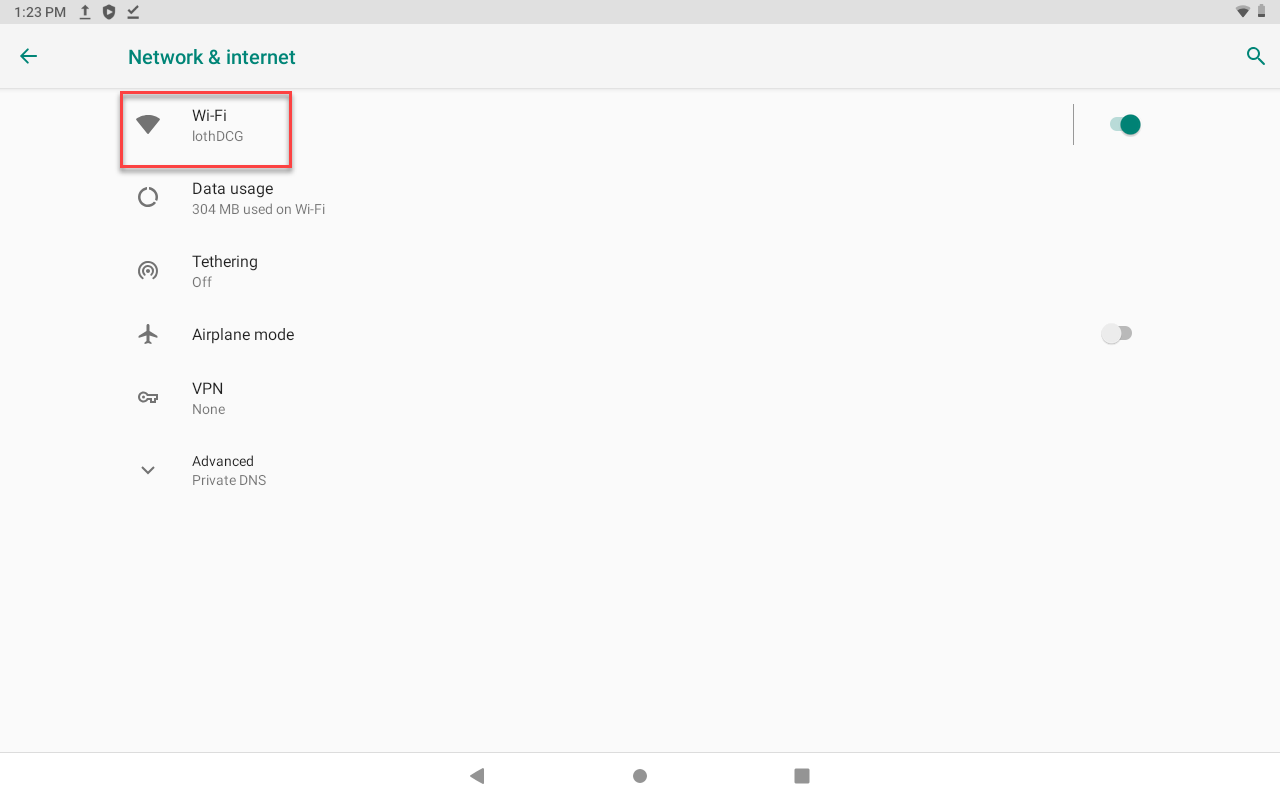
5. Connect to specific location Wi-Fi. If not connected to Wi-Fi, skip to step 8.

6. Once connected, tap the Wi-Fi name to access the Network details.

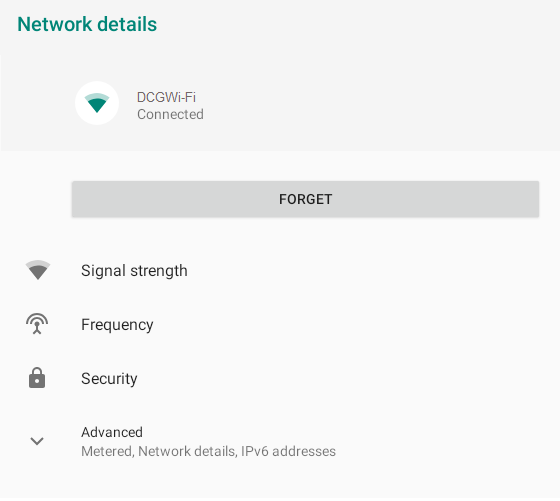
7. Tap the pencil icon on the top right to modify the current Wi-Fi connection and a pop-up window will appear.

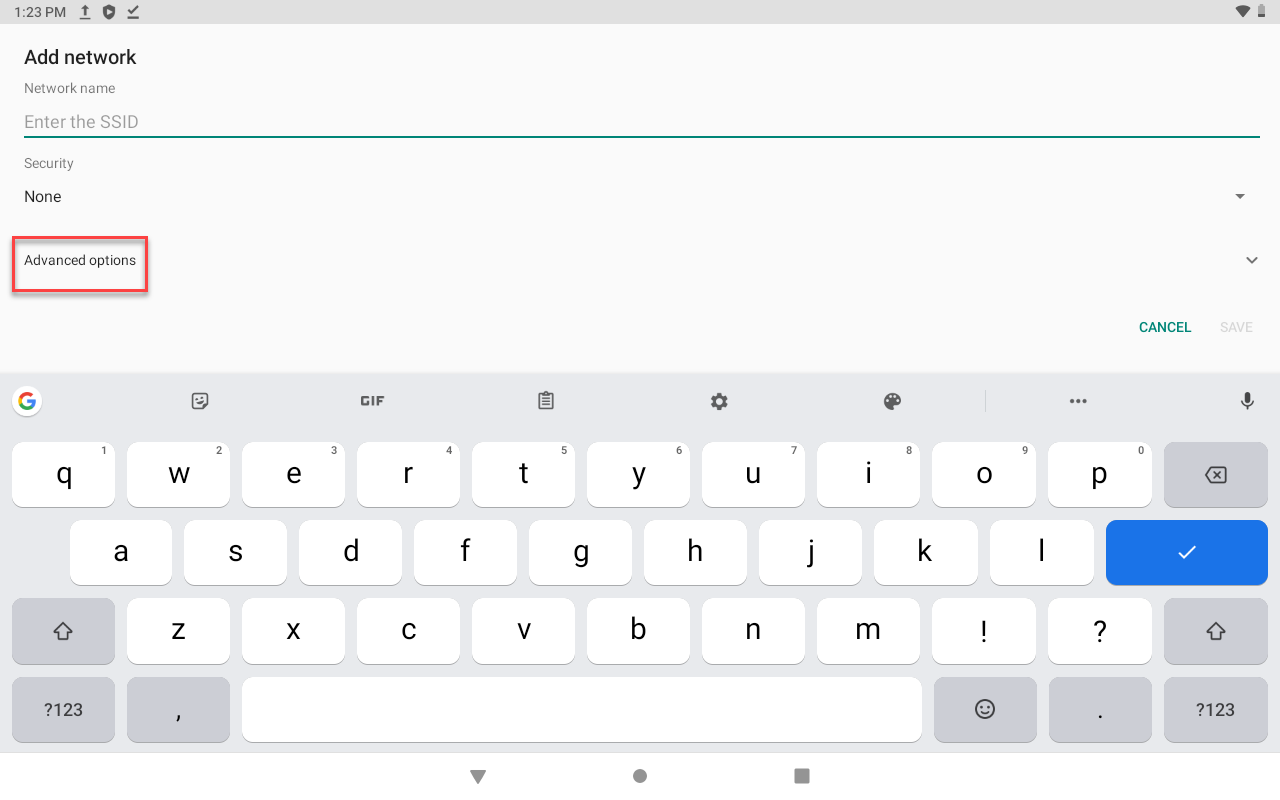
8. Scroll down in the pop-up window to tap on Advanced options.

NOTE

If connecting to a Wi-Fi network for the first time, this window will be the one to appear.


9. Scroll down in the pop-up window to locate IP Settings, and tap on DHCP to change to Static.

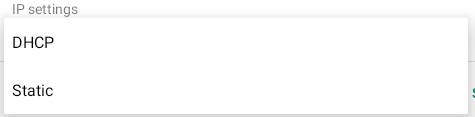
10. Enter the information in each required field for Static settings.

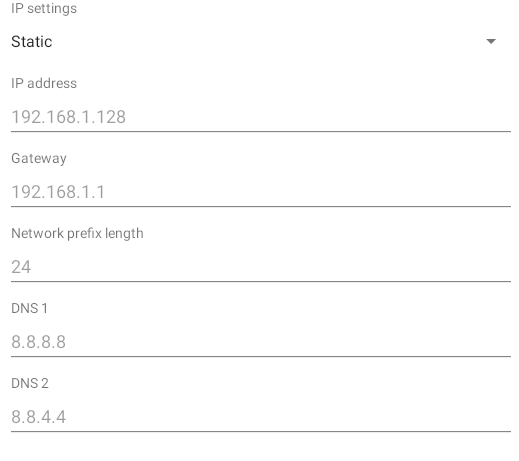
11. Tap Save button in the bottom right to save Static settings.

Related Articles

  • Find Android Version on the DateCodeGenie® Tablet
  • Locate Tablet MAC Address
  • Android Recovery Screen
  • Missing DCG Apps from Tablet

Was this article helpful?

Yes
No
Give feedback about this article

Related Articles

  • Find Android Version on the DateCodeGenie® Tablet
  • Locate Tablet MAC Address
  • Android Recovery Screen
  • Missing DCG Apps from Tablet
© 2025 DateCodeGenie

899 Montreal Circle, St. Paul, MN 55102

Privacy Policy

contact us
About NCCO

Knowledge Base Software powered by Helpjuice

Expand