US English (US)
FR French
DE German
ES Spanish
IT Italian
NL Dutch
menu

Contact Us

No results found. Still need help? Contact us

  • Scheduled Assistance
  • Contact Us
English (US)
US English (US)
FR French
DE German
ES Spanish
IT Italian
NL Dutch
arrow_back
  • DateCodeGenie
  • RightBytes
  • Task Manager
  • Scheduled Assistance
  • Contact Us

Set Up Menu Item Timer in the Portal

Contact Us

If you still have questions or prefer to get help directly from an agent, please submit a request.
We’ll get back to you as soon as possible.

  • DateCodeGenie
    Getting Started Devices App Portal Admin Settings Accessories Labels Repairs APIs
  • RightBytes
    InsightsLite StockSmart
  • Task Manager
    Task Manager Overview Venues Forms Approvals Analytics Users Resources Task Manager App Task Manager Hardware Troubleshooting
+ More
  • Home
  • DateCodeGenie
  • Portal
  • Menu Items

Timers set up from the Menu Items tab in the portal will start when the menu item is printed on the app, and will go off after the time set in the portal. 

Steps:

1. Login to www.datecodegenie.com using the recommended browser, see What Internet Browser Should I Use to Access My DateCodeGenie® Portal?

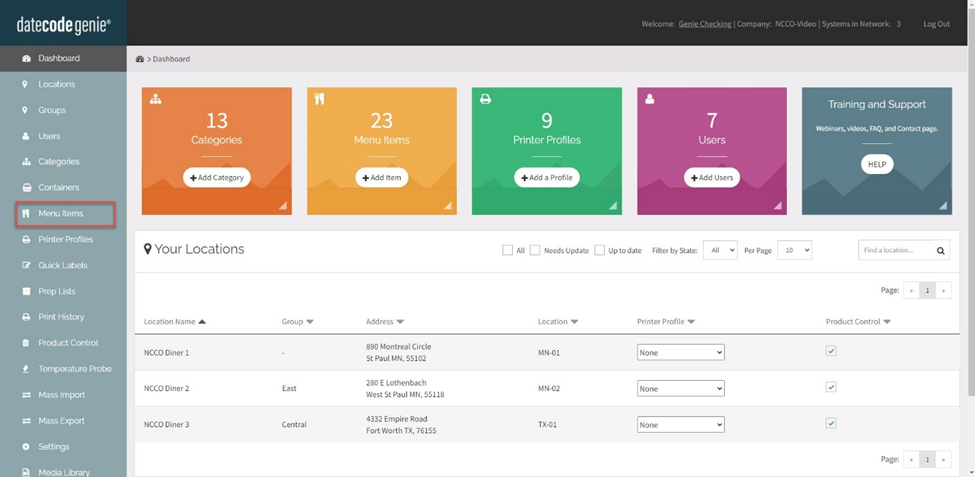
2. Click on the Menu Items tab on the side bar.

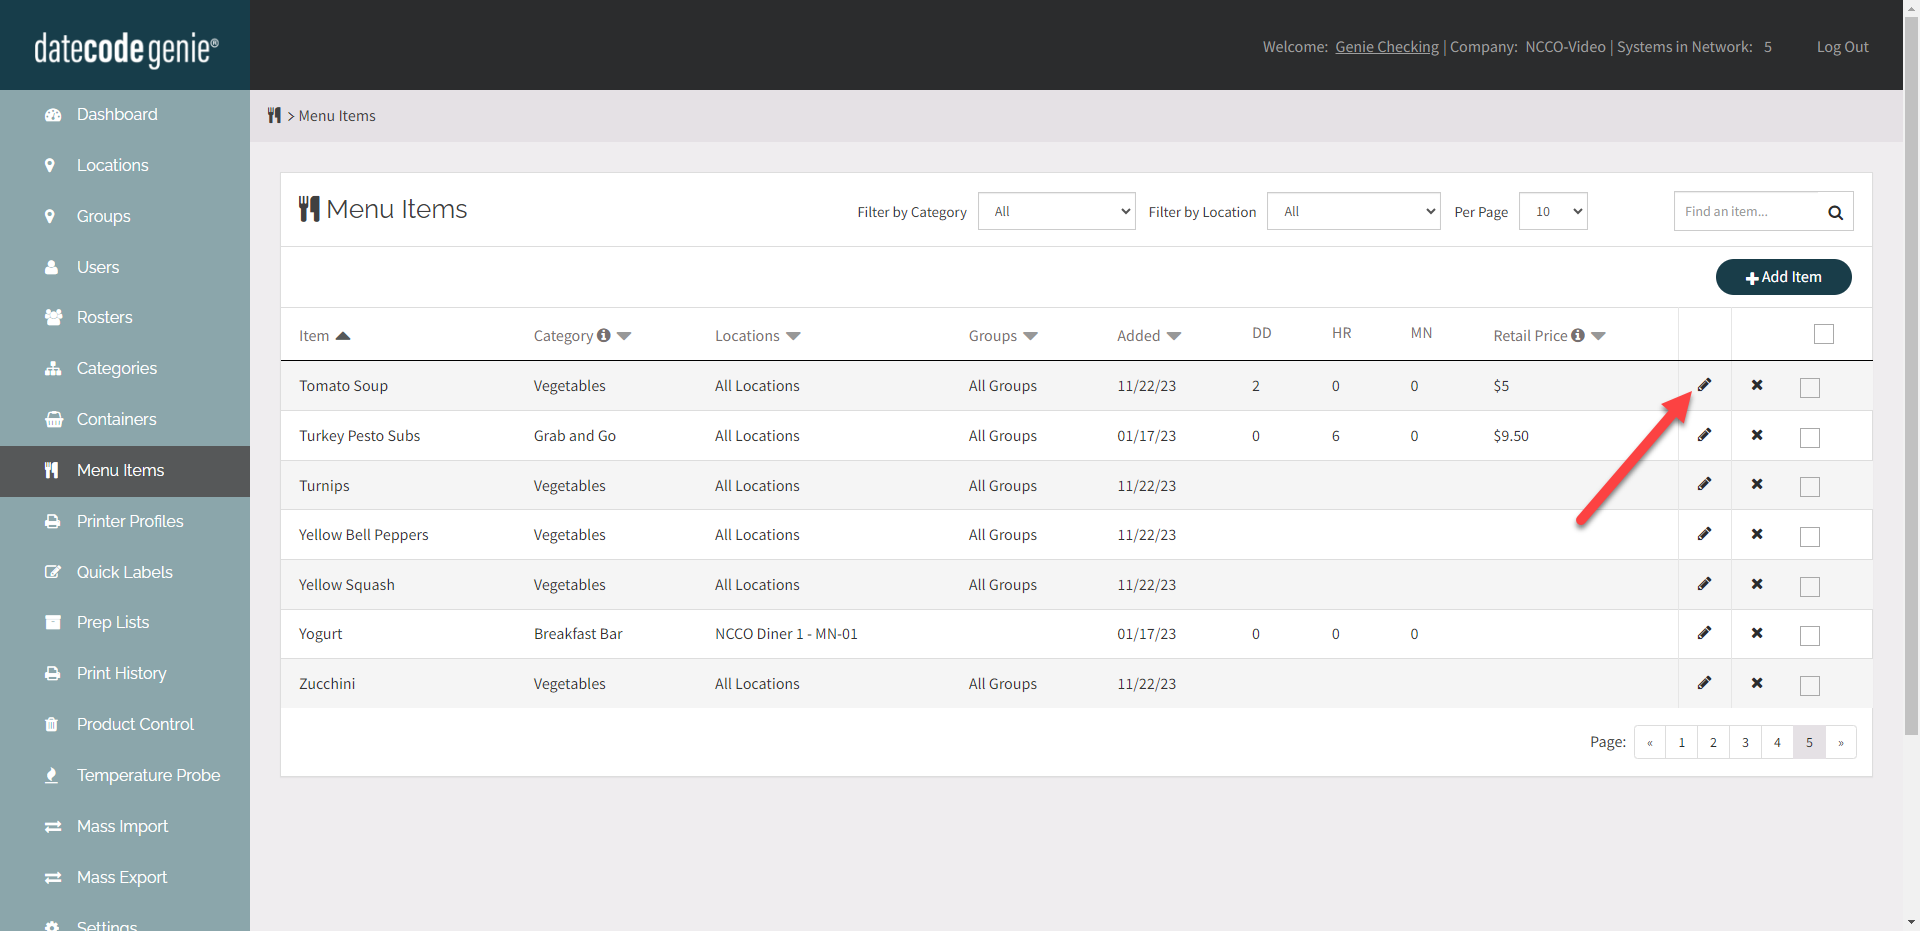
3. Click the Edit button (pencil icon) from a menu item to edit, or add new menu item. See How to Add or Edit Menu Items.

4. Scroll down to TIMER: ACTIVATED ONCE LABEL IS PRINTED. Enter the timer amount.

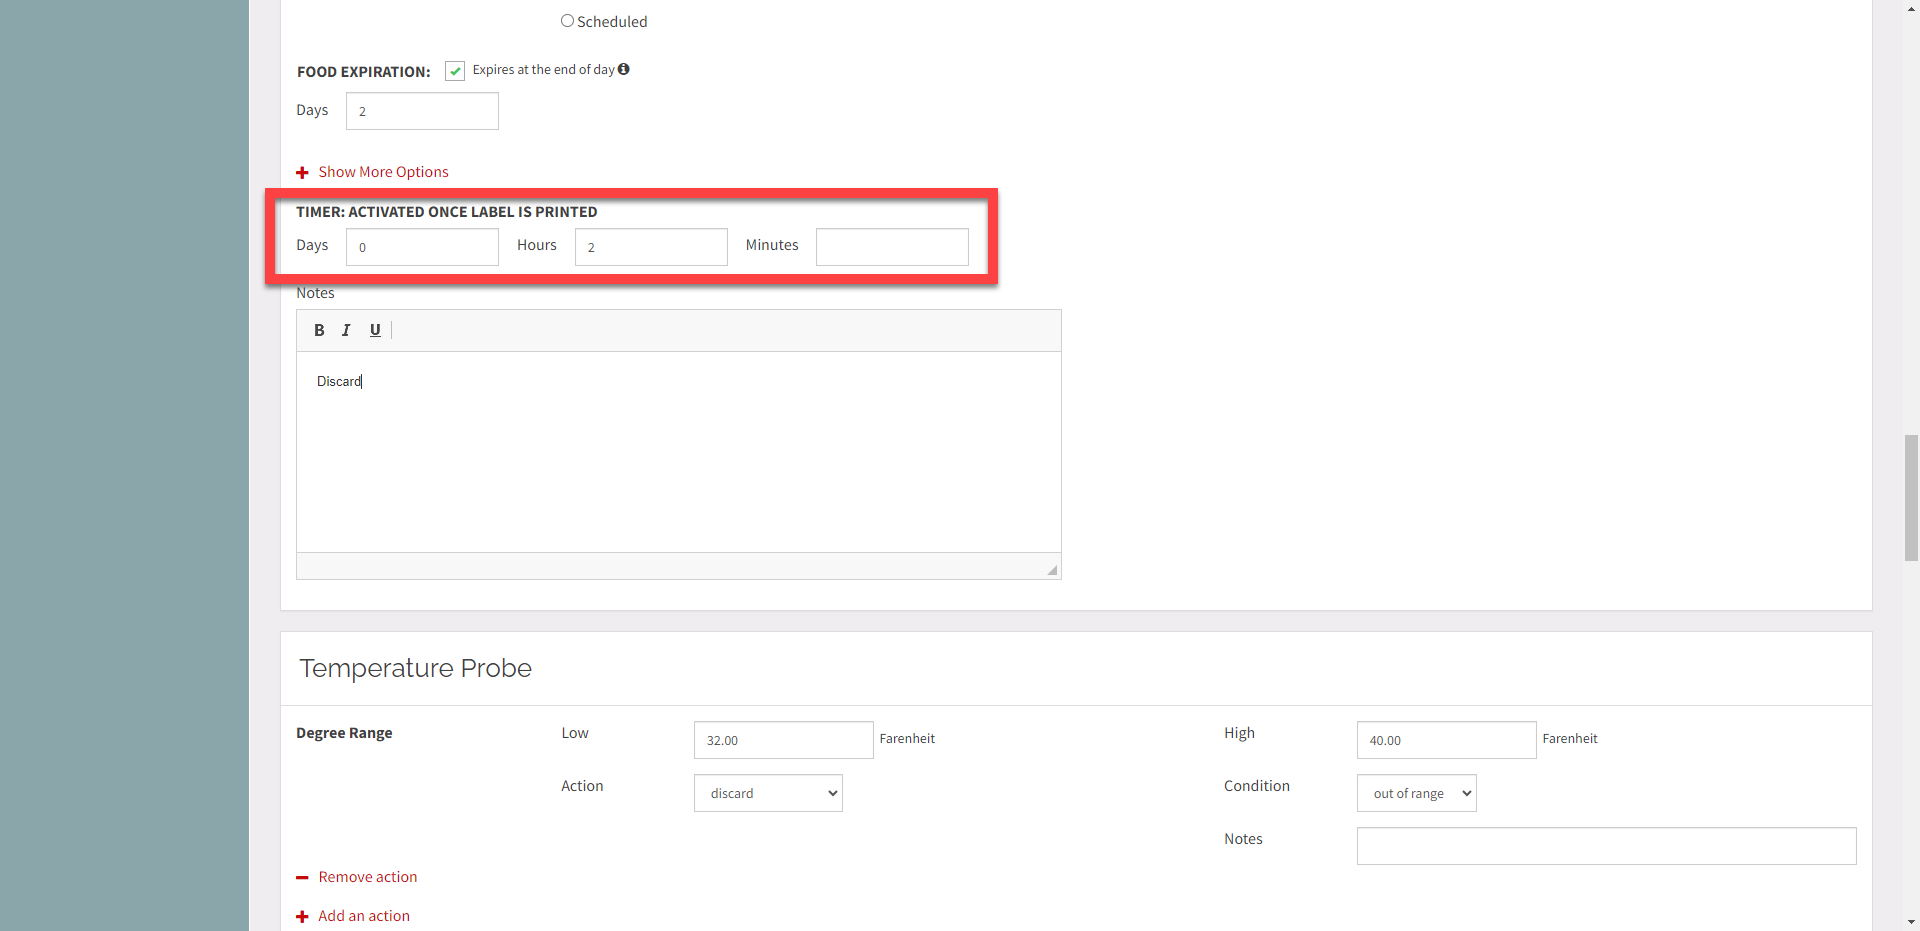
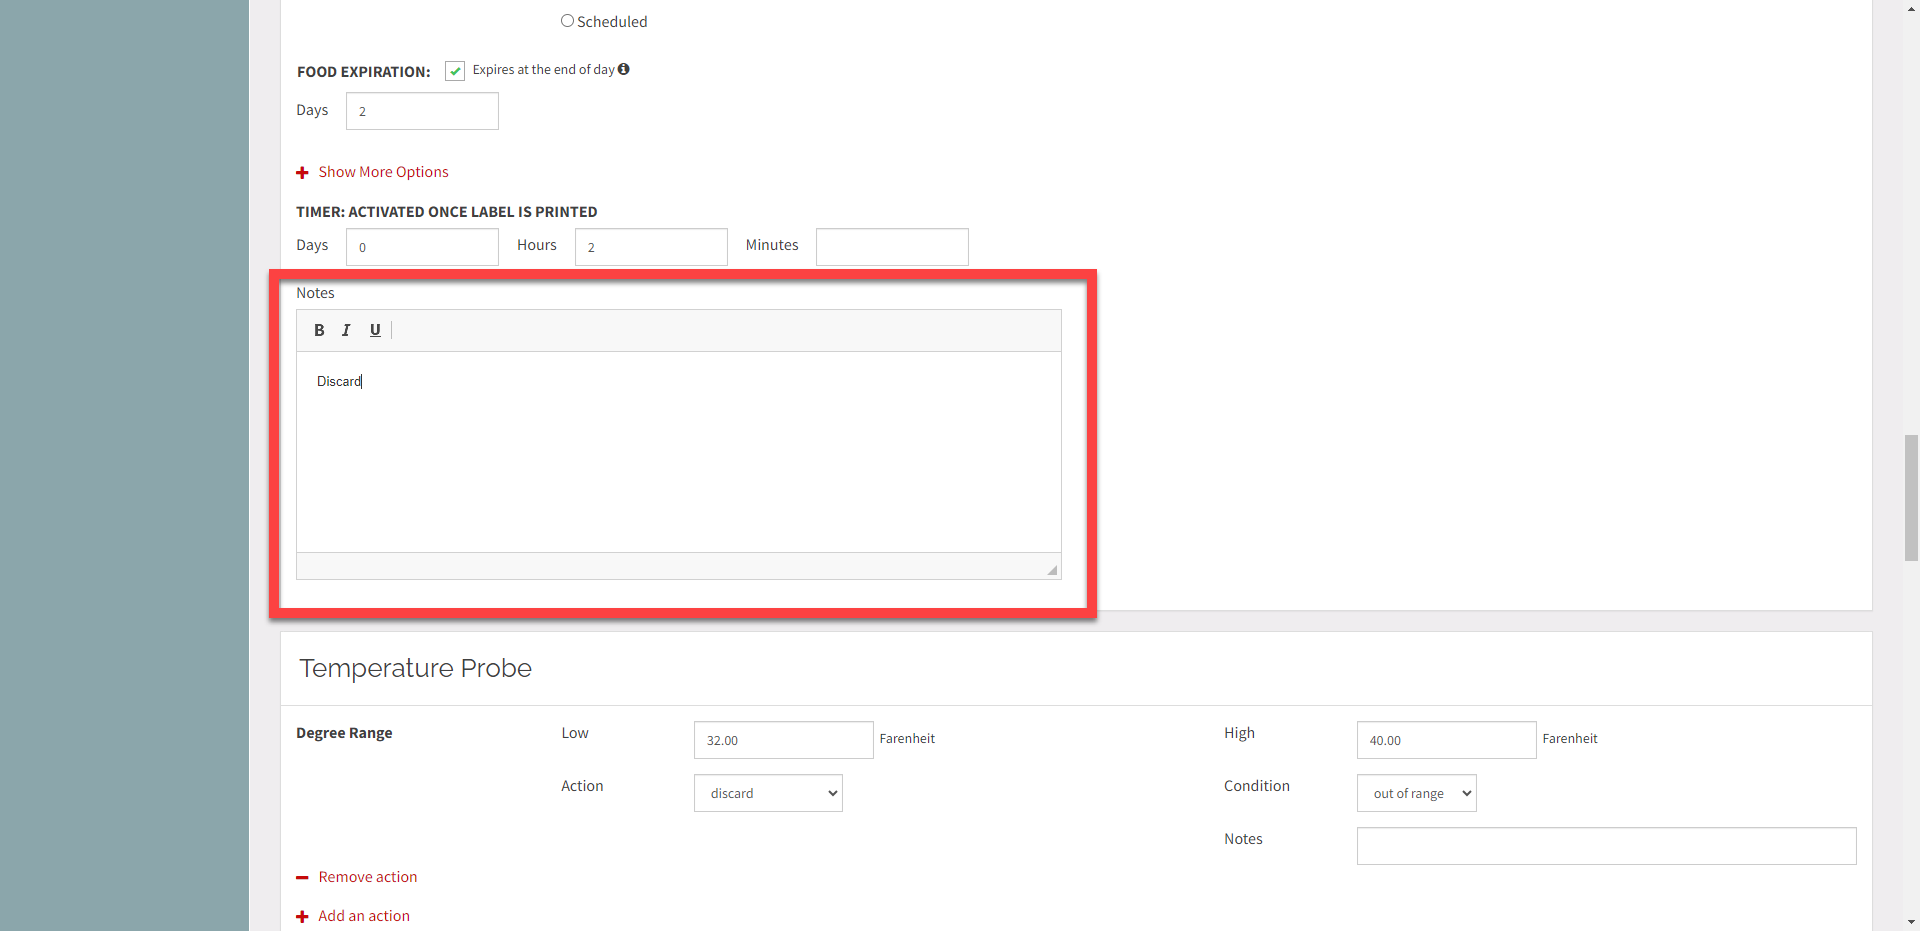
6. OPTIONAL: Type Notes to appear when the timer goes off. 

7. Scroll up and click the Save Changes button.

Related Articles

  • Menu Items
  • Manage Menu Items

Was this article helpful?

Yes
No
Give feedback about this article

Related Articles

  • Menu Items
  • Manage Menu Items
© 2025 DateCodeGenie

899 Montreal Circle, St. Paul, MN 55102

Privacy Policy

contact us
About NCCO

Knowledge Base Software powered by Helpjuice

Expand