US English (US)
FR French
DE German
ES Spanish
IT Italian
NL Dutch
menu

Contact Us

No results found. Still need help? Contact us

  • Scheduled Assistance
  • Contact Us
English (US)
US English (US)
FR French
DE German
ES Spanish
IT Italian
NL Dutch
arrow_back
  • Getting Started
  • Devices
  • App
  • Portal
  • Admin Settings
  • Accessories
  • Labels
  • Repairs
  • APIs
  • Task Manager
  • Scheduled Assistance
  • Contact Us

Add a Custom Dynamic Field

Contact Us

If you still have questions or prefer to get help directly from an agent, please submit a request.
We’ll get back to you as soon as possible.

  • Getting Started
    Getting Started Guides Set Up Training
  • Devices
    Troubleshooting Device Overview 2.0 Model X Series Model Fit Model Lite Model mC-Label3 Printer Device Tablet Internet Connection Warranty & Support
  • App
    Error Codes Troubleshooting App Overview Mobile App Subscription Prep Lists Product Control Rosters Scale Temperature Probe Print History Settings Language Location Overrides
  • Portal
    Portal Overview Locations Categories Menu Items Printer Profiles Users Settings Quick Labels Prep List Print History Mass Import and Export Media Library Location Overrides Product Control Rosters Scale Temperature Probe Groups
  • Admin Settings
    Start with Admin Settings Admin Settings Overview Locations Devices and Licenses
  • Accessories
    Bluetooth Scanner USB Scanner Temperature Probe Scale Label Rewinder Fit Printer Shelf Warranty
  • Labels
    Overview Troubleshooting
  • Repairs
    2.0 Model X Series Model Lite Model DateCodeGenie® Tablet
  • APIs
    Inbound APIs Outbound APIs
  • Task Manager
    Task Manager Overview Venues Forms Users Resources Task Manager App
+ More
  • Home
  • Portal
  • Printer Profiles

Custom dynamic field is a feature that can be added to a printer profile, prompting staff to add custom text on the print preview page of the app.

Steps:

1. Log in to the portal at www.datecodegenie.com using the recommended browser. See What Internet Browser Should I Use To Access My DateCodeGenie® Portal?

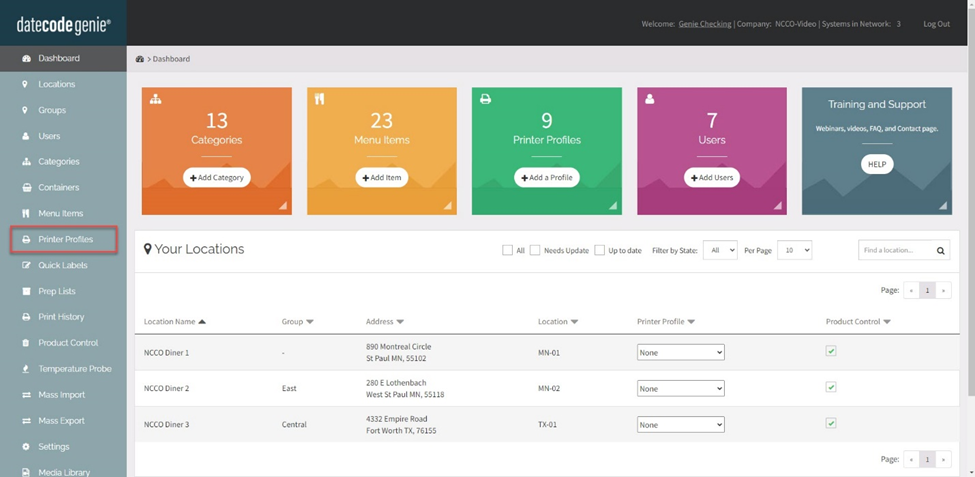
2. Click on the Printer Profiles tab on the side bar.

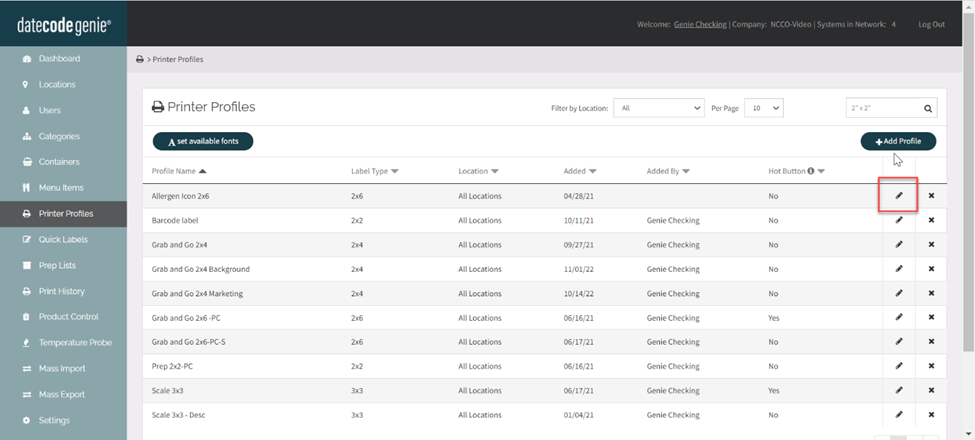
3. Click the Edit button (pencil icon) from a Printer Profile to edit, or add new Printer Profile. See How to Add Labels Using Printer Profiles.

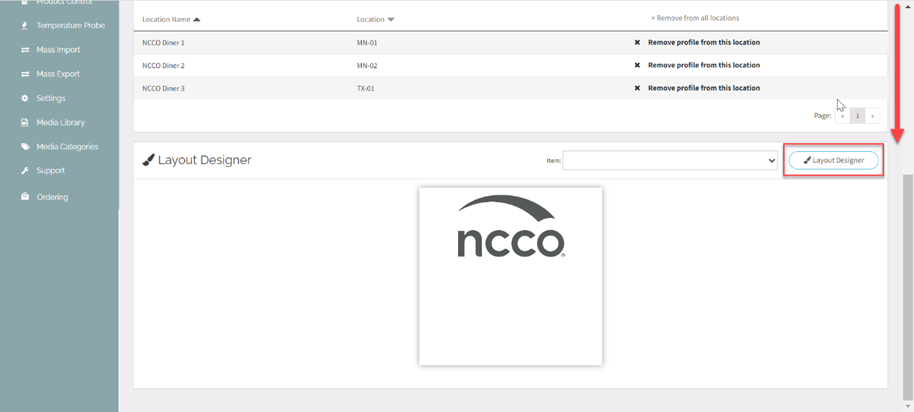
4. Click on the Layout Designer button.

5. Find the Custom Dynamic Field feature under the Text group. Drag and drop onto the label preview window.

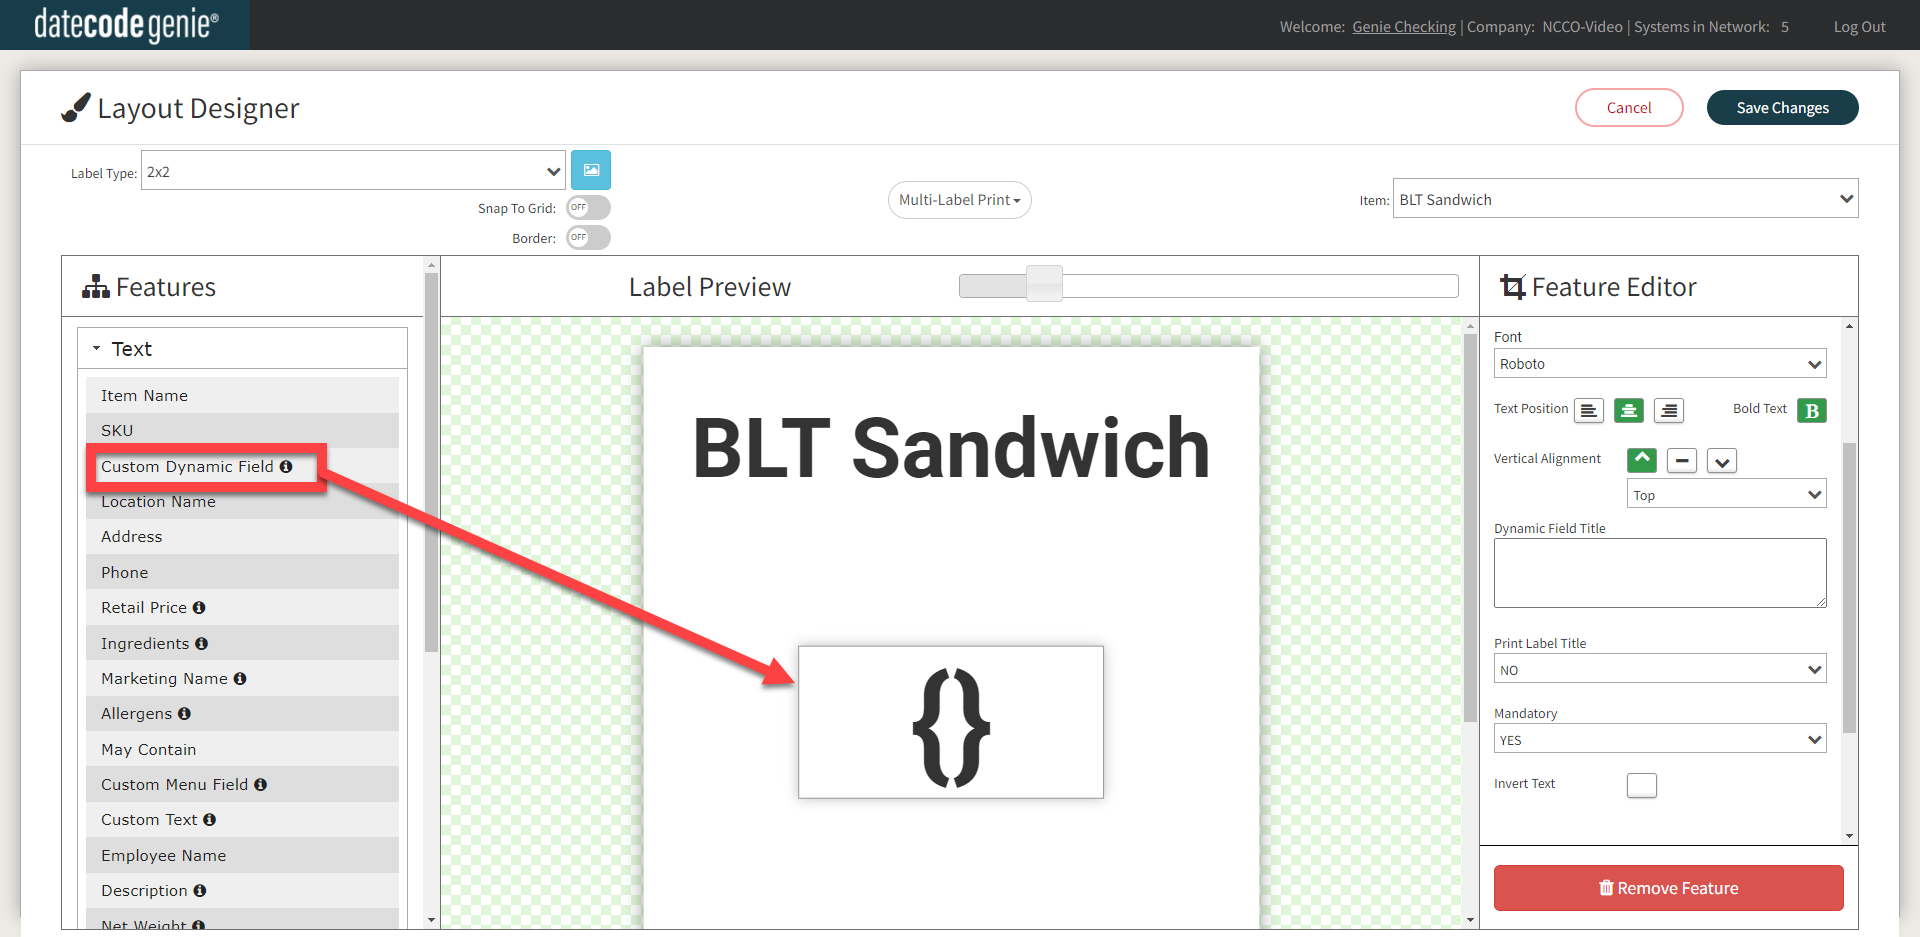
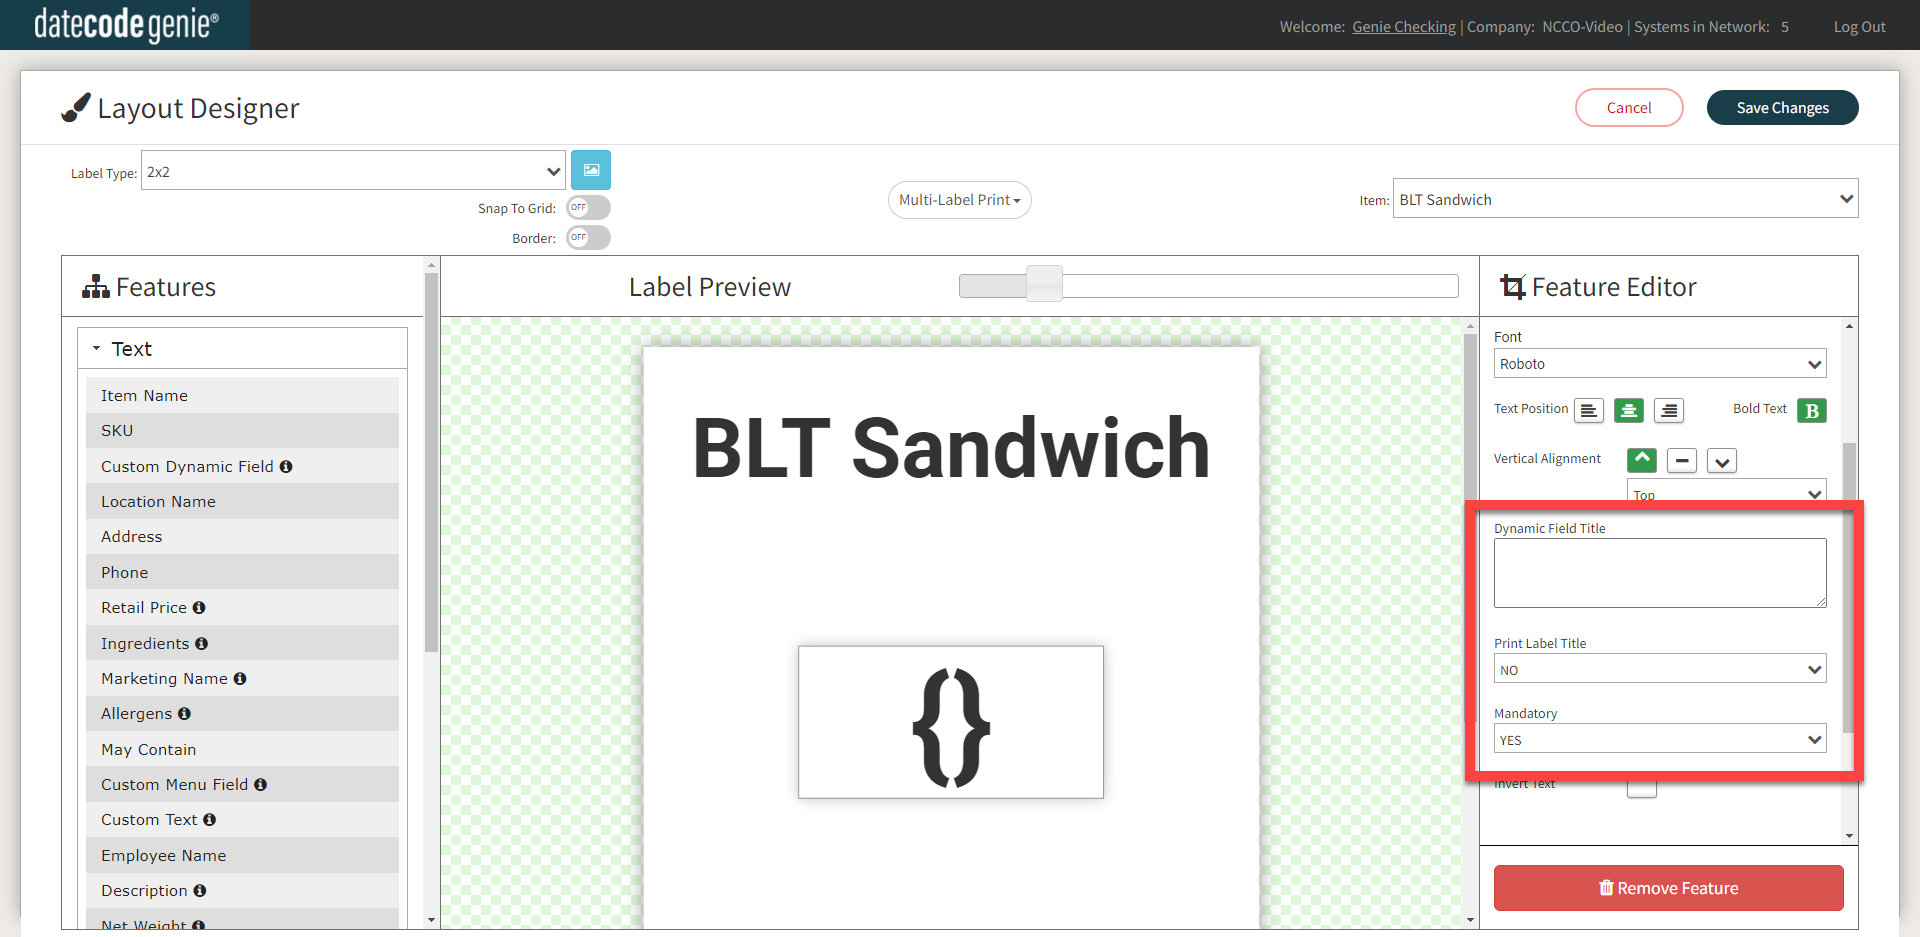
6. Edit the Custom Dynamic Field in the Feature Editor.

Edit Fields

  • Dynamic Field Title: Title of custom dynamic field shown to staff on the app.
  • Print Label Title: “YES” prints Dynamic Field Title on the label.
  • Mandatory: “YES” requires text to be entered before printing label on the app.


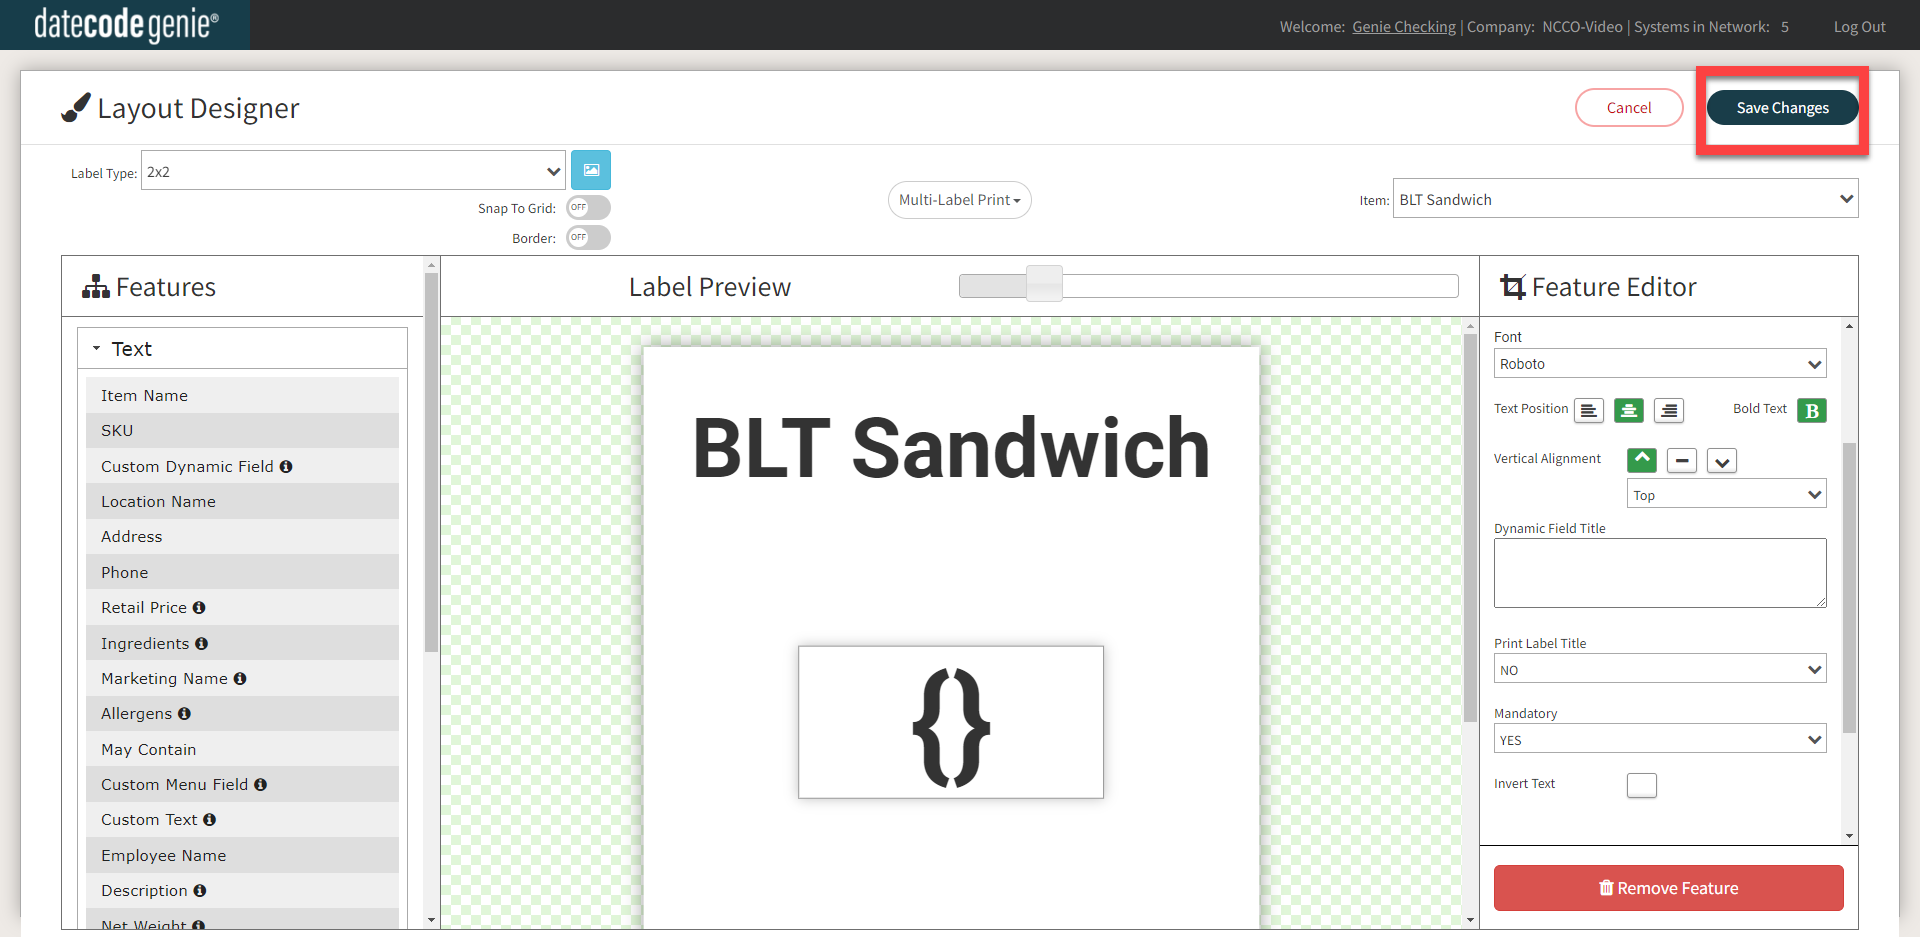
7. Click the Save Changes button.


Related Articles

  • Missing Mandatory Dynamic Field

Was this article helpful?

Yes
No
Give feedback about this article

Related Articles

  • Missing Mandatory Dynamic Field
© 2025 DateCodeGenie

899 Montreal Circle, St. Paul, MN 55102

Privacy Policy

contact us
About NCCO

Knowledge Base Software powered by Helpjuice

Expand