
Set Up a Linerless Label for a Printer Profile
Table of Contents
NOTICE
This article is for mobile app users with mC-Label3 printers only.
Set up a printer profile in the portal that prints 2 or 3 inch linerless labels when selected on the app. This will help with not purchasing or switching to different label sizes and no liner to peel off.
This feature allows for:
- Including more information that may not fit on one label.
- Adding information for the same menu item in multiple places on a container, like on the top, bottom, or sides.
This feature is available in the Printer Profiles tab in the portal.
Steps:
1. Log in to the portal at www.datecodegenie.com using the recommended browser. See What Internet Browser Should I Use To Access My DateCodeGenie® Portal?
2. Click on the Printer Profiles tab on the side bar.

3. Click the +Add Profile button to open a new add profile page.
NOTE
If the +Add Item button is not displayed, the Add or Edit Printer Profiles Permission is not turned on. Contact your Portal Administrator about turning on this permission.

4. Enter the Profile Name under Add Printer Profile. Required fields are noted by the red asterisk.
TIPS & TRICKS
Add the label size to the Profile Name so staff know which label size to print on, for example 3x5.

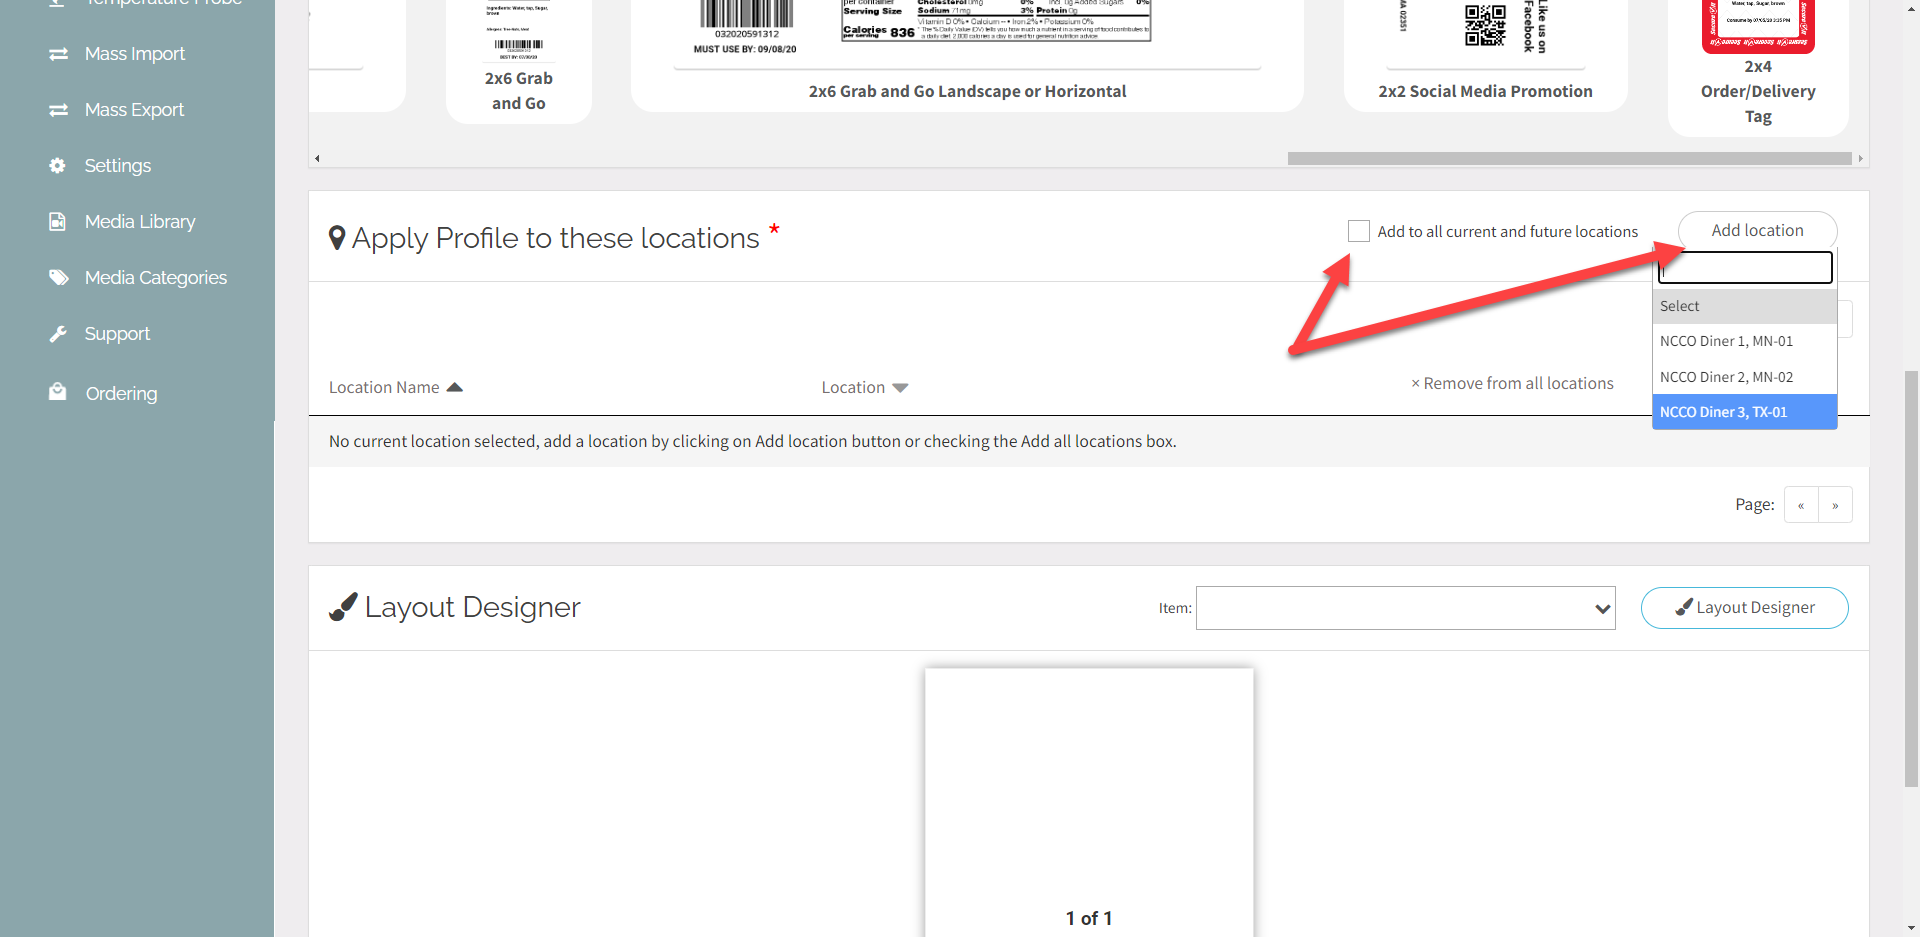
5. Using the Add location button, select each location from the list. Or check the box to automatically add all current and future locations.
6. Click the Layout Designer button to open the designer page.

7. Click the Label Type dropdown and select the linerless label type option, either 2 or 3 inches.

8. Enter the number of inches to adjust the length of the selected linerless label type. Default length is 4 inches.

9. Select the menu item name from the dropdown.

10. Features to add to the label are listed in groups on the left. Choose features from the list and drag onto the label.

11. To change the placement of the feature:
- Click and drag the added feature to change the position.
- Click and drag the bottom right corner to change the area for the feature.
- Click the upper right corner to rotate the text within the feature.
NOTE
Features that are shaded red indicate overlapping features and red lines indicate feature extends beyond your label. Both require fixing before your profile can be saved.
12. Customize each feature using the Feature Editor on the right side, after clicking each feature from the middle label preview pane.

Dynamic Sizing
Use Dynamic Sizing to extend the linerless label to fit long features like ingredients or allergens only.
1. Click Dynamic Sizing toggle to turn green. Smart Size toggle will turn gray.

2. Move the slider to adjust the text size of the selected feature.

13. To remove a feature, click on the feature and click the Remove Feature button from under the Feature Editor.

14. Once all features have been added and customized, click the Save Changes button.

