US English (US)
FR French
DE German
ES Spanish
IT Italian
NL Dutch
menu

Contact Us

No results found. Still need help? Contact us

  • Scheduled Assistance
  • Contact Us
English (US)
US English (US)
FR French
DE German
ES Spanish
IT Italian
NL Dutch
arrow_back
  • Getting Started
  • Devices
  • App
  • Portal
  • Admin Settings
  • Accessories
  • Labels
  • Repairs
  • APIs
  • Task Manager
  • Scheduled Assistance
  • Contact Us

Send a Join Code to a User

Contact Us

If you still have questions or prefer to get help directly from an agent, please submit a request.
We’ll get back to you as soon as possible.

  • Getting Started
    Getting Started Guides Set Up Training
  • Devices
    Troubleshooting Device Overview 2.0 Model X Series Model Fit Model Lite Model mC-Label3 Printer Device Tablet Internet Connection Warranty & Support
  • App
    Error Codes Troubleshooting App Overview Mobile App Subscription Prep Lists Product Control Rosters Scale Temperature Probe Print History Settings Language Location Overrides
  • Portal
    Portal Overview Locations Categories Menu Items Printer Profiles Users Settings Quick Labels Prep List Print History Mass Import and Export Media Library Location Overrides Product Control Rosters Scale Temperature Probe Groups
  • Admin Settings
    Start with Admin Settings Admin Settings Overview Locations Devices and Licenses
  • Accessories
    Bluetooth Scanner USB Scanner Temperature Probe Scale Label Rewinder Fit Printer Shelf Warranty
  • Labels
    Overview Troubleshooting
  • Repairs
    2.0 Model X Series Model Lite Model DateCodeGenie® Tablet
  • APIs
    Inbound APIs Outbound APIs
  • Task Manager
    Task Manager Overview Venues Forms Users Resources Task Manager App
+ More
  • Home
  • Getting Started
  • Set Up

Table of Contents

NOTES

NOTES

  • New process coming later this year.
  • Mobile App Subscription customers set up their devices through Admin Settings, see Manage Devices in Admin Settings.
 

Users can enter a join code during the app setup process to assign the device to a location in your portal.

Send an email with the join code to users from the Locations tab in the portal.

Steps:

1. Log into your portal at https://www.datecodegenie.com/ 

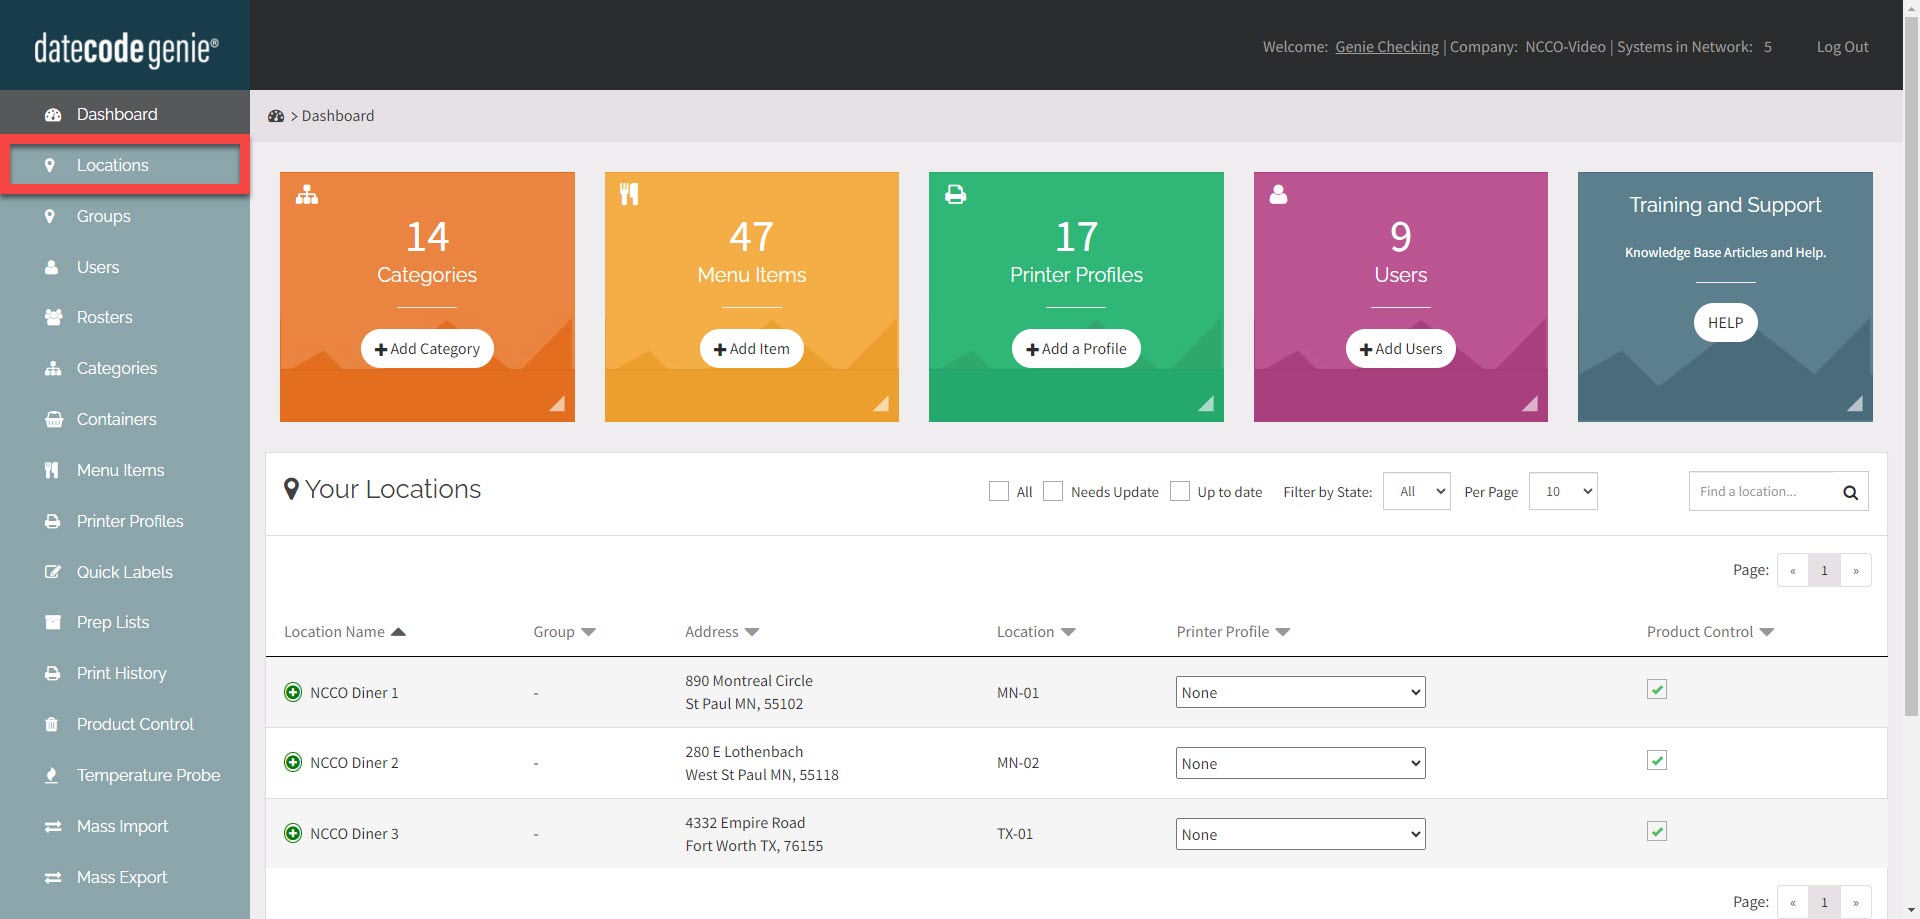
2. Click on the Locations tab on the side bar.

3. Select the Email button (envelope icon) next to the new device's location.

4. Select an existing user from the dropdown, or click Add New User to add new user, see Manage Staff.

5. Click SEND JOIN CODE.

6. Join Code Sent Successfully notification will appear.

Related Articles

  • Set Up the DateCodeGenie 2.0 Model Device
  • Set Up the DateCodeGenie Lite Model Device
  • Set Up the DateCodeGenie Fit Model Device

Was this article helpful?

Yes
No
Give feedback about this article

Related Articles

  • Set Up the DateCodeGenie 2.0 Model Device
  • Set Up the DateCodeGenie Lite Model Device
  • Set Up the DateCodeGenie Fit Model Device
© 2025 DateCodeGenie

899 Montreal Circle, St. Paul, MN 55102

Privacy Policy

contact us
About NCCO

Knowledge Base Software powered by Helpjuice

Expand