Manage Prep Lists
Table of Contents
Prep lists are a collection of labels that will print at the same time with the touch of a button.
Prep lists are managed in the Prep Lists tab in the portal.
Portal administrators and managers with Add or Edit Prep Lists permission can create and update prep lists, see Add or Edit Prep Lists Permission.
Steps:
1. Log in to the portal at www.datecodegenie.com using the recommended browser. See What Internet Browser Should I Use To Access My DateCodeGenie® Portal?
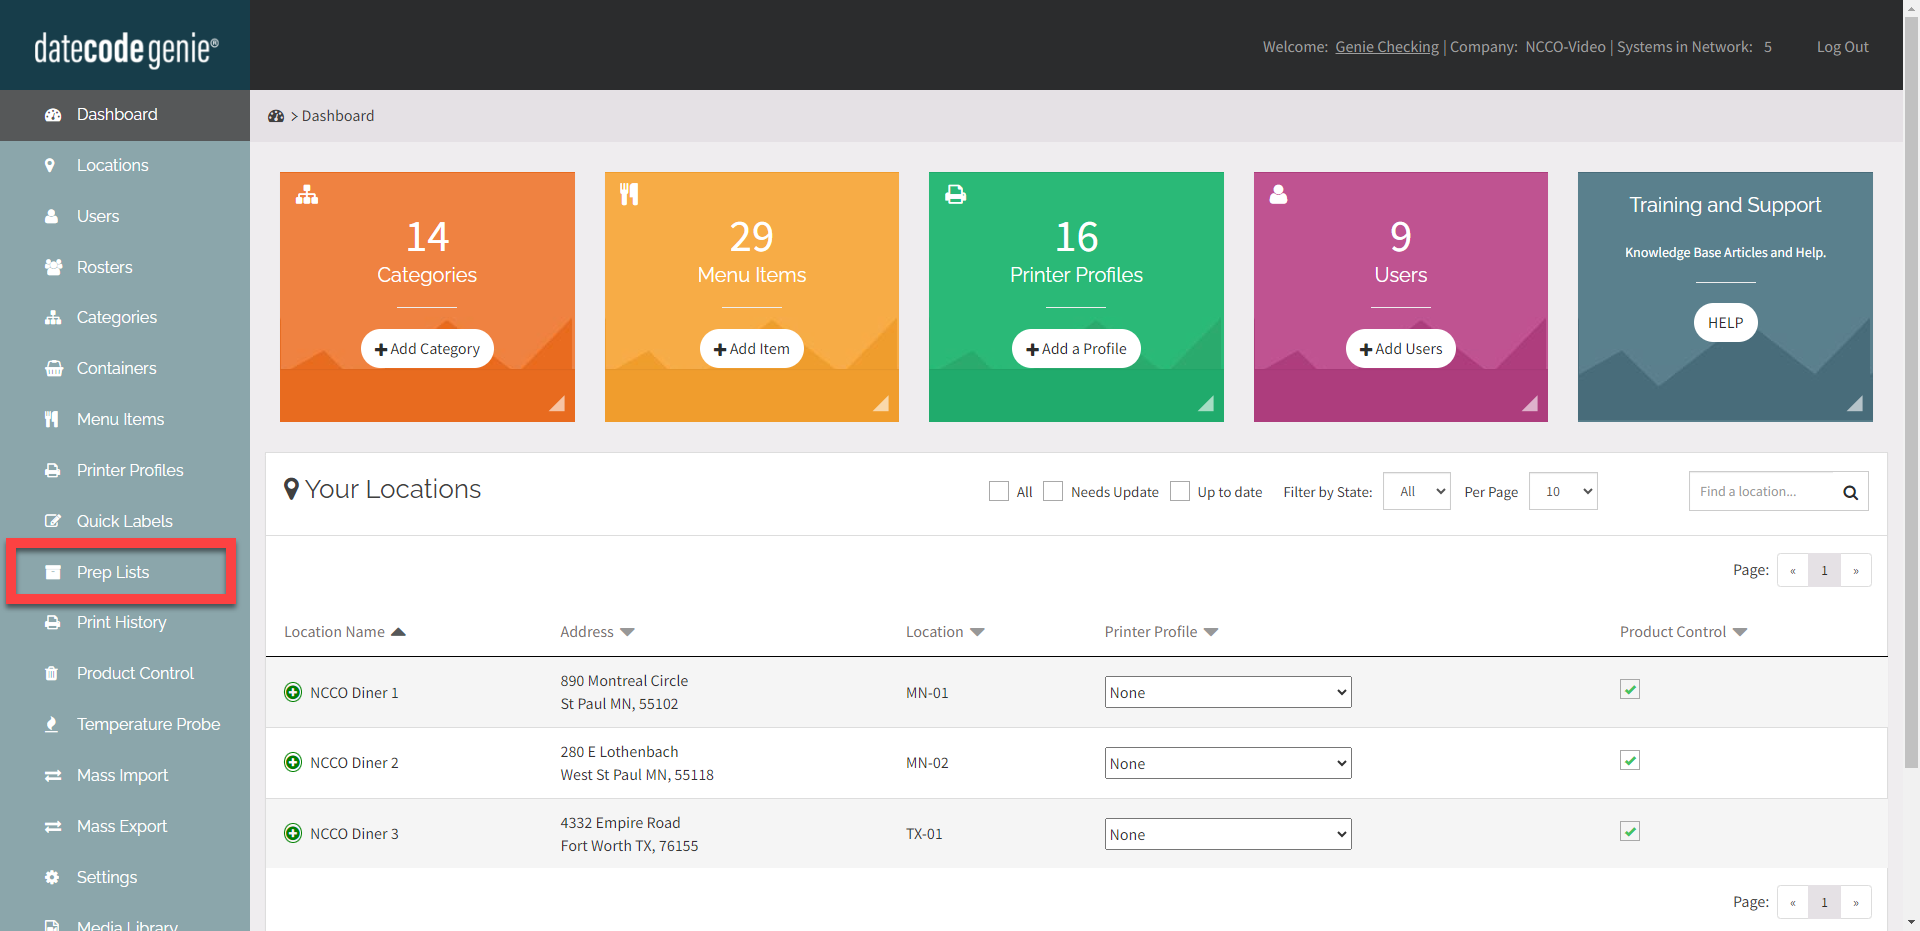
2. Click on the Prep Lists tab on the side bar.
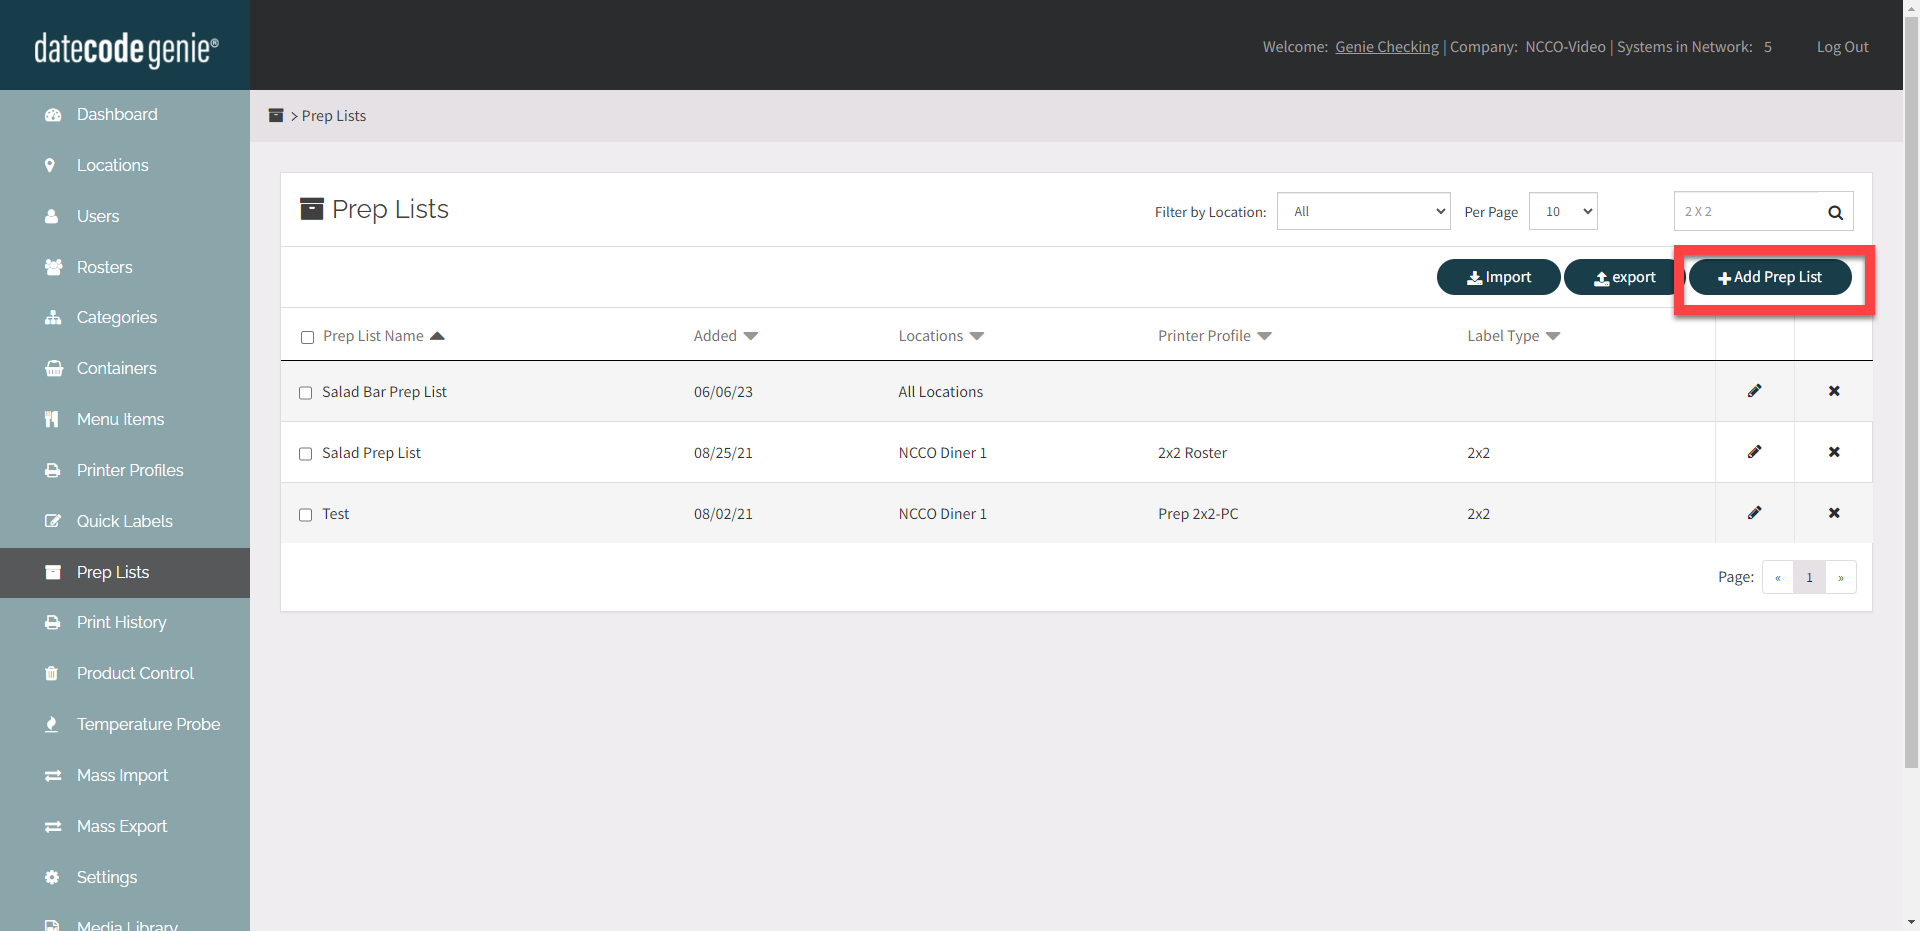
3. Click the Add Prep List button.
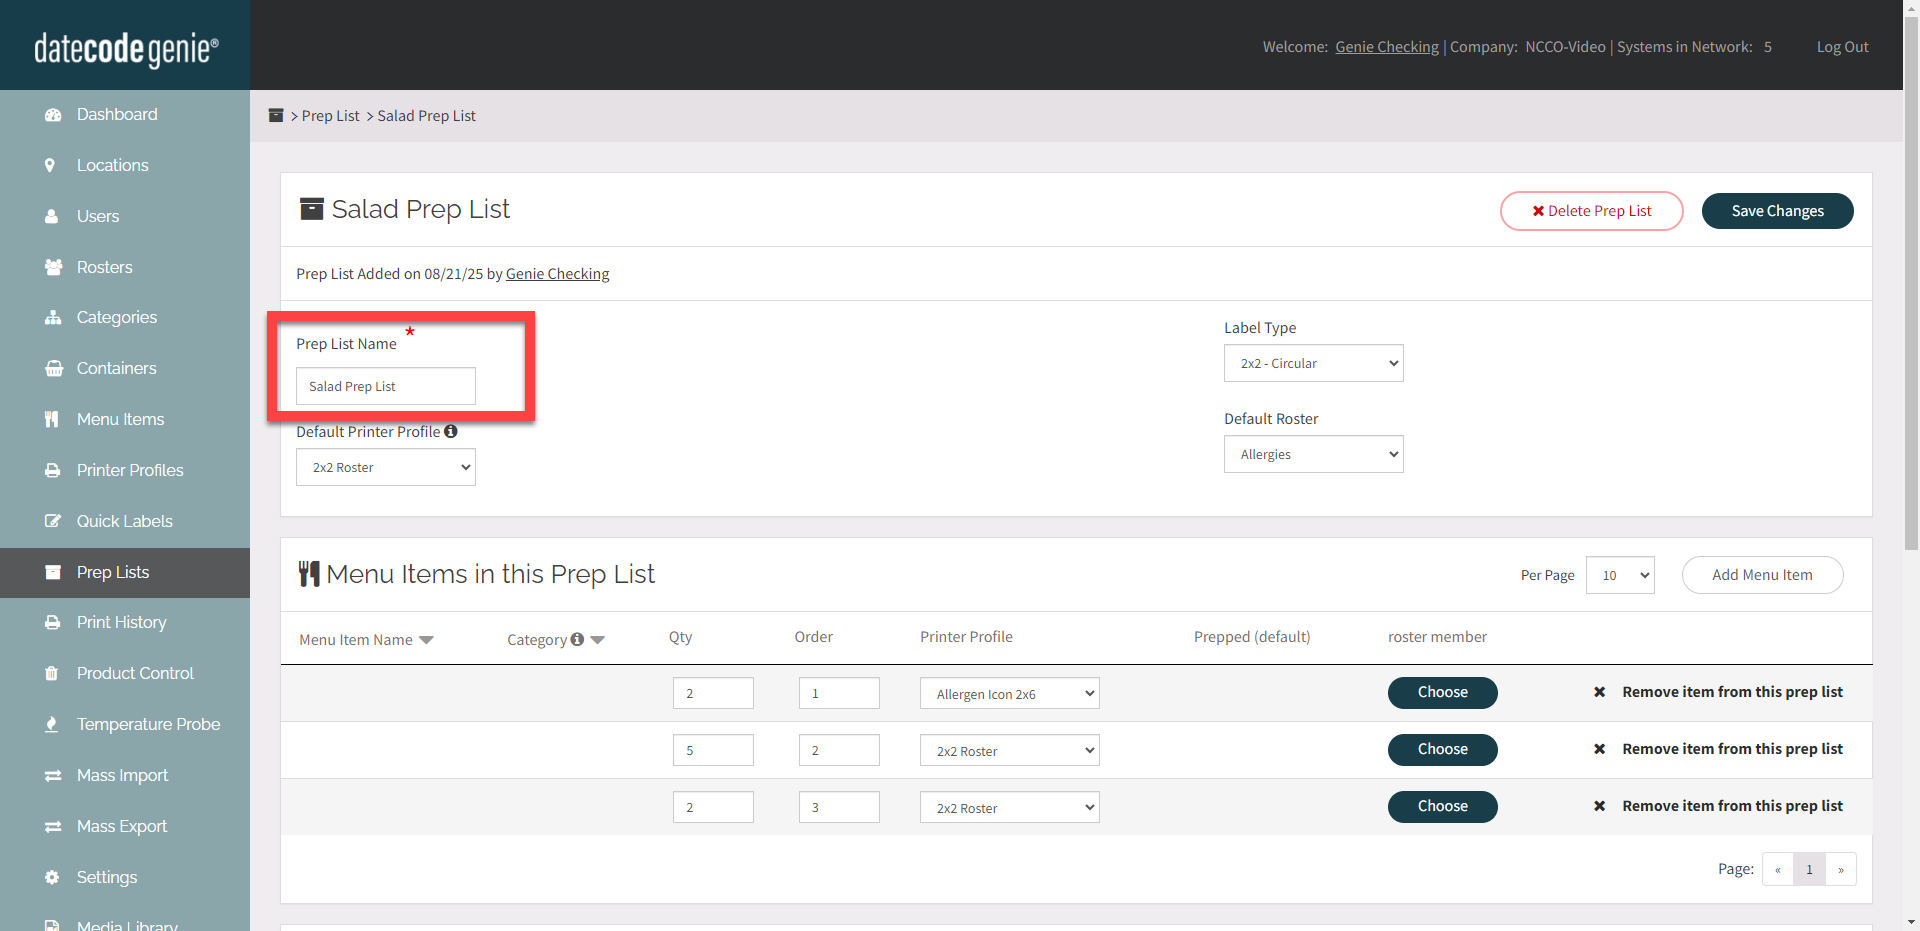
4. Enter Prep List Name.
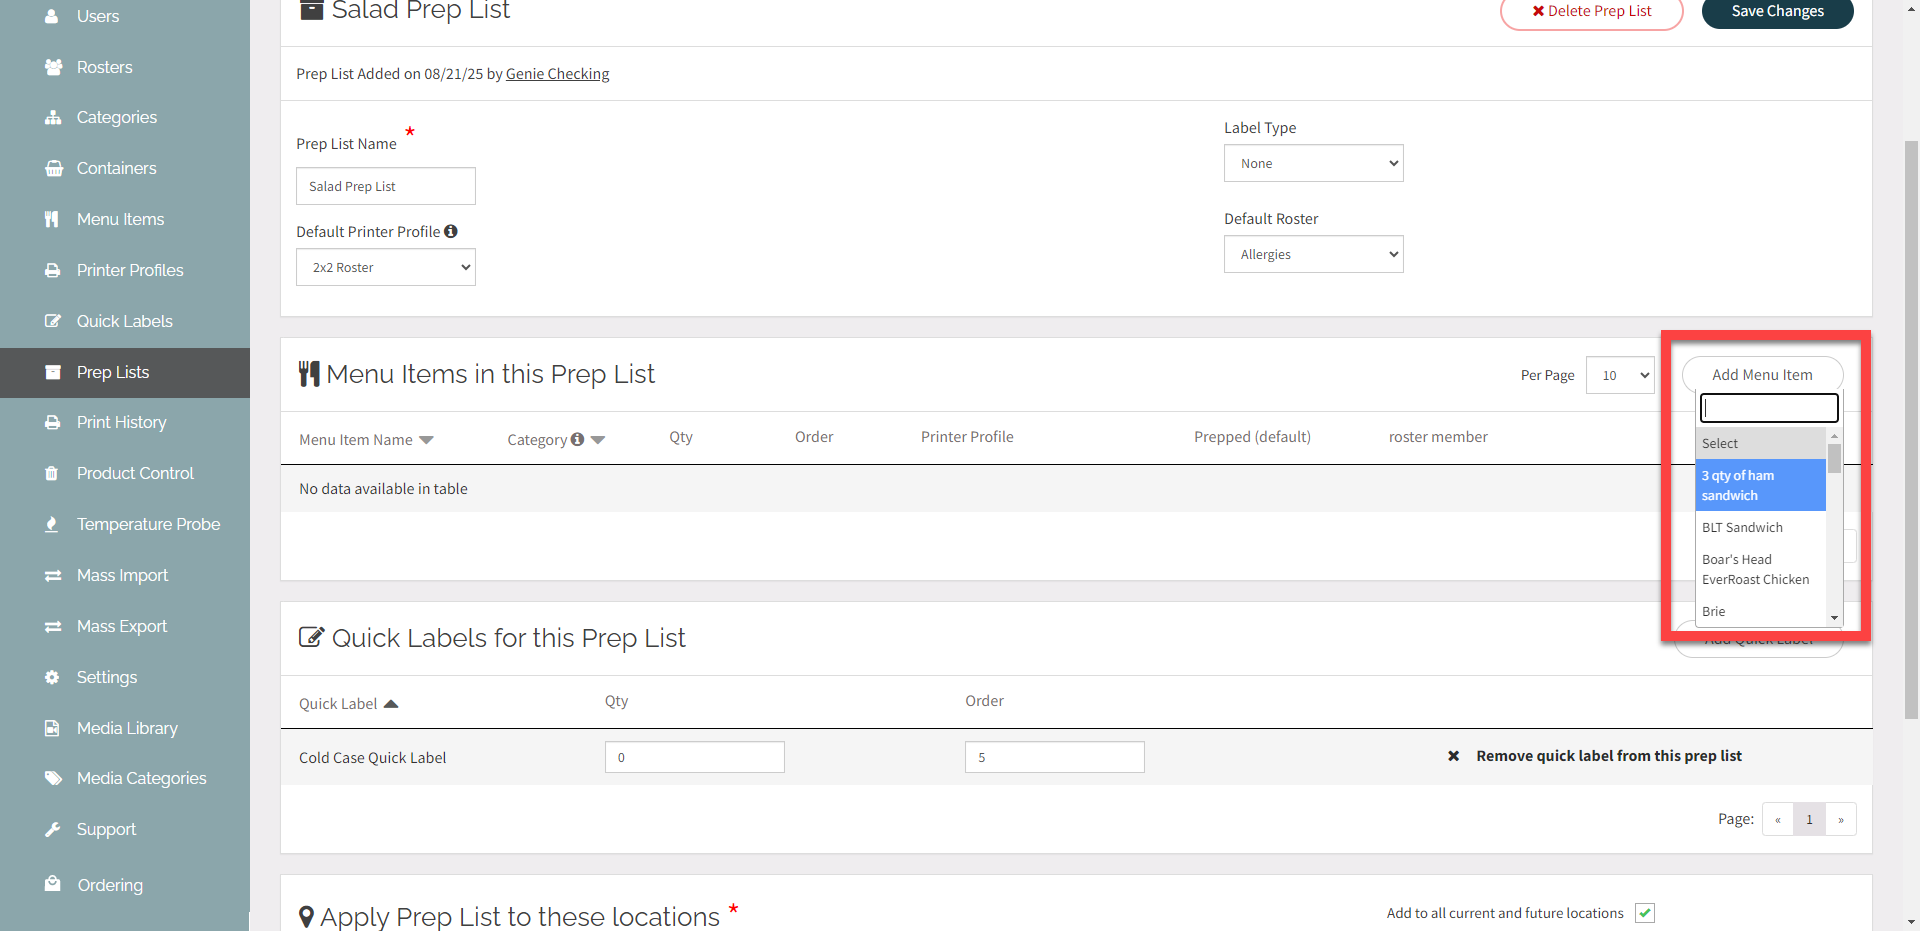
5. Click the Add Menu Item button and select menu item from the dropdown to add. Do this for all desired items.
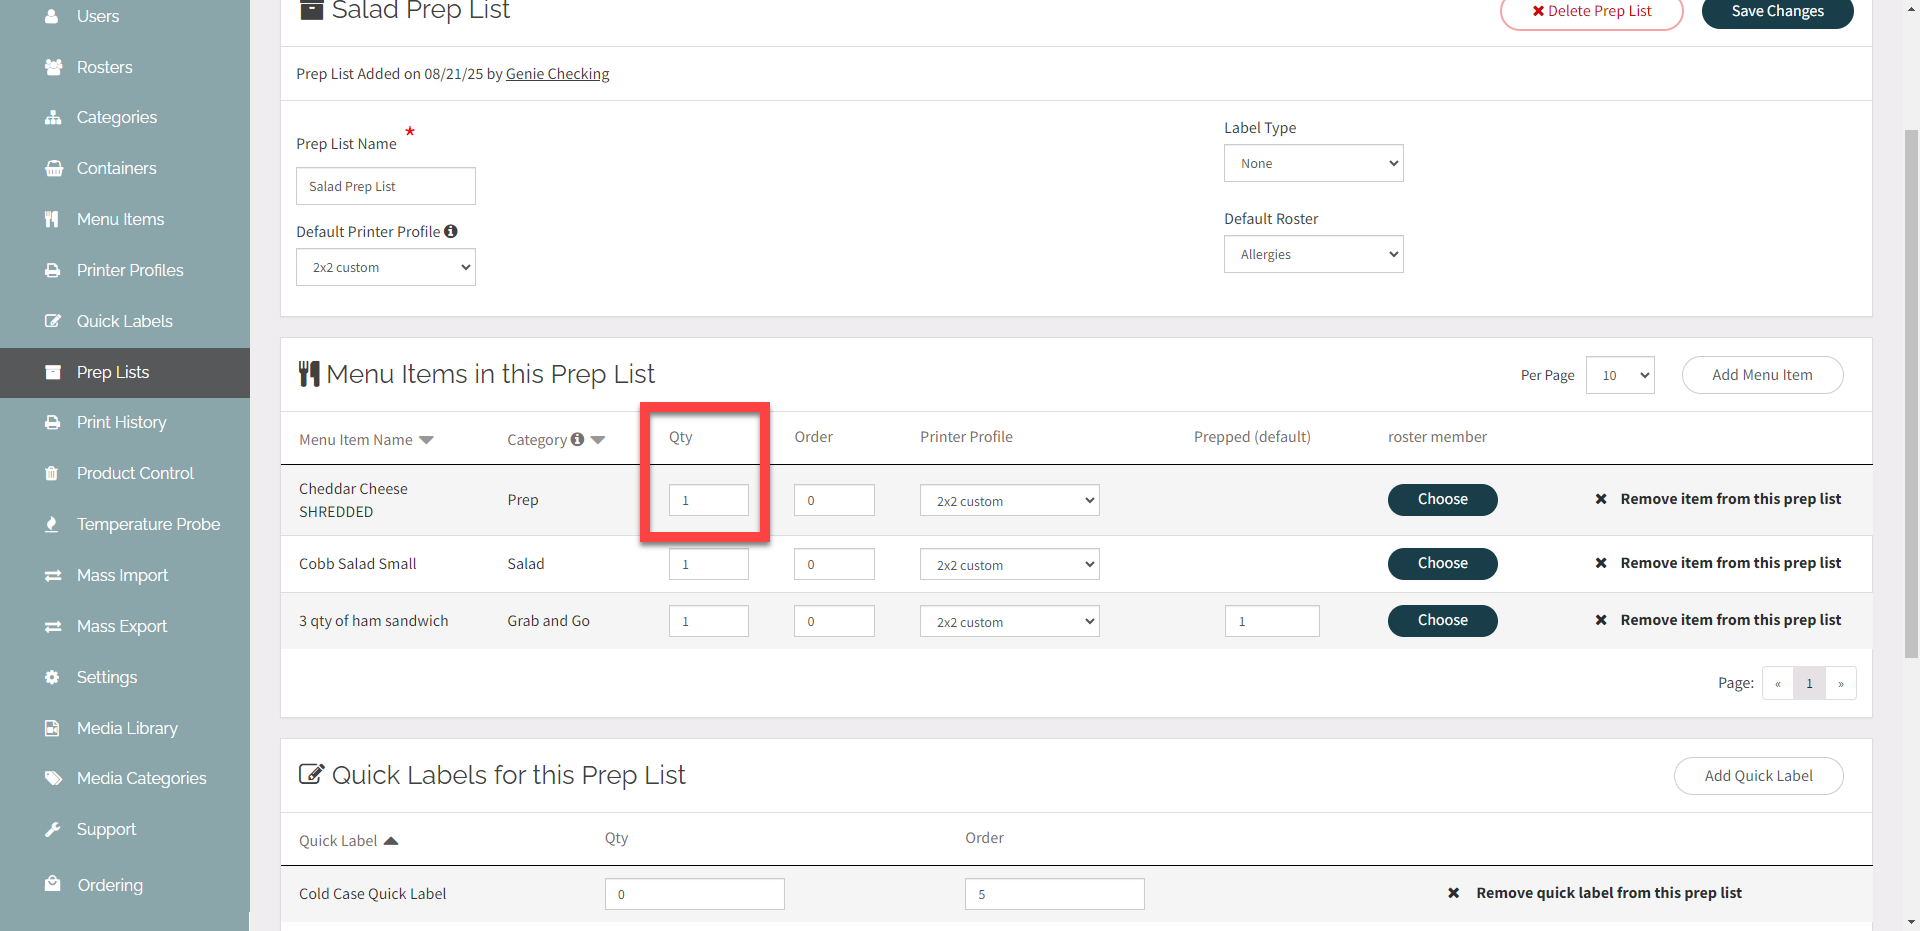
6. Enter number of labels to print for each menu item added under Qty.
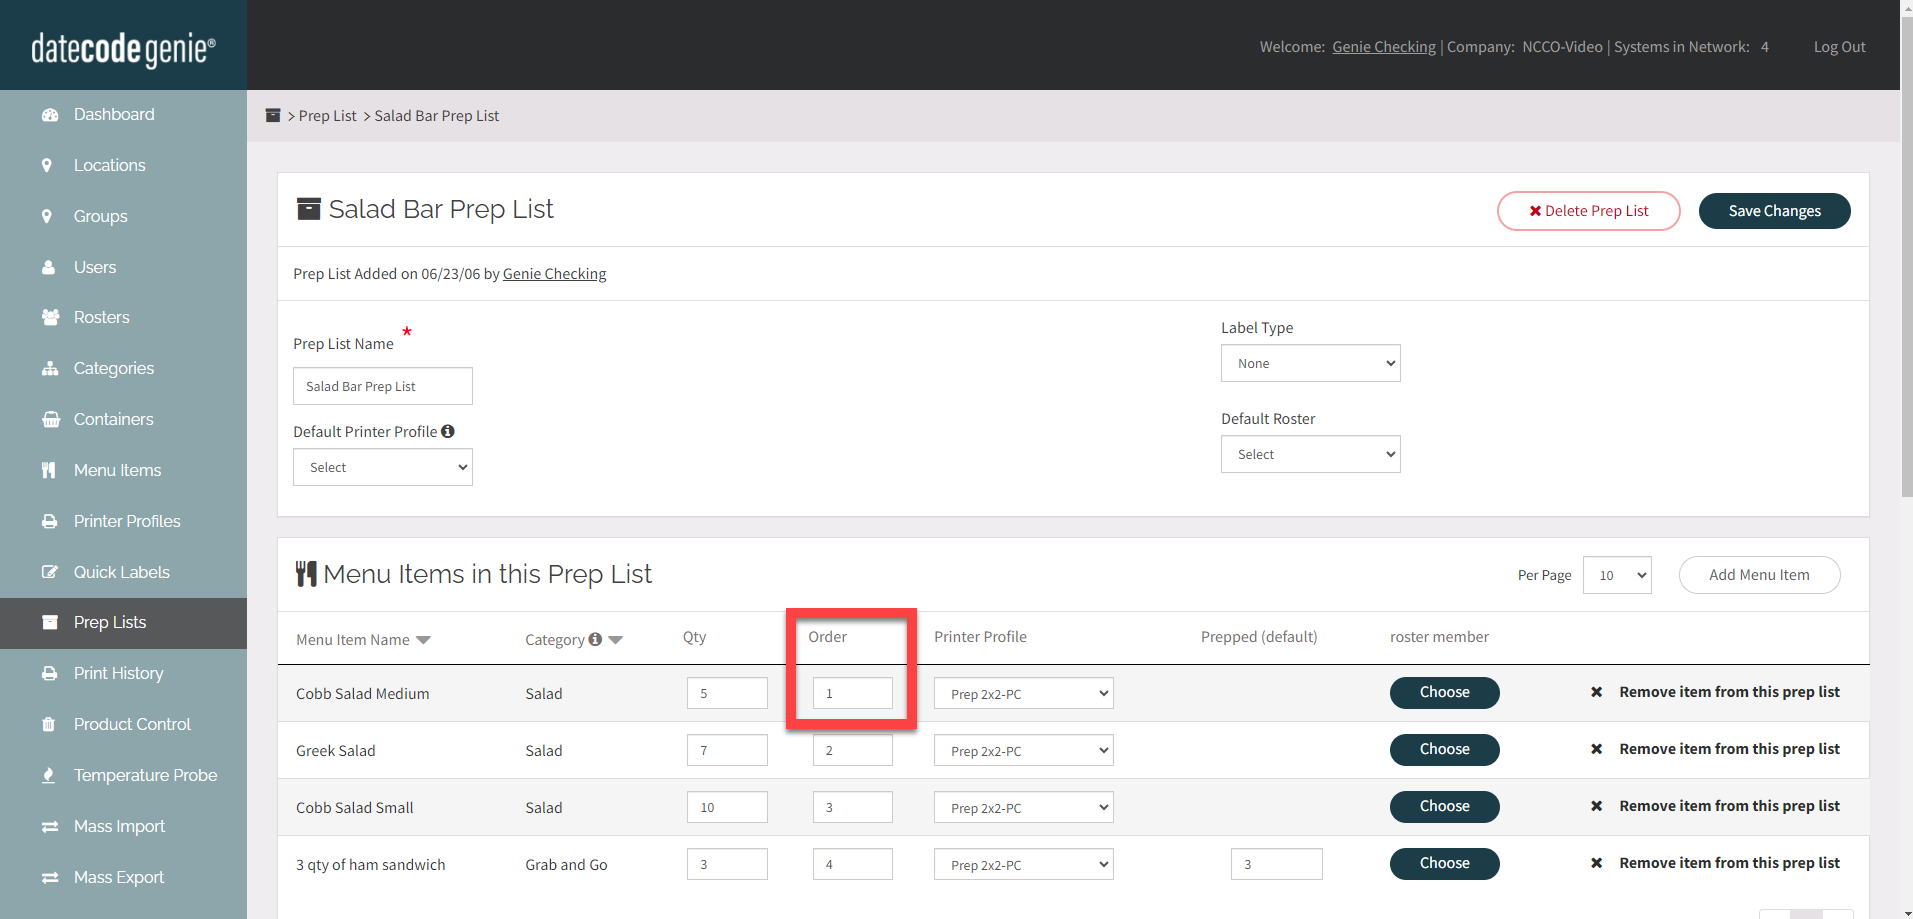
7. Enter the Order for a menu item's labels to print for the prep list.
TIPS & TRICKS
Put menu items in the order your kitchen is set up to prep items.
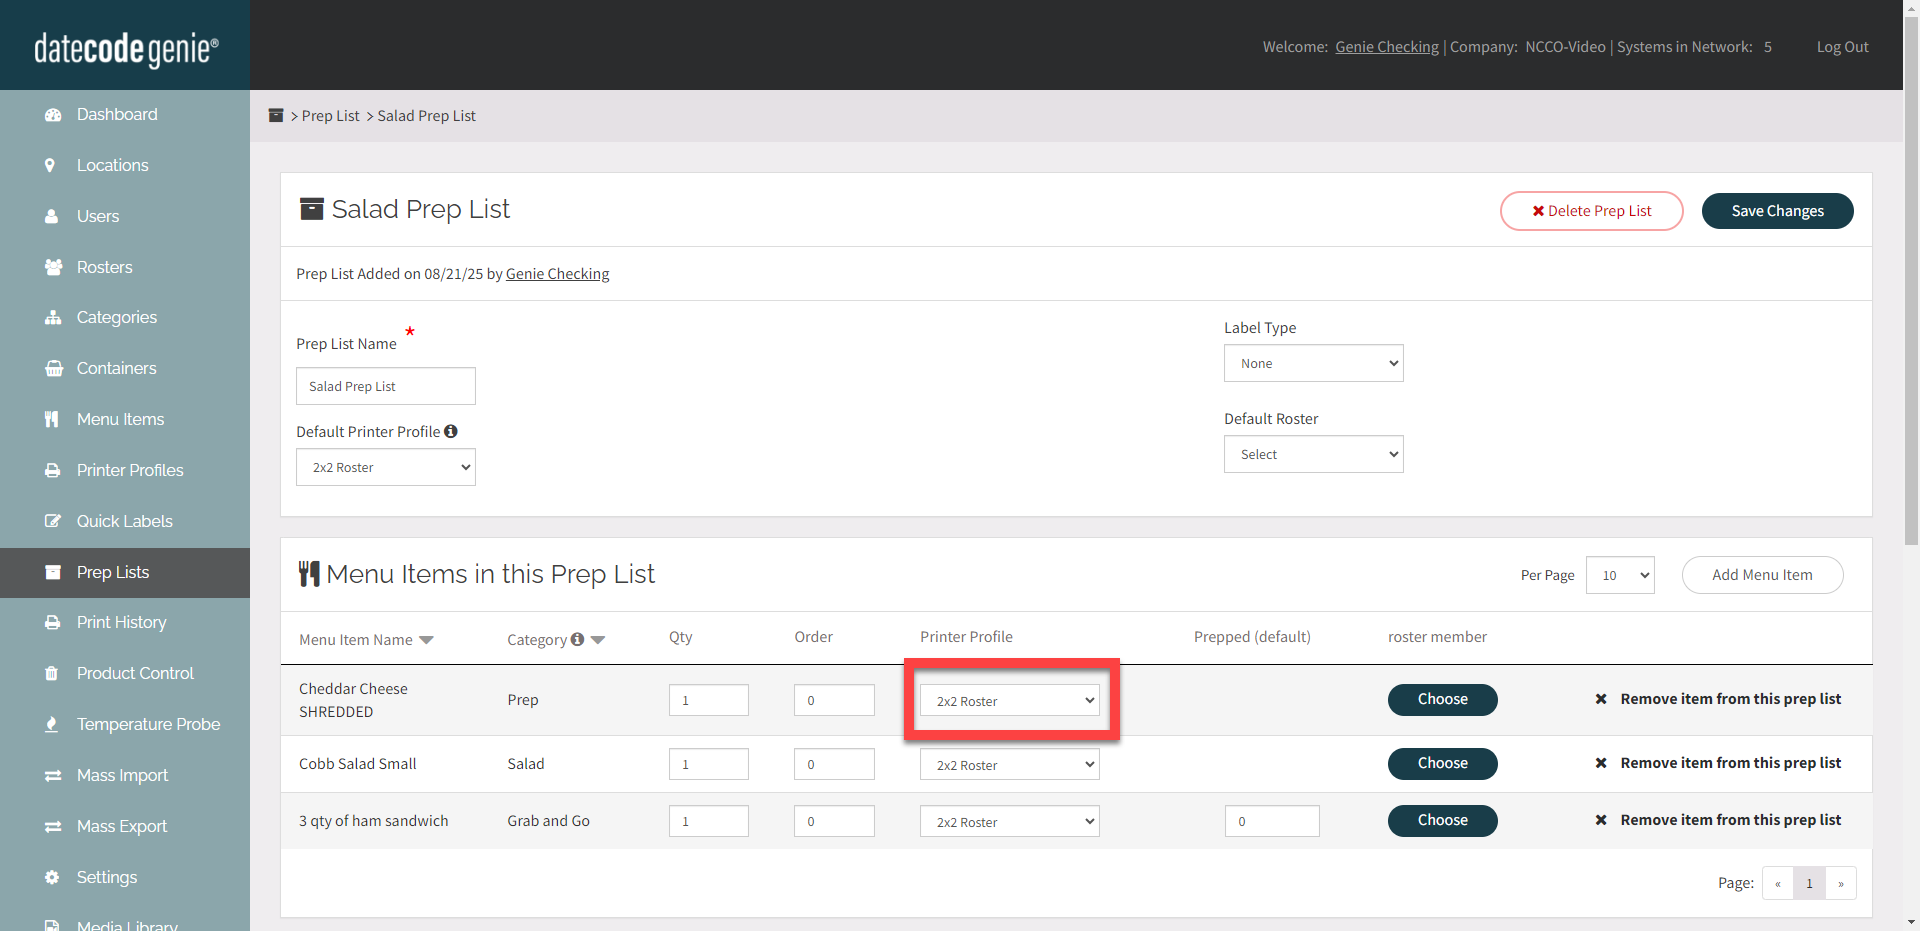
8. Select Printer Profile
WARNING
Printer profiles must use the same label size or else the labels won't print.
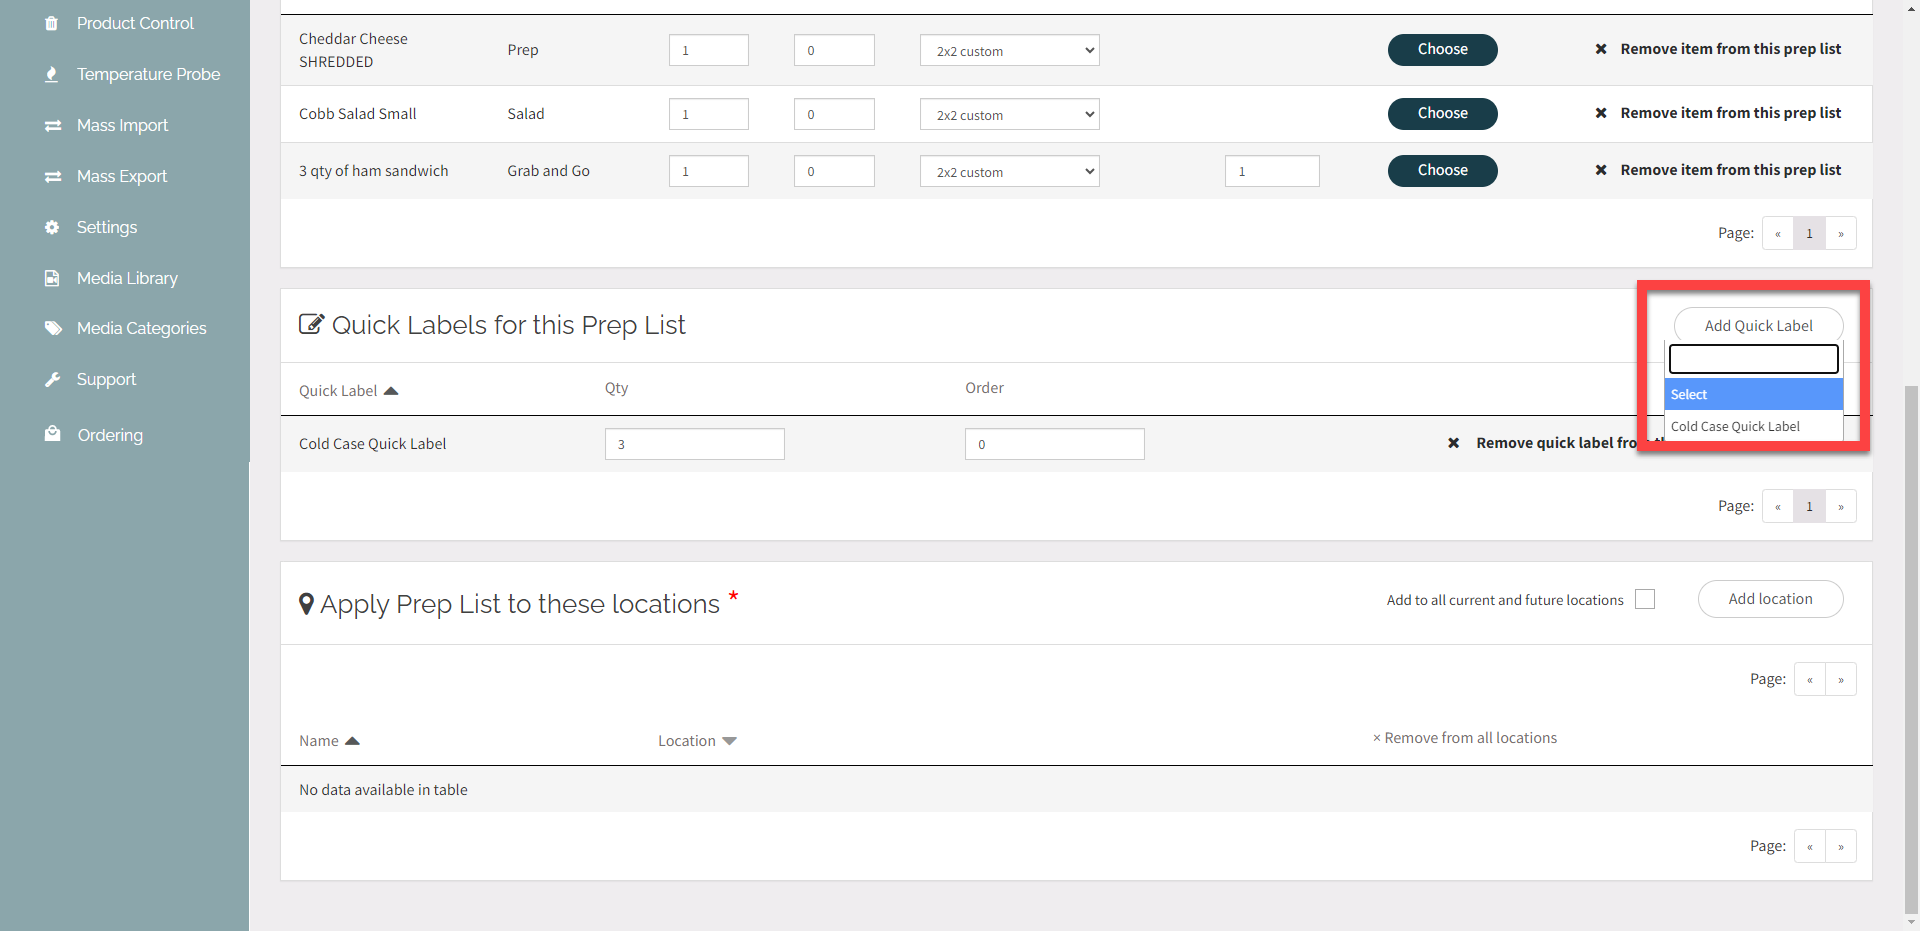
9. OPTIONAL: Click the Add Quick Label button and select quick label from the dropdown to add. Do this for all desired quick labels.
NOTE
Quick labels must use the same label size.
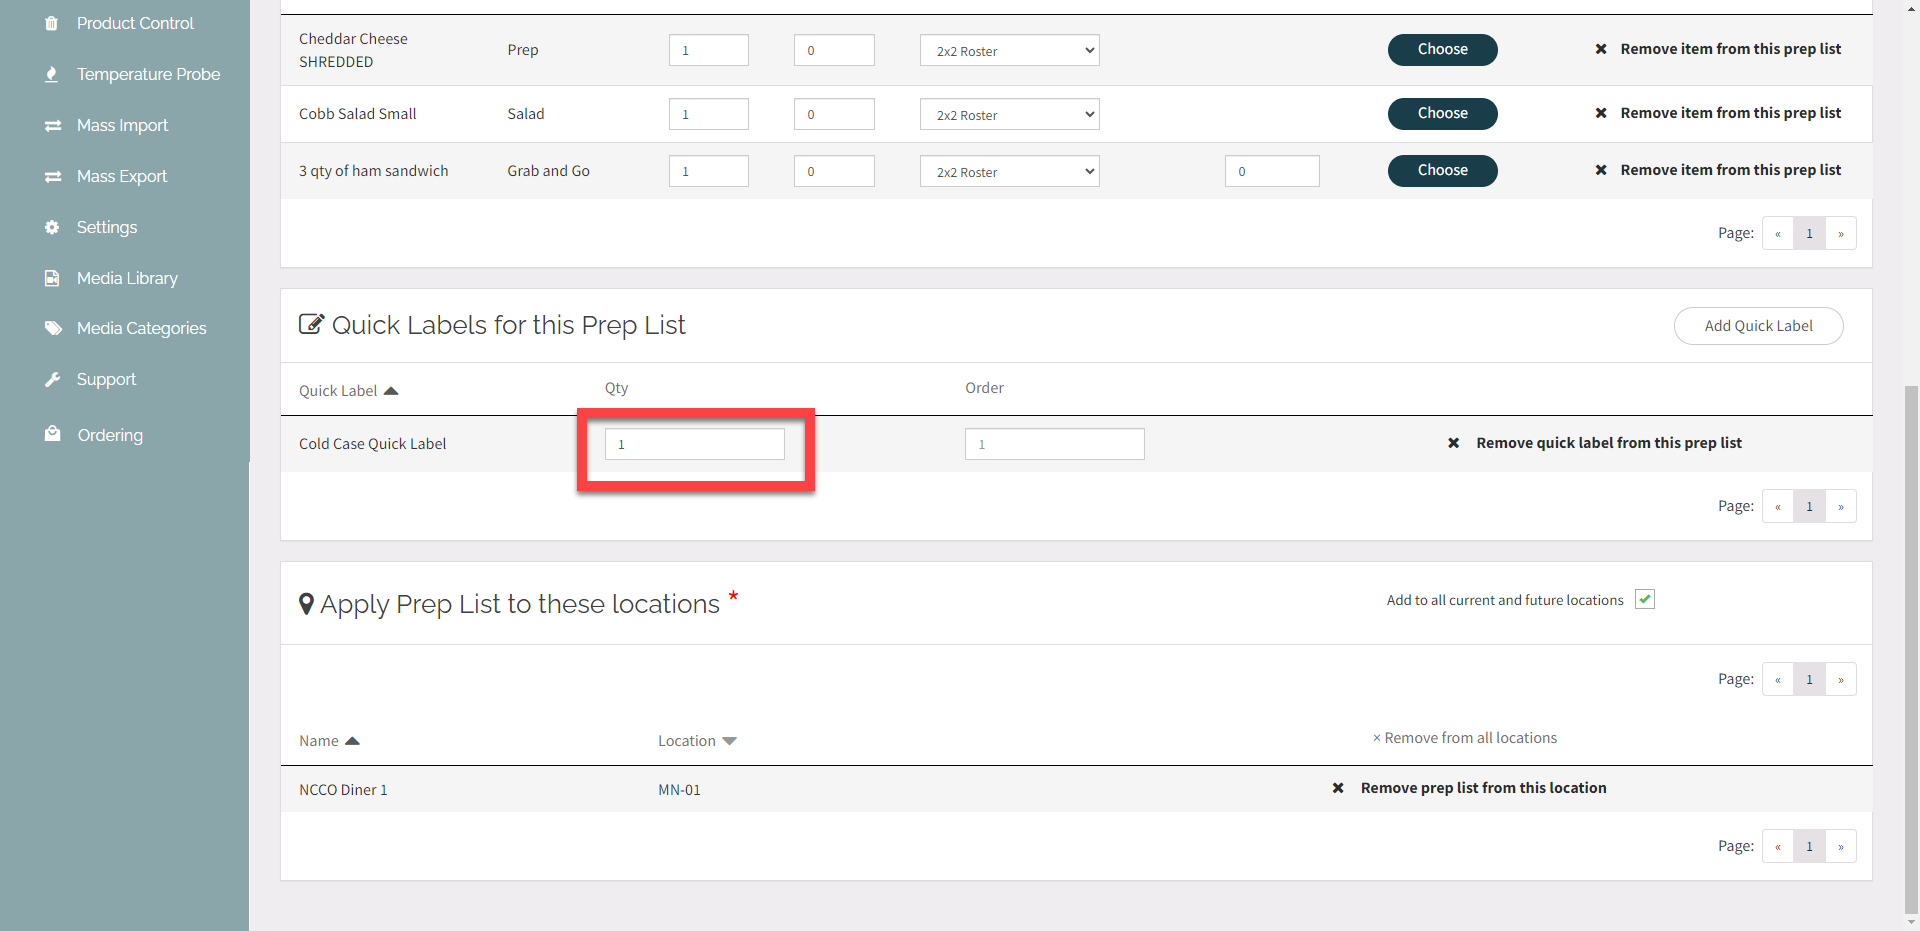
10. Enter number of labels to print in Qty.
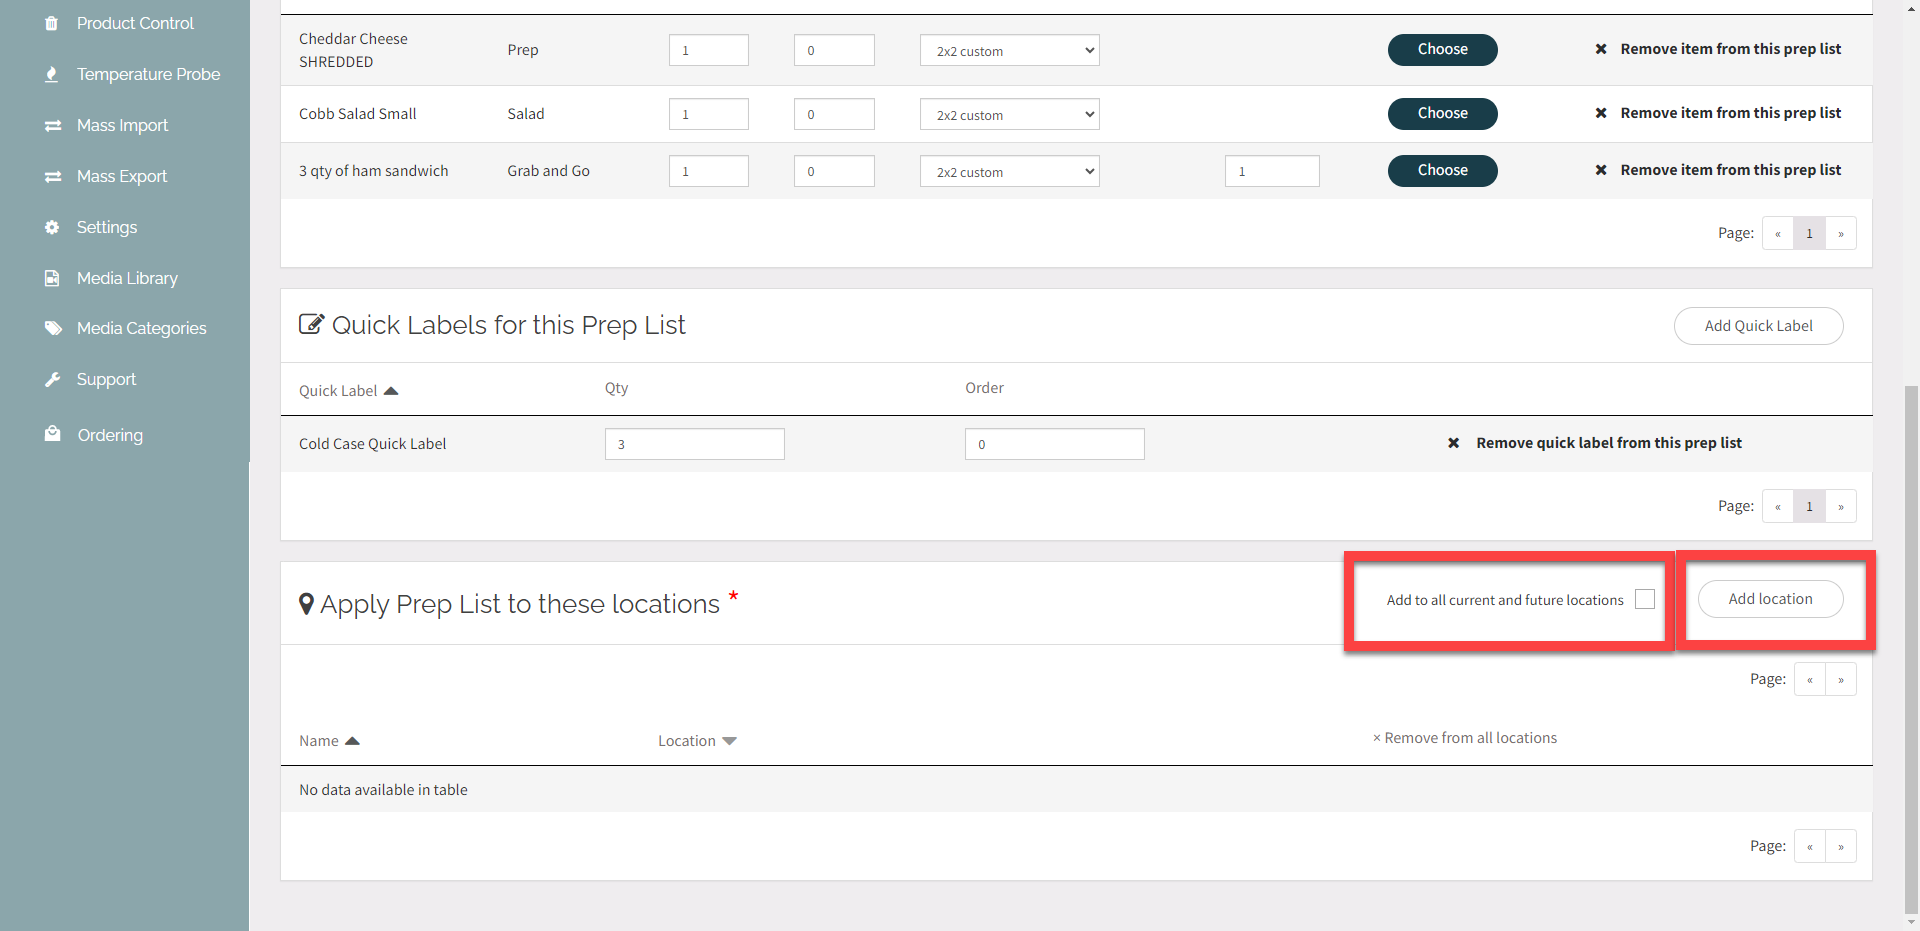
11. Click the Add Location button and select locations from dropdown, or click the Add to all current and future locations checkbox.
WARNING
Make sure all menu items in the prep list are assigned to the same locations as the prep list will not appear for that location.
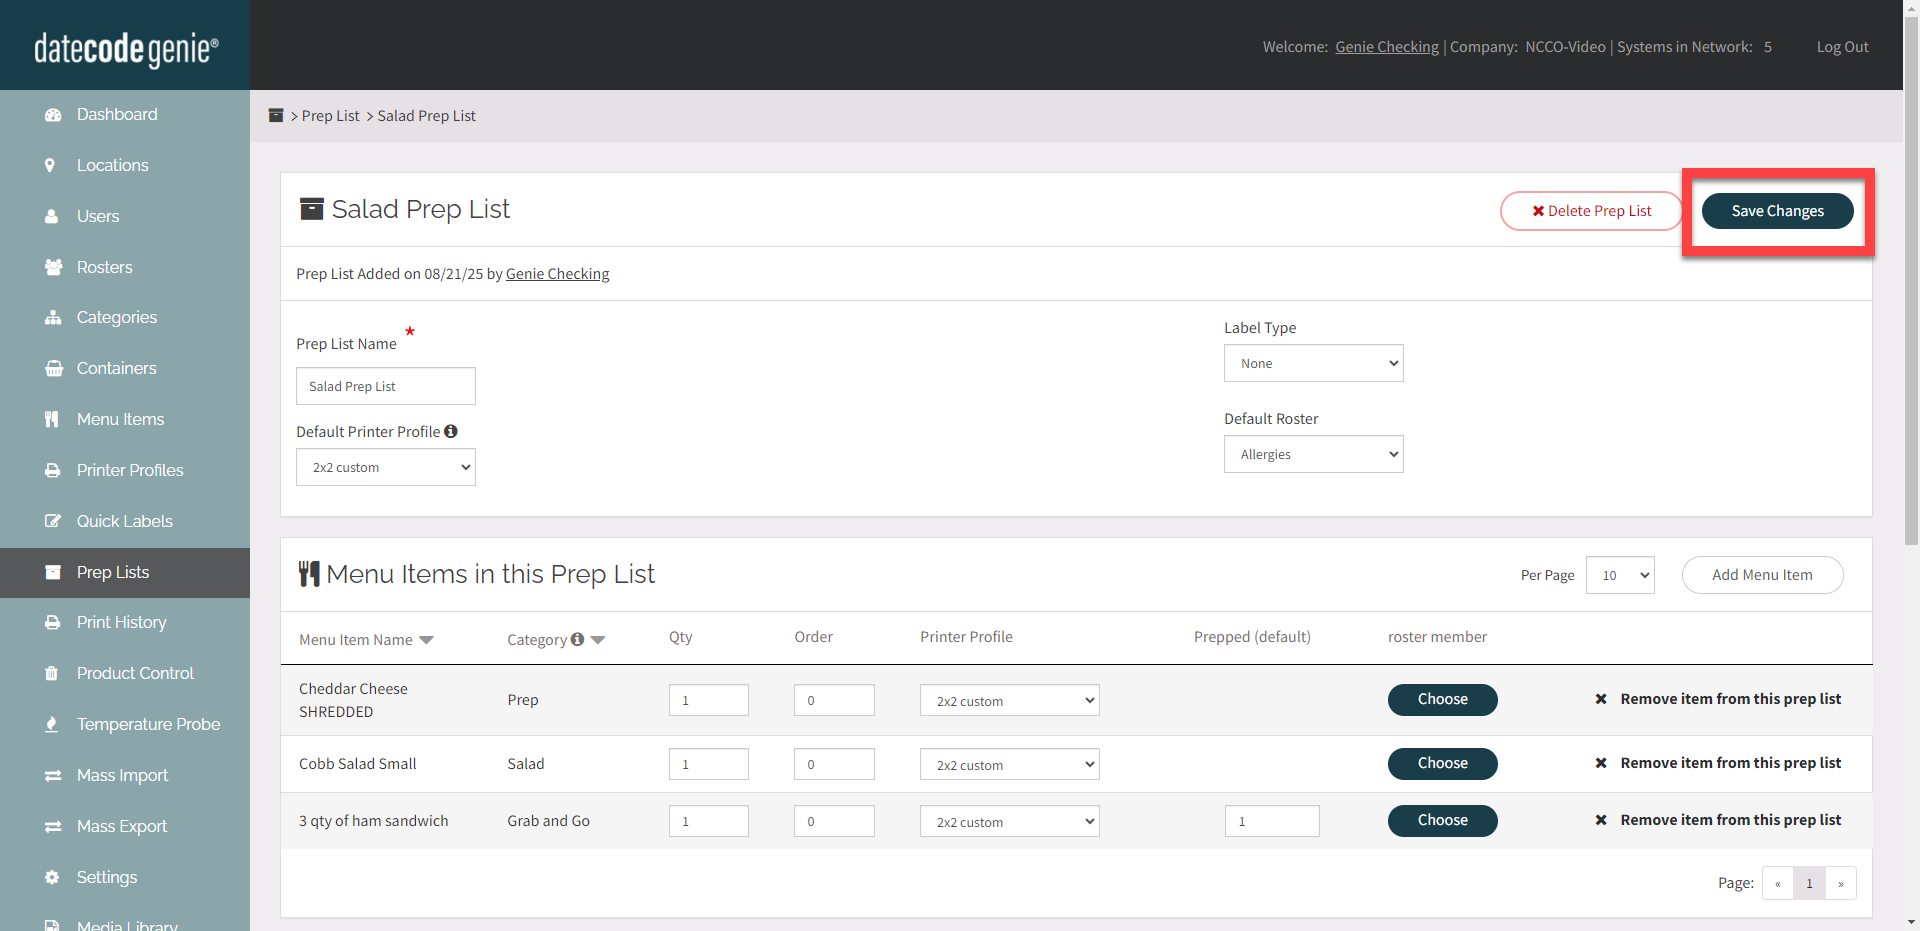
12. Click the Save Changes button.
