Set Up Rosters in the Portal
Table of Contents
Rosters is a software add-on option to create member lists with specific member information that can print on a label.
Rosters can be used for various scenarios such as:
- Classrooms
- Teams
- Sites
- Boxed meals
- Customers
- Routes
There are multiple fields available for each member added.
Rosters can be used with prep lists to identify the member and their specific member information on the label in addition to the menu item name.
Rosters can be added to your portal by requesting a portal change, see Contact & Support.
There are three parts needed to set up rosters:
1. Add Roster and Members
Create your roster and add members.
1. Log in to the portal at www.datecodegenie.com using the recommended browser. See What Internet Browser Should I Use To Access My DateCodeGenie® Portal?
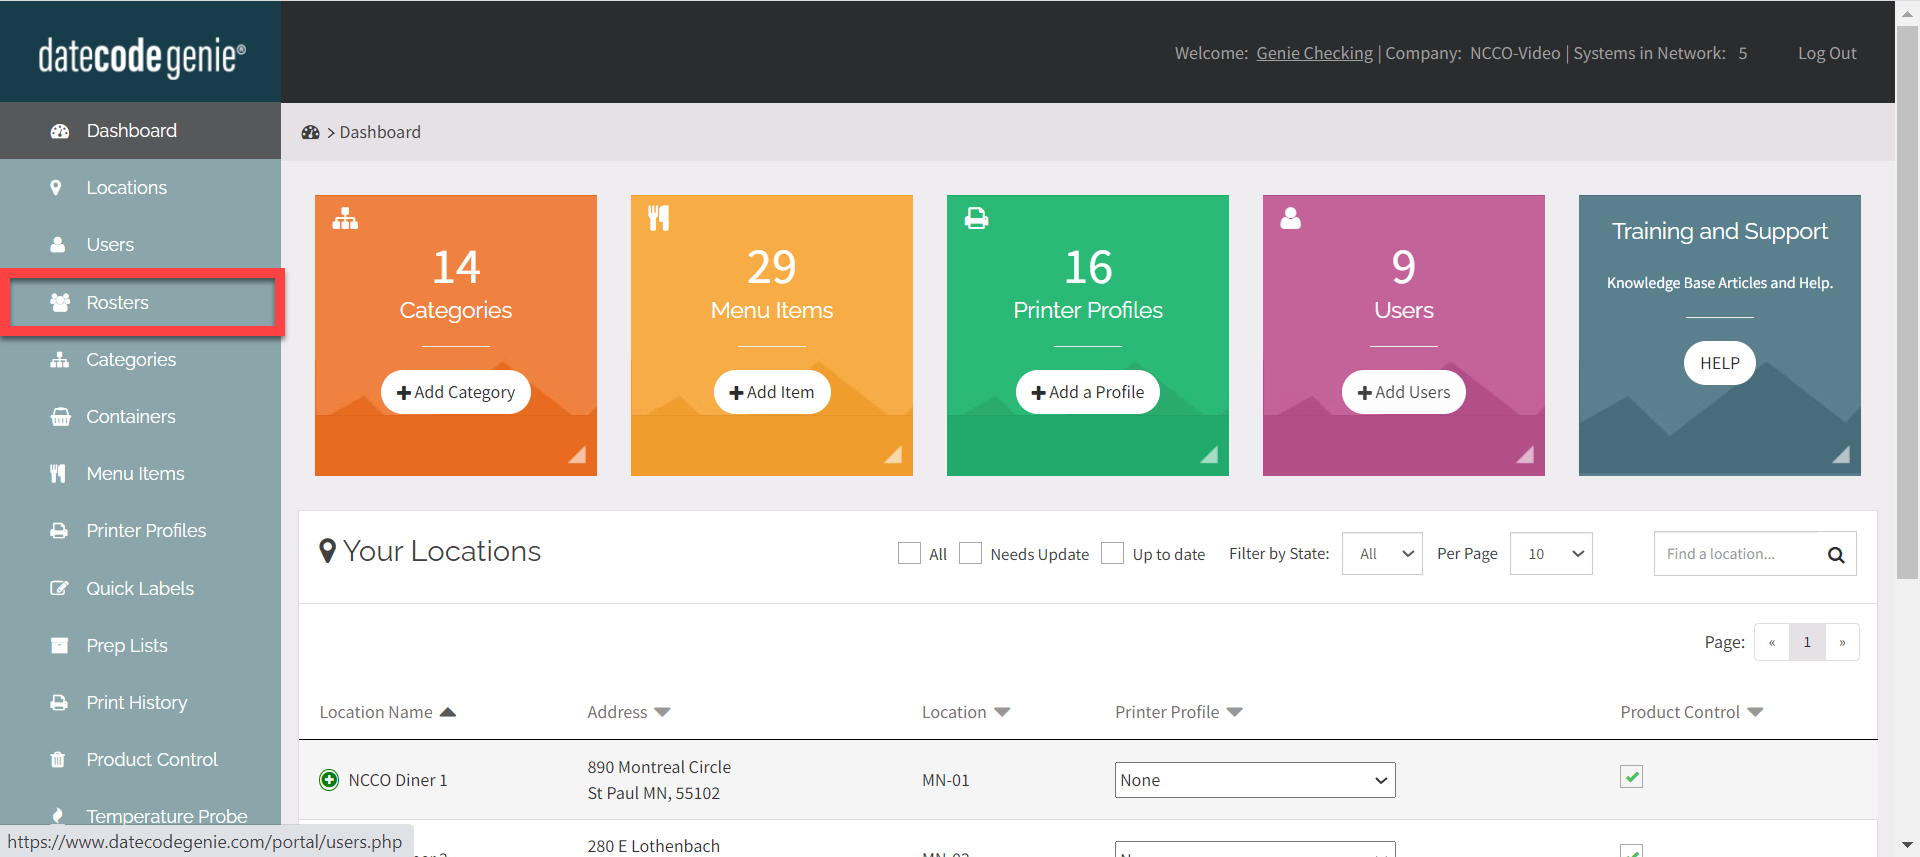
2. Click on the Rosters tab on the side bar.
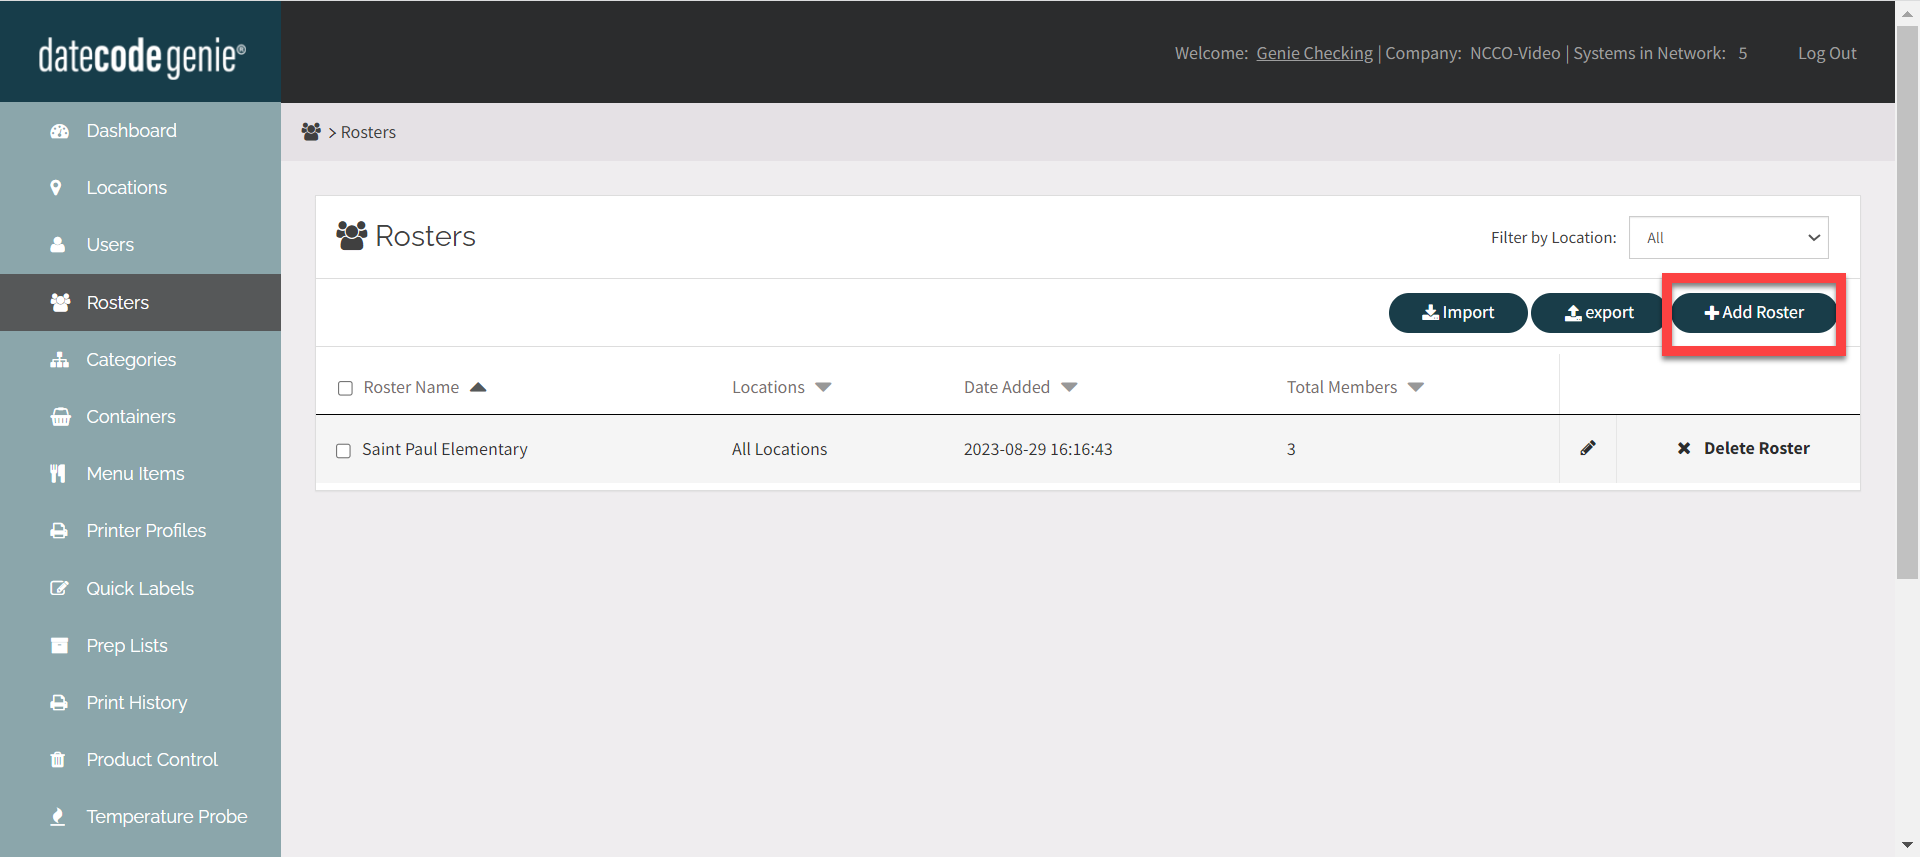
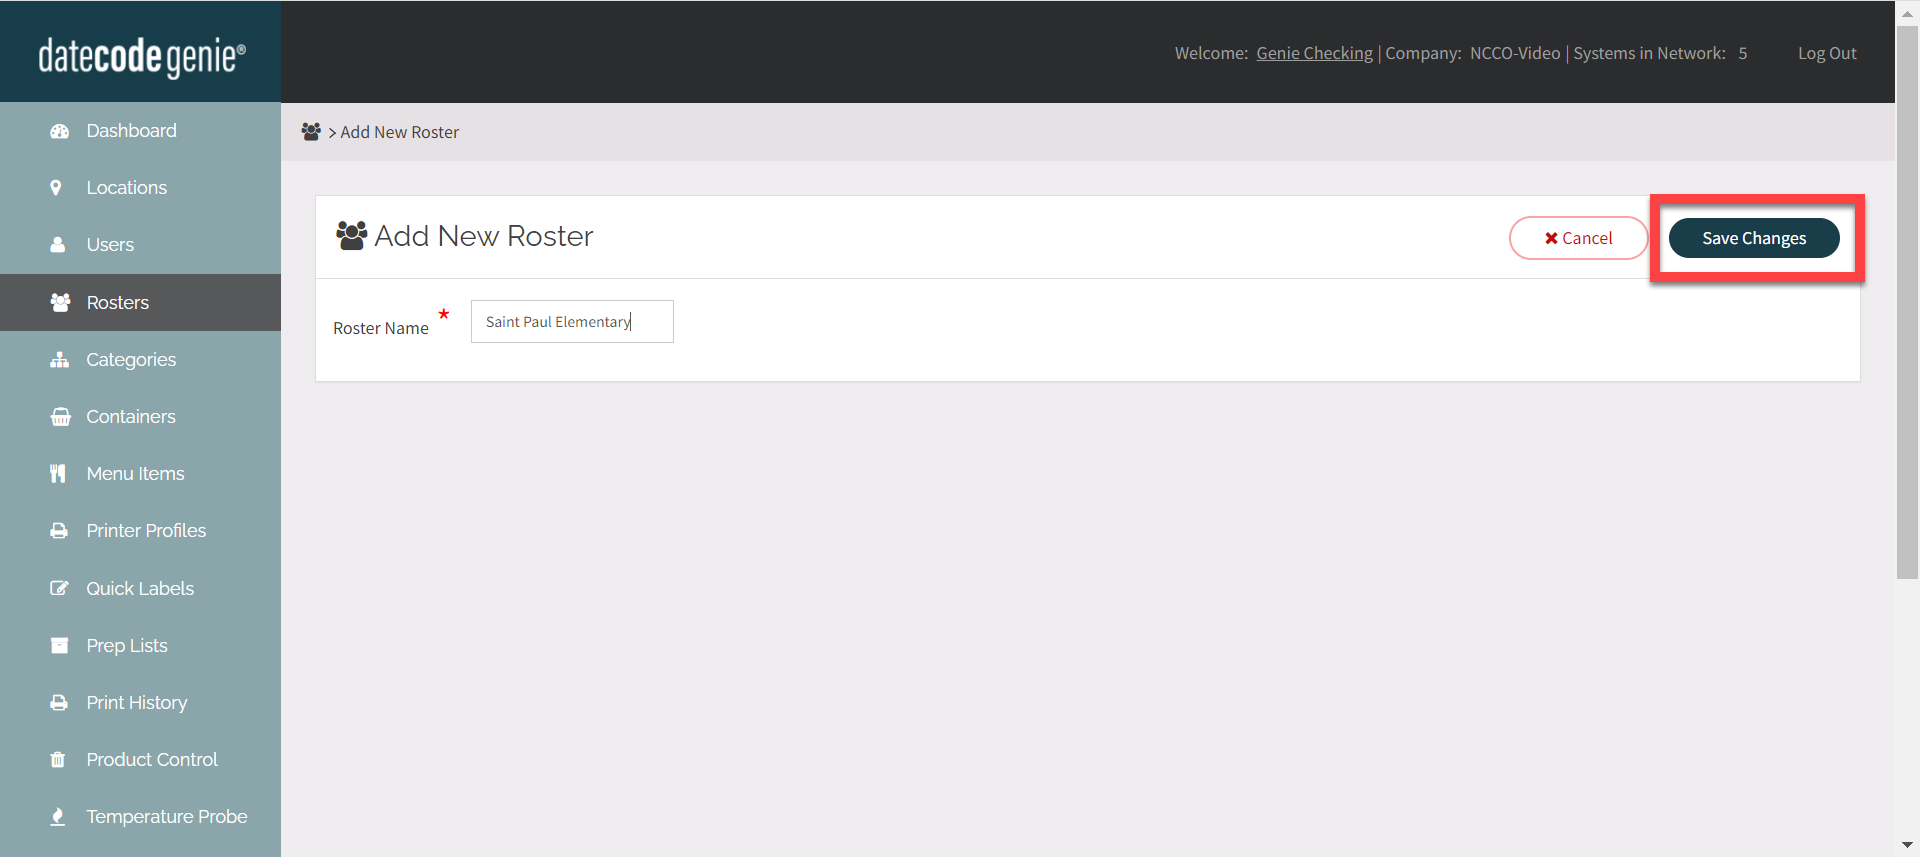
3. Click the +Add Roster button.
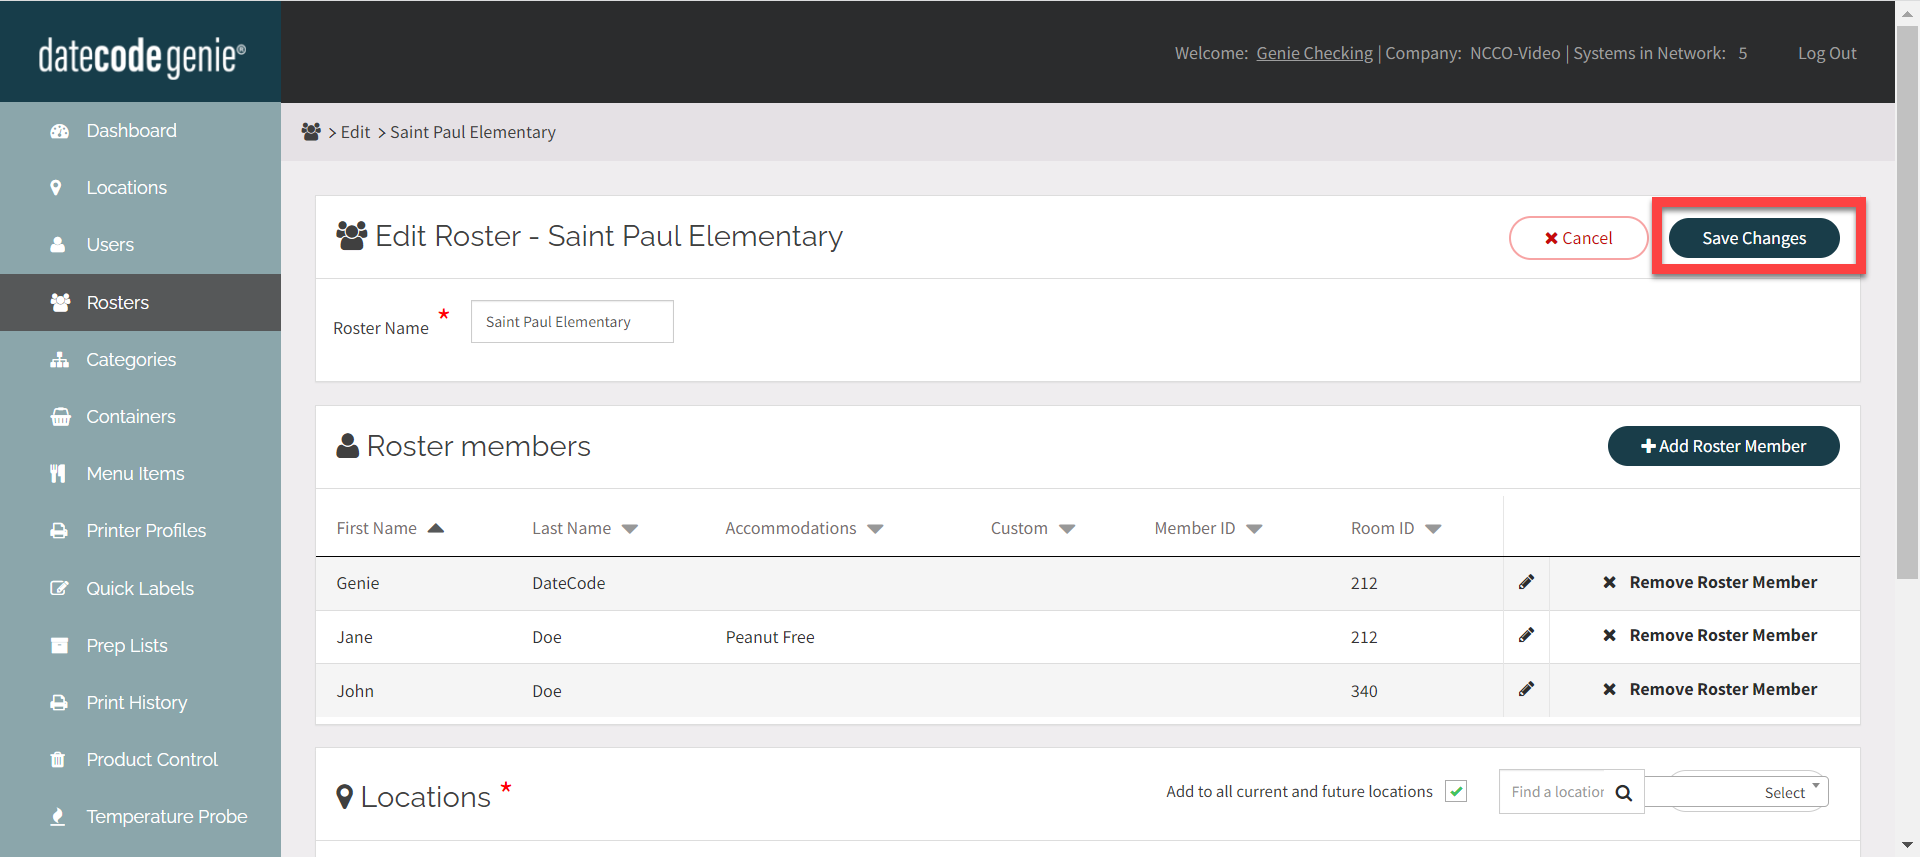
4. Enter Roster Name.
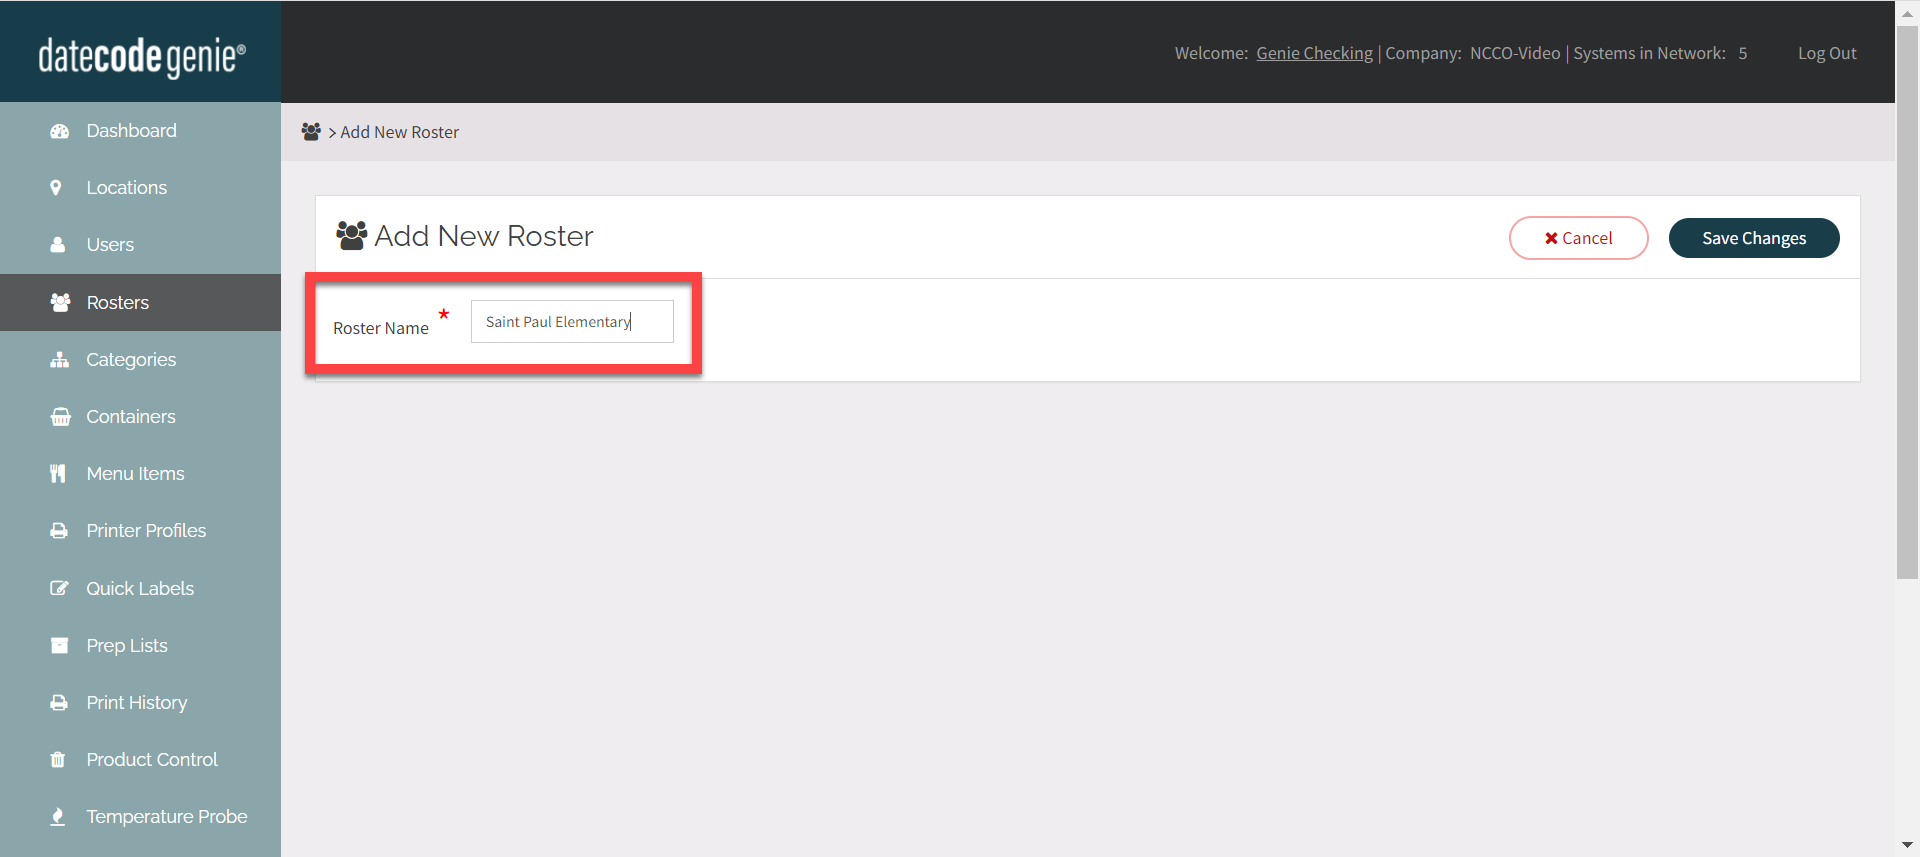
5. Click the Save Changes button.
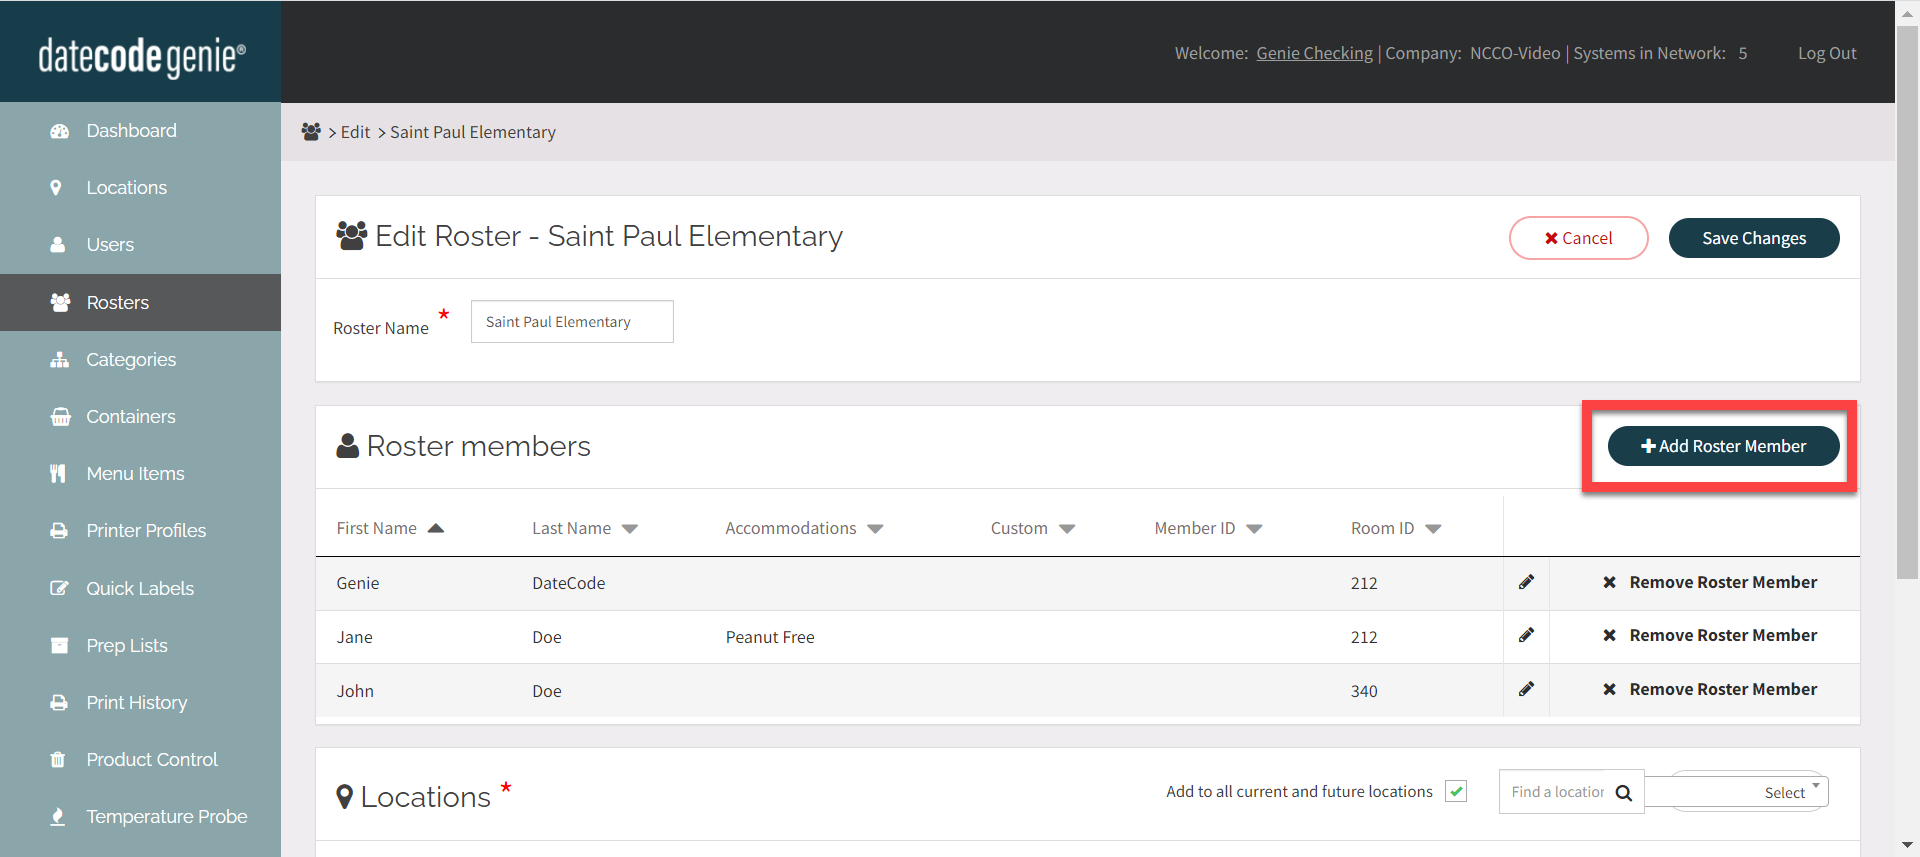
6. Click the Add Roster Member button to add each roster member.
7. Enter the name of the roster member and any other relevant information.
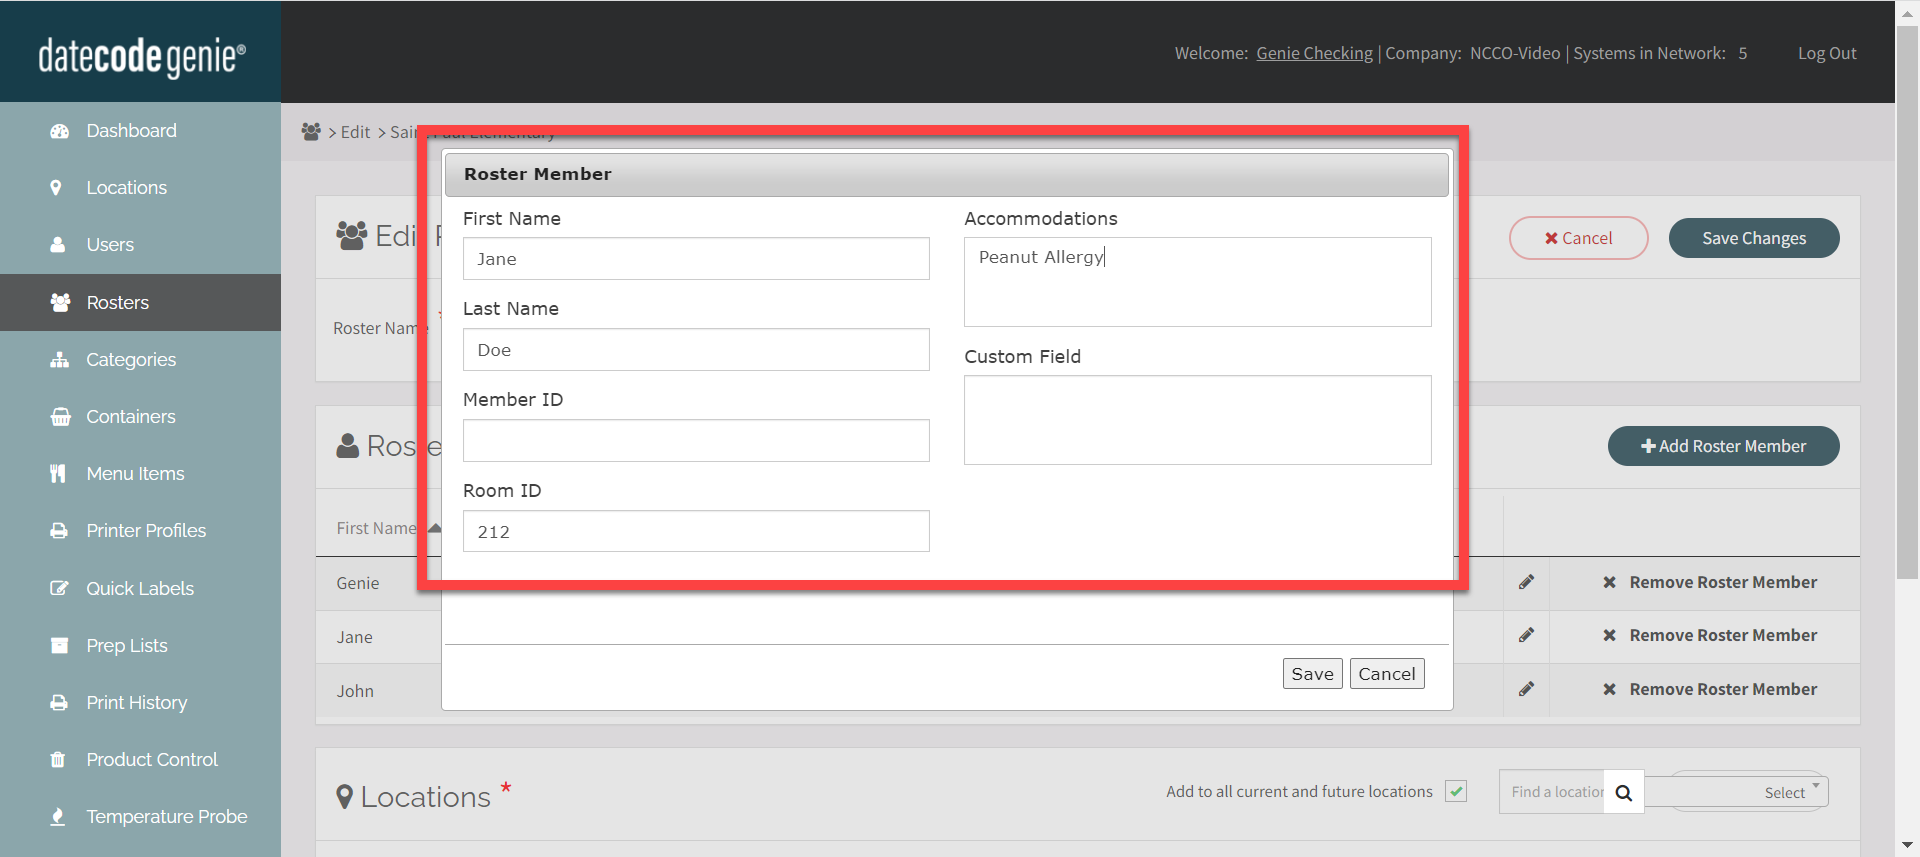
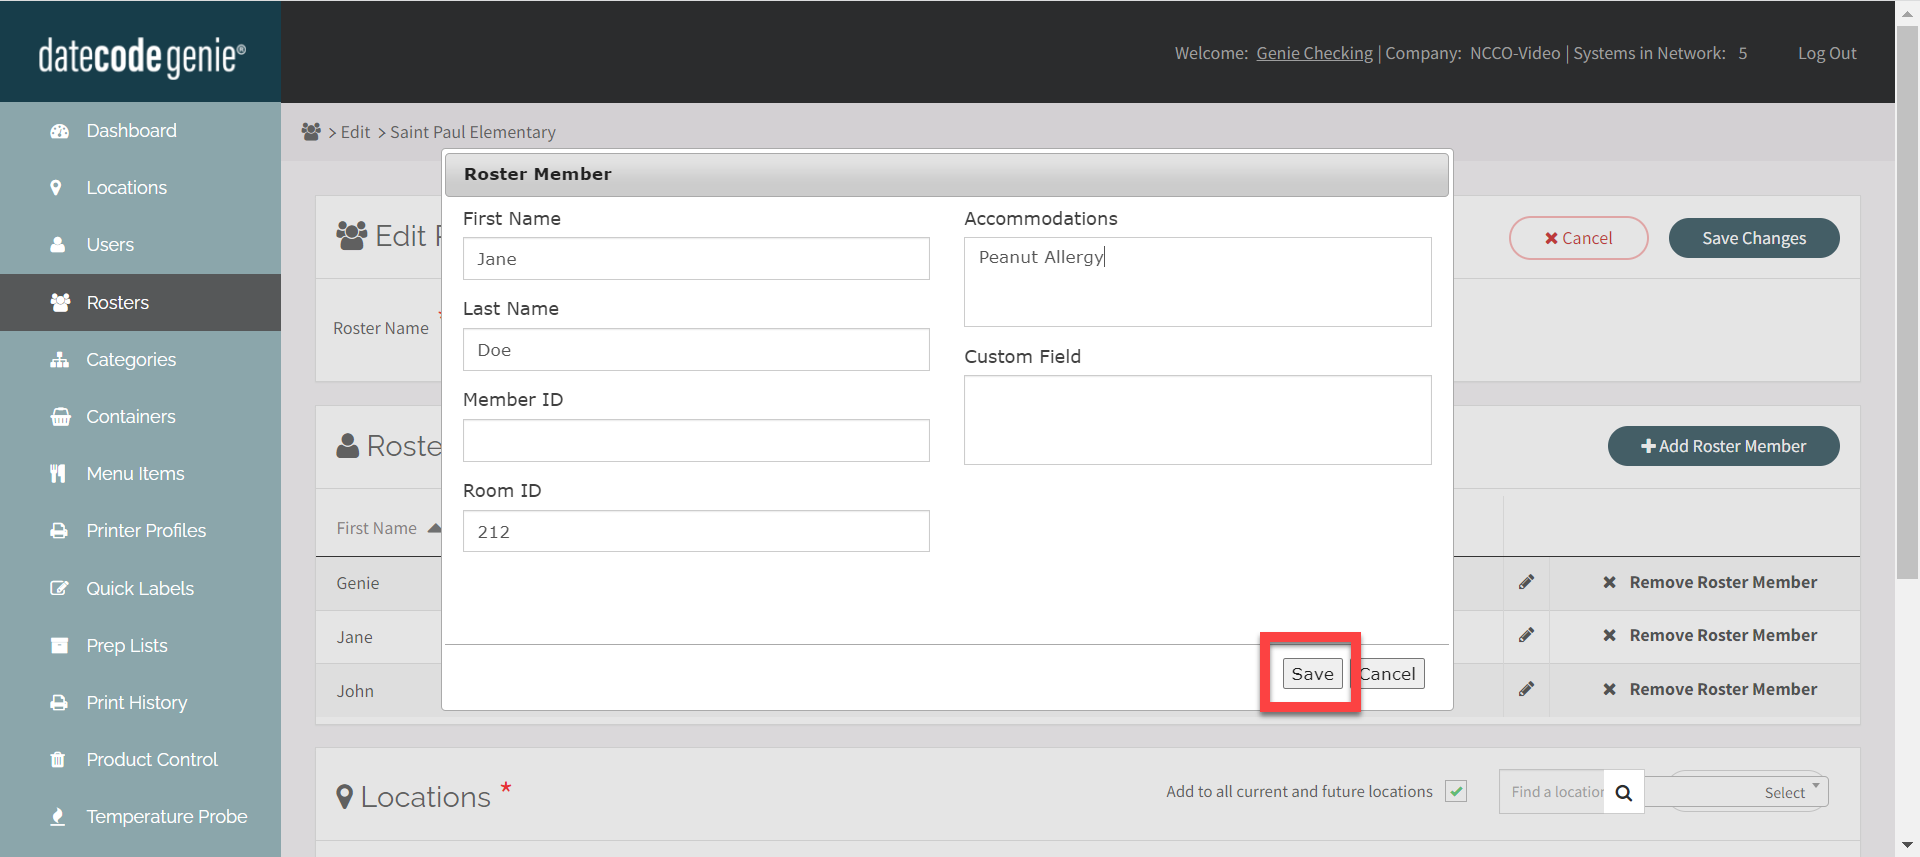
8. Click Save.
9. Under Locations, add locations from the select dropdown, or click the Add to all current and future locations checkbox.
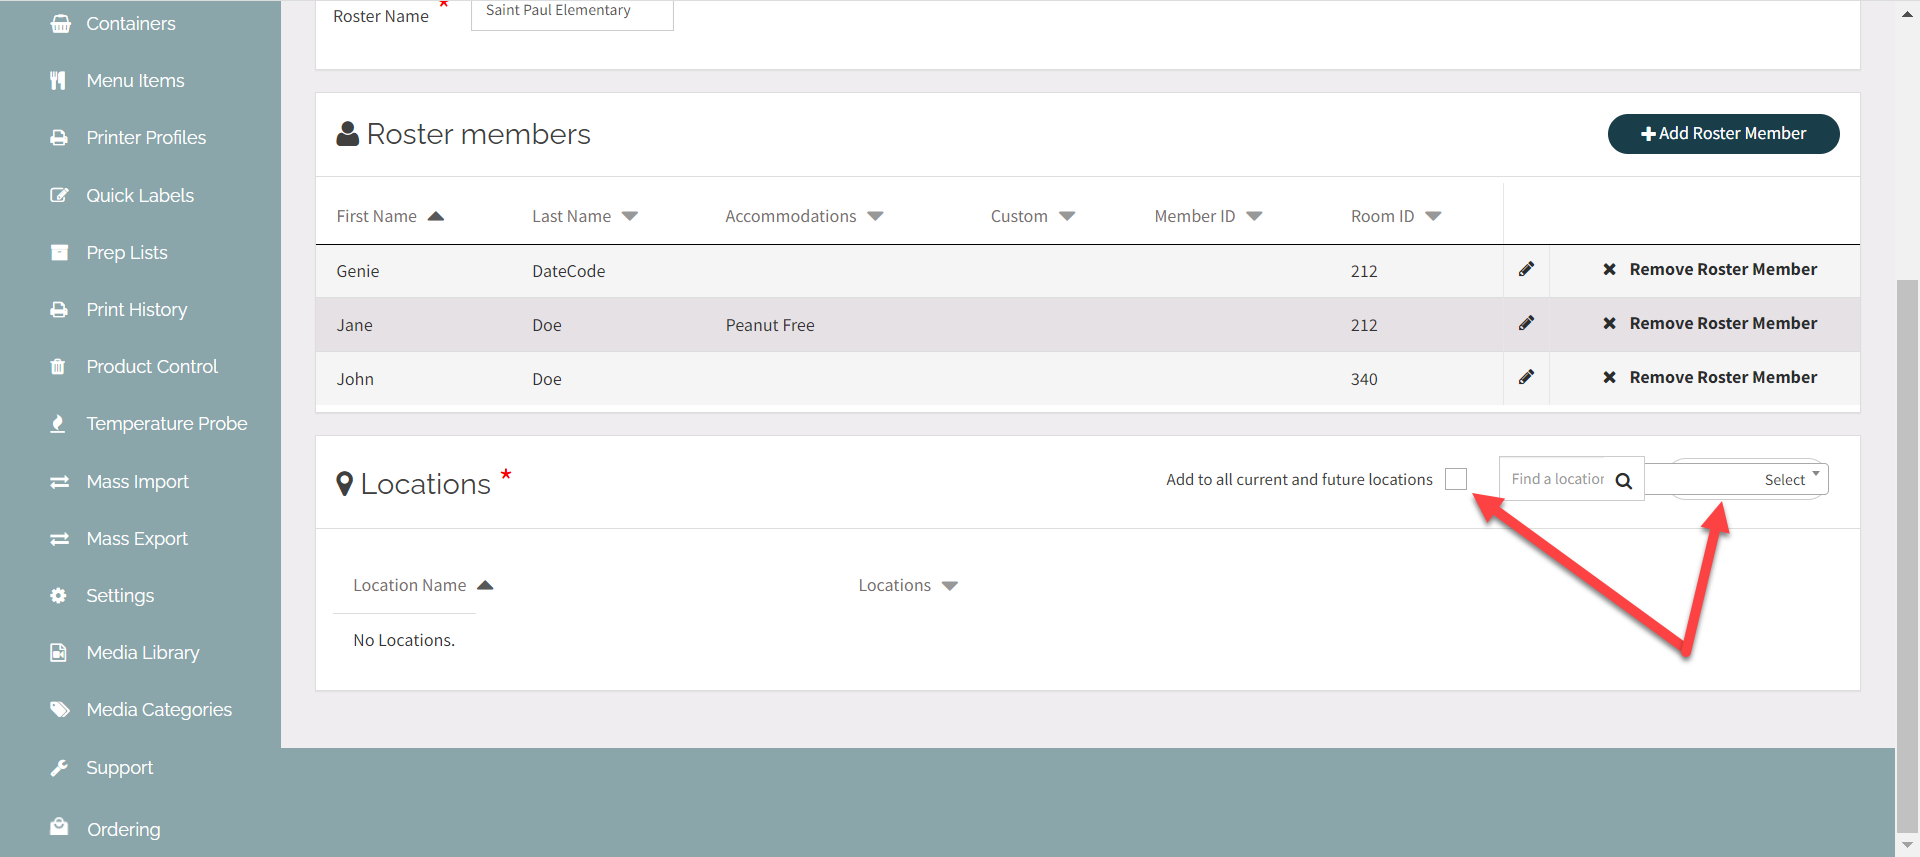
10. Click the Save Changes button.
2. Add to Printer Profile
Add or edit a printer profile, see Manage Printer Profiles.
In the layout designer, locate Roster Fields under features and add the features needed to the label preview.

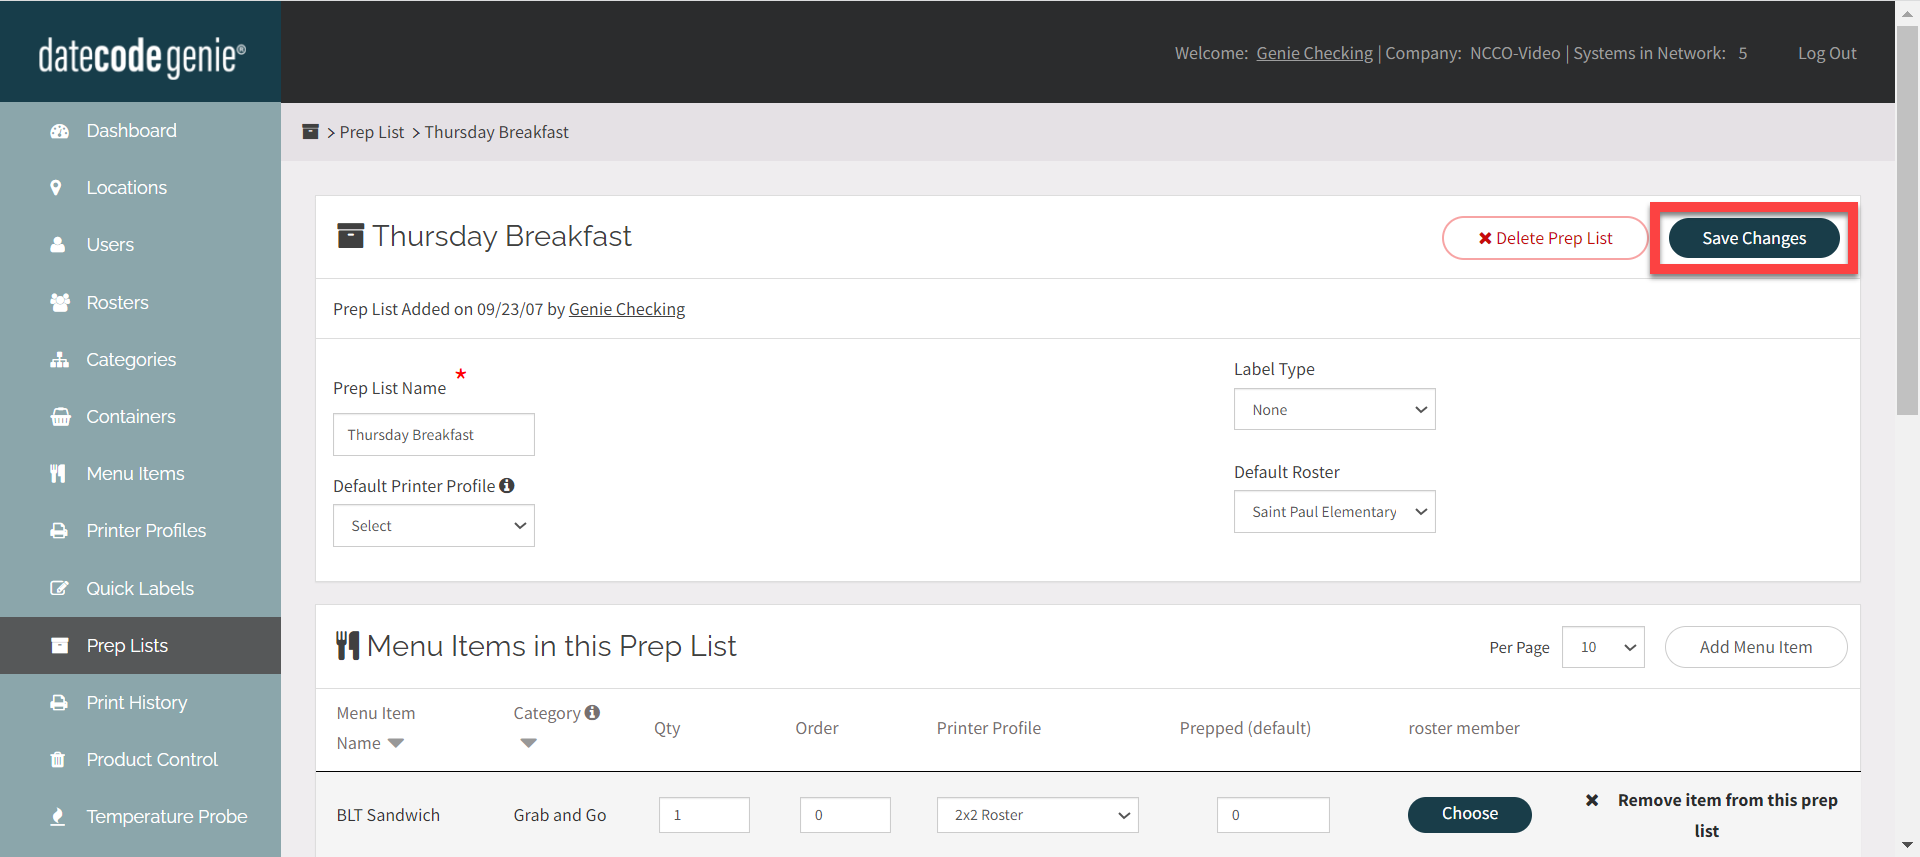
3. OPTIONAL: Apply to Prep Lists
Rosters and roster members can be added to any prep list to quickly print labels.
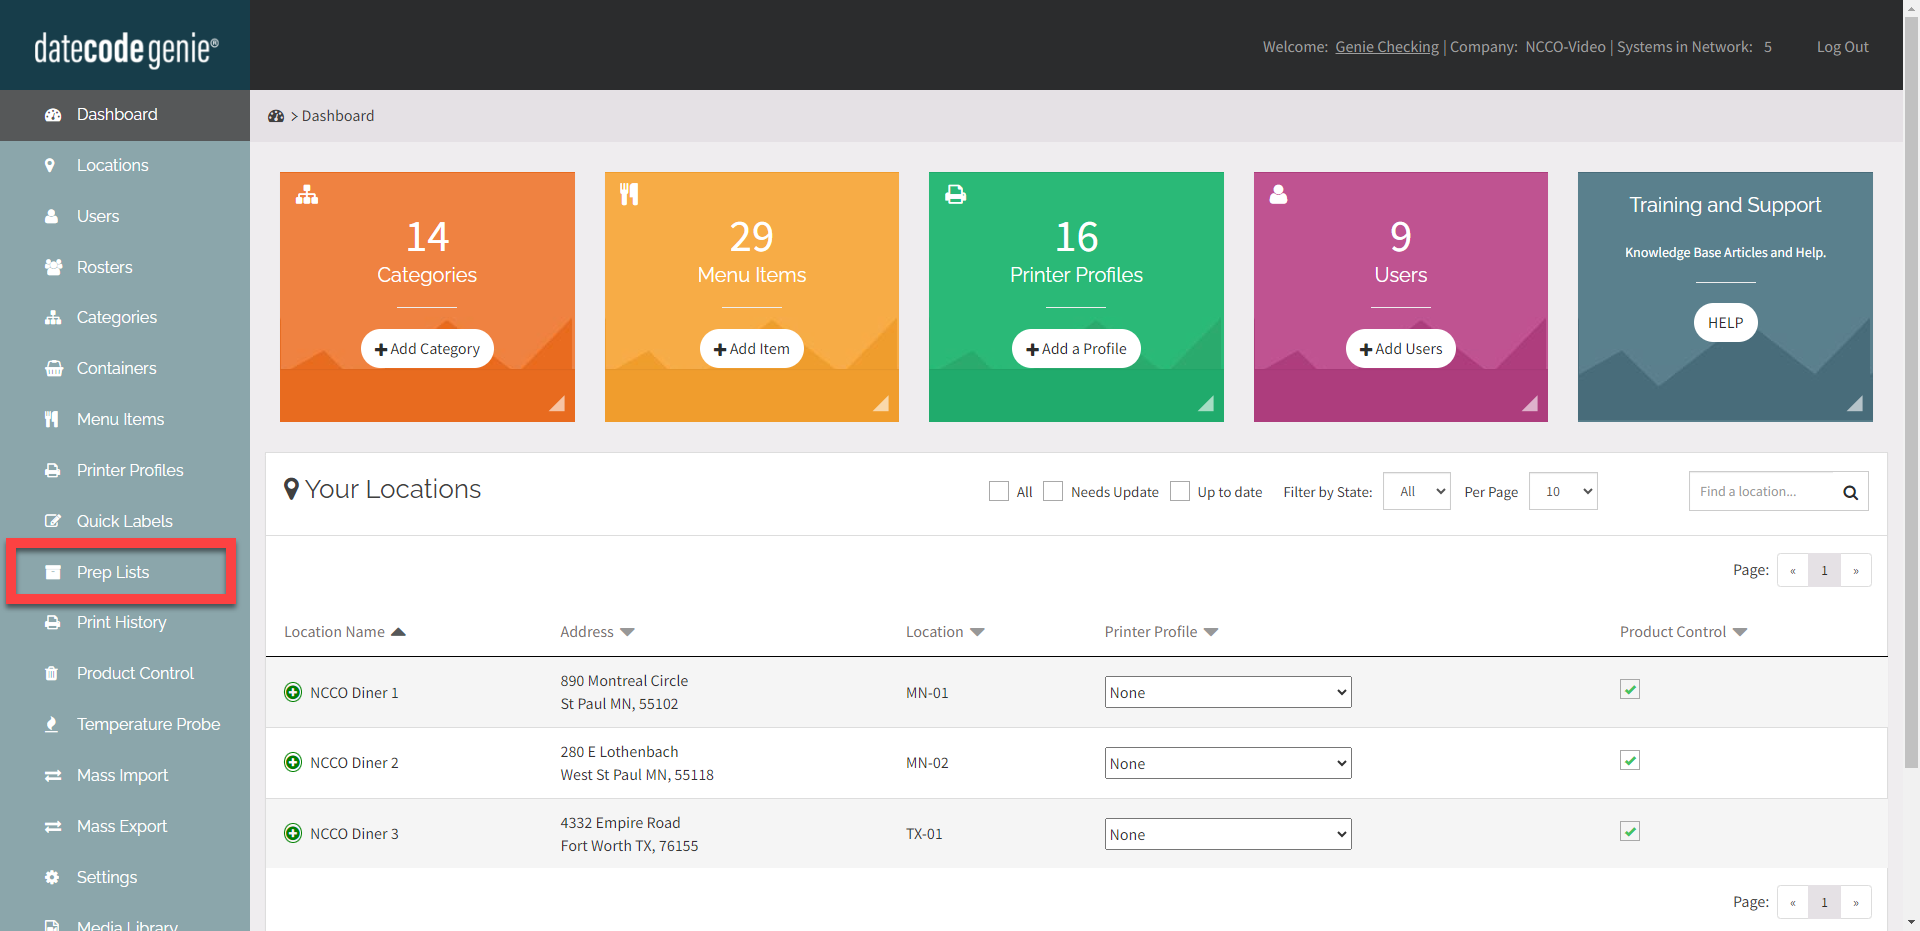
1. Click on the Prep Lists tab on the side bar.
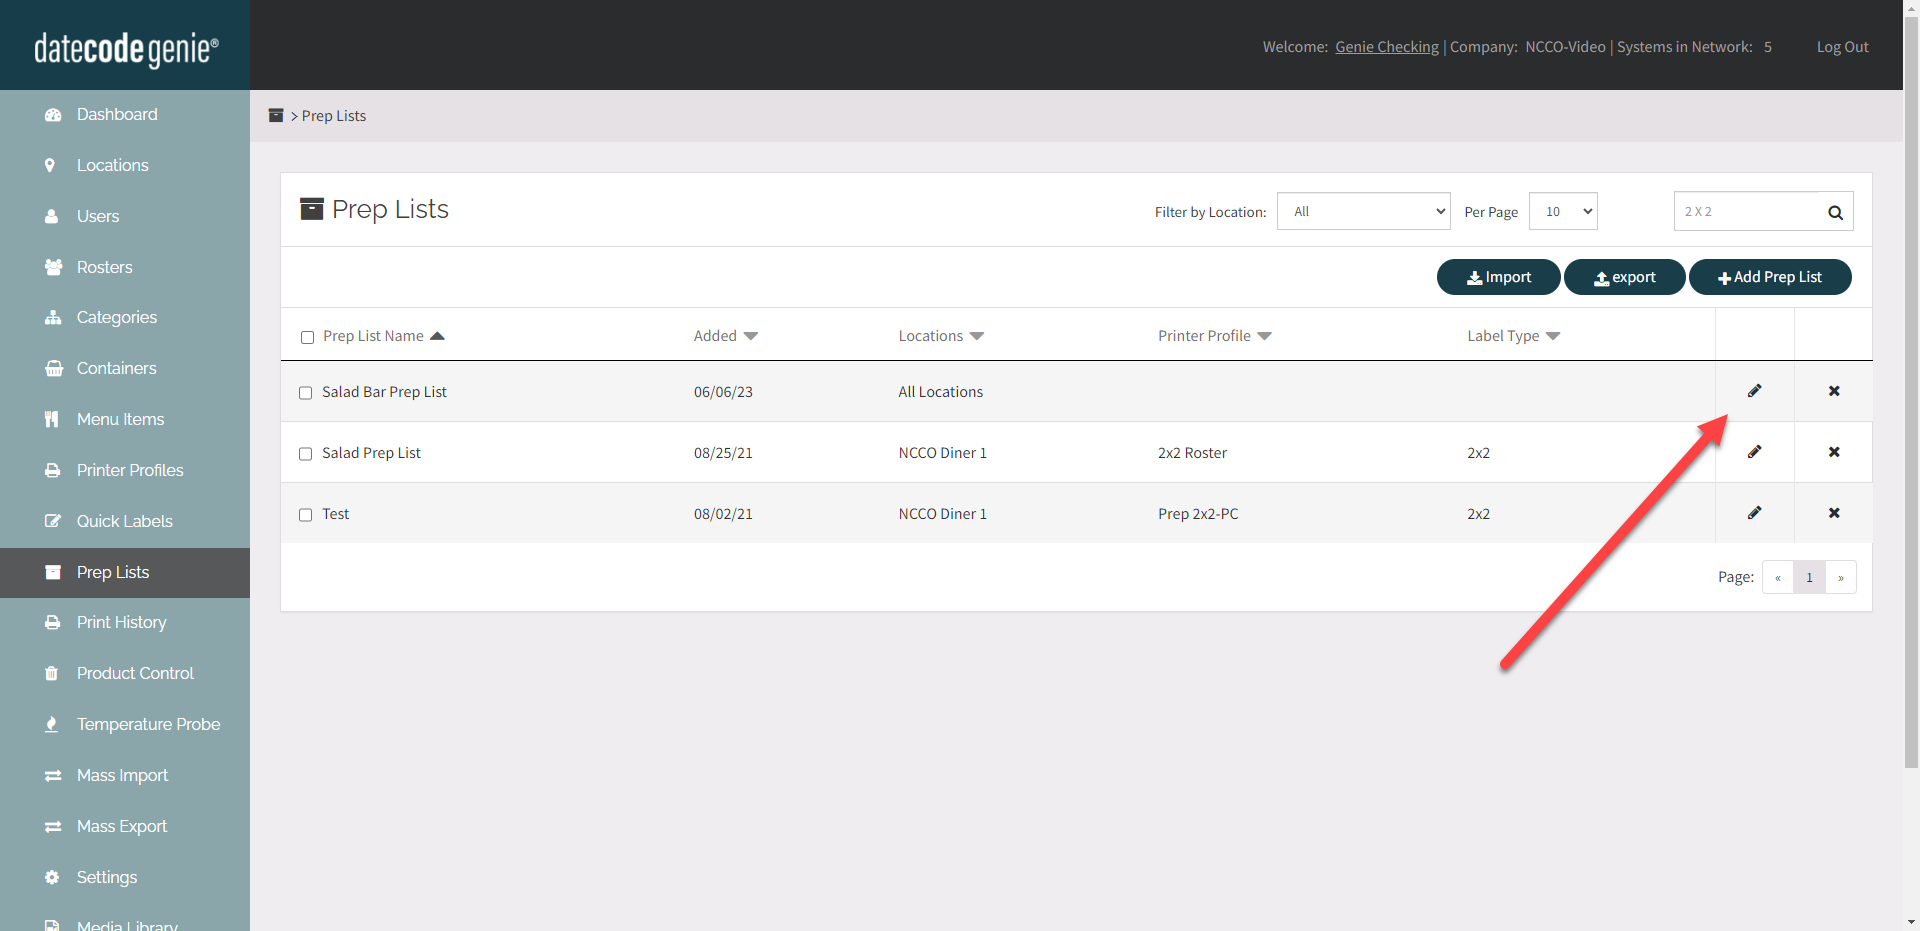
2. Click the Edit button (pencil icon) for a prep list or create a new list, see Manage Prep Lists.
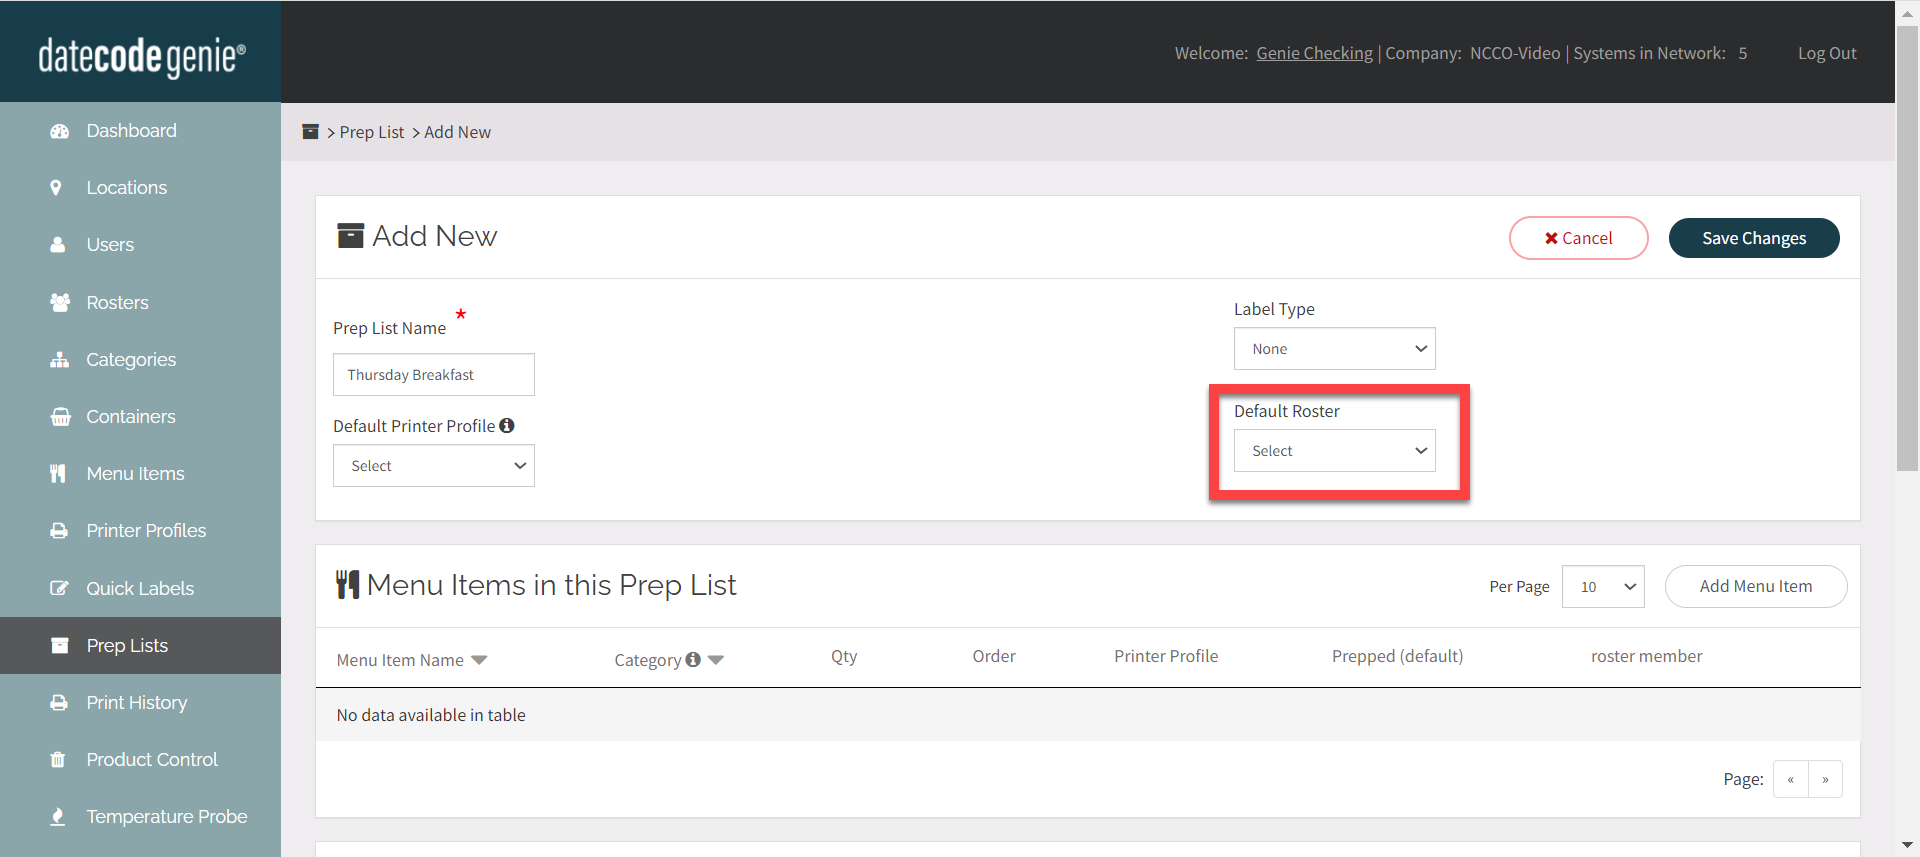
3. OPTIONAL: Click the Default Roster dropdown and and select the correct roster name if adding members from only one roster to the prep list.
TIPS & TRICKS
Leave the default roster dropdown blank if the prep list will have members from multiple rosters.
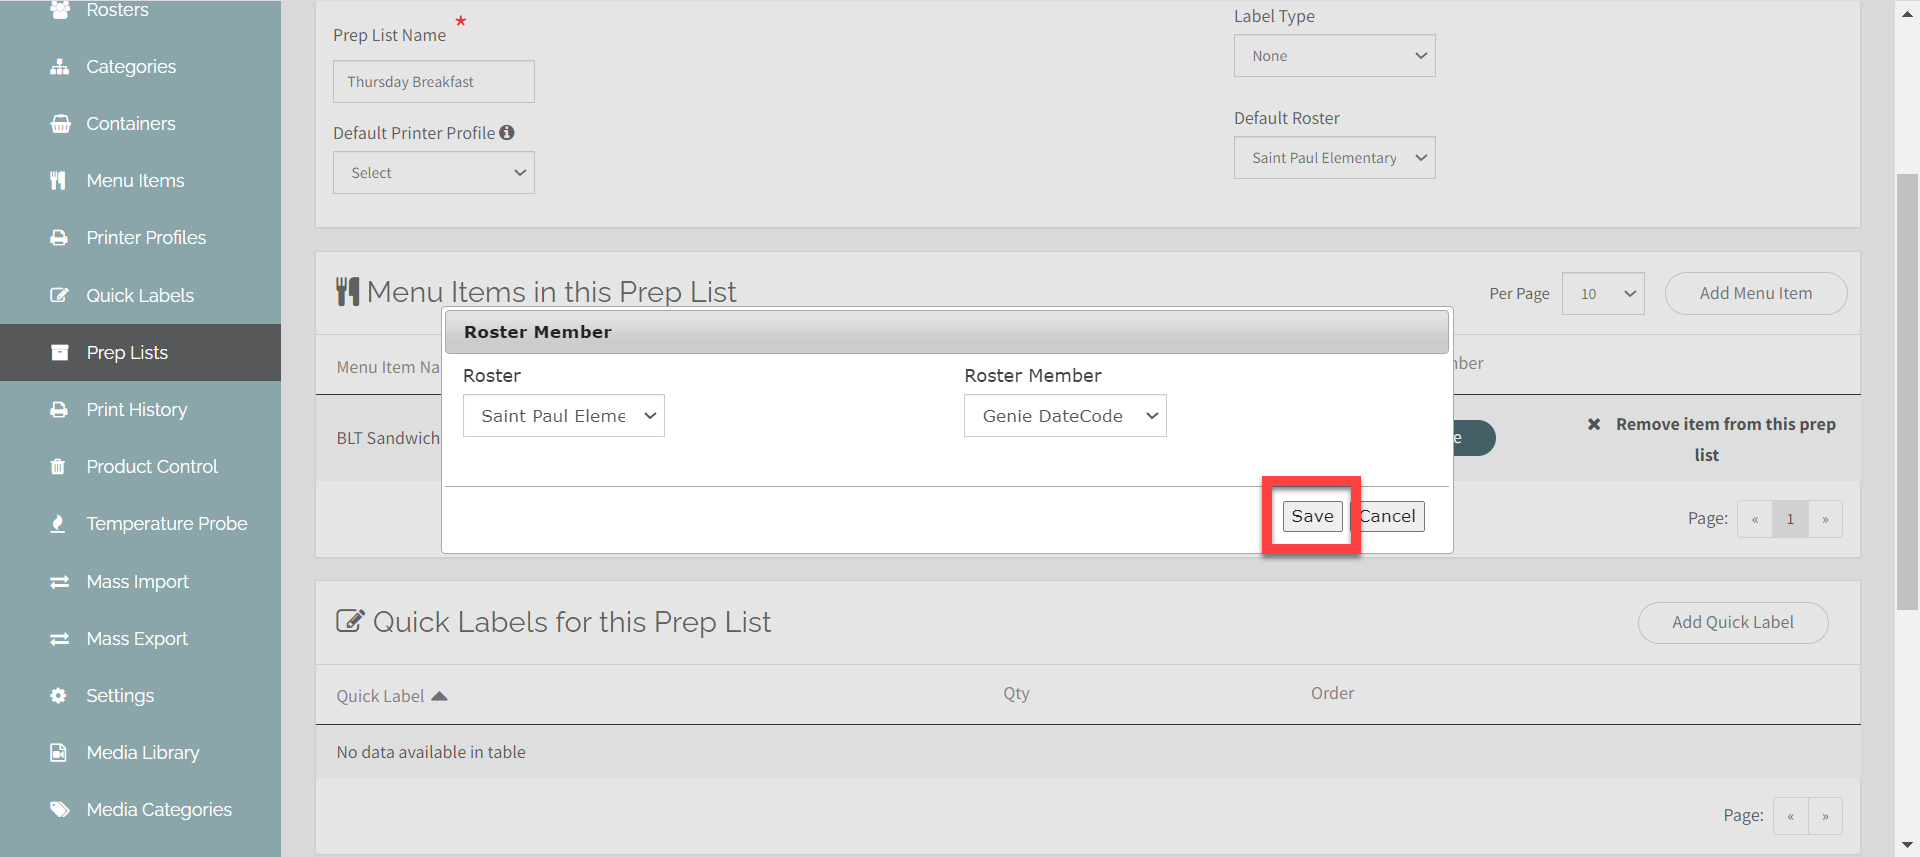
4. Click the Add Menu Item button and select the menu item to add.

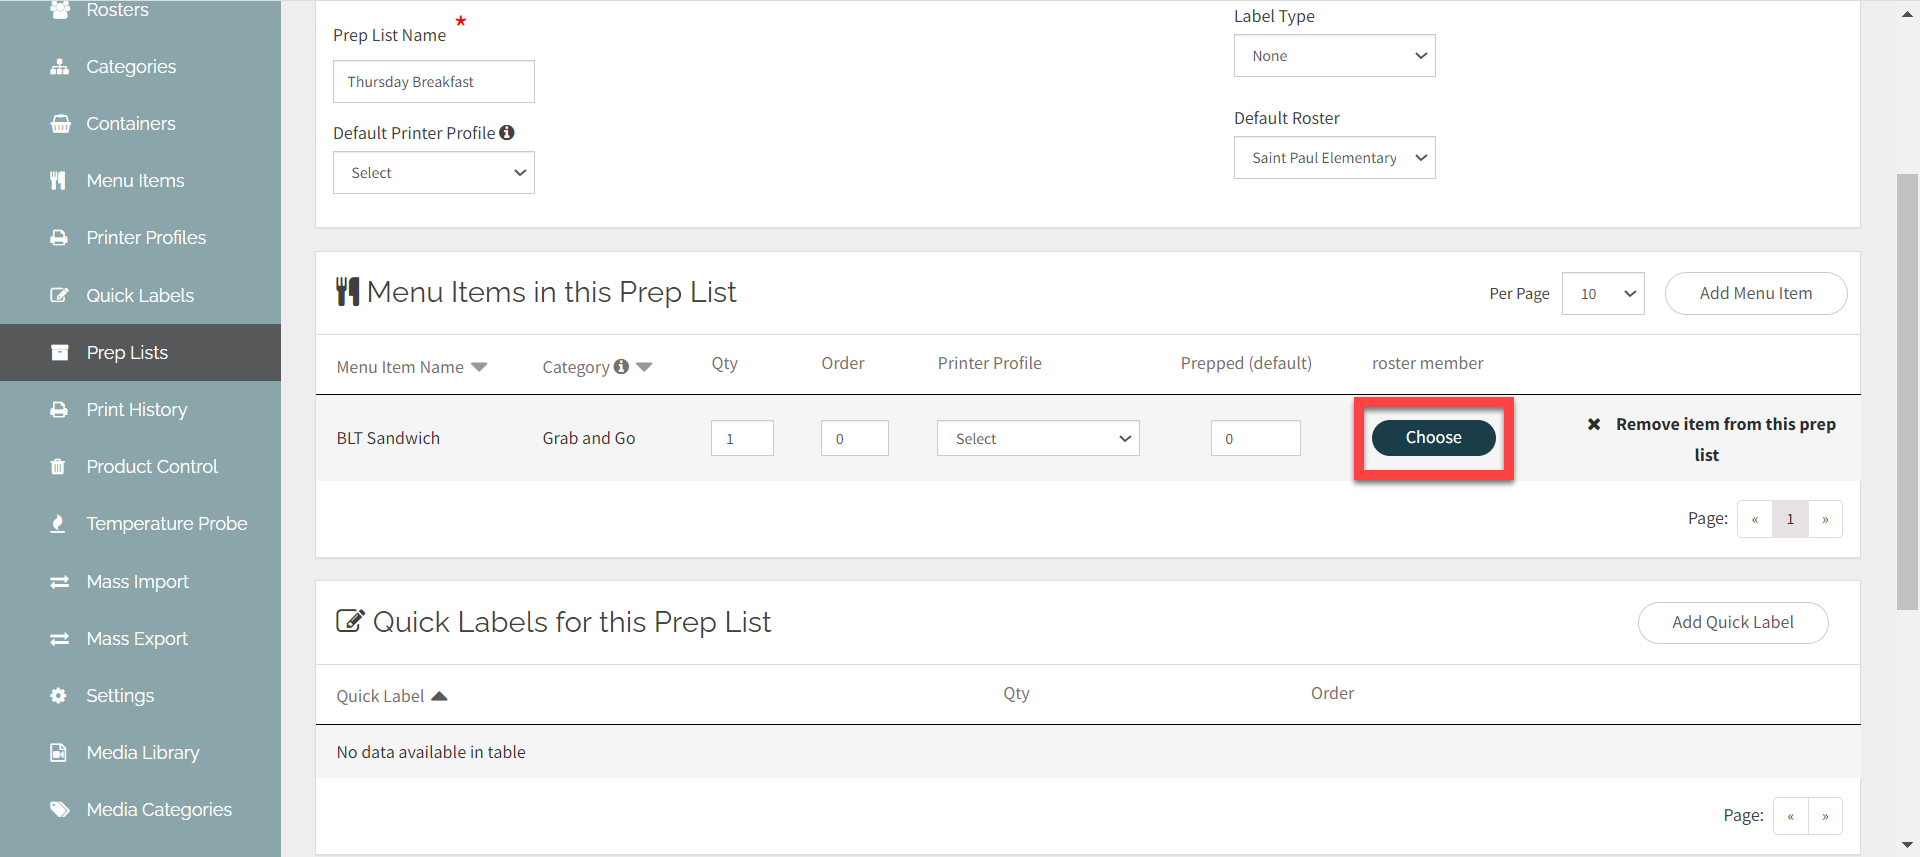
5. Click the Choose button for a menu item under roster member, and for each menu item with roster needed.
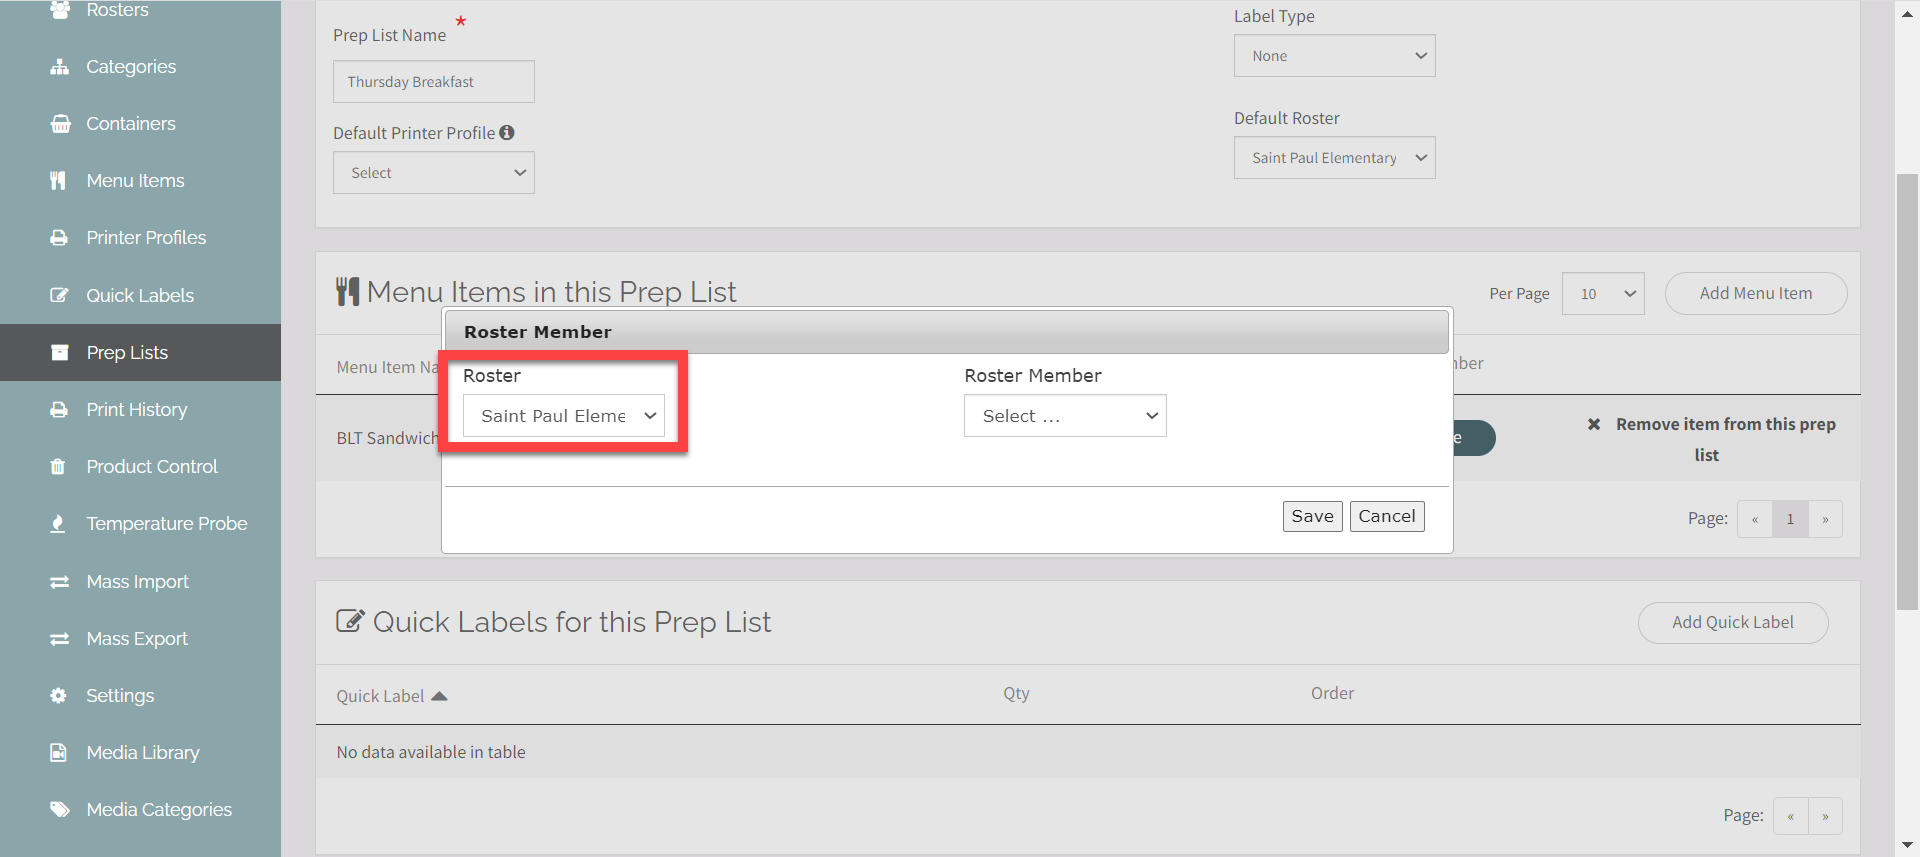
6. Click the Roster dropdown and select roster name.
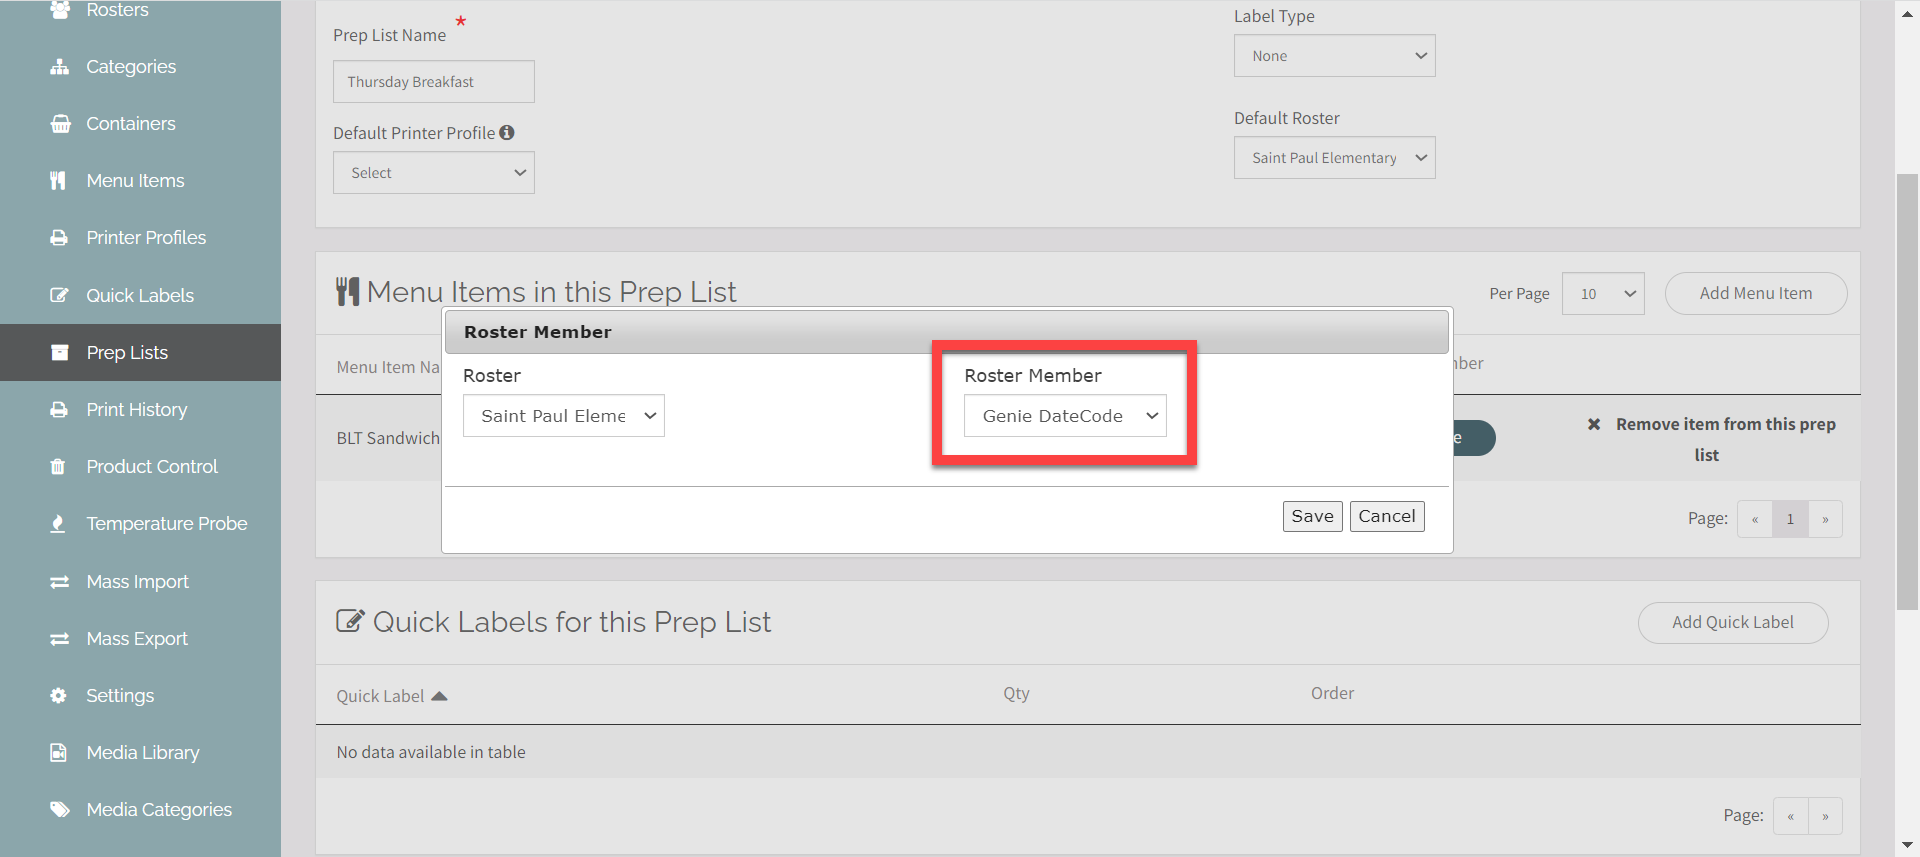
7. Click the Roster Member dropdown and select roster member name.
8. Click Save.
9. Repeat steps 4-8 for each menu item needed for each member.
10. Click the Save Changes button.