Manage Media Files
Portal administrators and managers with Allowed to Upload Media permission can add media files and URL addresses to the portal to be viewed in the app.
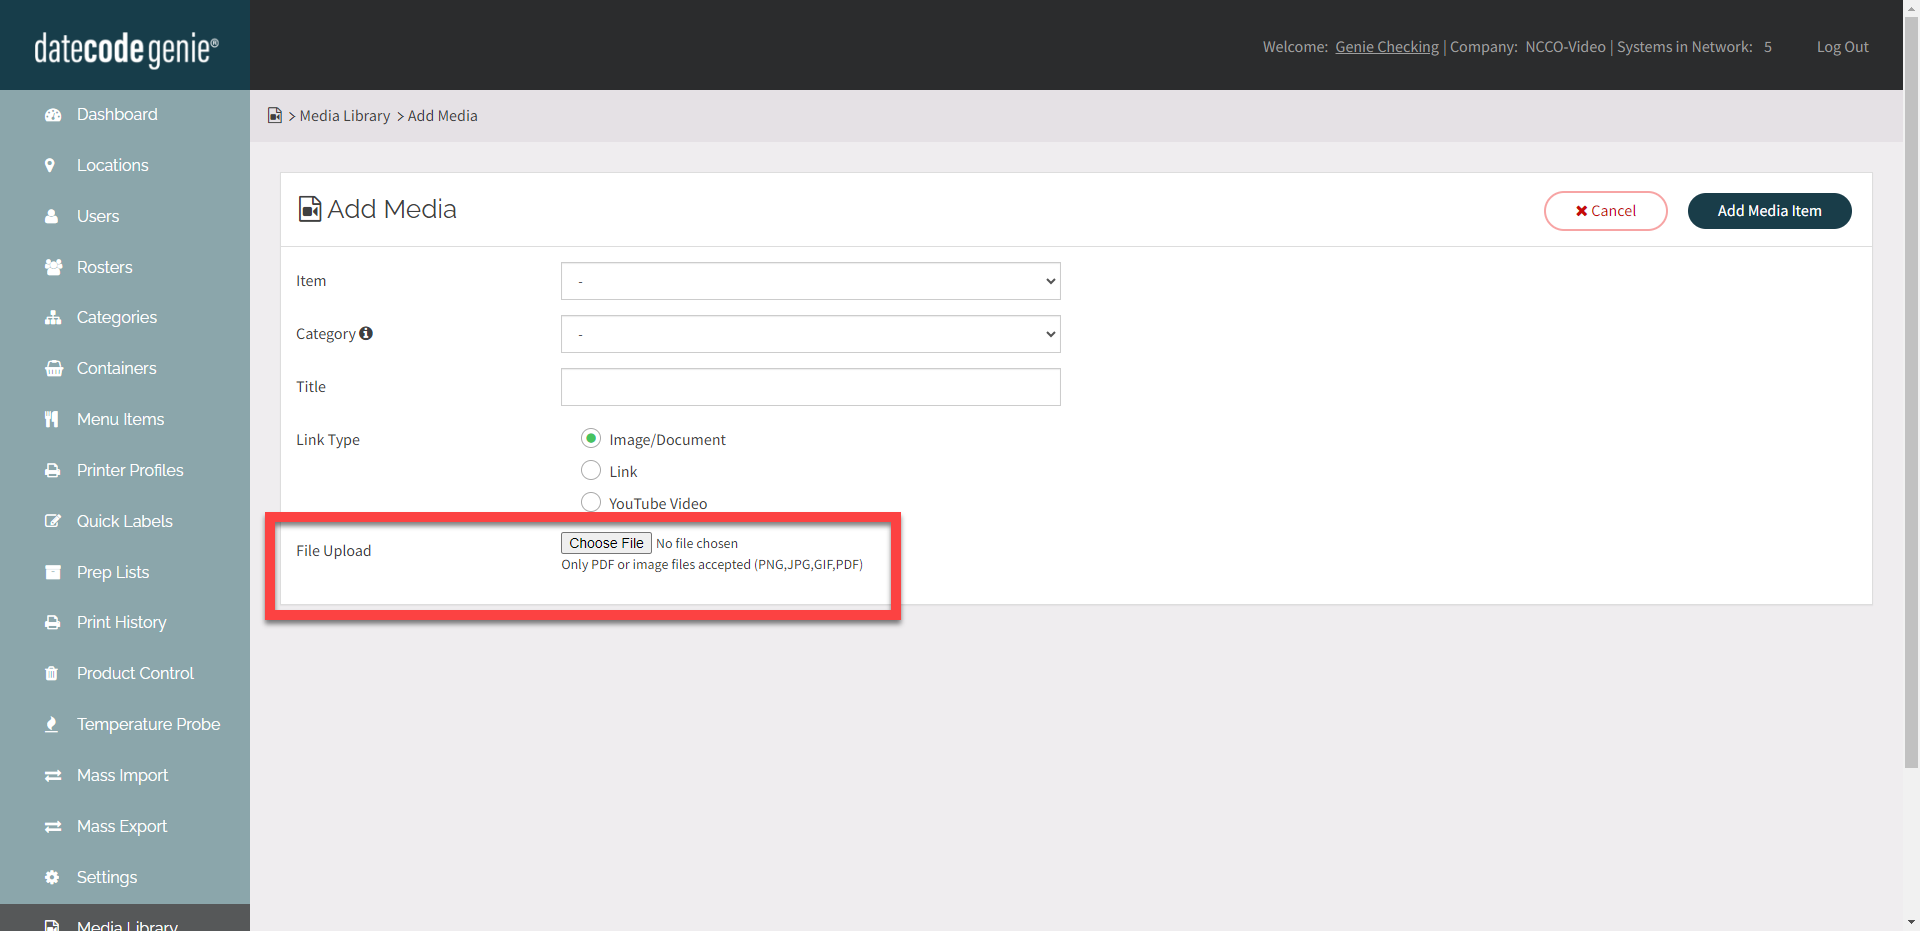
File attachment requirements:
- Supported formats: PNG, JPG, GIF, PDF
- Max file size: 80 MB
- Invalid file name characters: & # \ / : * ? " < > | +
- Max upload limit for PDF files: 30 pages
There are two ways to add media items to your portal:
1. Media Library Tab
1. Log in to the portal at www.datecodegenie.com using the recommended browser. See What Internet Browser Should I Use To Access My DateCodeGenie® Portal?
2. Click on the Media Library tab on the sidebar.
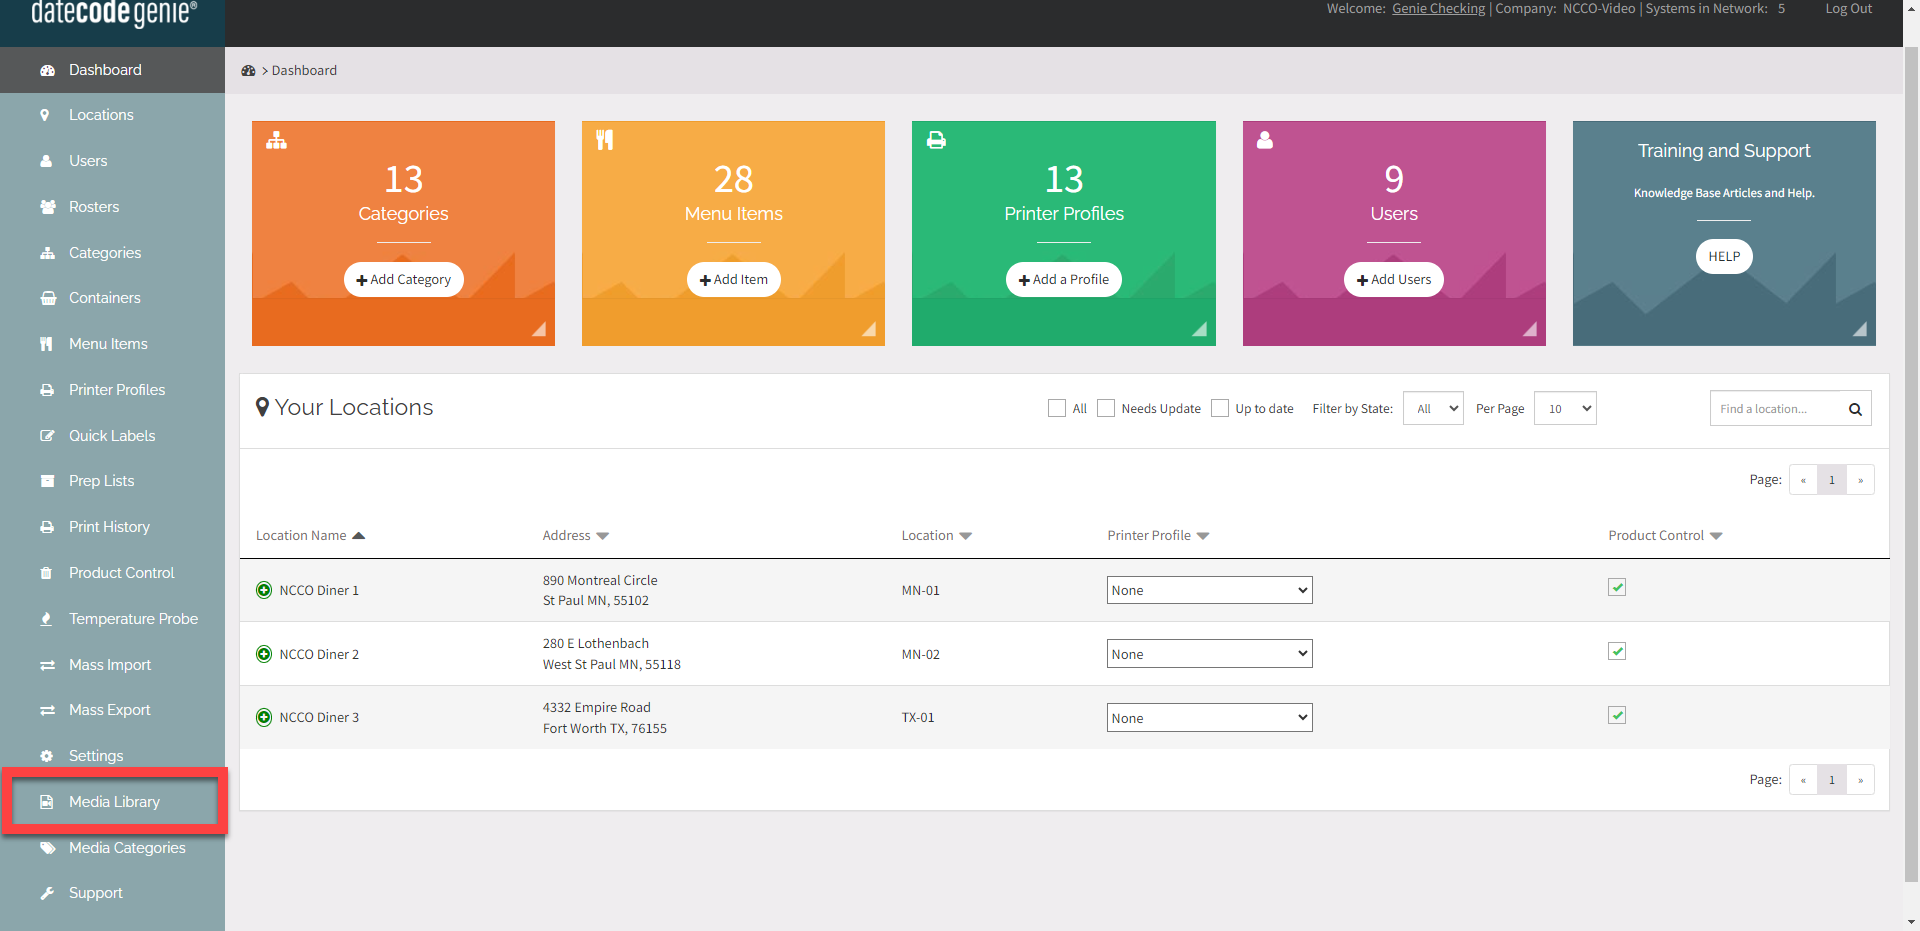
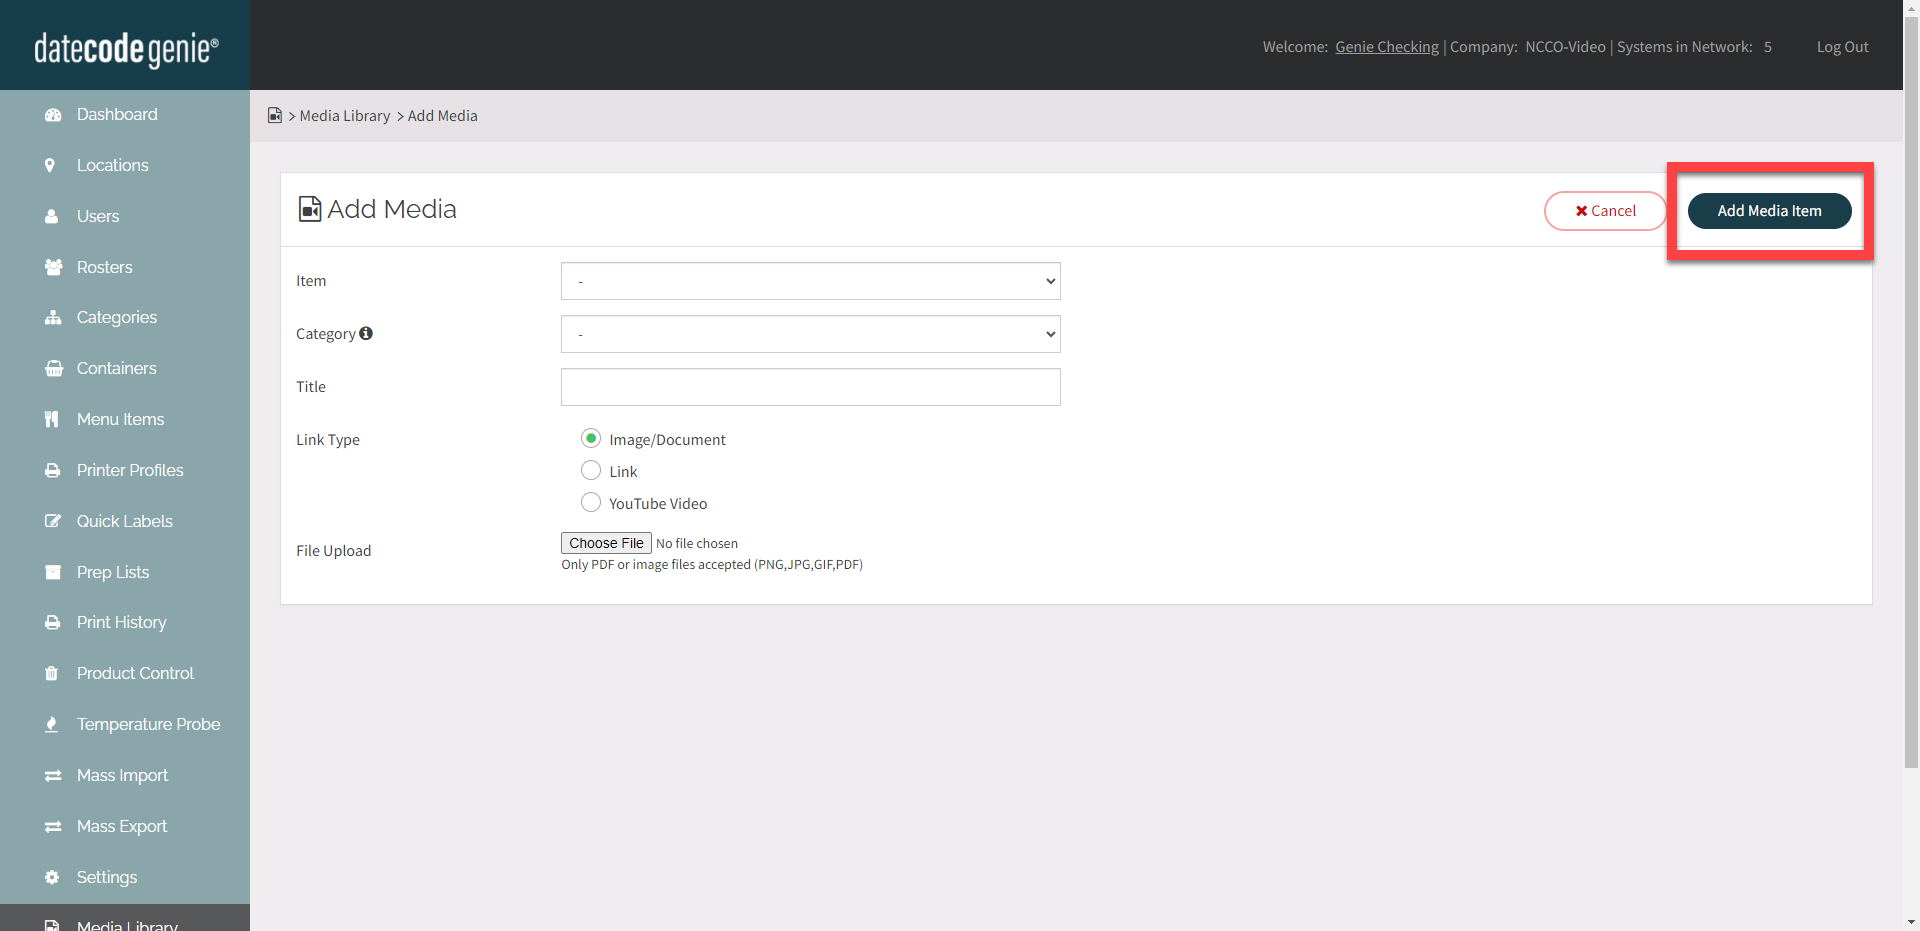
3. Click the +Add Media Item button, or click an existing media item to edit.
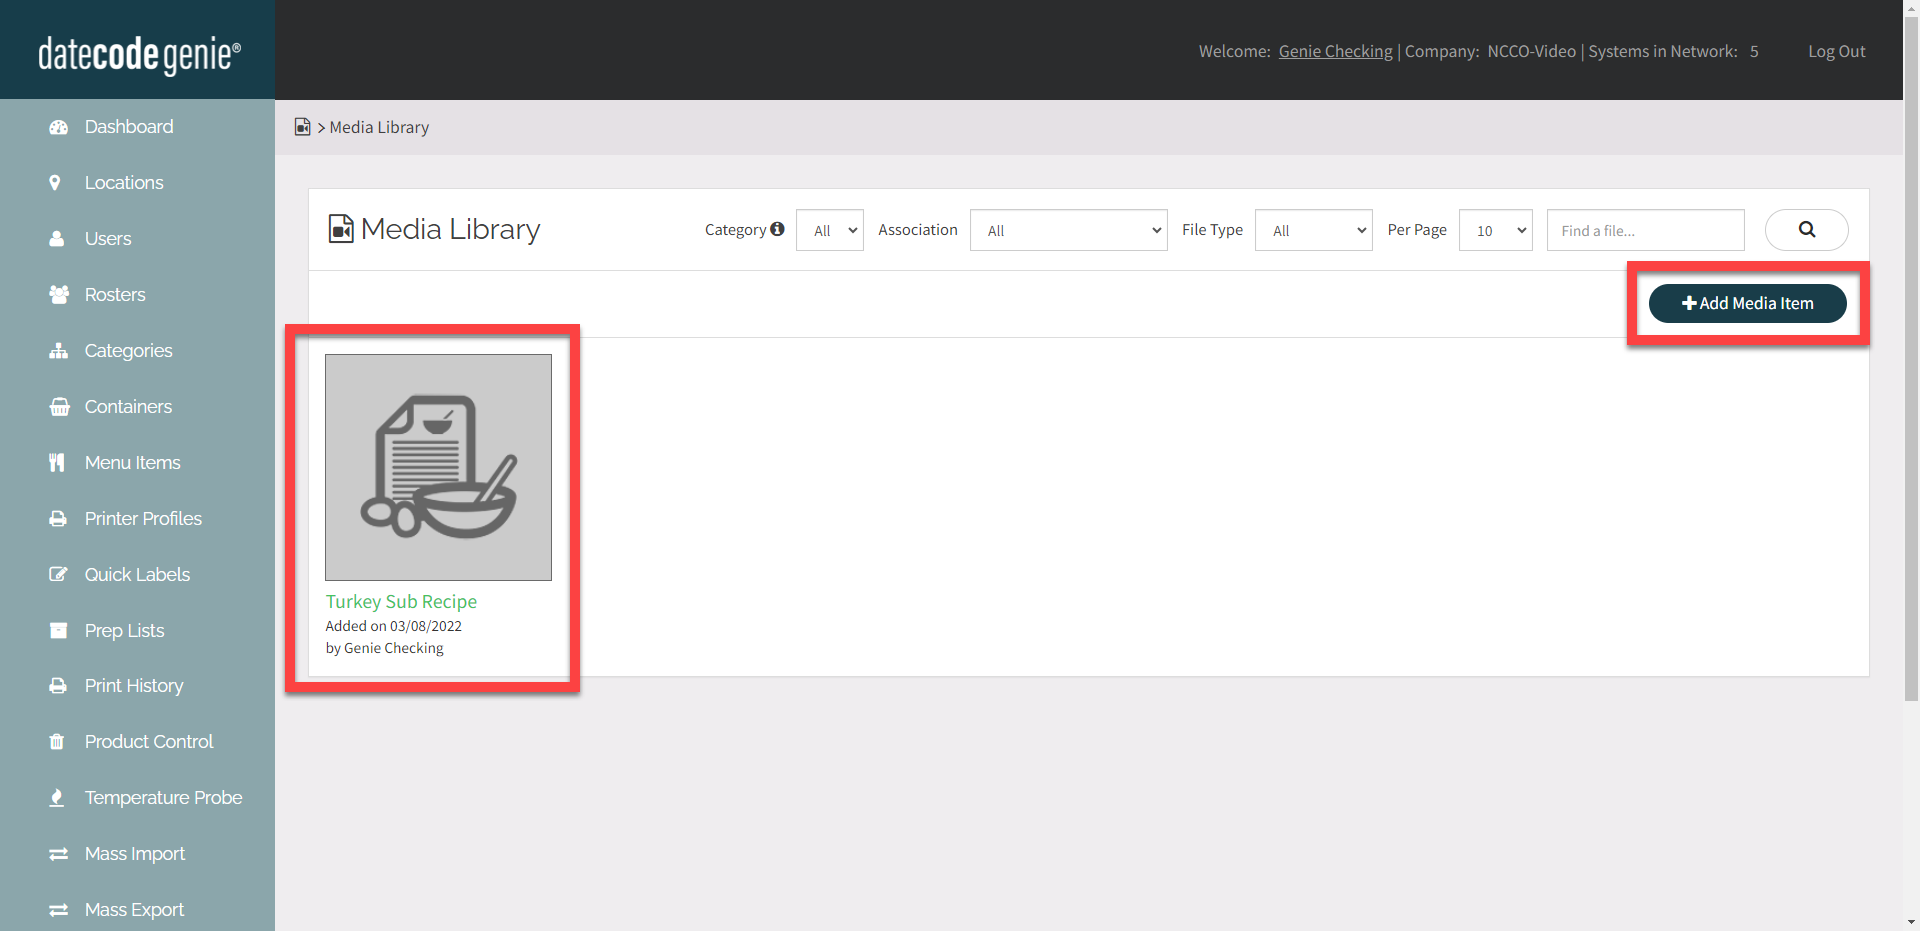
4. OPTIONAL: Select menu item from the Item dropdown if desired.
NOTE
Media items can only be associated with one menu item.
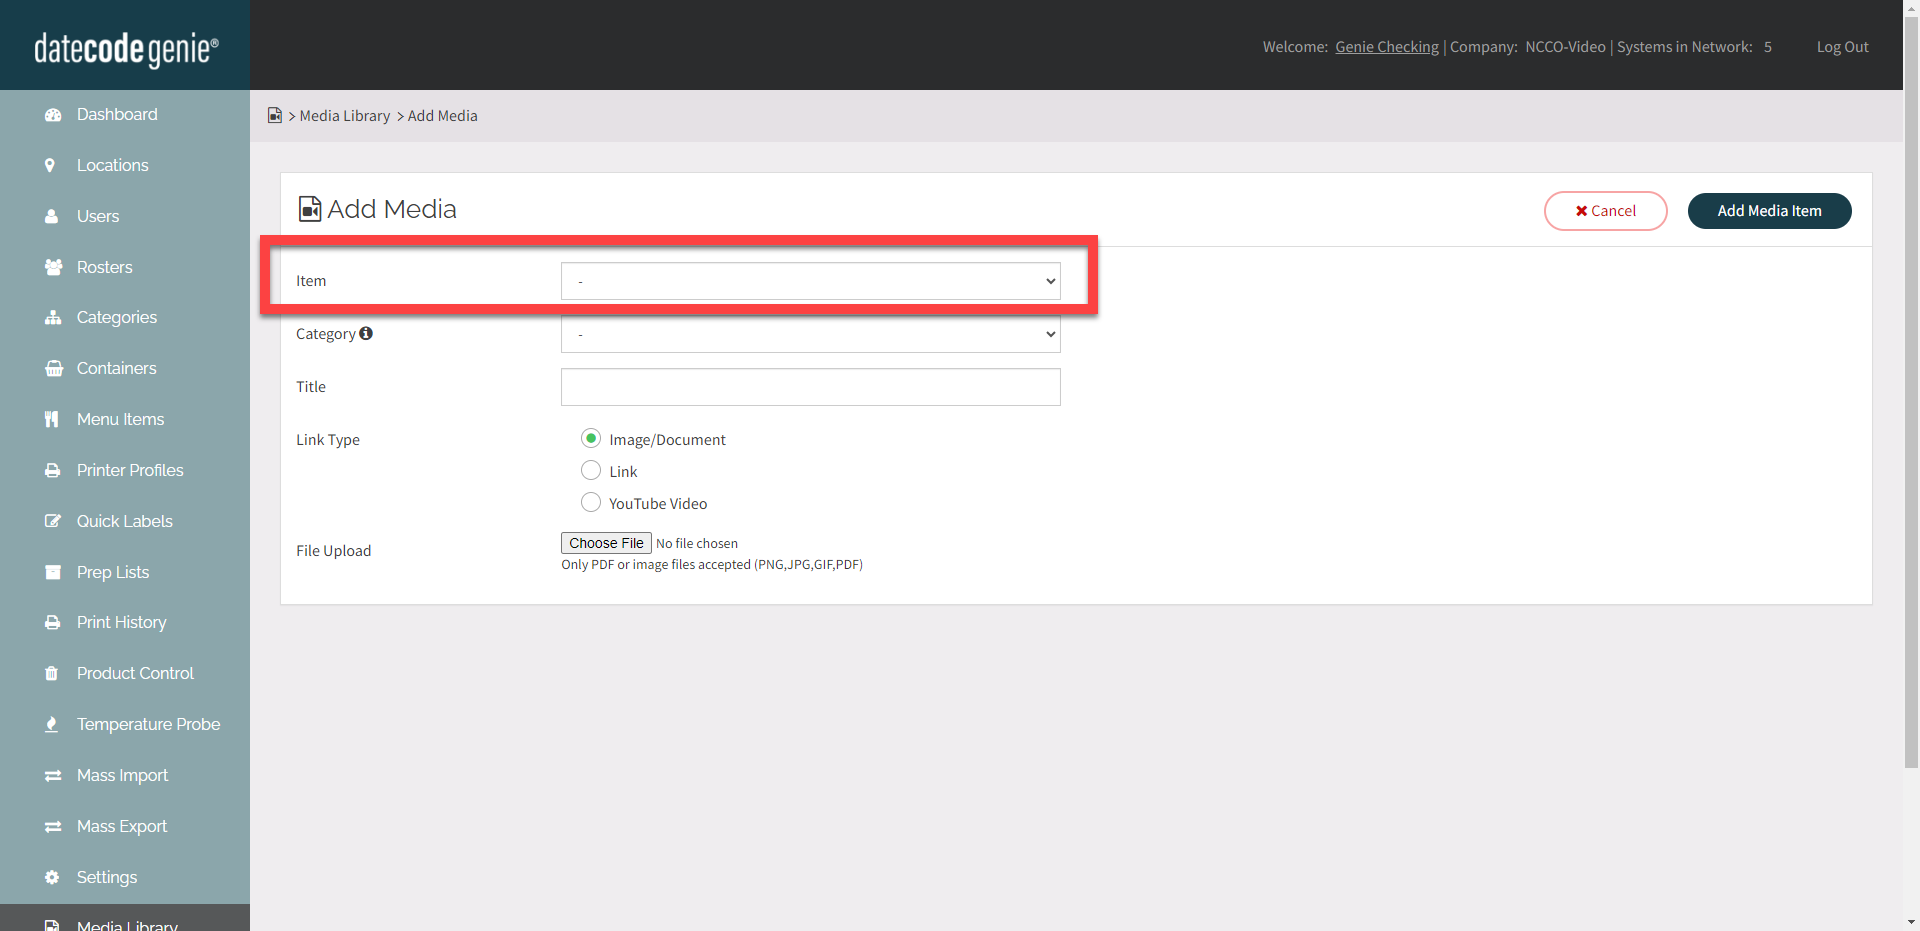
5. OPTIONAL: Select media category from the Category dropdown.
NOTE
Media items can be assigned to one category only.
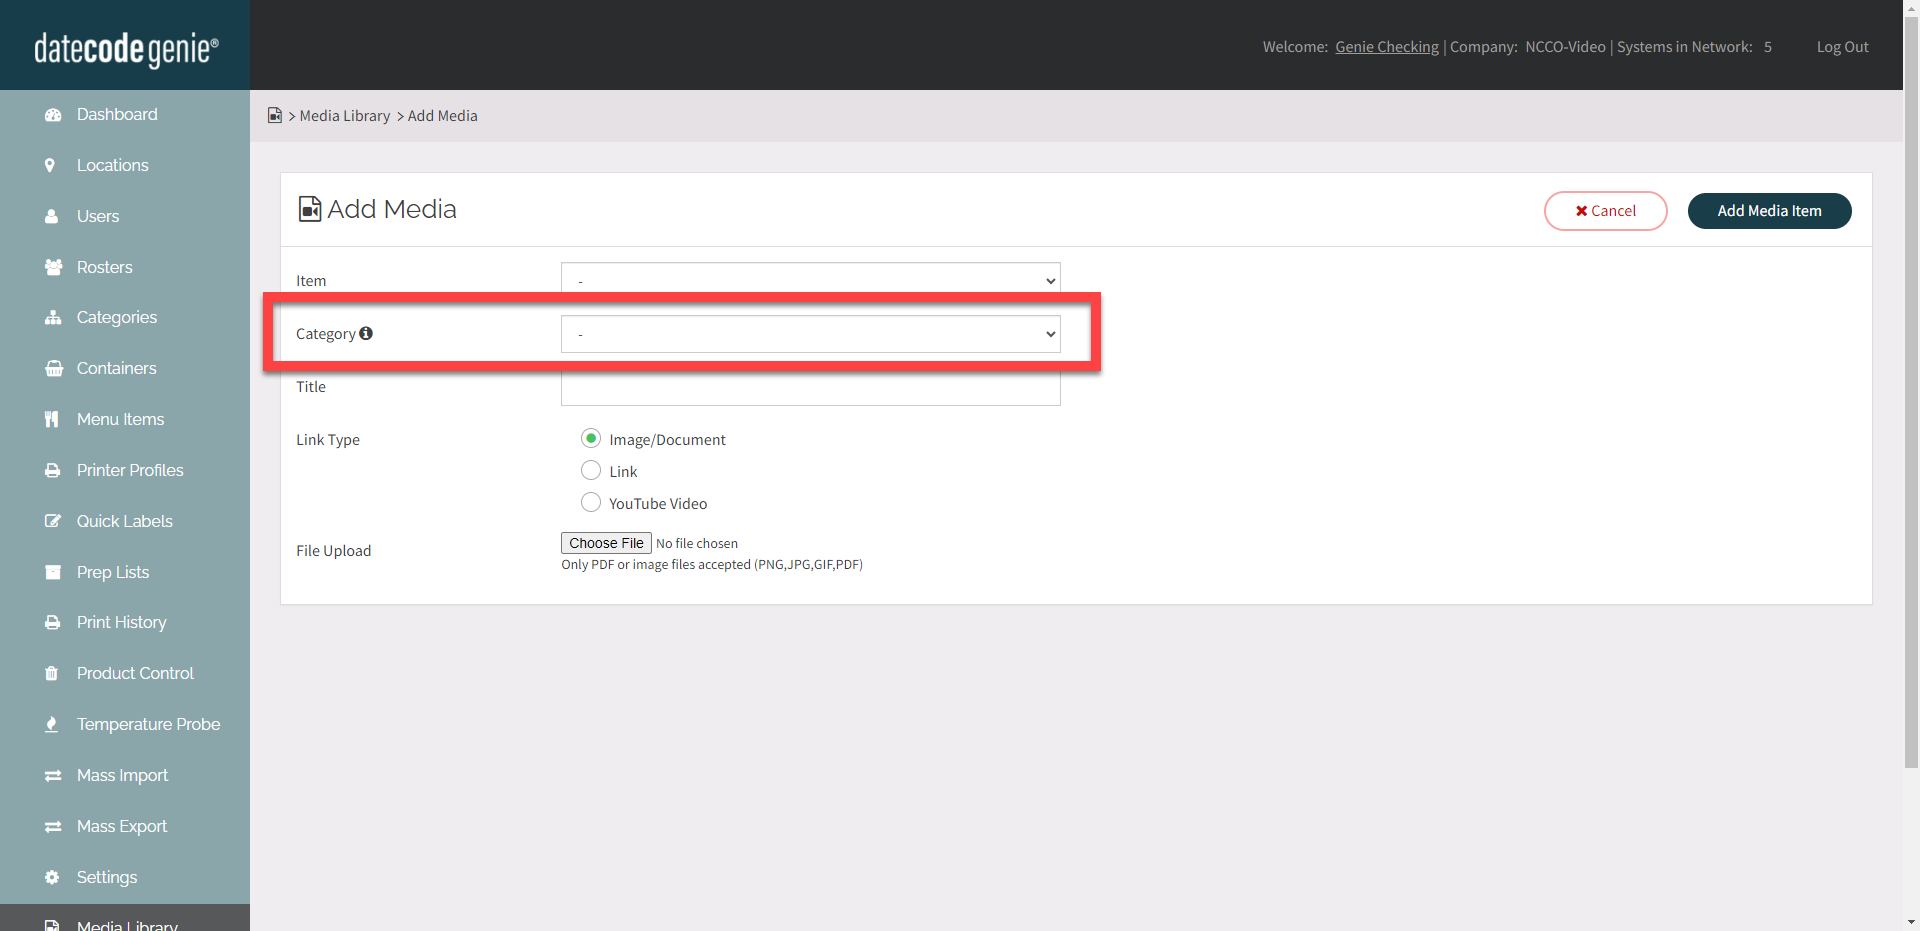
6. Enter Title.
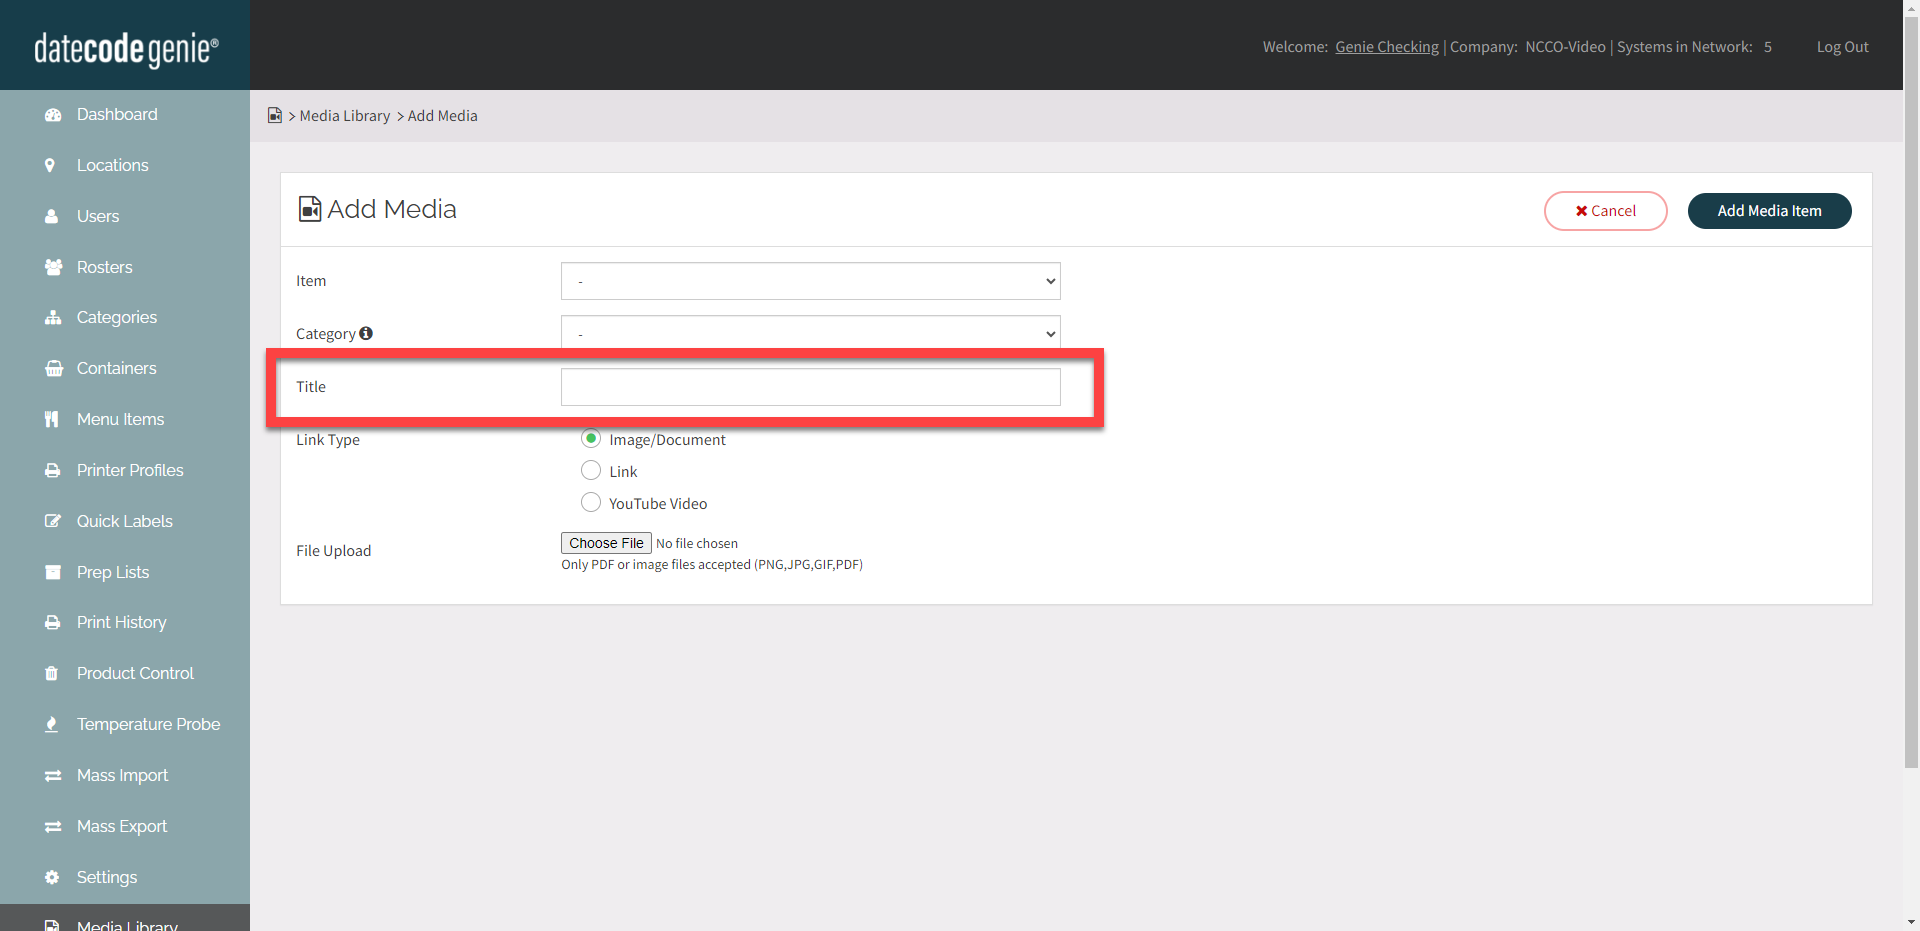
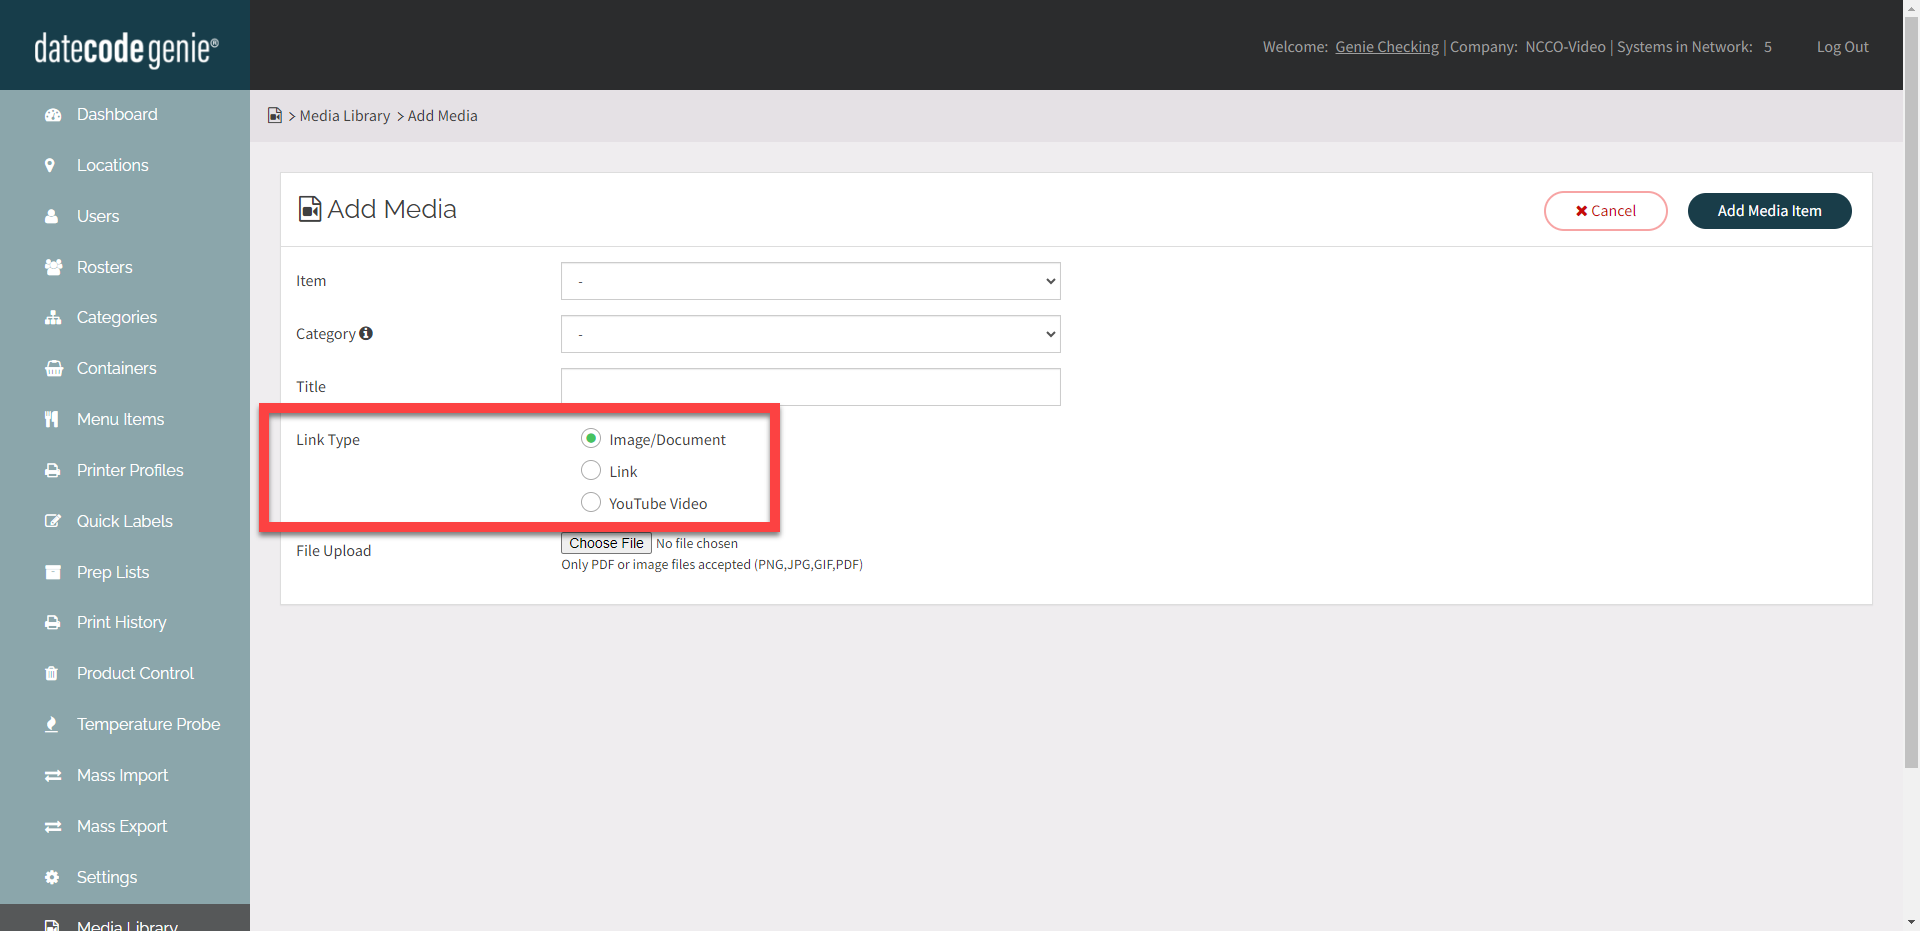
7. Select media item type from Link Type.
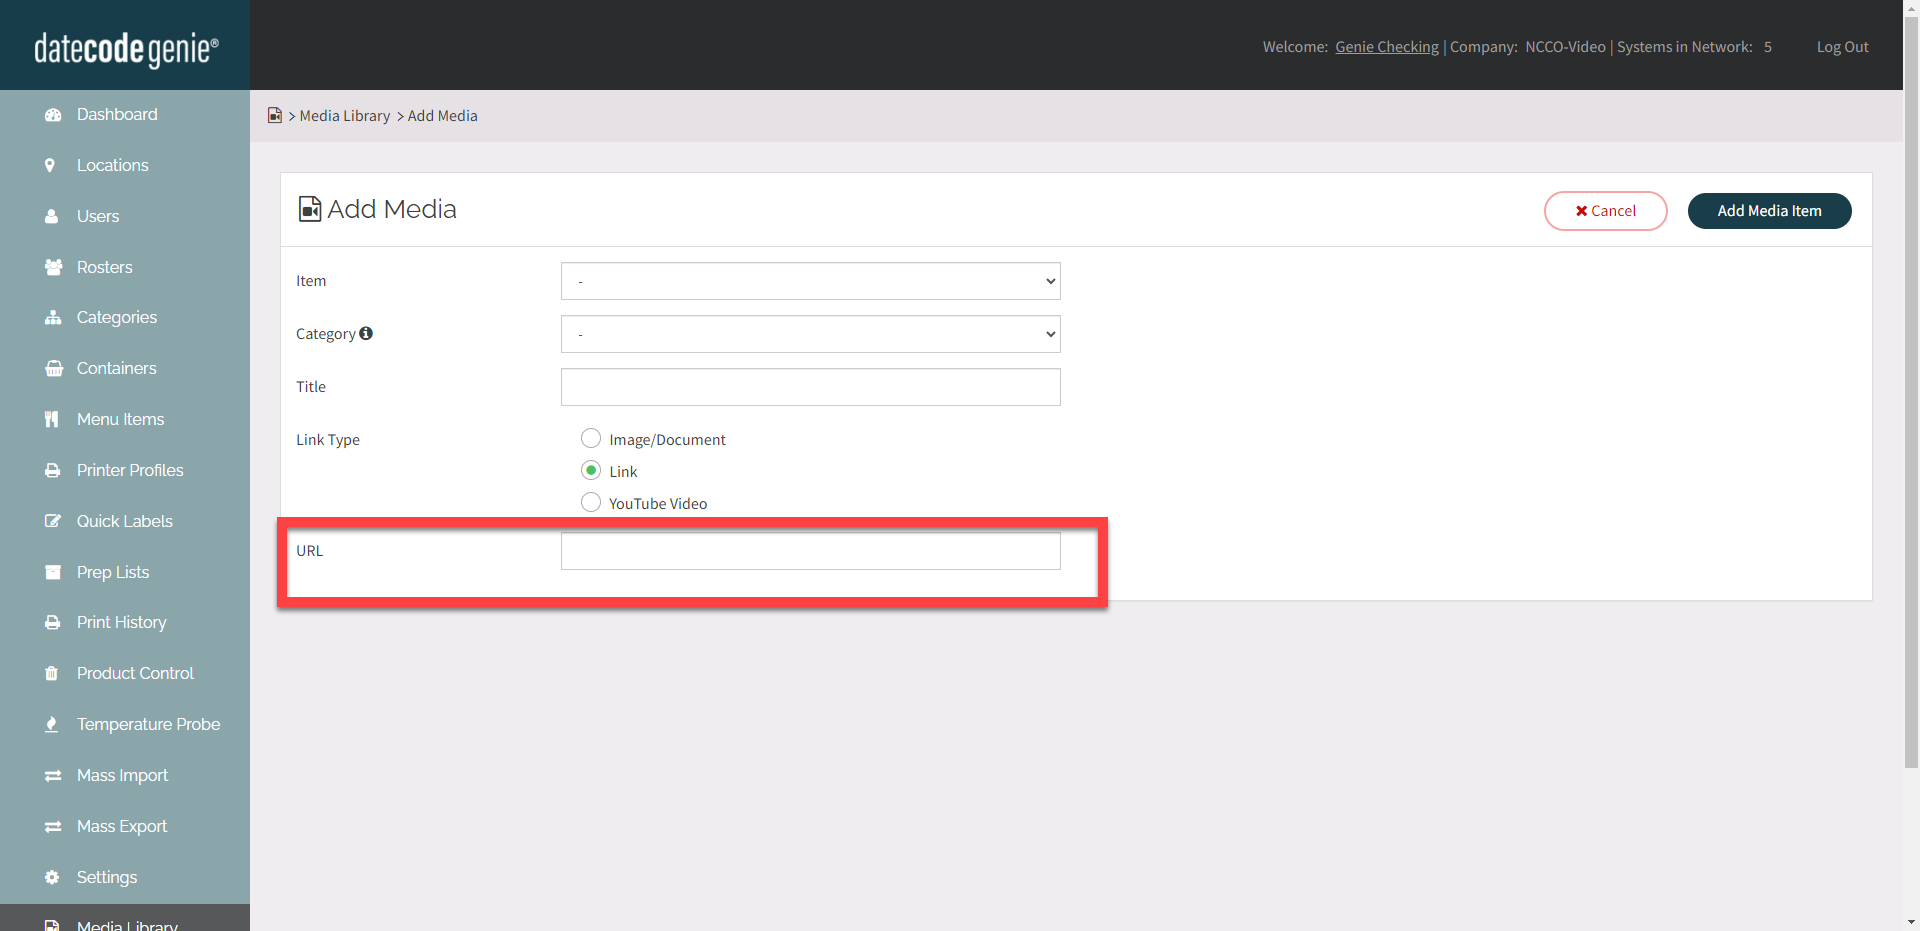
8. Add URL or upload file.
 |
 |
9. Click the Add Media Item button.
2. Menu Items Tab
1. Log in to the portal at www.datecodegenie.com using the recommended browser. See What Internet Browser Should I Use To Access My DateCodeGenie® Portal?
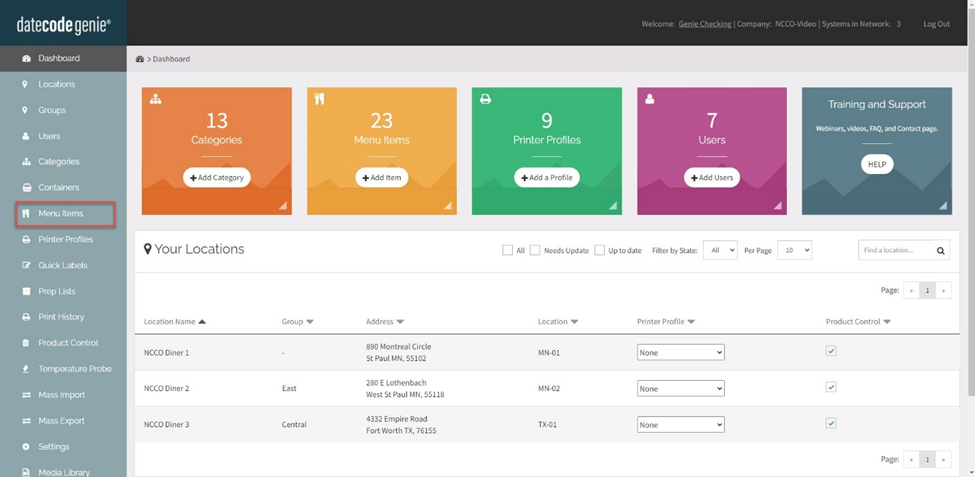
2. Click on the Menu Items tab on the sidebar.
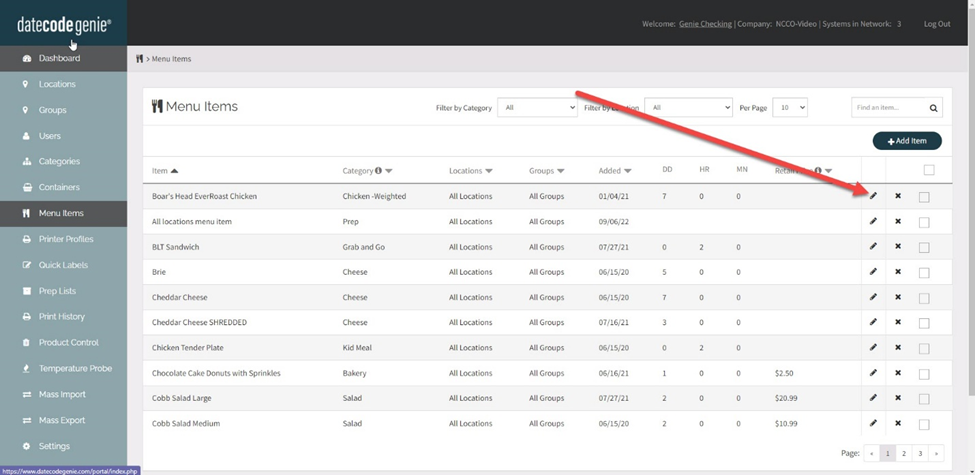
3. Click the Edit button (pencil icon) for a menu item or create a new item, see What is a Menu Item and How Do I Add or Edit?
4. Scroll to Item Attachments.
NOTE
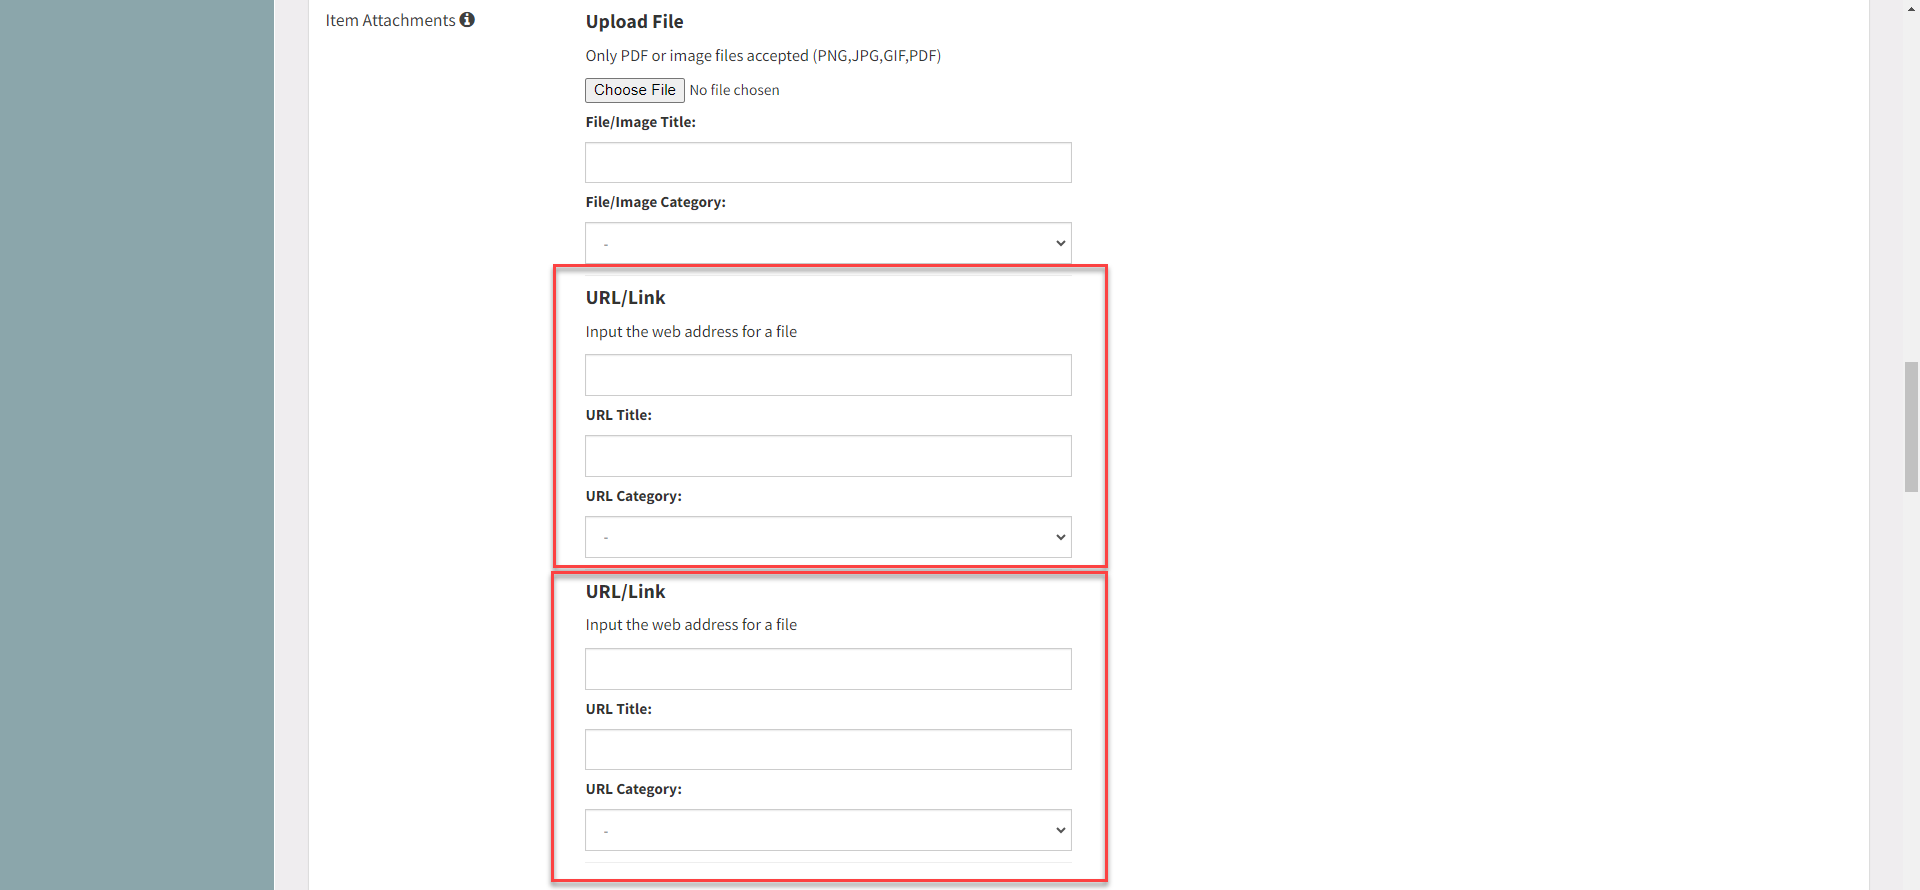
Each menu item can have one file and two URLs.
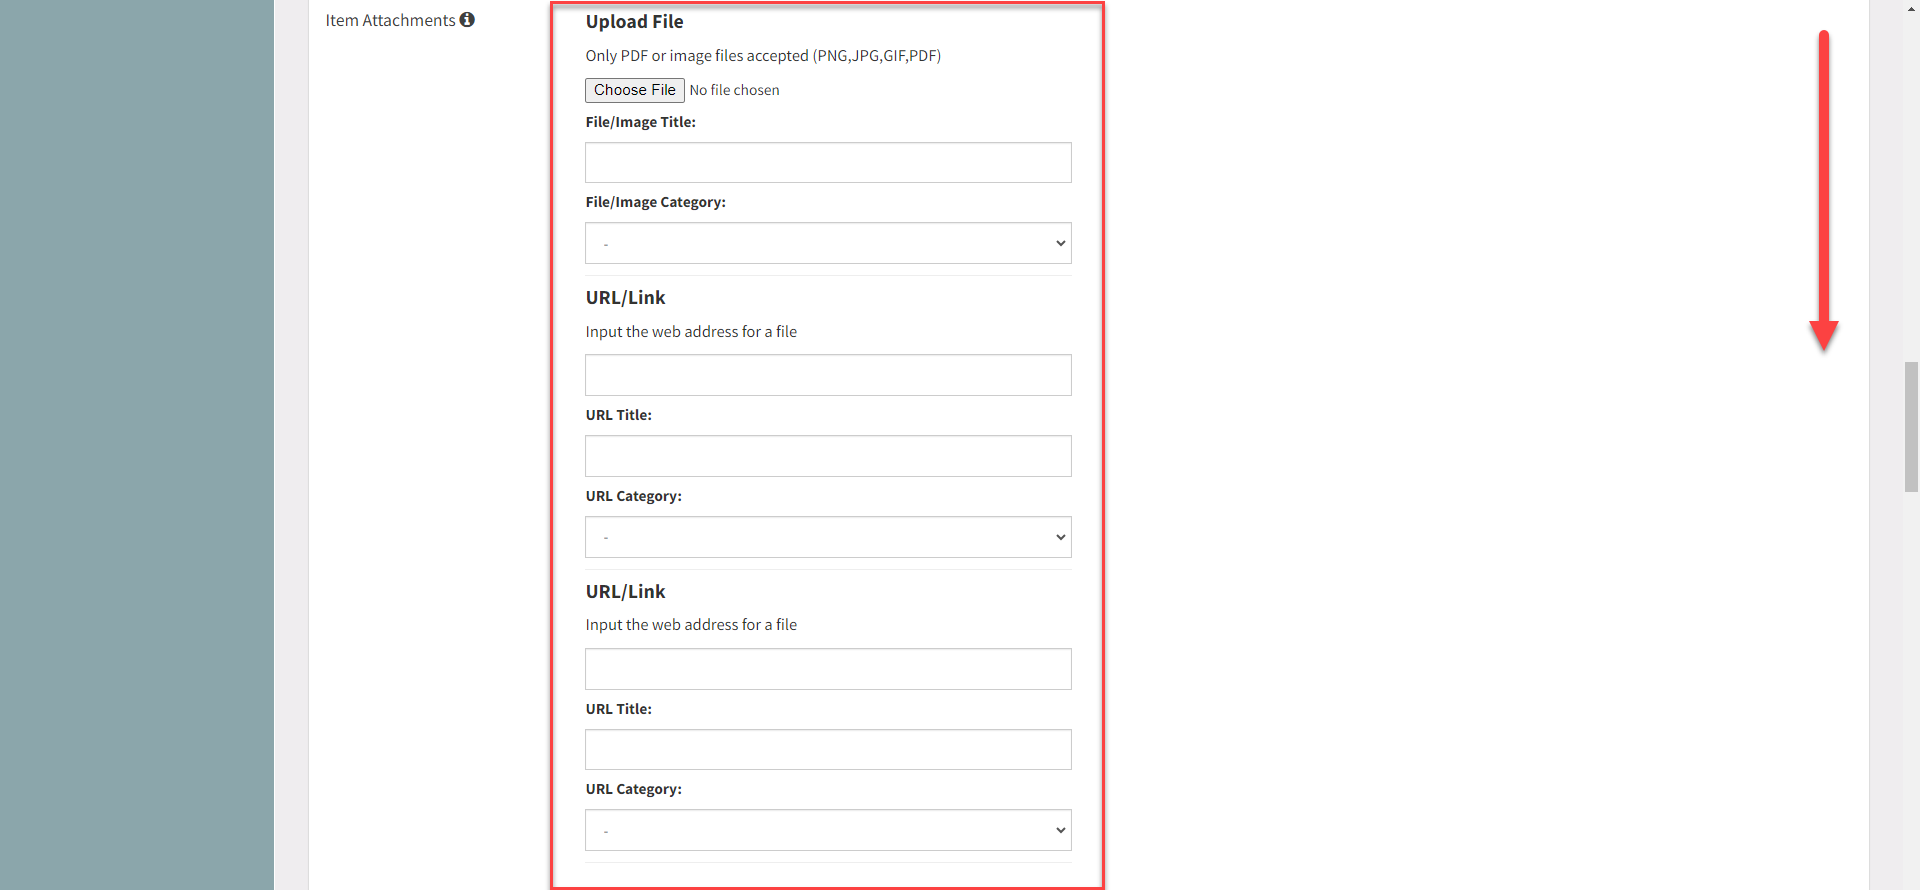
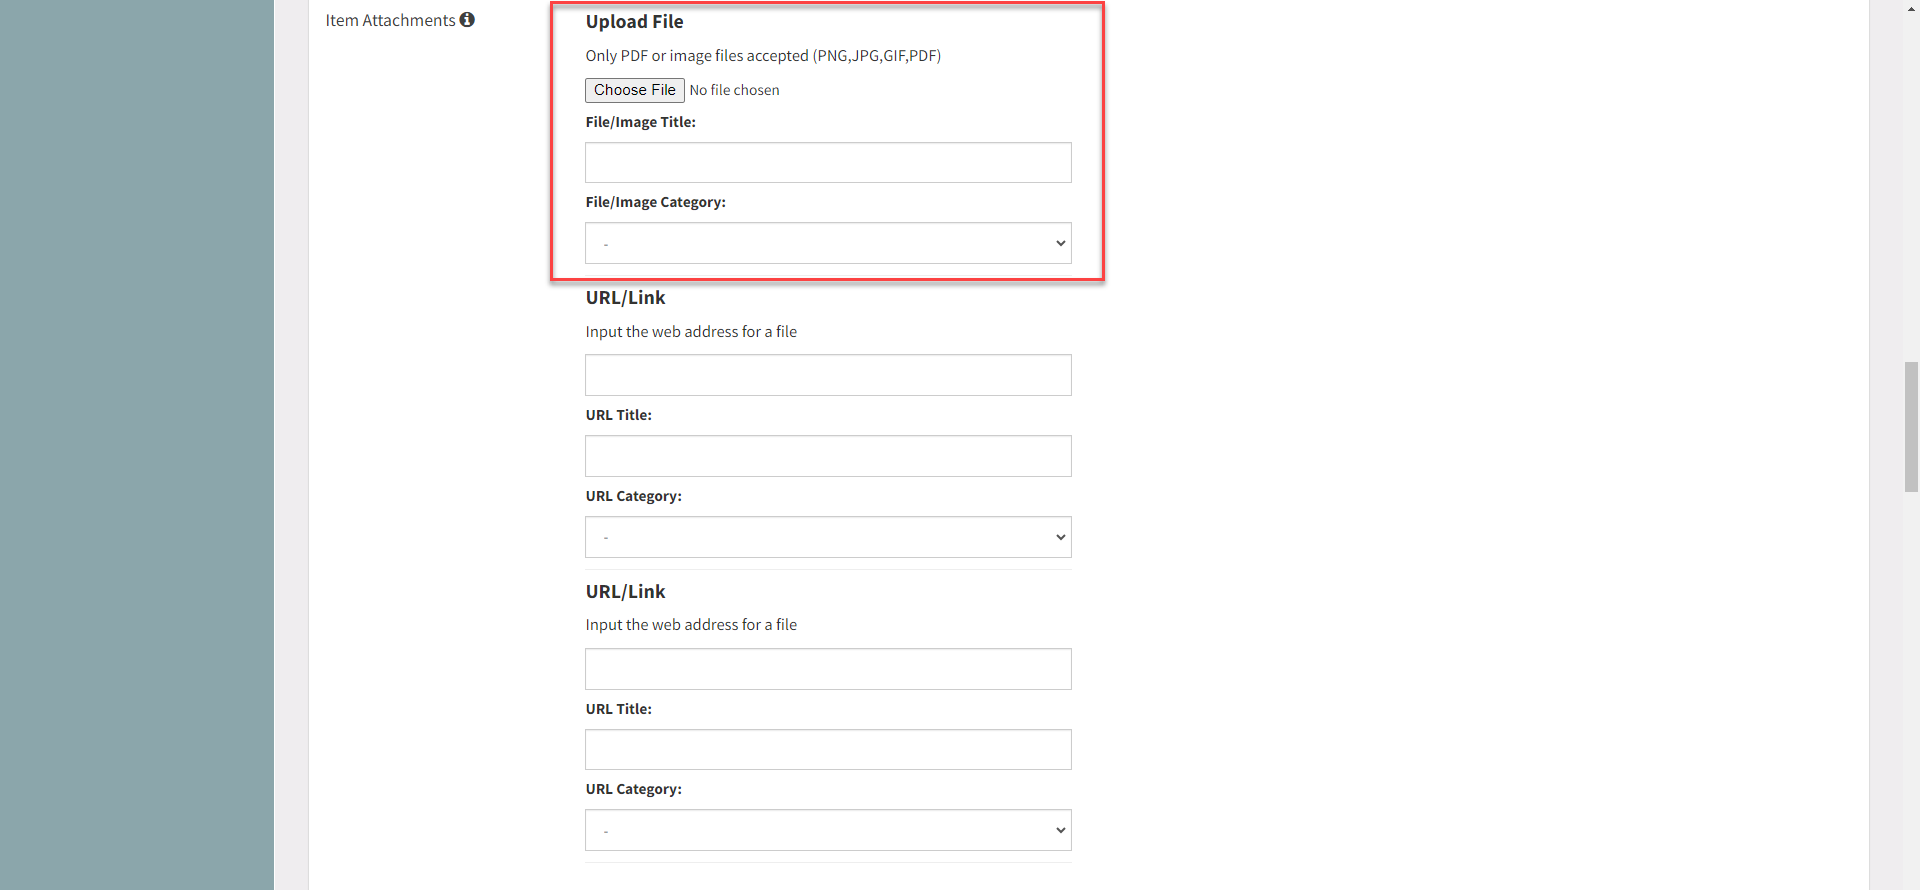
5. Upload File: Click the Choose File button to choose a file from your computer to upload. Add file/image title or file/image category if desired.
6. URL/Link: Insert URL into the field under Input the web address for a file. Add URL title or URL category if desired.
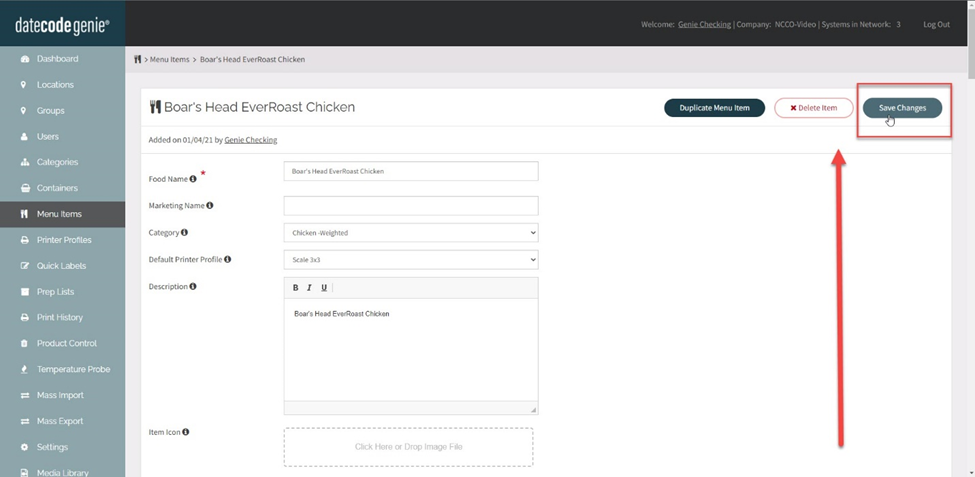
7. Scroll to click Save Changes.
TIPS & TRICKS
- It is best practice to add and maintain media files from media library.
- Add media categories to organize media items added, see Manage Media Categories


