Category Preferences and Category Restrictions
Table of Contents
Portal administrators and managers with the correct permissions can limit which categories display on the app dashboard for each staff member.
There are two ways to limit the categories displayed on the app:
Category Preferences |
Category Restrictions |
|
|---|---|---|
| Definition | Displays preferred categories. | Restricts categories. |
| Categories | Can switch displayed categories on the app between category preferences and all categories by taping the display dropdown. | Can't access restricted categories. |
| Menu Items | Can still access all menu items through search. | Can only access menu items from non-restricted categories. |
| Set Up | Set in the Users tab. | Set in the Categories tab. |
| User Types | For all user types. | For users only |
| Settings | No settings needed. | Printing restrictions setting must be turned on by requesting a portal change, see Contact & Support. |
Category restrictions and category preferences can be used separately or together, depending on your needs.
Set Up Category Preferences
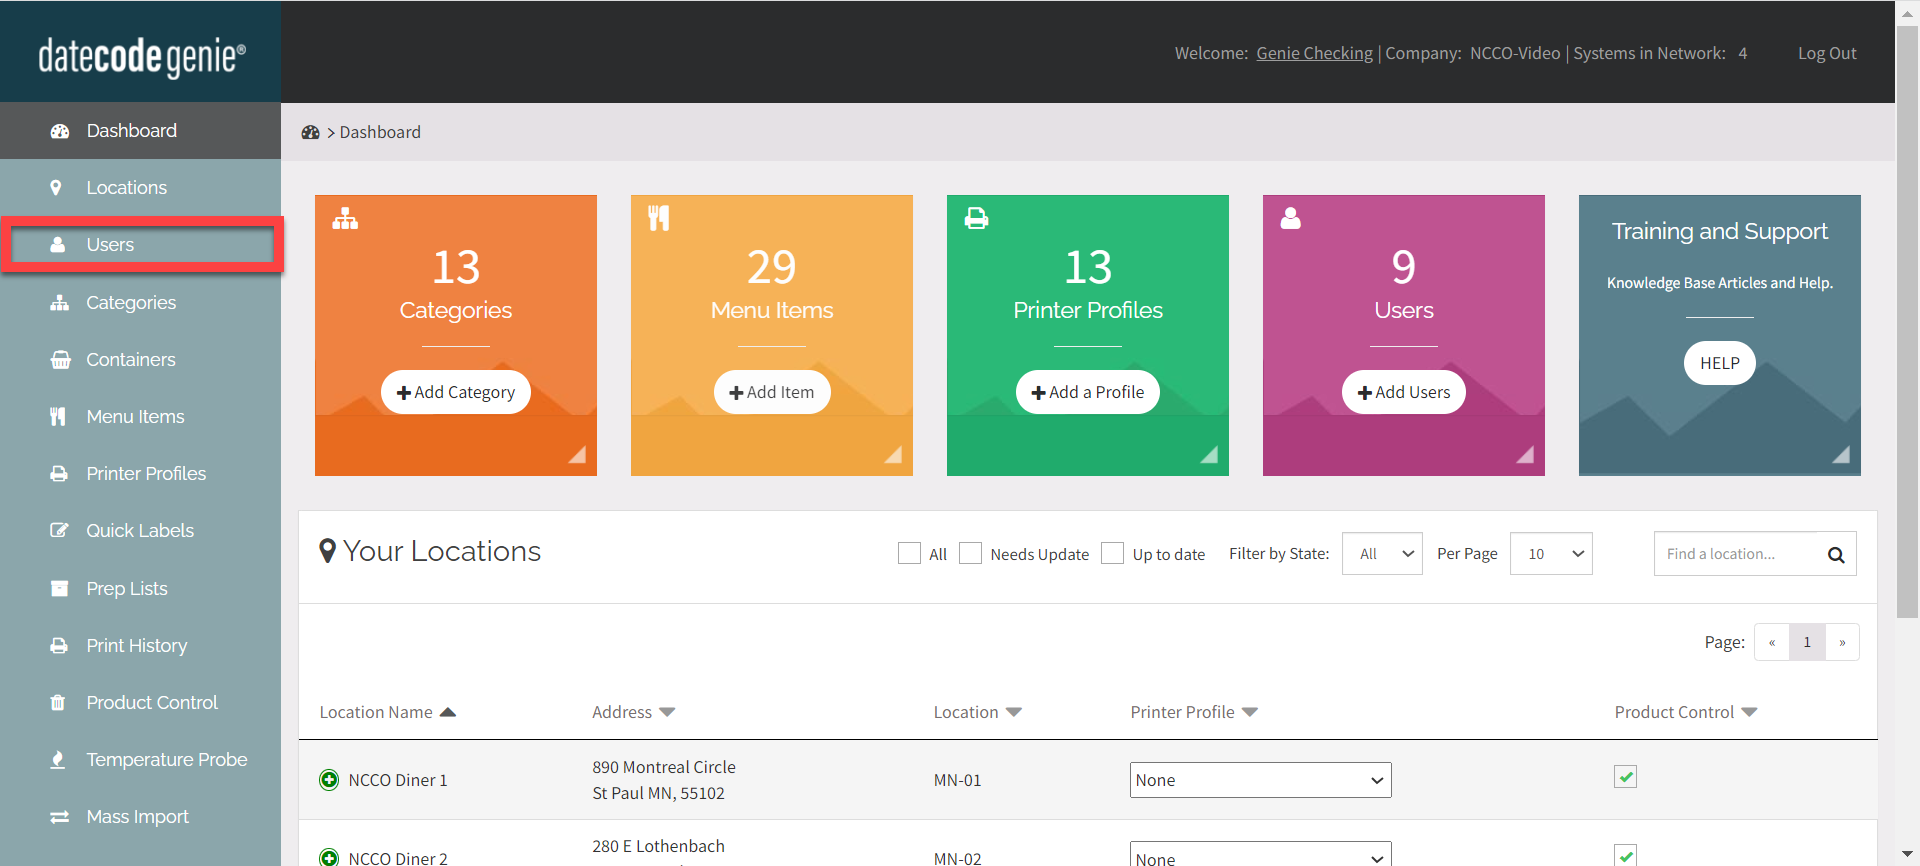
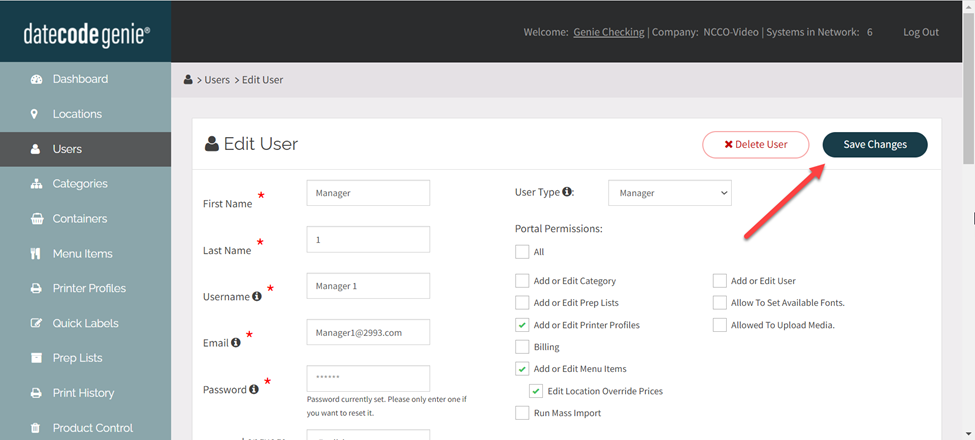
1. Click on the Users tab in the side bar.
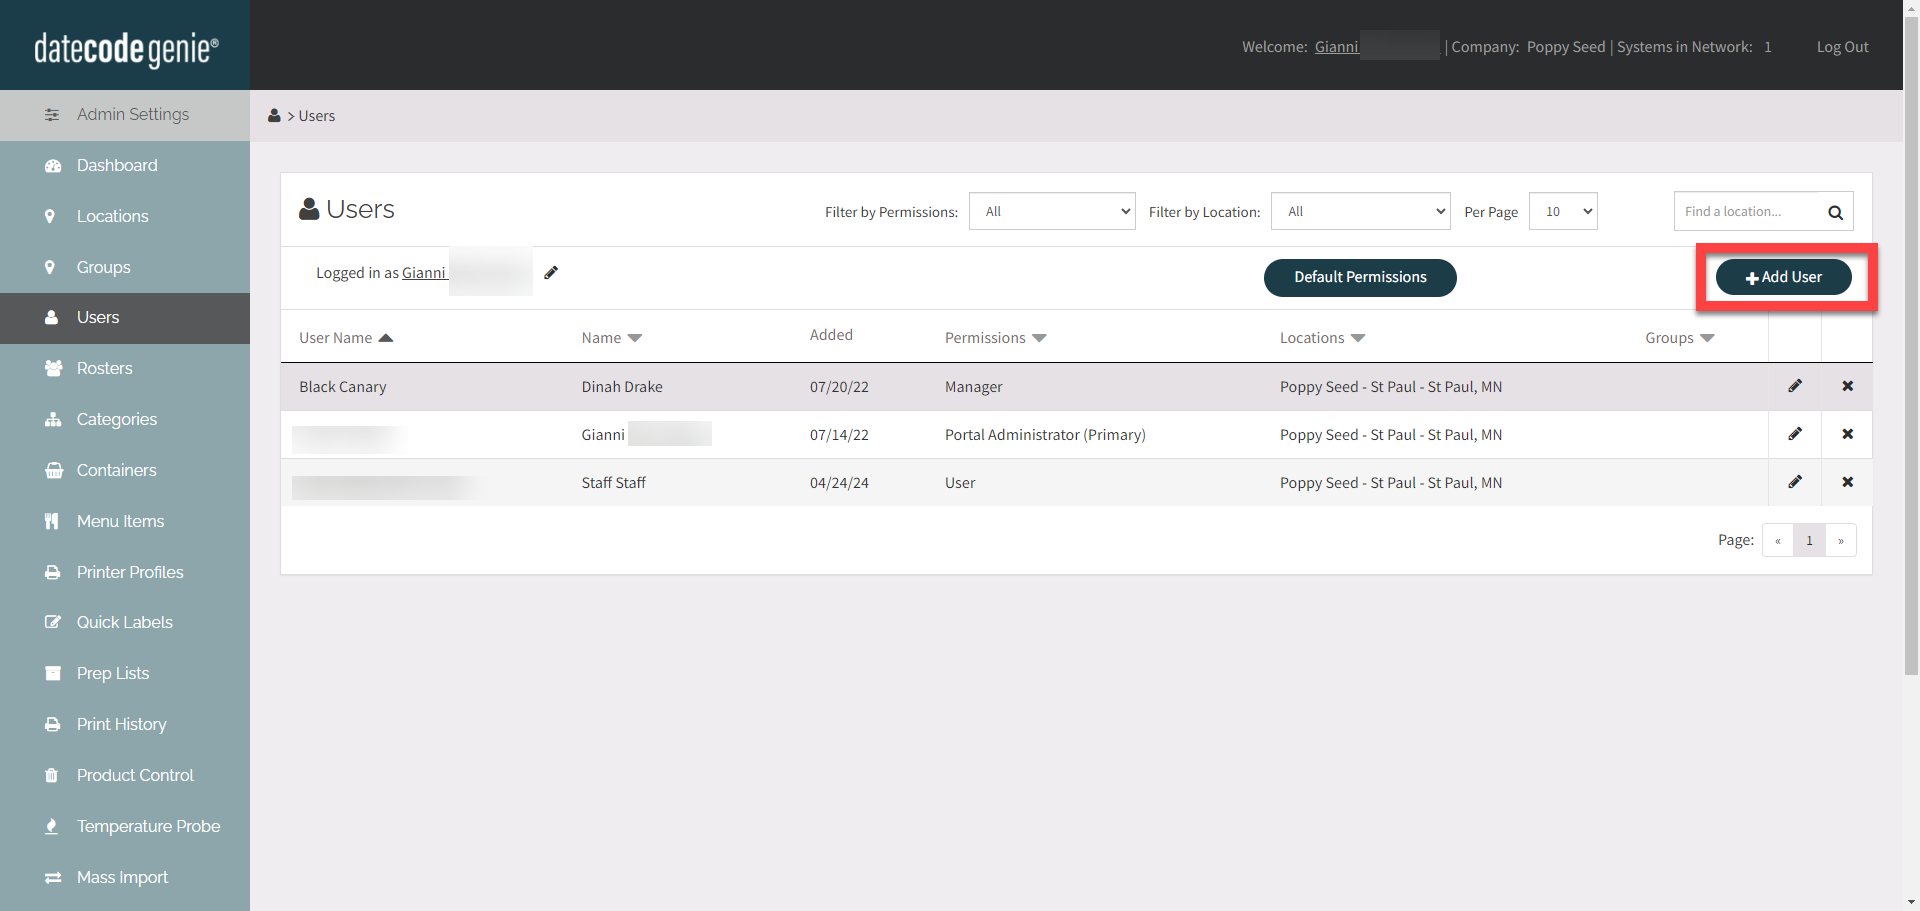
2. Click +Add User or the Edit button (pencil icon), see How to Add Staff.
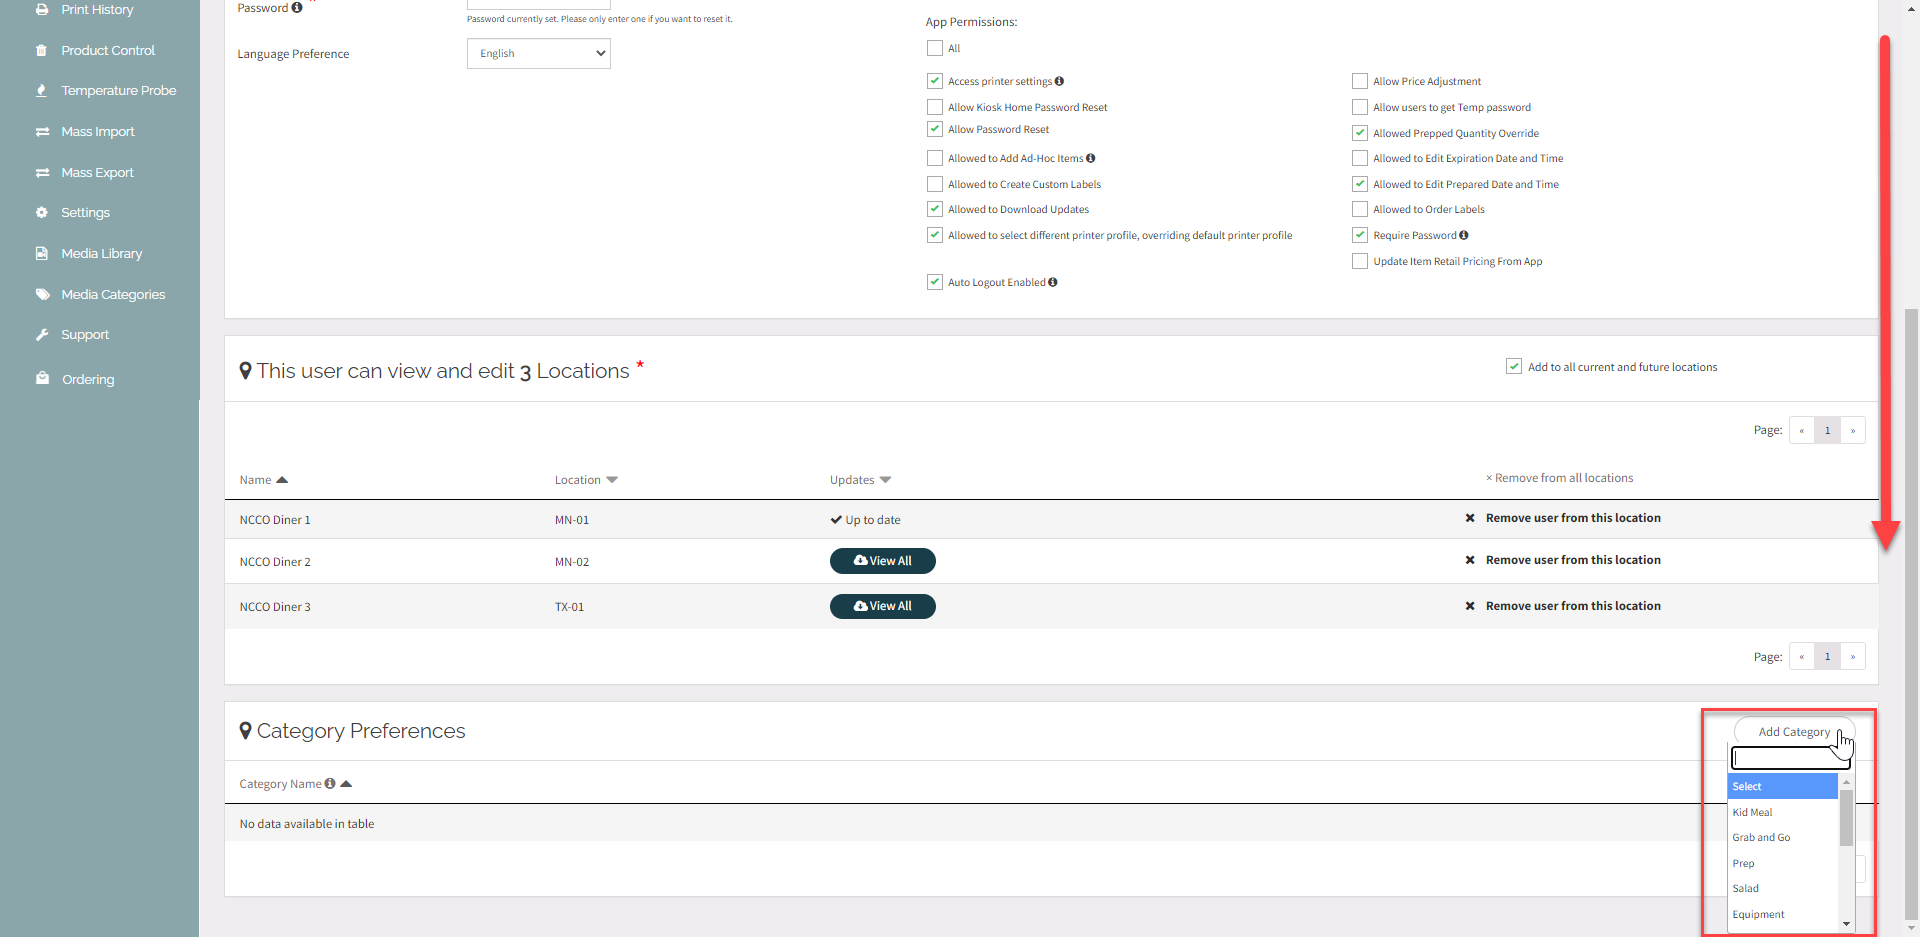
3. Scroll down to Category Preferences and click the Add Category button. Select the category preferences from the dropdown.
4. Click Save Changes.
Set Up Category Restrictions
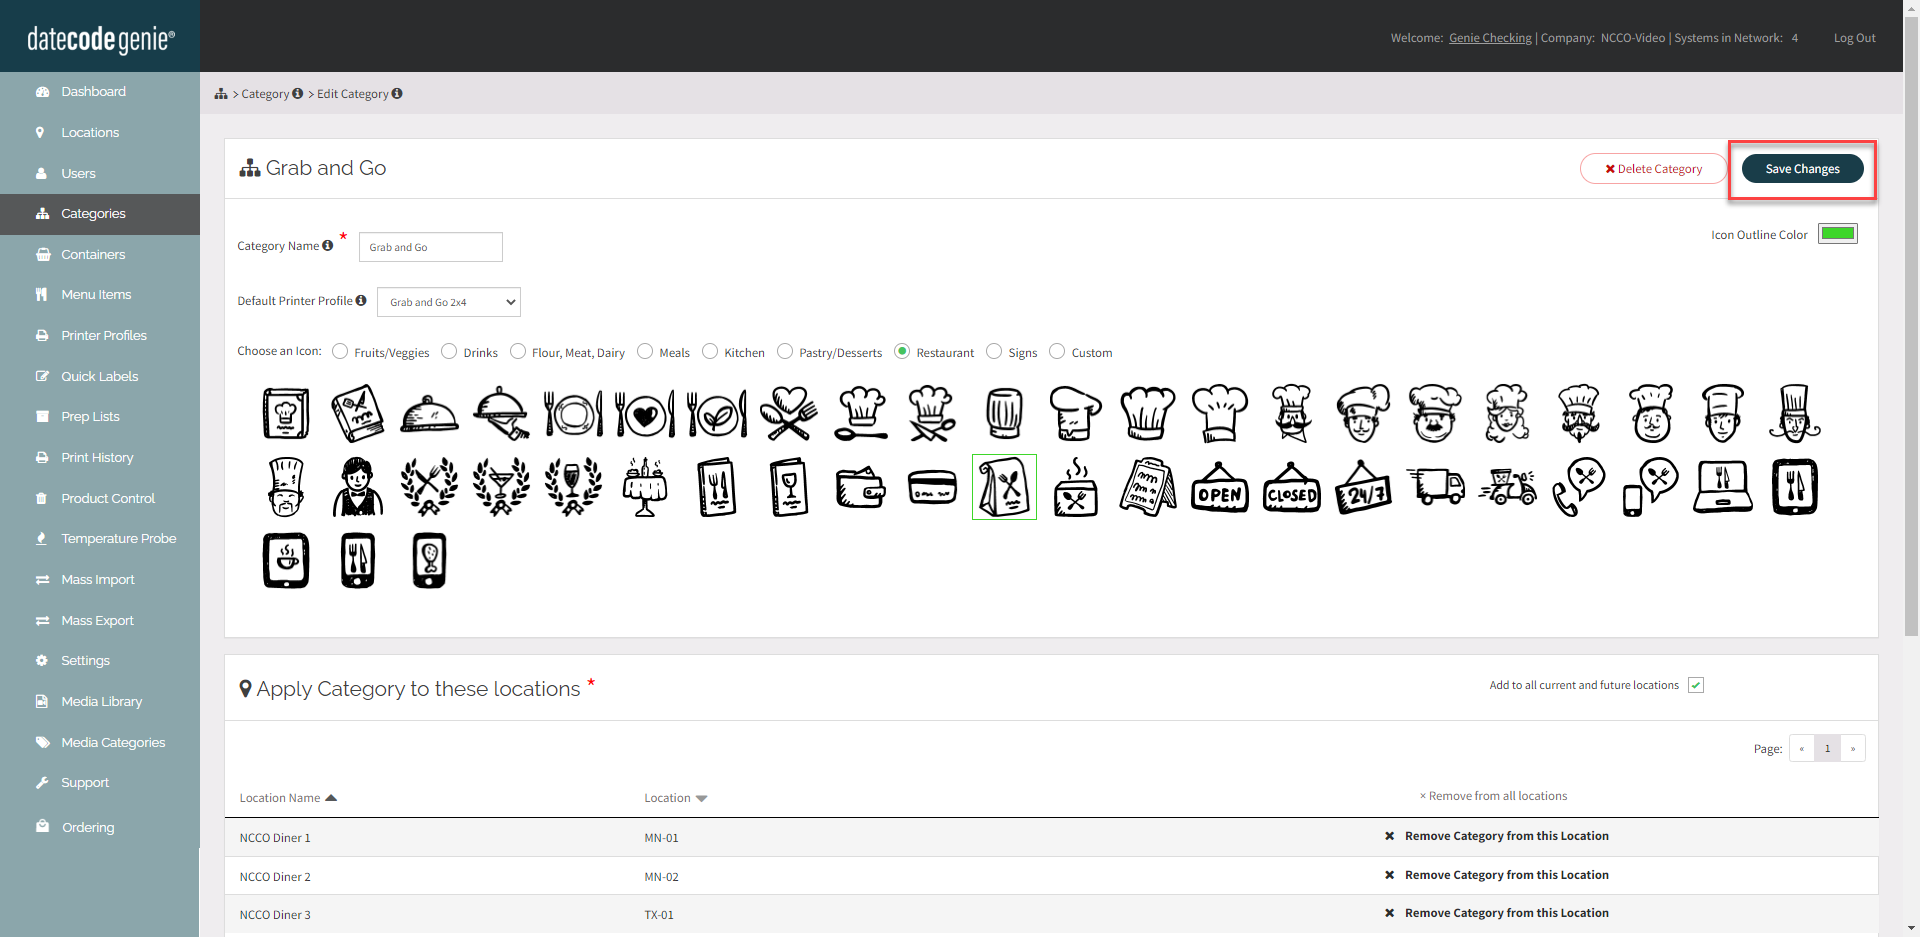
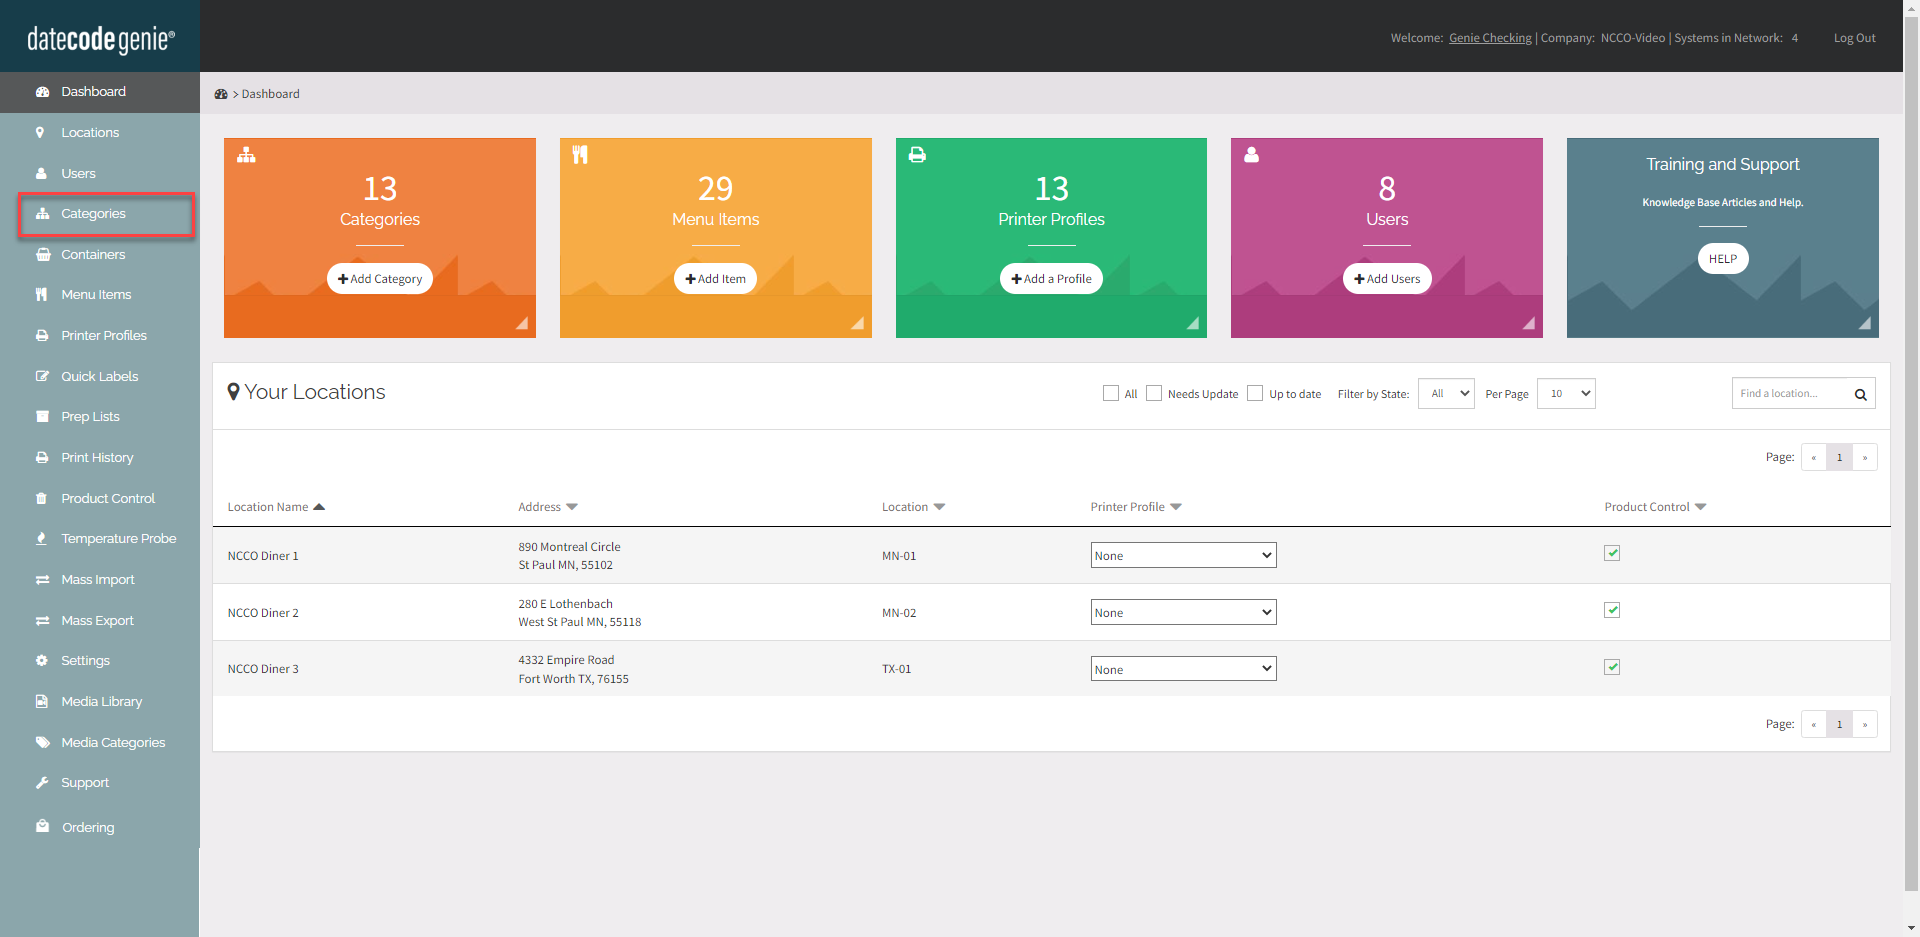
1. Click on the Categories tab in the side bar.
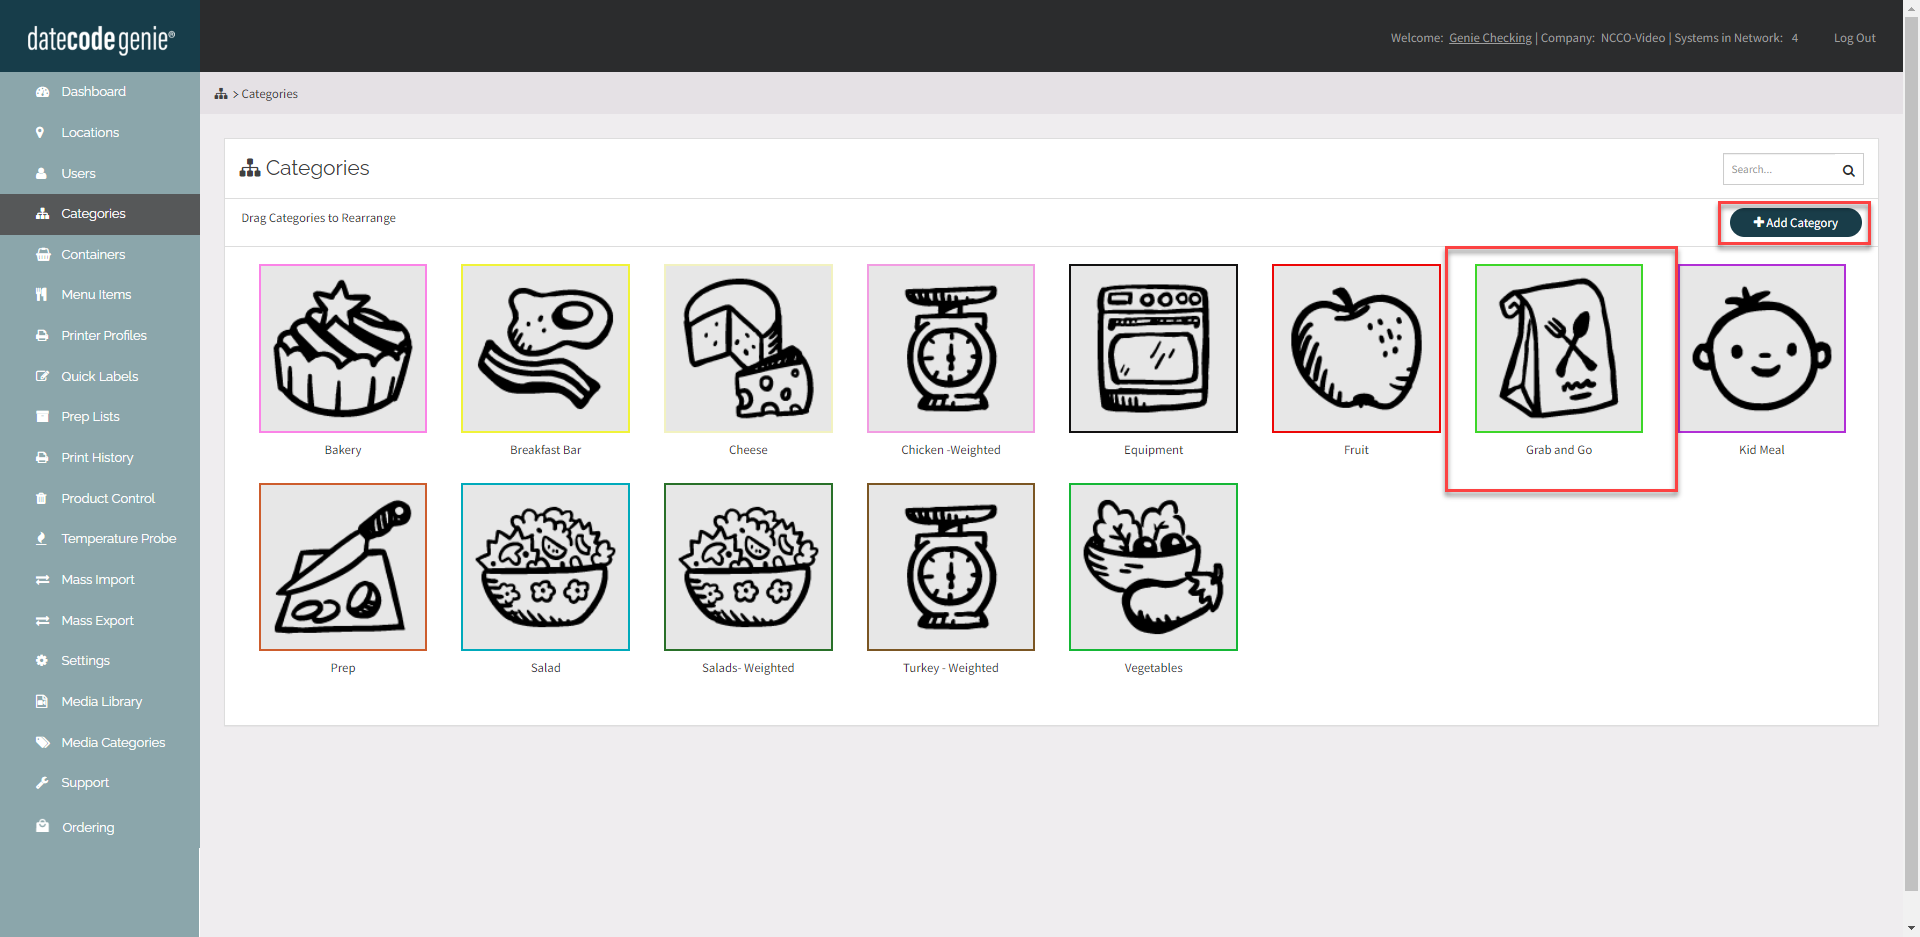
2. Click +Add Category or click the category icon to edit, see How to Add or Edit Categories.
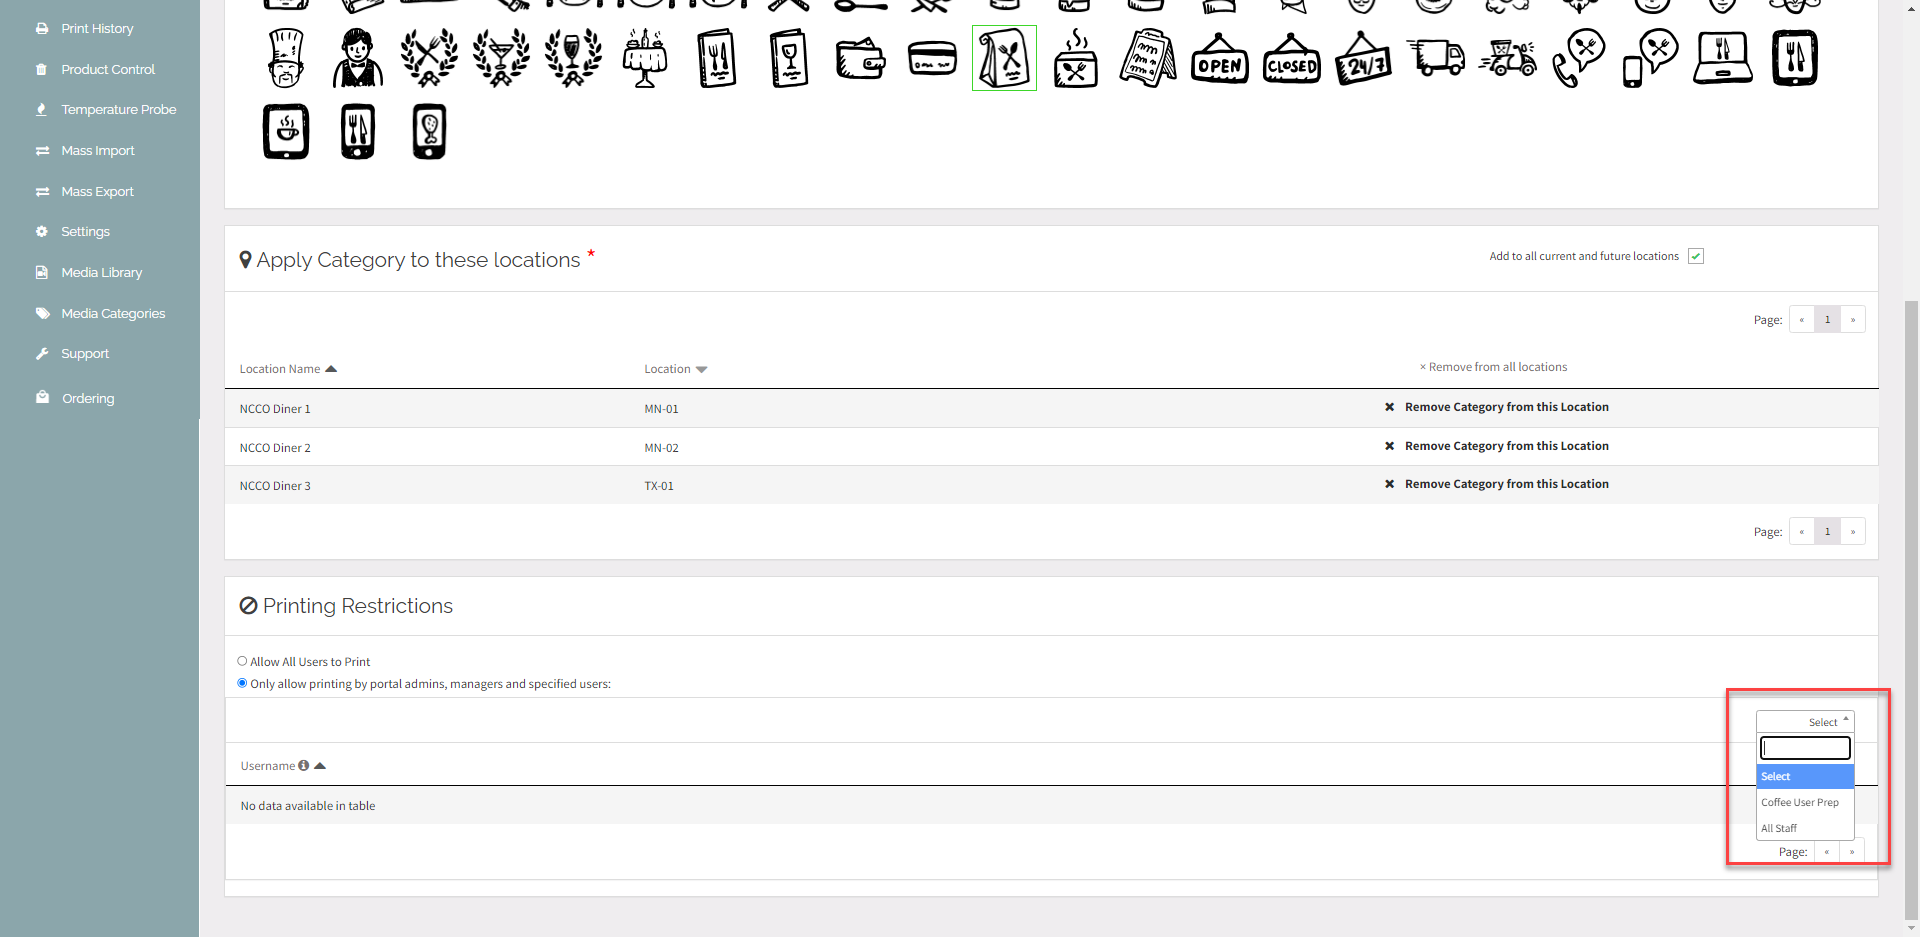
3. Scroll down to Printing Restrictions. Click Only allow printing by portal admin, managers, and specified users:
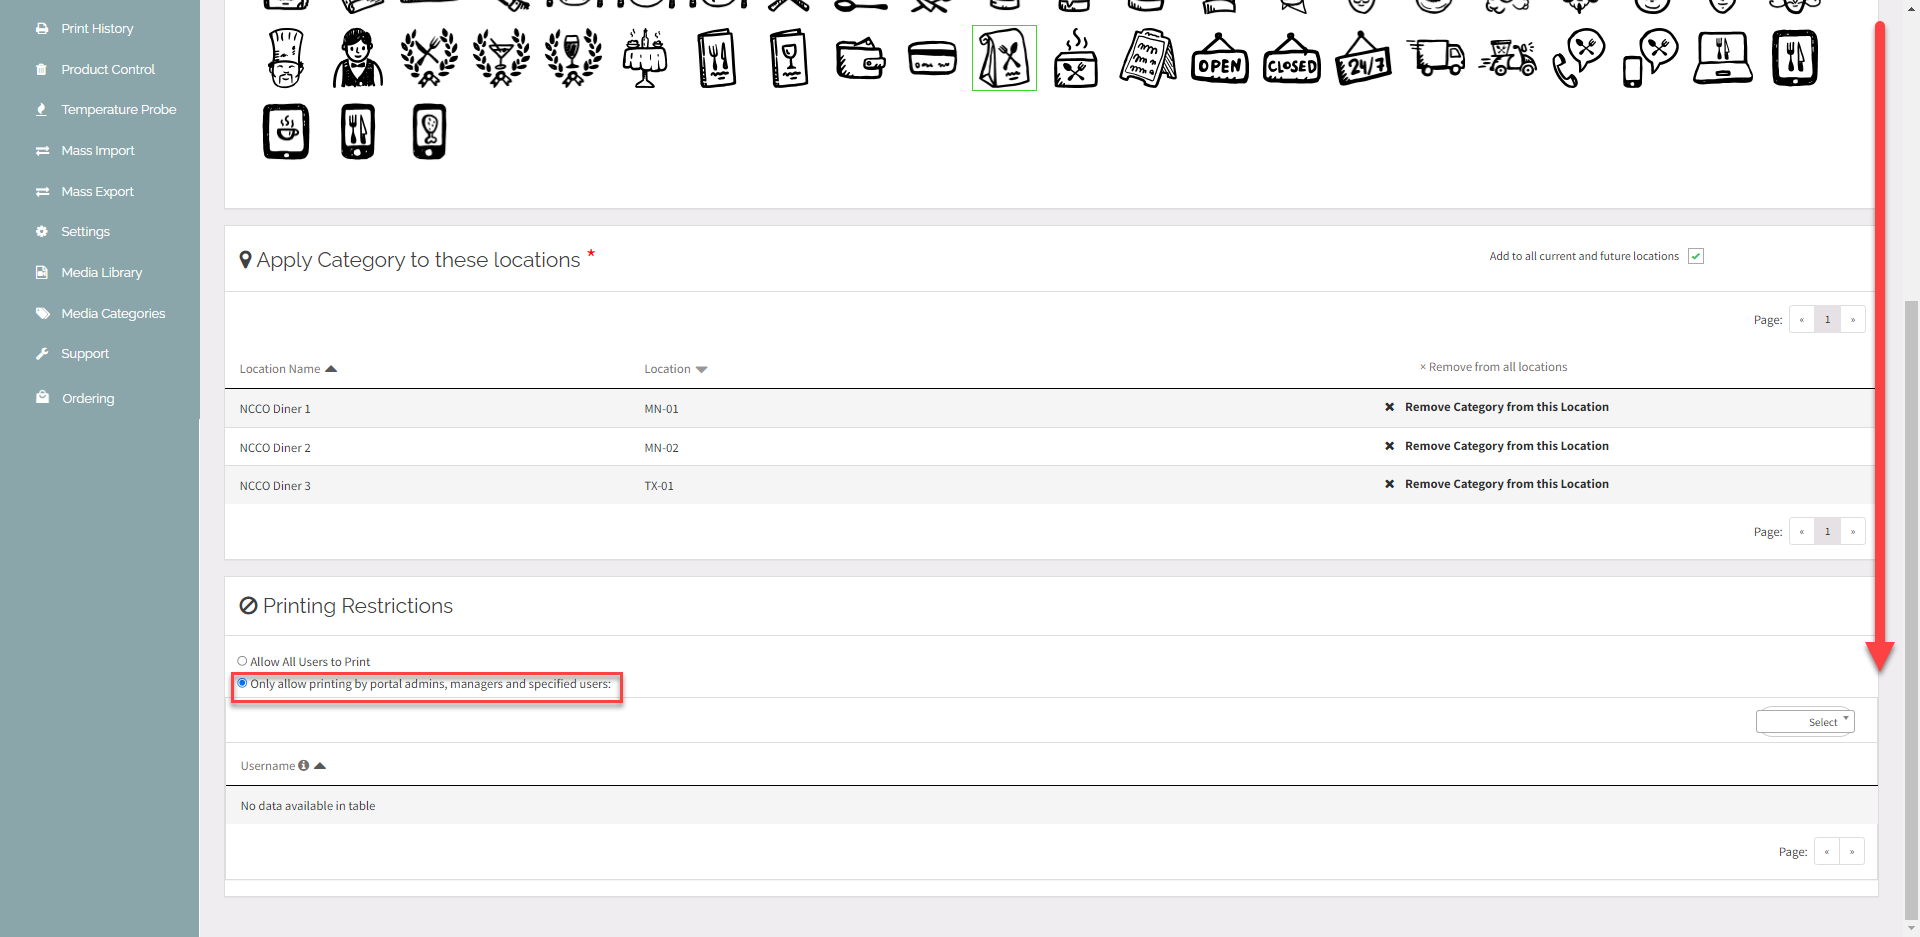
4. Click Select dropdown to select the users that will have access to the category on the app.
5. Click the Save Changes button.
