
Stampante che avanza più etichette
- Iniziare
- Dispositivi
- App
-
Portale
Gruppi Panoramica del portale Categorie Profili stampante Voci del menu Sonda di temperatura Elenco di preparazione Etichette rapide Controllo del prodotto Biblioteca multimediale Scala Stampa cronologia Posizioni La posizione esegue l'override Importazione ed esportazione di massa Impostazioni Elenchi Utenti Supporto
- Accessori
- Etichette
- Riparazioni
Table of Contents
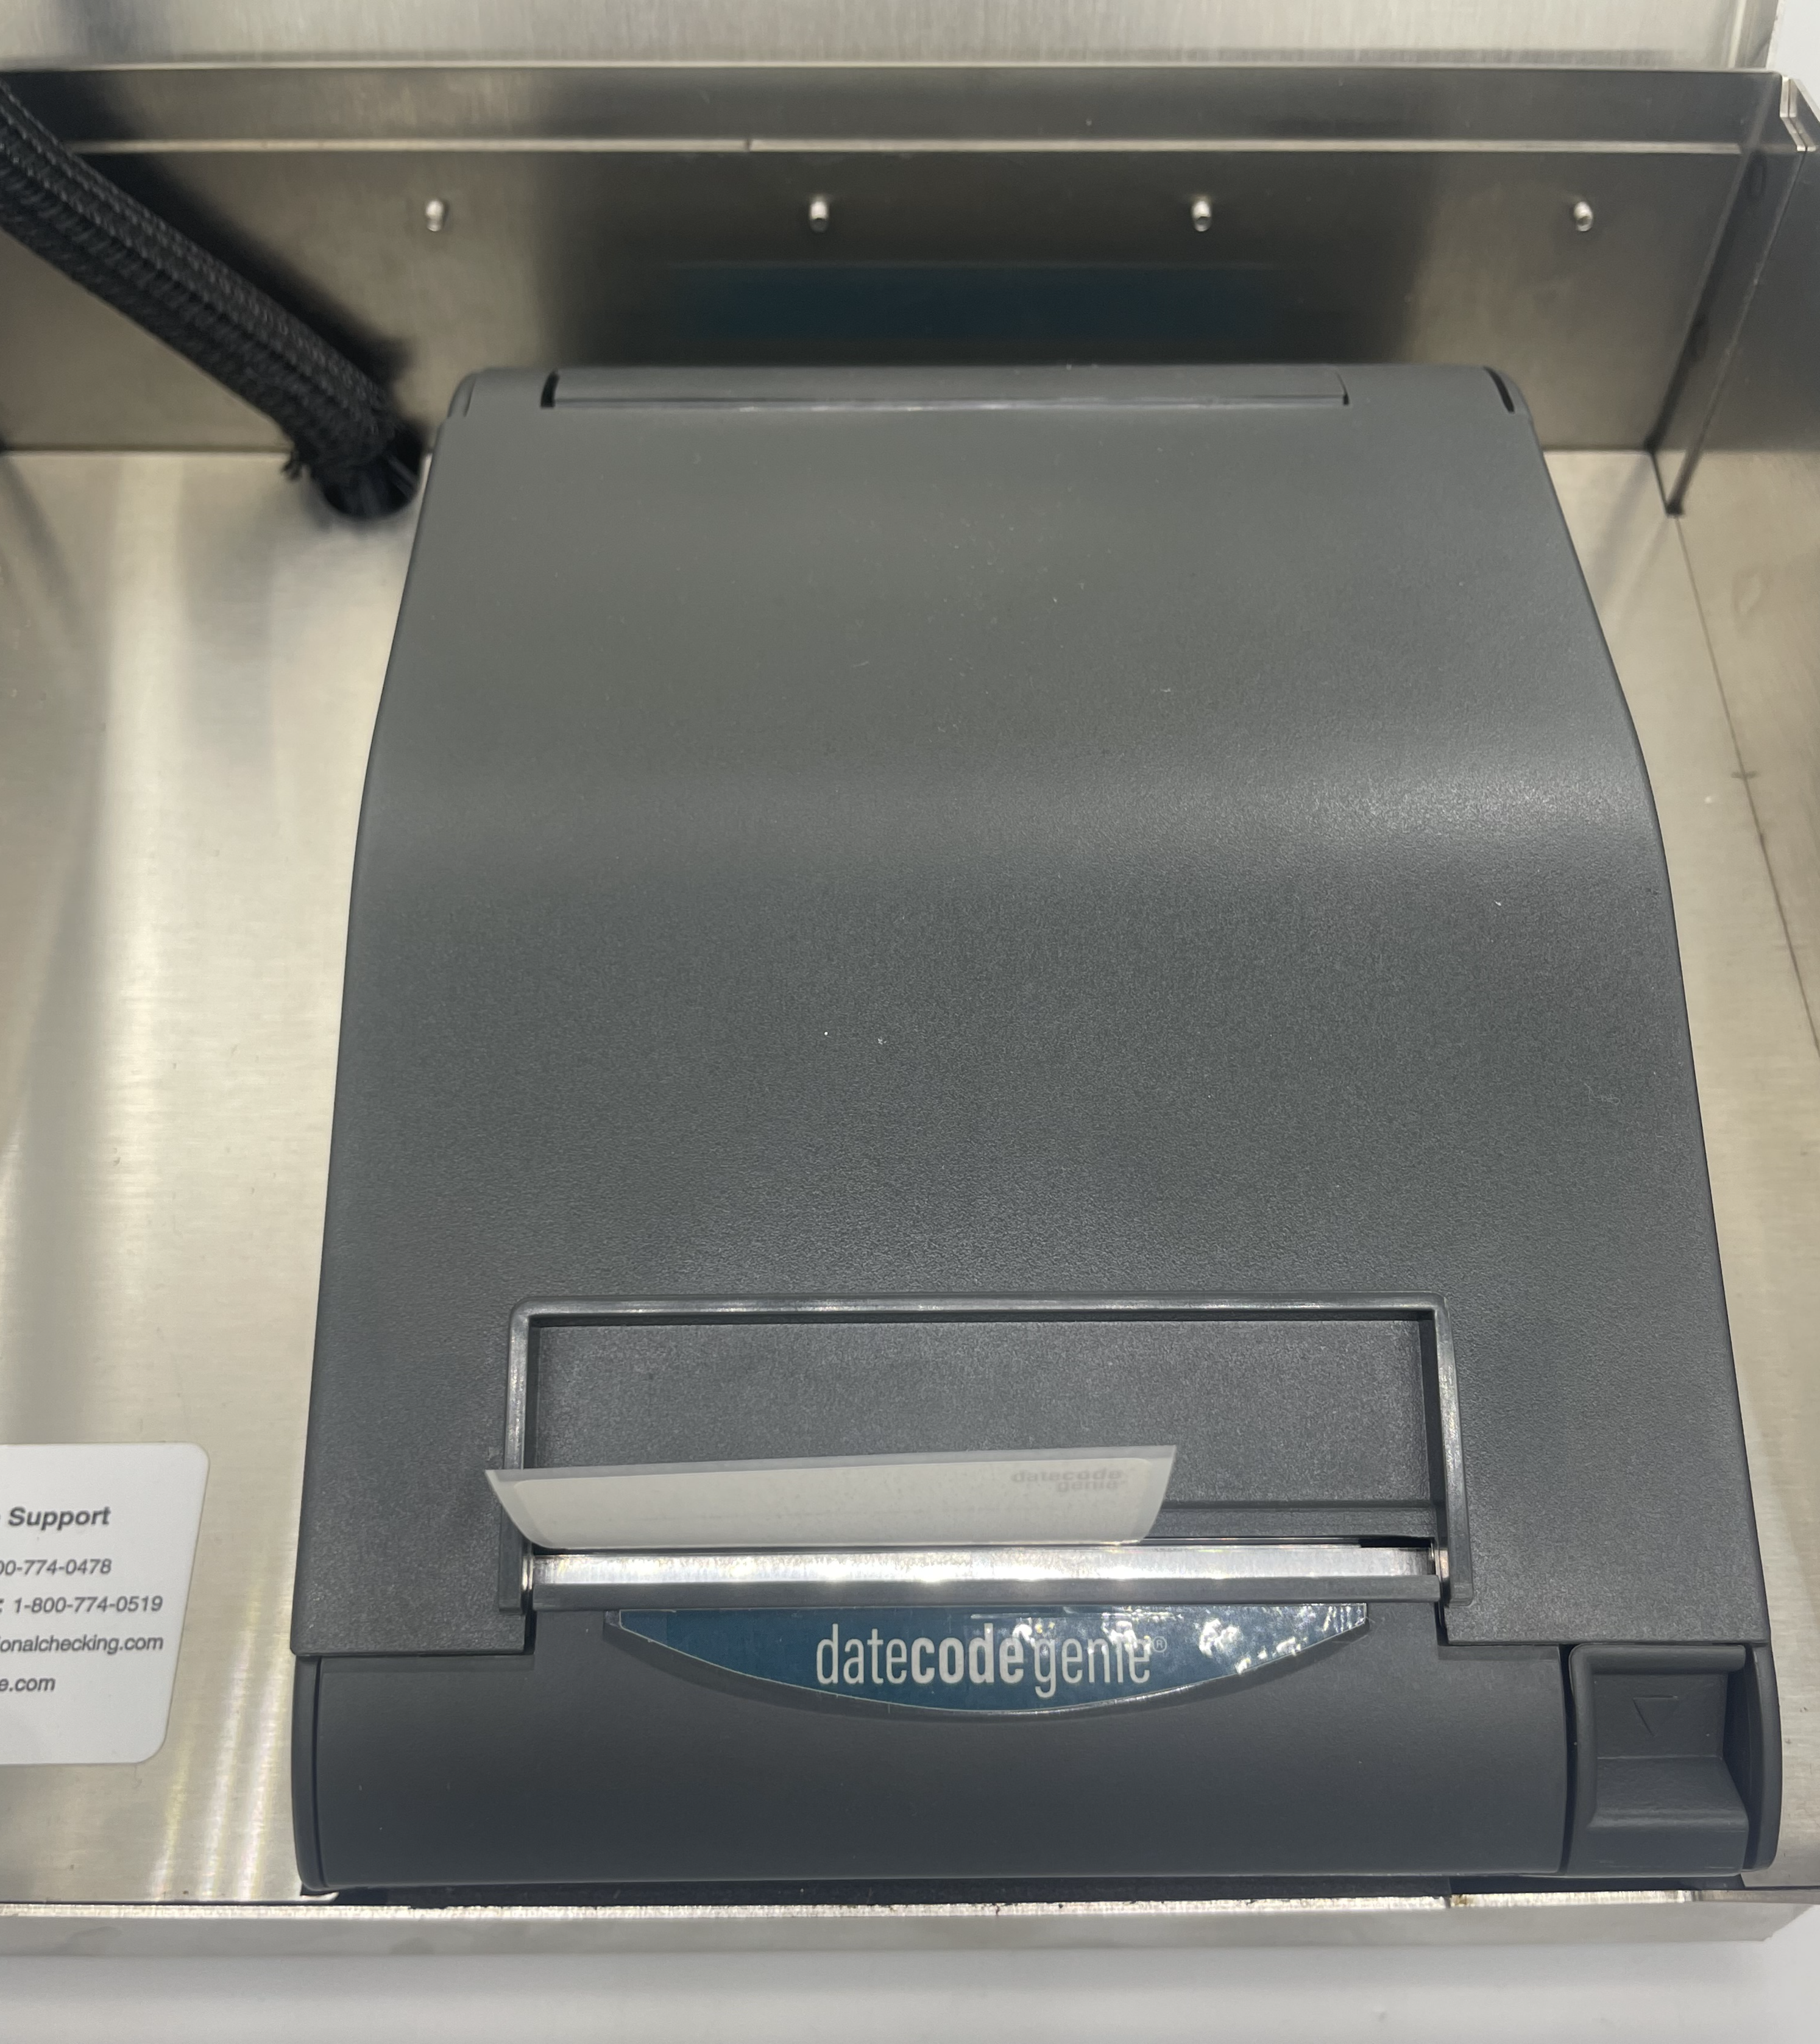
La stampante non stampa etichette o non taglia, ma sta avanzando con più etichette. La stampante potrebbe stampare un'etichetta e poi saltarne altre, causando un errore di stampante offline.
Risoluzione dei problemi della stampante che avanza più etichette
Seleziona il tuo modello o la tua stampante.
Verificare che le etichette siano caricate correttamente nella stampante.
Carica etichette in 2.0 e adatta dispositivi modello
Il modello 2.0 non è più disponibile.
Caricare le etichette nei dispositivi modello 2.0 e Fit.
Passaggi:
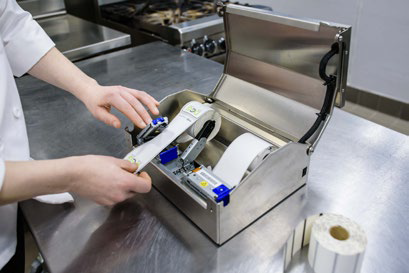
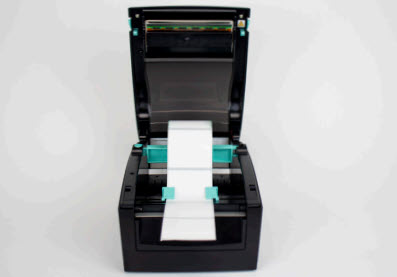
1. Aprire il coperchio della custodia se si utilizza un dispositivo 2.0.
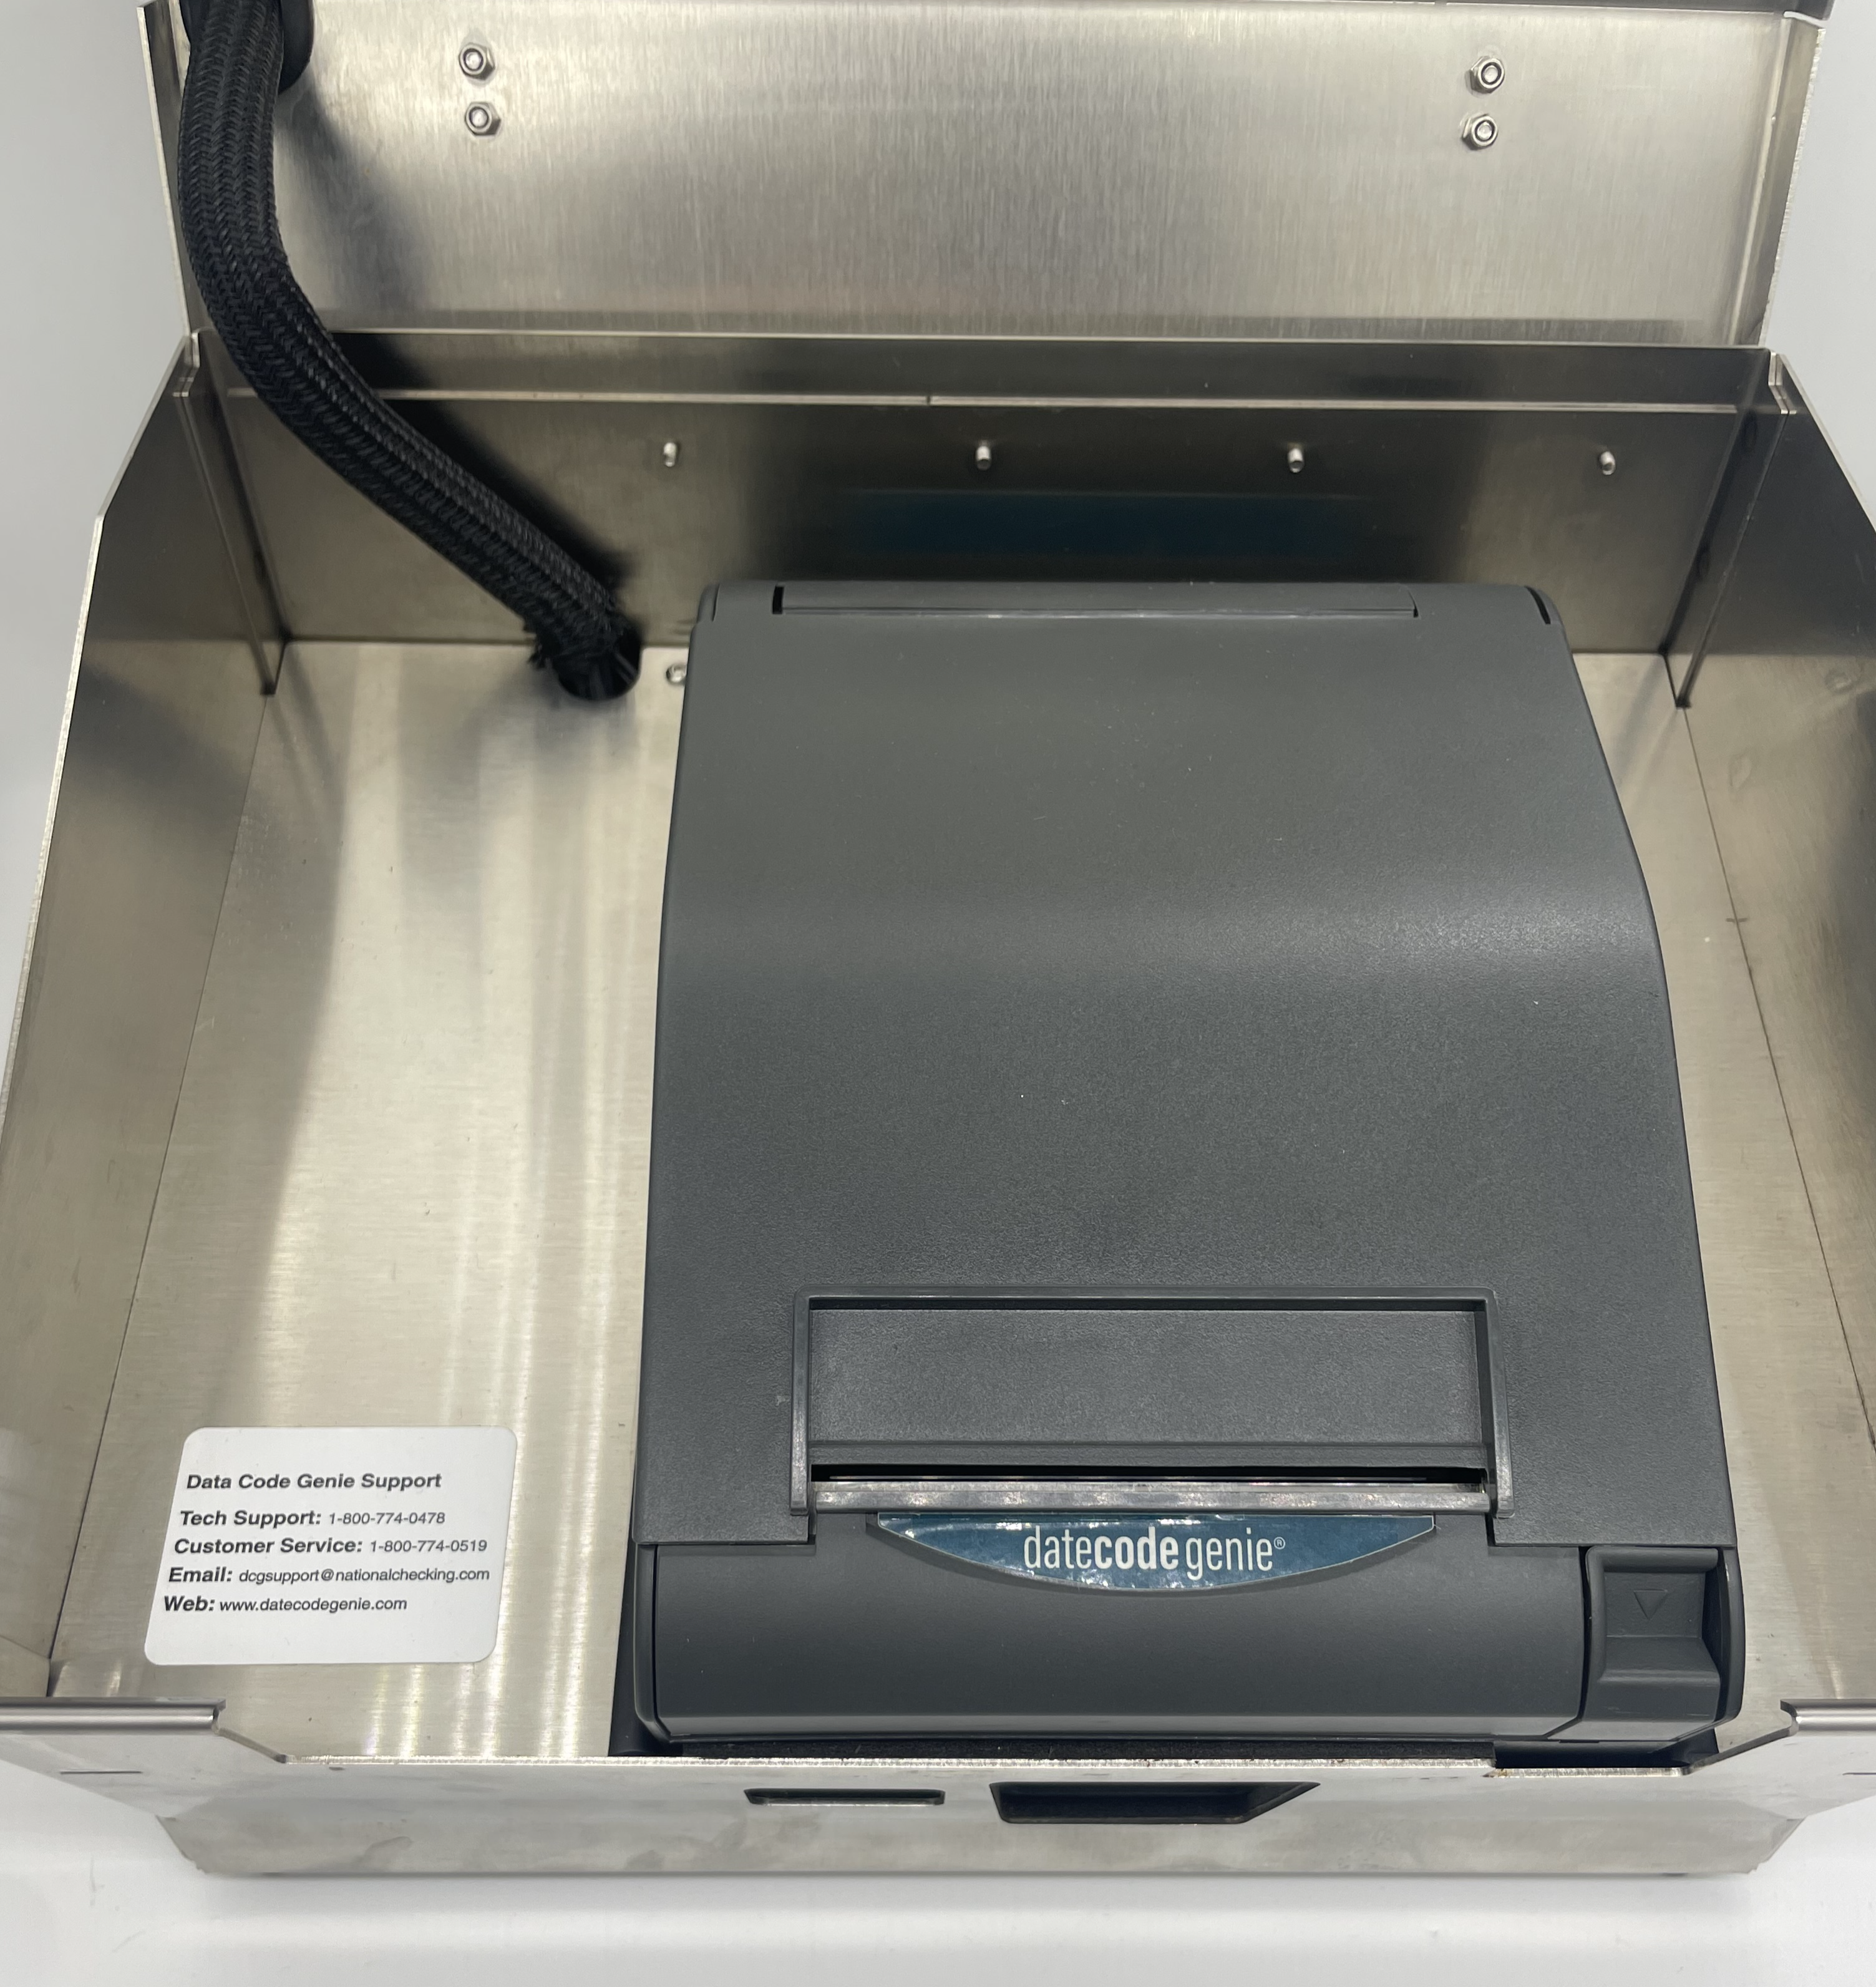
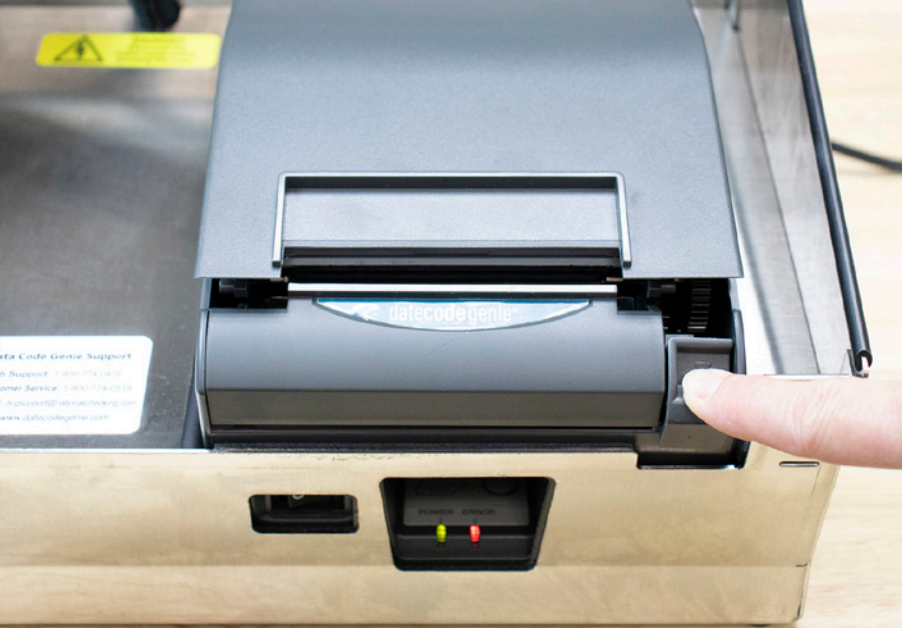
2. Premere il pulsante di rilascio della stampante per aprirla.
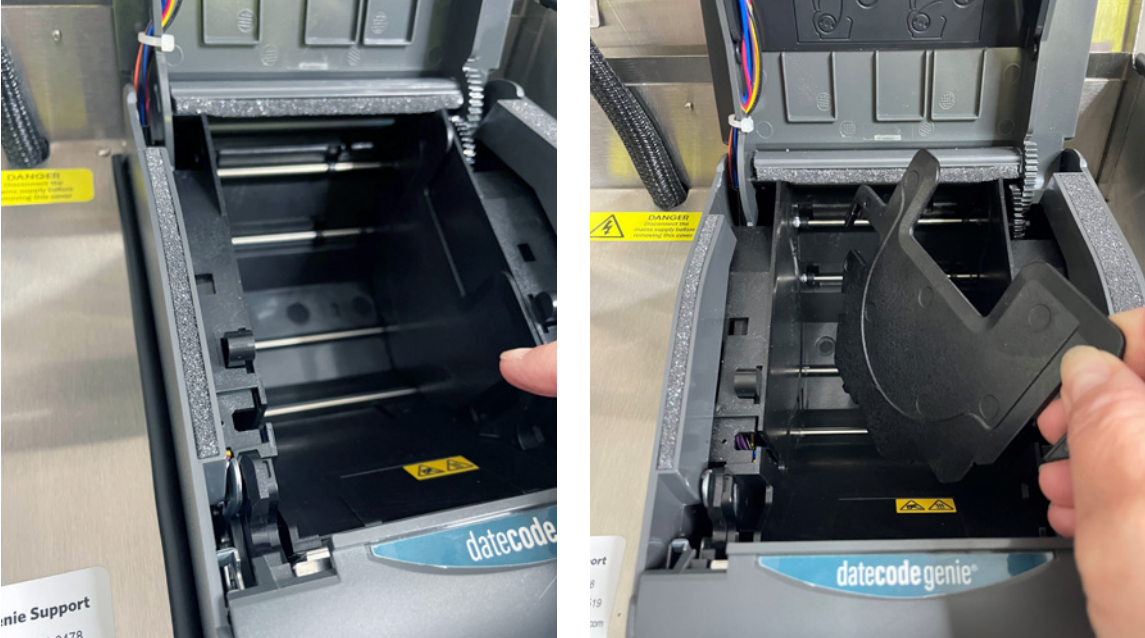
3. Individuare la guida del rotolo sul lato destro dell'apertura e sollevarla per rimuoverla.
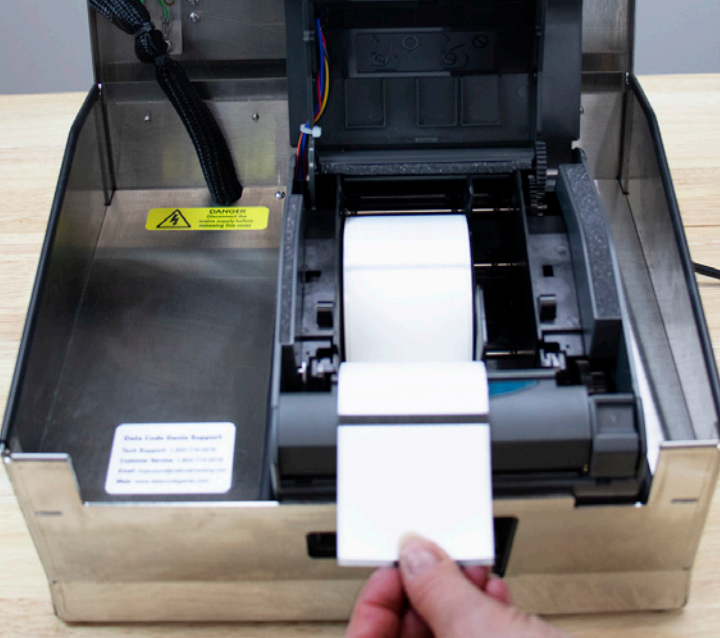
4. Prendi il rotolo di etichette srotolandolo dal basso con le linee nere rivolte verso l'alto e posizionalo sul lato sinistro dell'apertura. Estendi le etichette sul bordo della stampante.
5. Posizionare la guida del rotolo sul lato destro del rotolo di etichette per mantenerlo in posizione.

6. Chiudere il coperchio della stampante: le etichette avanzeranno e verranno tagliate automaticamente per la calibrazione.
7. Chiudere il coperchio della custodia. La stampante è pronta per stampare.
Verifica che le linee nere corrette siano visibili sul retro dell'etichetta. Consulta le etichette DateCodeGenie® per riferimento.
Se le linee non sono corrette, sostituirle con un rotolo di etichette con le linee nere corrette e provare a stampare di nuovo.
Per ulteriore assistenza, consultare Contatti e supporto
Verificare che le etichette siano caricate correttamente nella stampante.
Caricare le etichette nel dispositivo modello X
Caricare le etichette in un dispositivo modello X è facile. Segui i passaggi sottostanti o guarda il video per assistenza.
Passaggi:
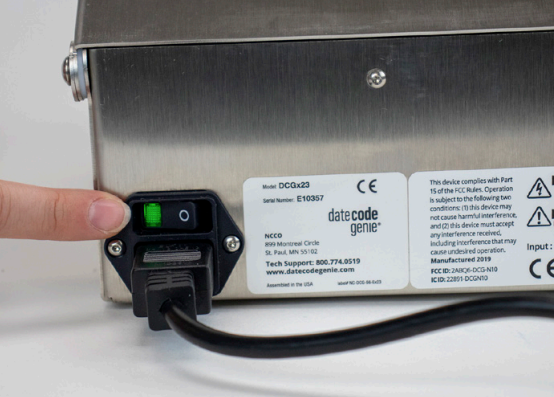
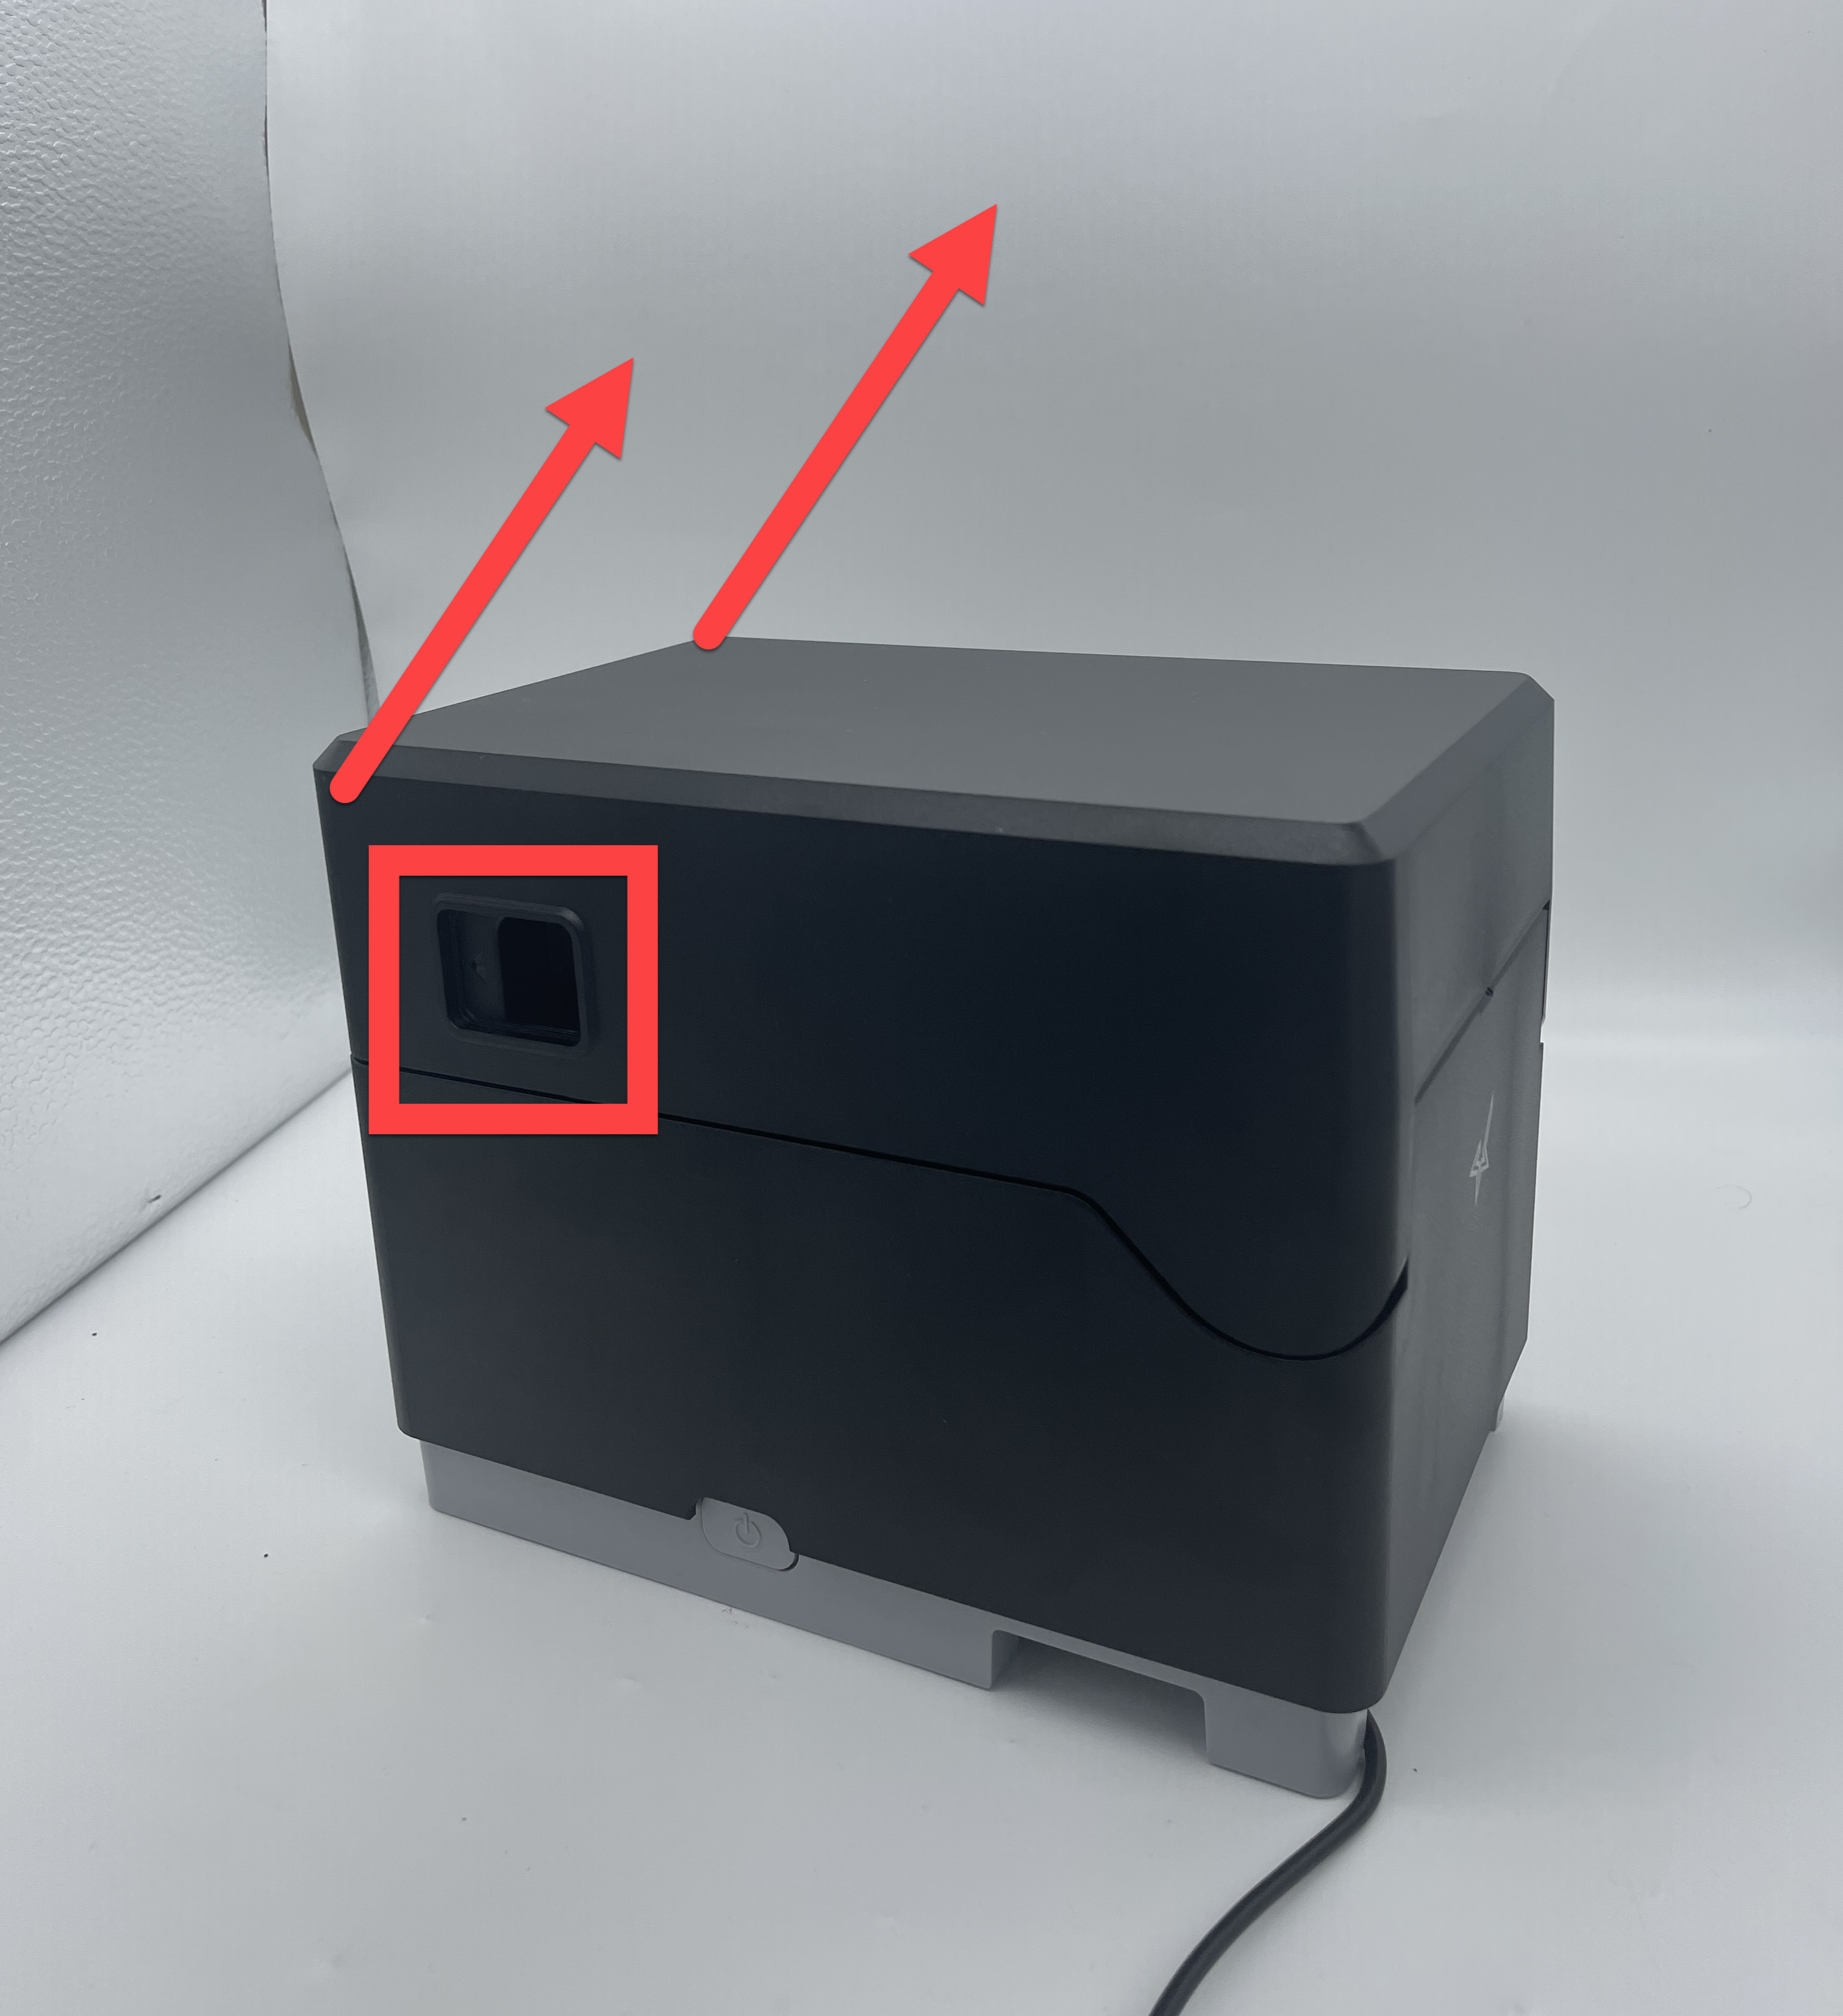
1. Verificare che il cavo di alimentazione sia collegato a una presa funzionante e che l'interruttore di alimentazione principale sul retro del dispositivo sia illuminato in verde.
2. Aprire il coperchio della custodia, separare i due bracci neri e inserire il rotolo di etichette srotolandolo dall'alto con le linee nere rivolte verso il basso. 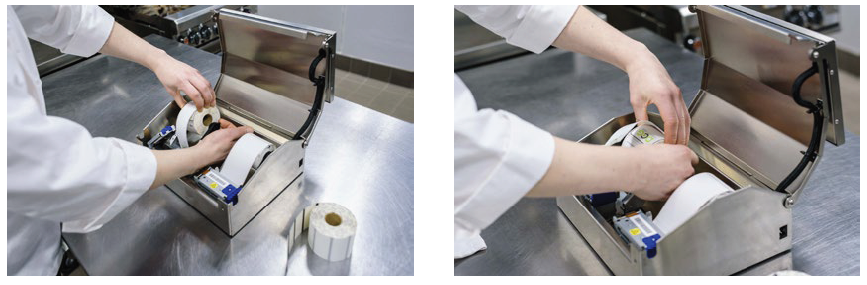
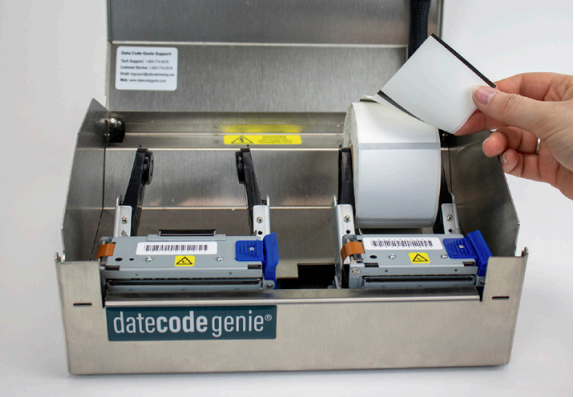
3. Premere la linguetta blu/nera per rilasciare la leva, estendere le etichette oltre il bordo dell'apertura e chiudere la leva per farle scattare in posizione.
 |
 |
4. Le etichette avanzeranno e taglieranno automaticamente per calibrare la stampante. Ripetere per la seconda stampante (se applicabile).
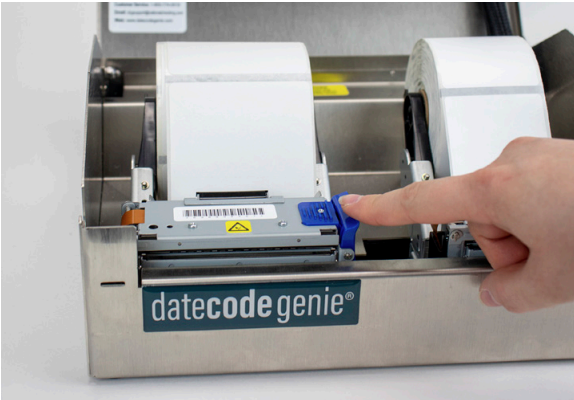
5. Chiudere il coperchio della custodia e iniziare la stampa.
Verifica che le linee nere corrette siano visibili sul retro dell'etichetta. Consulta le etichette DateCodeGenie® per riferimento.
Se le linee non sono corrette, sostituirle con un rotolo di etichette con le linee nere corrette e provare a stampare di nuovo.
Per ulteriore assistenza, consultare Contatti e supporto
Verificare che le etichette siano caricate correttamente nella stampante.
Carica etichette nel dispositivo modello Lite
Caricare le etichette in un dispositivo modello Lite è facile. Segui i passaggi sottostanti o guarda il video per assistenza.
Passaggi:
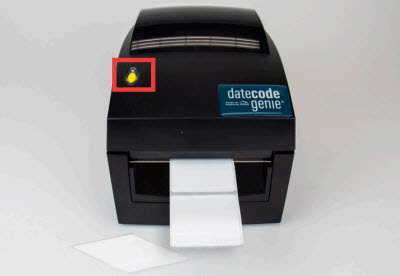
1. Tirare delicatamente la barra centrale blu/verde dal lato destro ed estenderla verso l'alto. Far scorrere il sensore della linea nera all'estrema destra dell'apertura
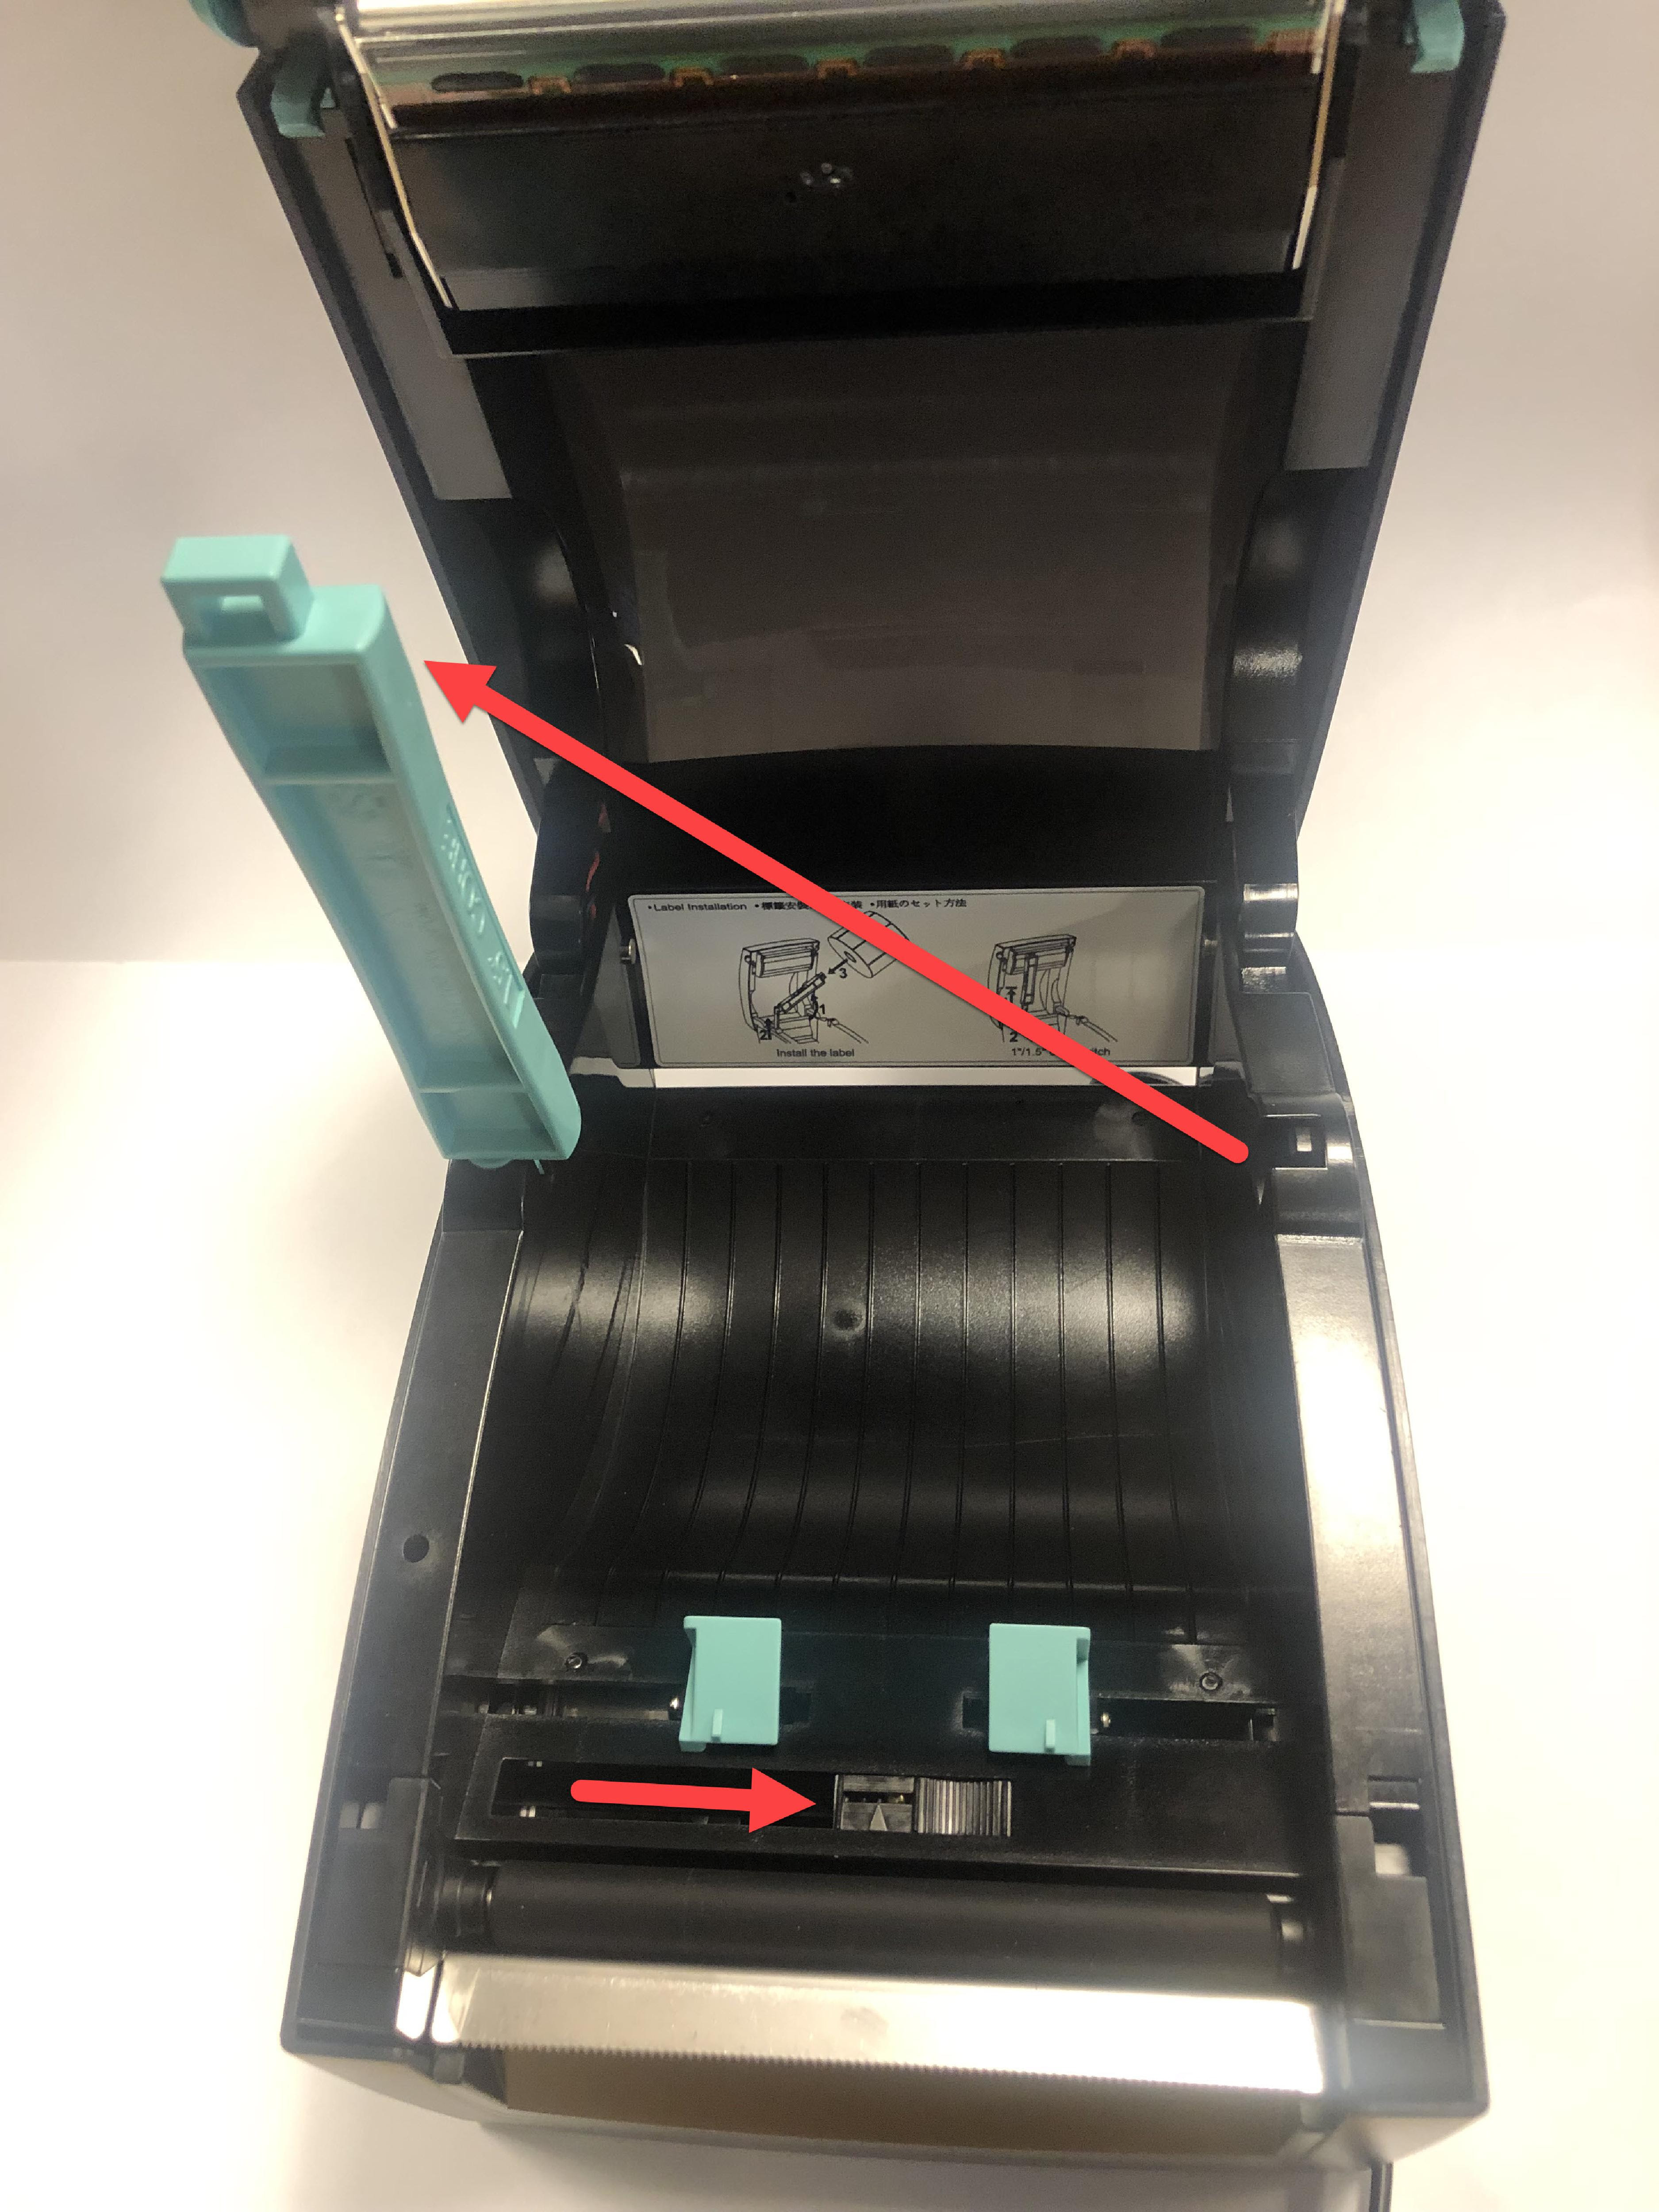
2. Far scorrere il rotolo di etichette sulla barra centrale con le etichette rivolte in avanti e srotolandole da sinistra. Chiudere la barra centrale.
3. Far passare le etichette attraverso le guide blu/verdi e estenderle oltre il bordo della stampante. Regolare le guide in base alla larghezza dell'etichetta e chiudere il coperchio della stampante.
4. Premere il pulsante di alimentazione giallo, se necessario, per allineare sulla linea nera. Tirare verso il basso per strappare l'etichetta.
Verifica che le linee nere corrette siano visibili sul retro dell'etichetta. Consulta le etichette DateCodeGenie® per riferimento.
Se le linee non sono corrette, sostituirle con un rotolo di etichette con le linee nere corrette e provare a stampare di nuovo.
Per ulteriore assistenza, consultare Contatti e supporto
Verificare che le etichette siano caricate correttamente nella stampante.
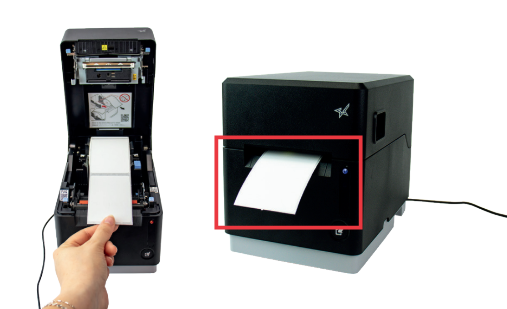
Caricare le etichette nella stampante mC-Label3
Caricare le etichette in una stampante mC-Label3.
Passaggi:
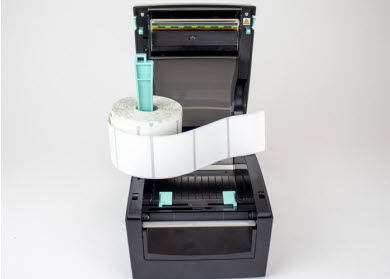
1. Spingere la leva sul lato destro della stampante per aprire il coperchio.
2. Premere la leva blu e posizionarla nel rotolo di etichette rivolto verso l'alto tra le guide per regolare la larghezza del rotolo di etichette.

3. Spingere delicatamente il rotolo di etichette nelle guide per inserire gli alberi su ciascun lato del rotolo di etichette in modo che scattino in posizione.
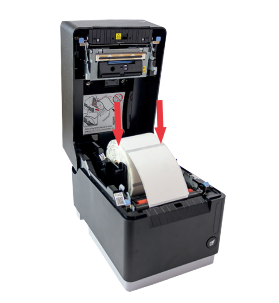
4. Estendere le etichette oltre il bordo della stampante e chiudere il coperchio della stampante. Le etichette avanzeranno e taglieranno automaticamente per essere calibrate e pronte per la stampa.
Verifica che le linee nere corrette siano visibili sul retro dell'etichetta. Consulta le etichette DateCodeGenie® per riferimento.
Se le linee non sono corrette, sostituirle con un rotolo di etichette con le linee nere corrette e provare a stampare di nuovo.
Per ulteriore assistenza, consultare Contatti e supporto
