
Printing on Custom Preprinted DateCodeGenie® Labels
Design printer profiles for your custom preprinted DateCodeGenie labels.
NOTE
If you are not using a custom preprinted label and need to print a black and white logo from your device, see Add a Logo.
There are two options available to overlay custom preprinted label images in the layout designer to help align features on your printer profile. The custom label image will show in the layout designer and app print preview, but will not print on the label.
1. Add a logo feature
- Place a logo feature on your printer profile where the preprinted image will appear
- Best for preprinted labels that only have one image.
- In the feature editor, change the Preprinted logo field to Yes.
- For steps, see Add a Logo
2. Upload background image
- Upload the image file provided as the printer profile background image.
- Best for preprinted labels with a more intricate design.
Steps:
1. Find the .png/.jpg image file provided after the proof was approved.
NOTE
See Contact & Support to obtain a .png/.jpg image file for each proof ordered, if not received.
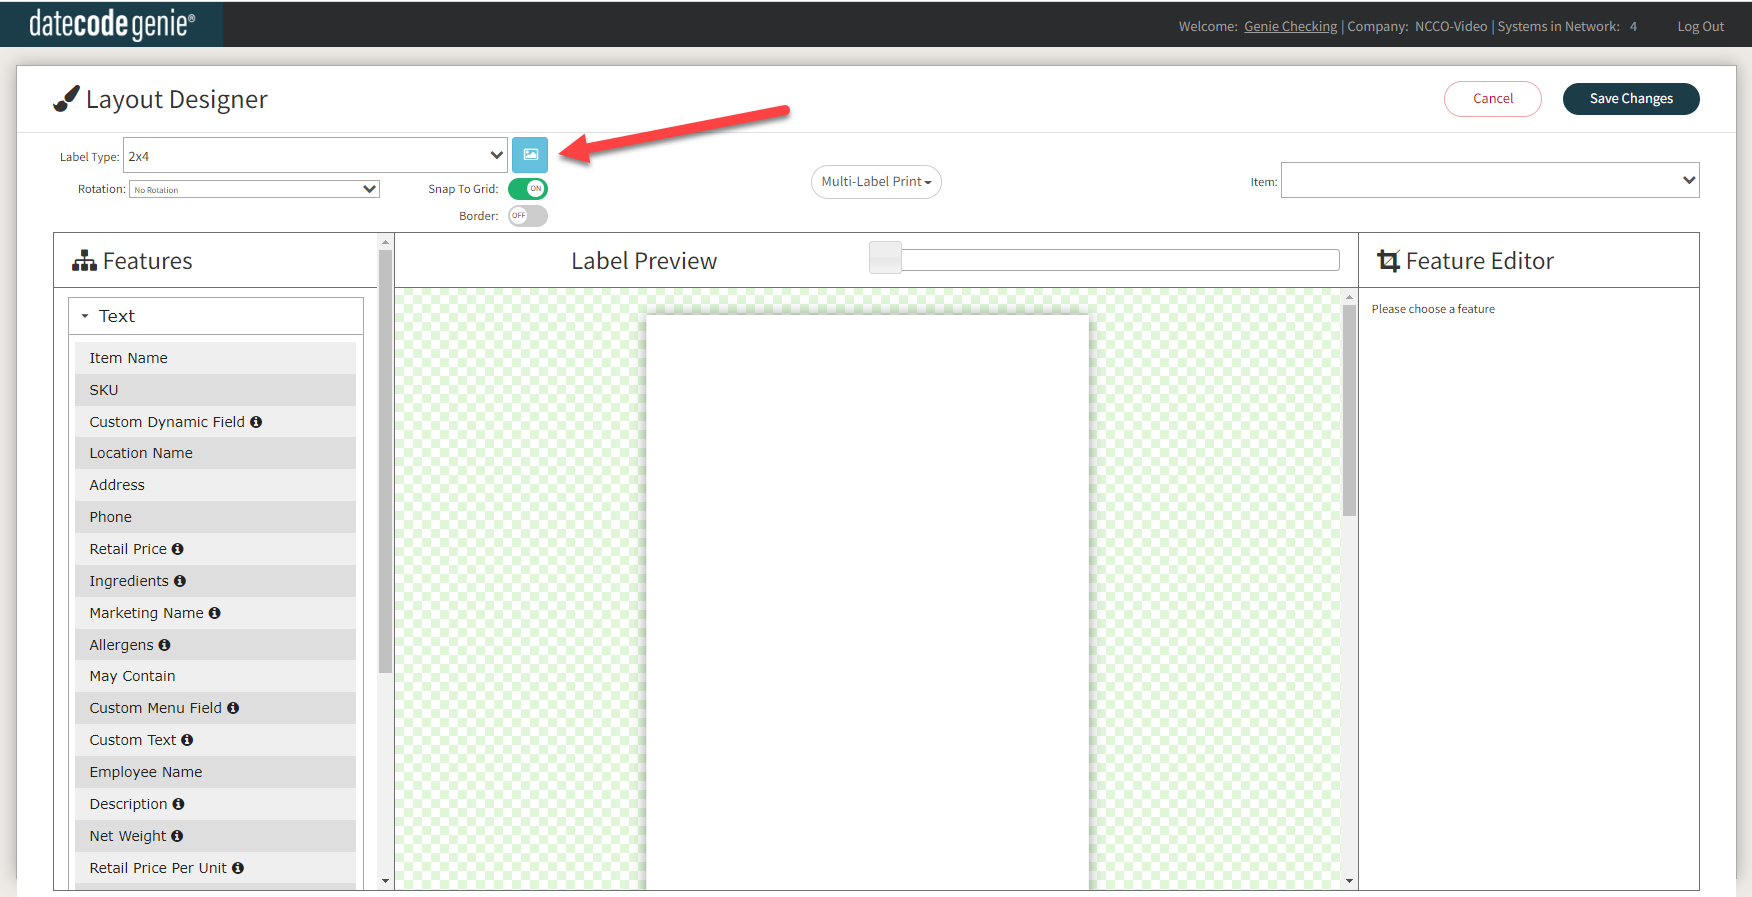
2. Log in to the portal and click the printer profile tab to open.
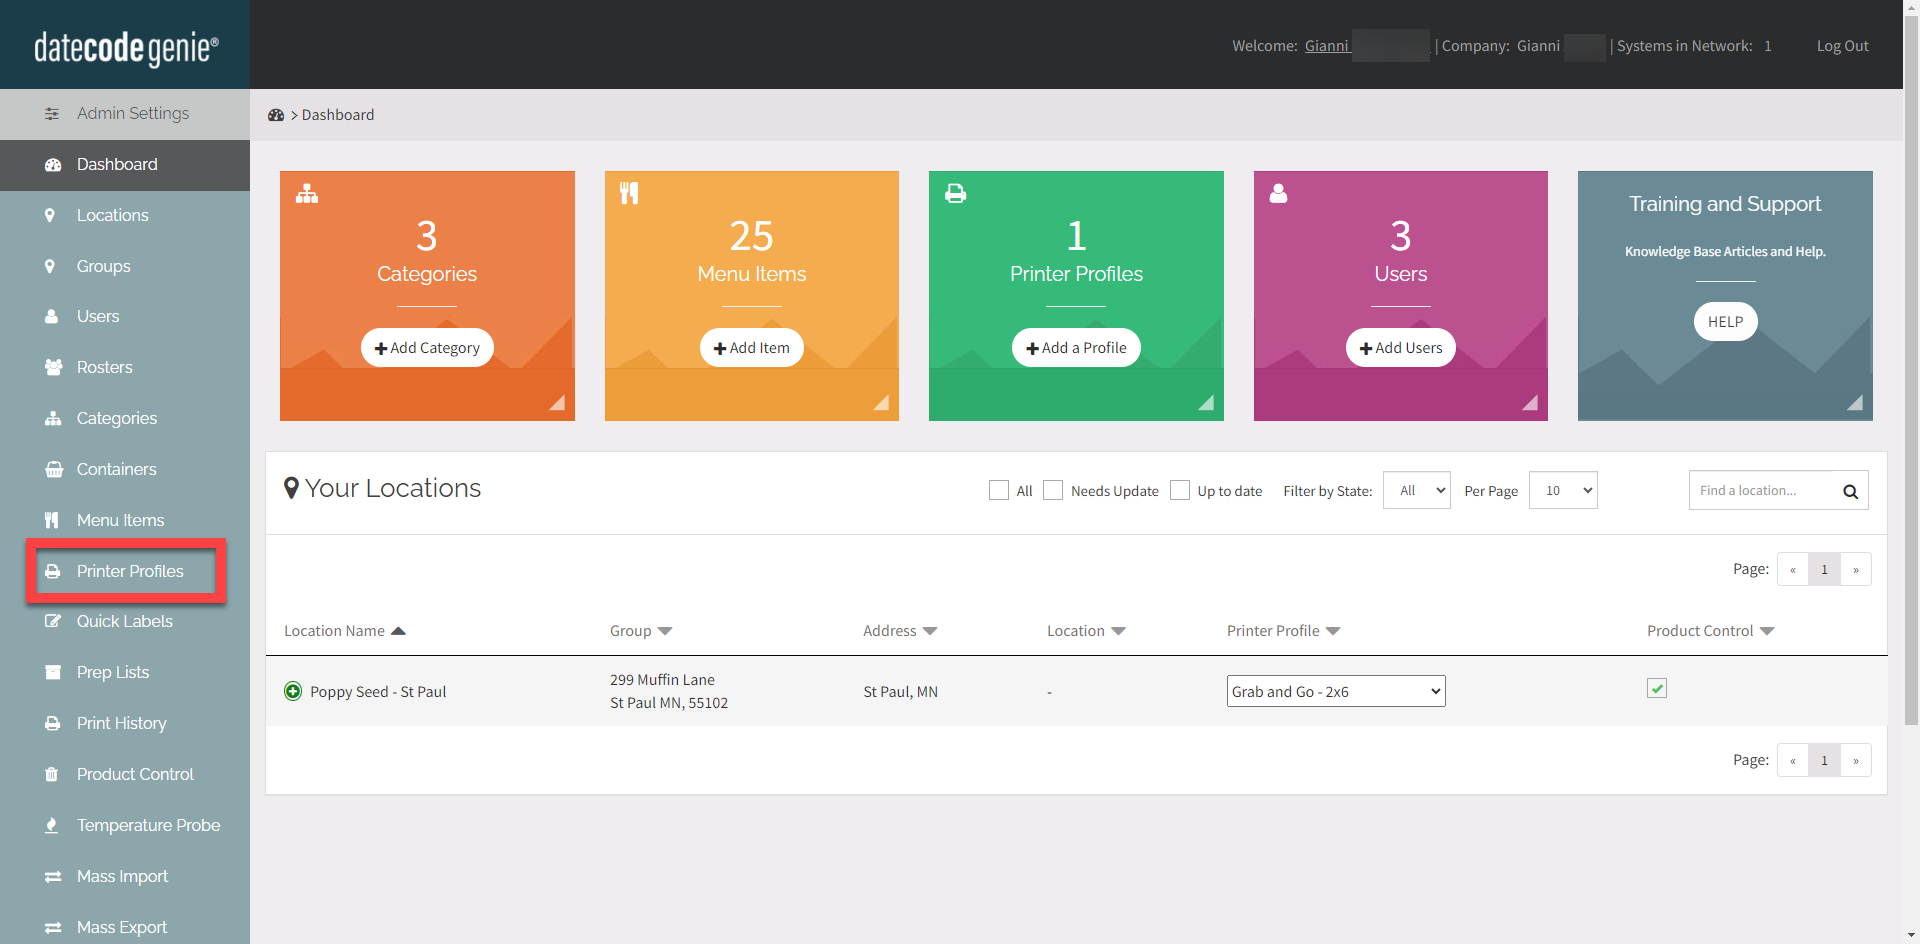
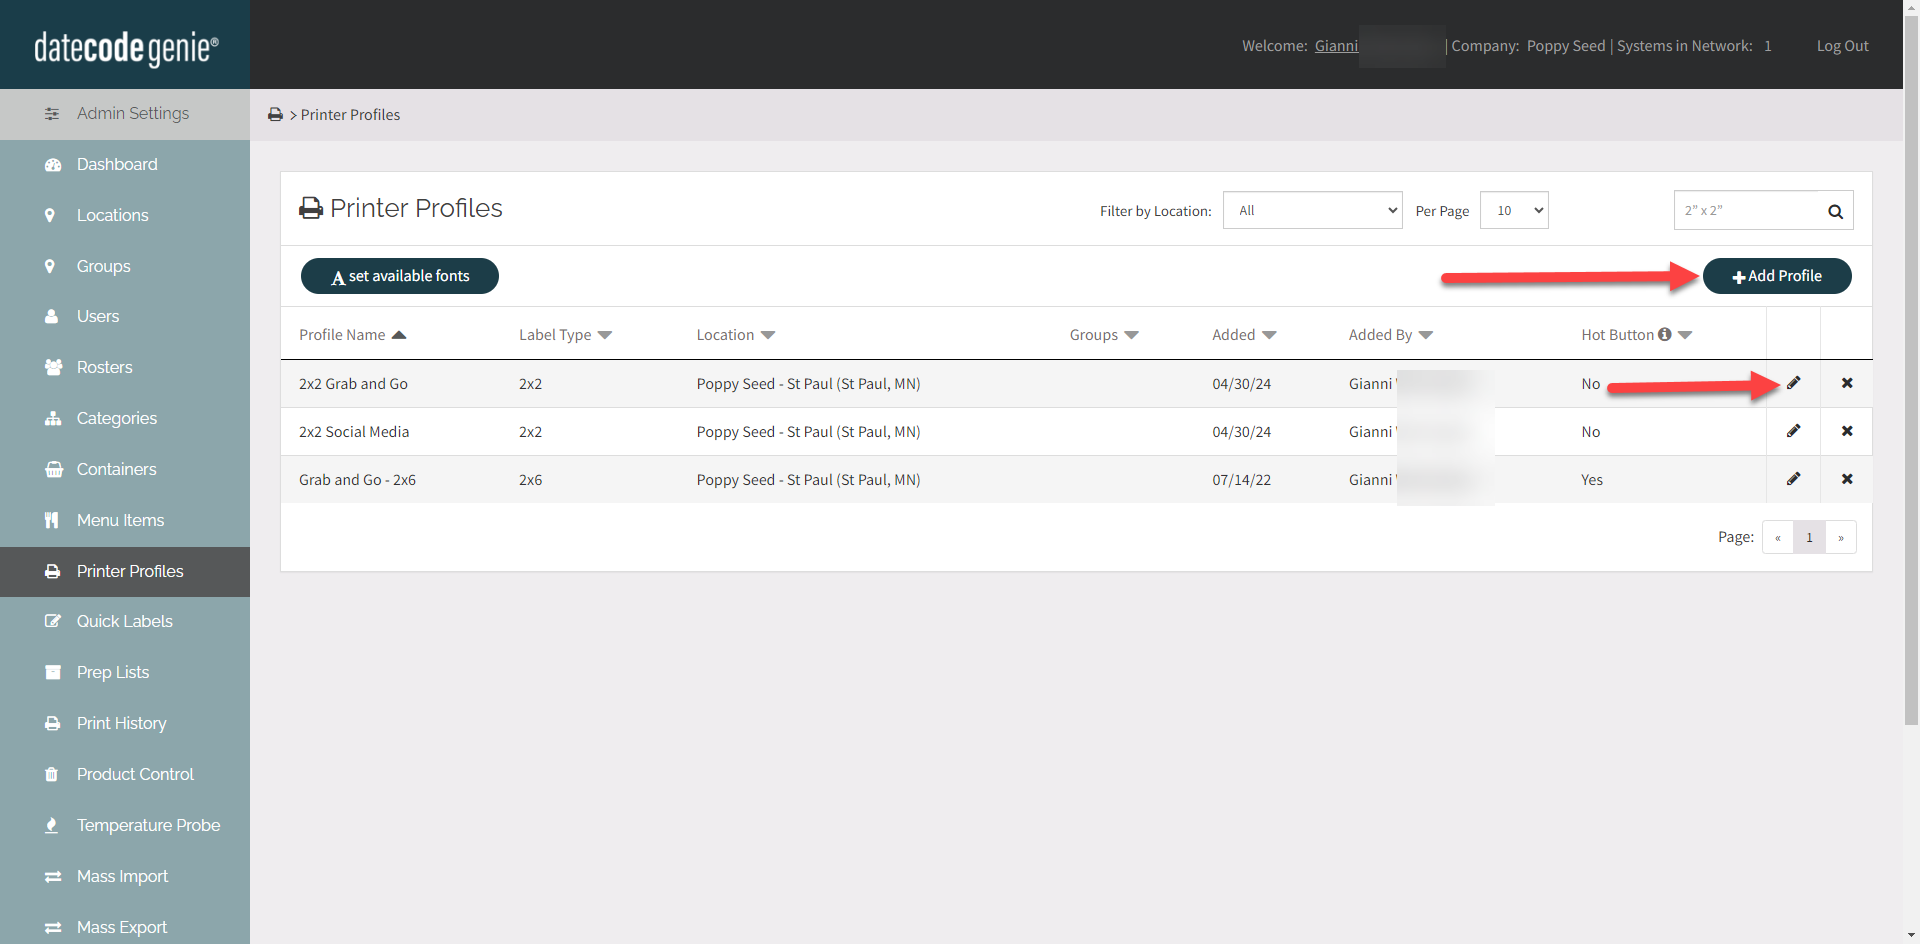
3. Click + Add Profile to add a new printer profile or click the edit button (pencil icon) to edit an existing printer profile. See Manage Printer Profiles
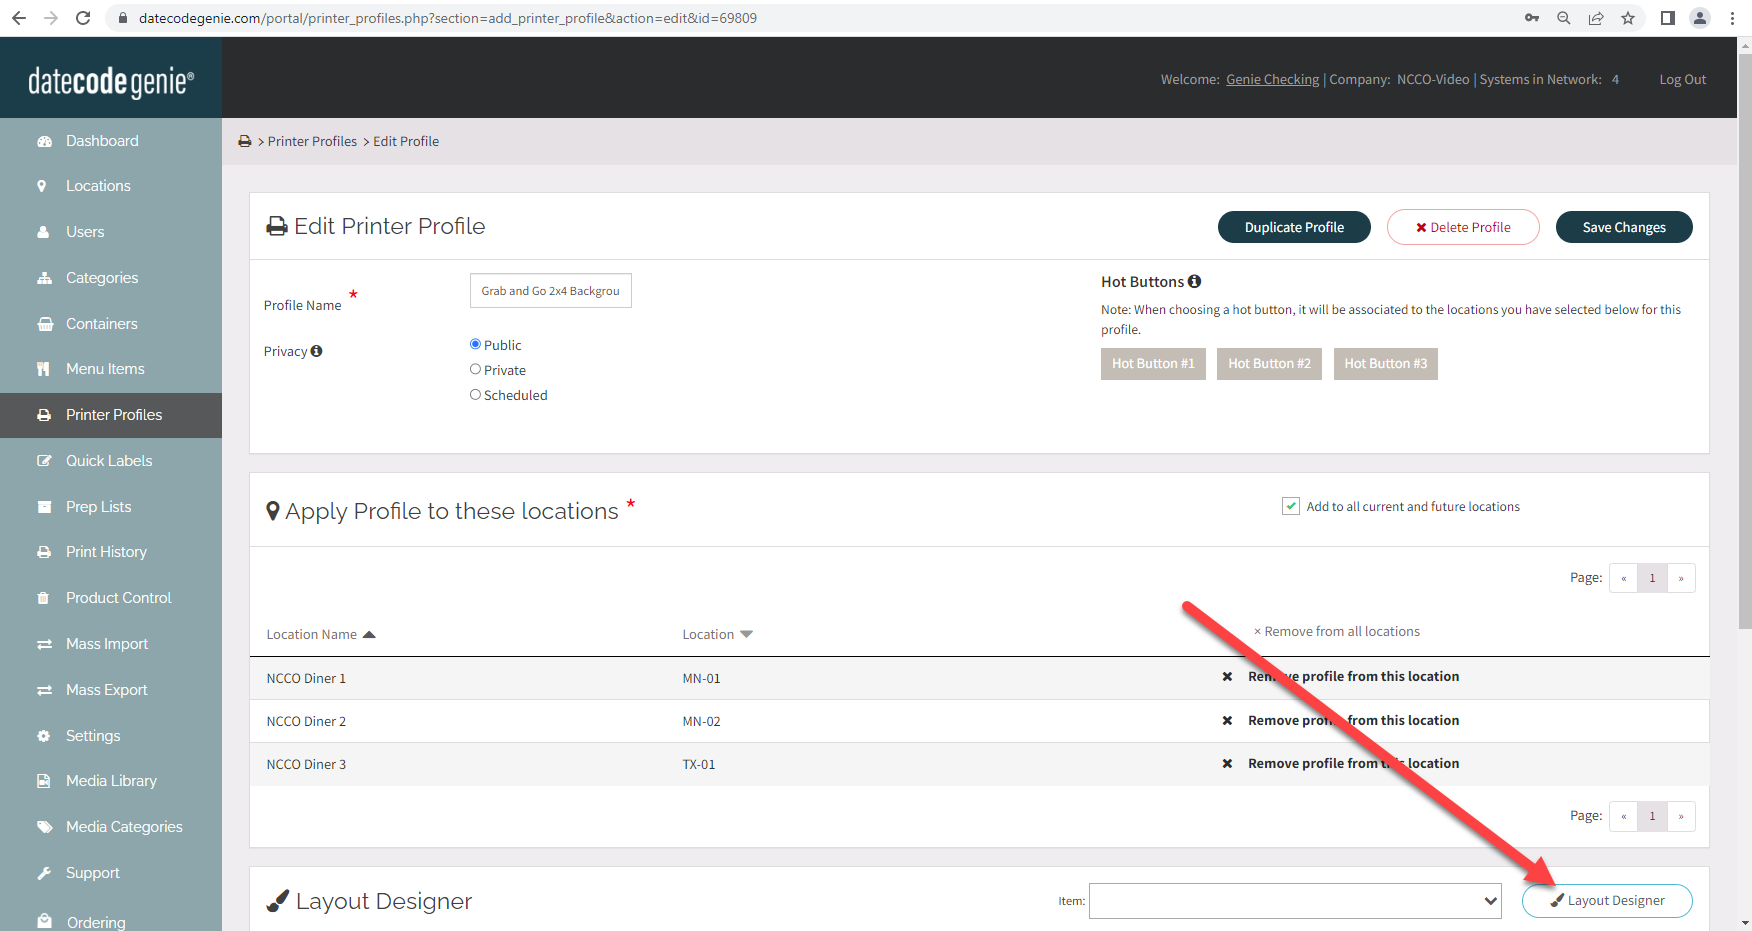
4. Click Layout Designer to open.
5. Select the label type from the dropdown field that matches the size of your preprinted label.
NOTE
No label size changes are allowed after the background image is uploaded. Verify the correct label size is set before uploading the image file
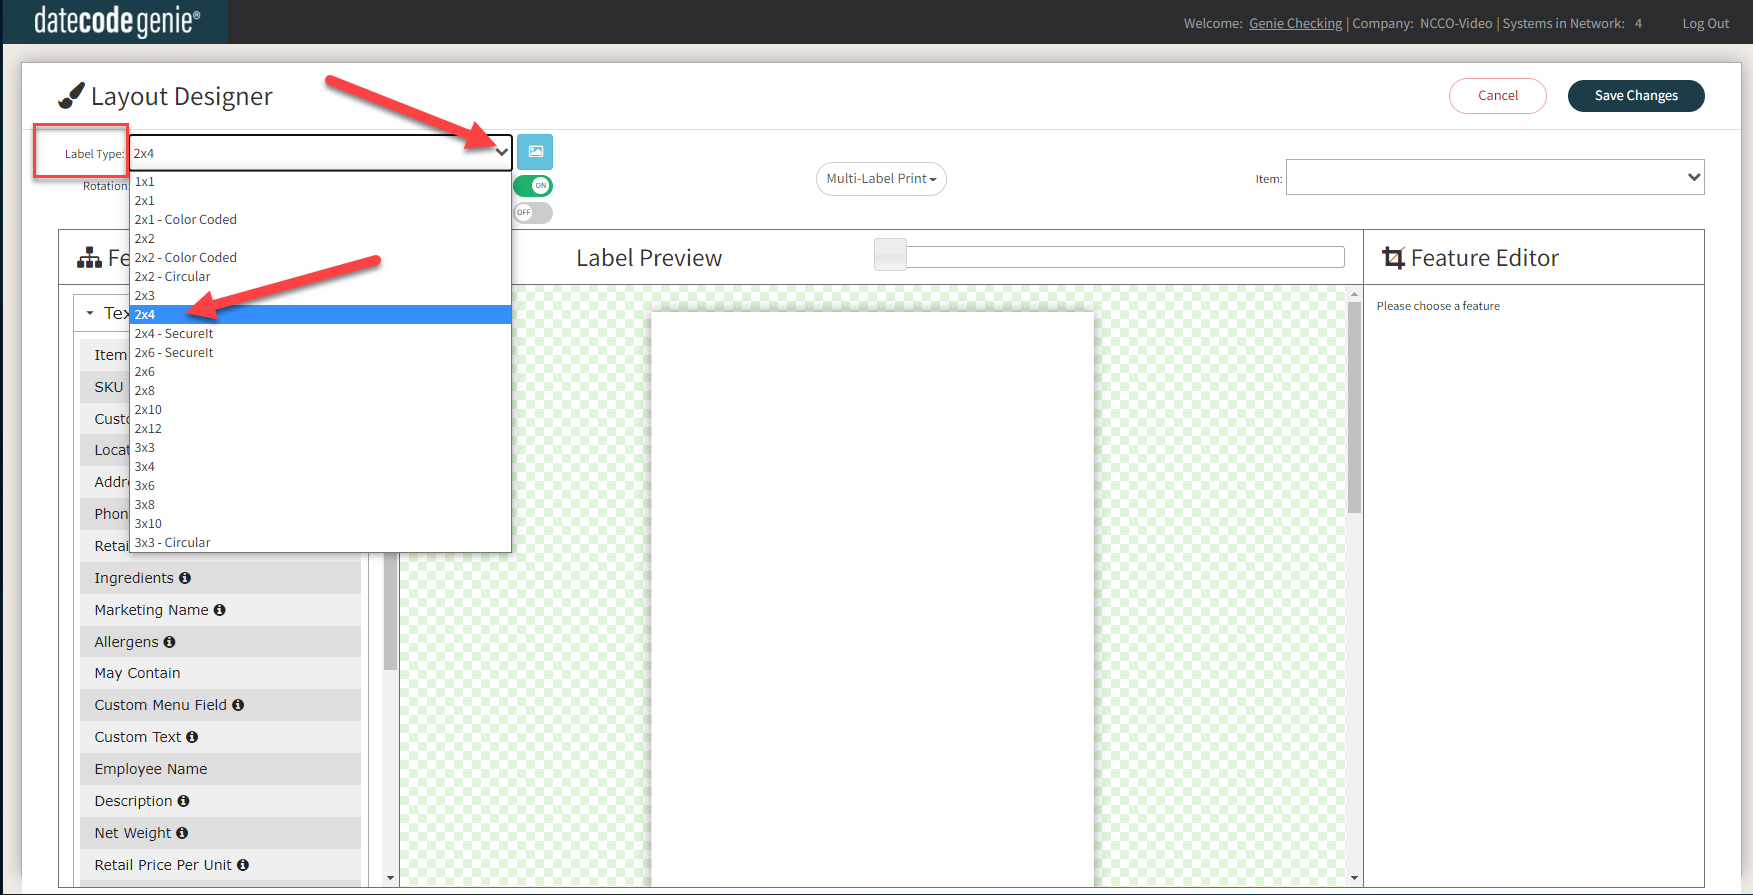
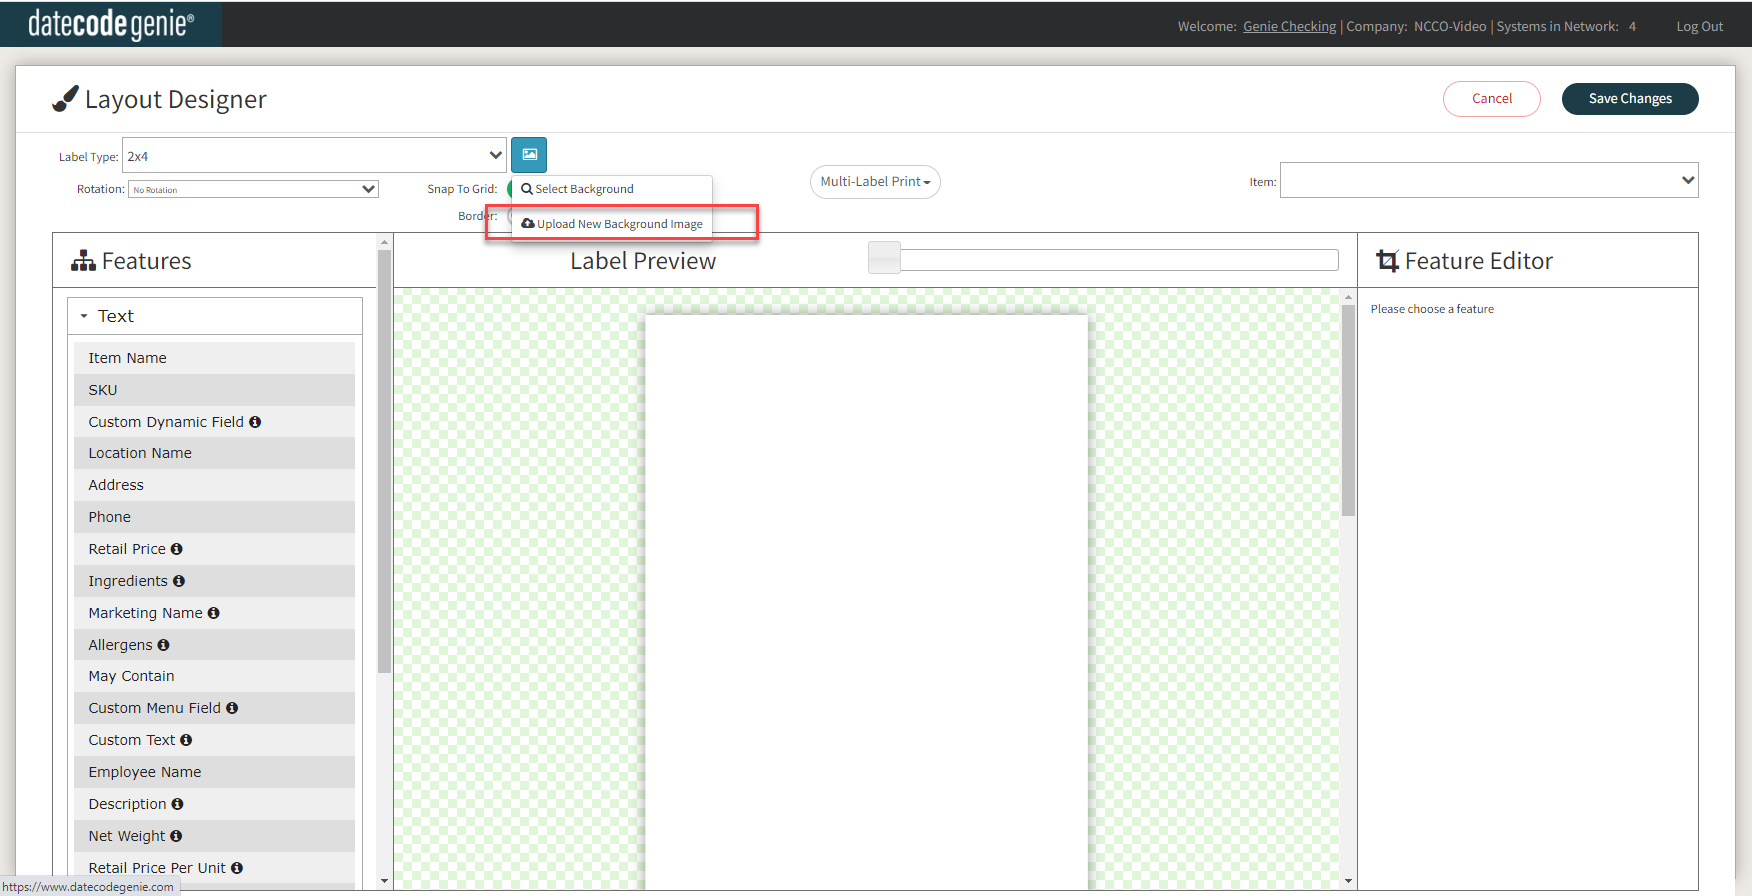
6. Click on the background button (blue picture icon) to upload the image file provided with the preprinted label order.
7. Click on Upload New Background Image and select the image file to upload.
8. Move the white crop box to the outside edges of the background image displayed using the Lock Aspect Ratio, Zoom, and Rotation buttons as needed.
- Needs space between "displayed" and “using”
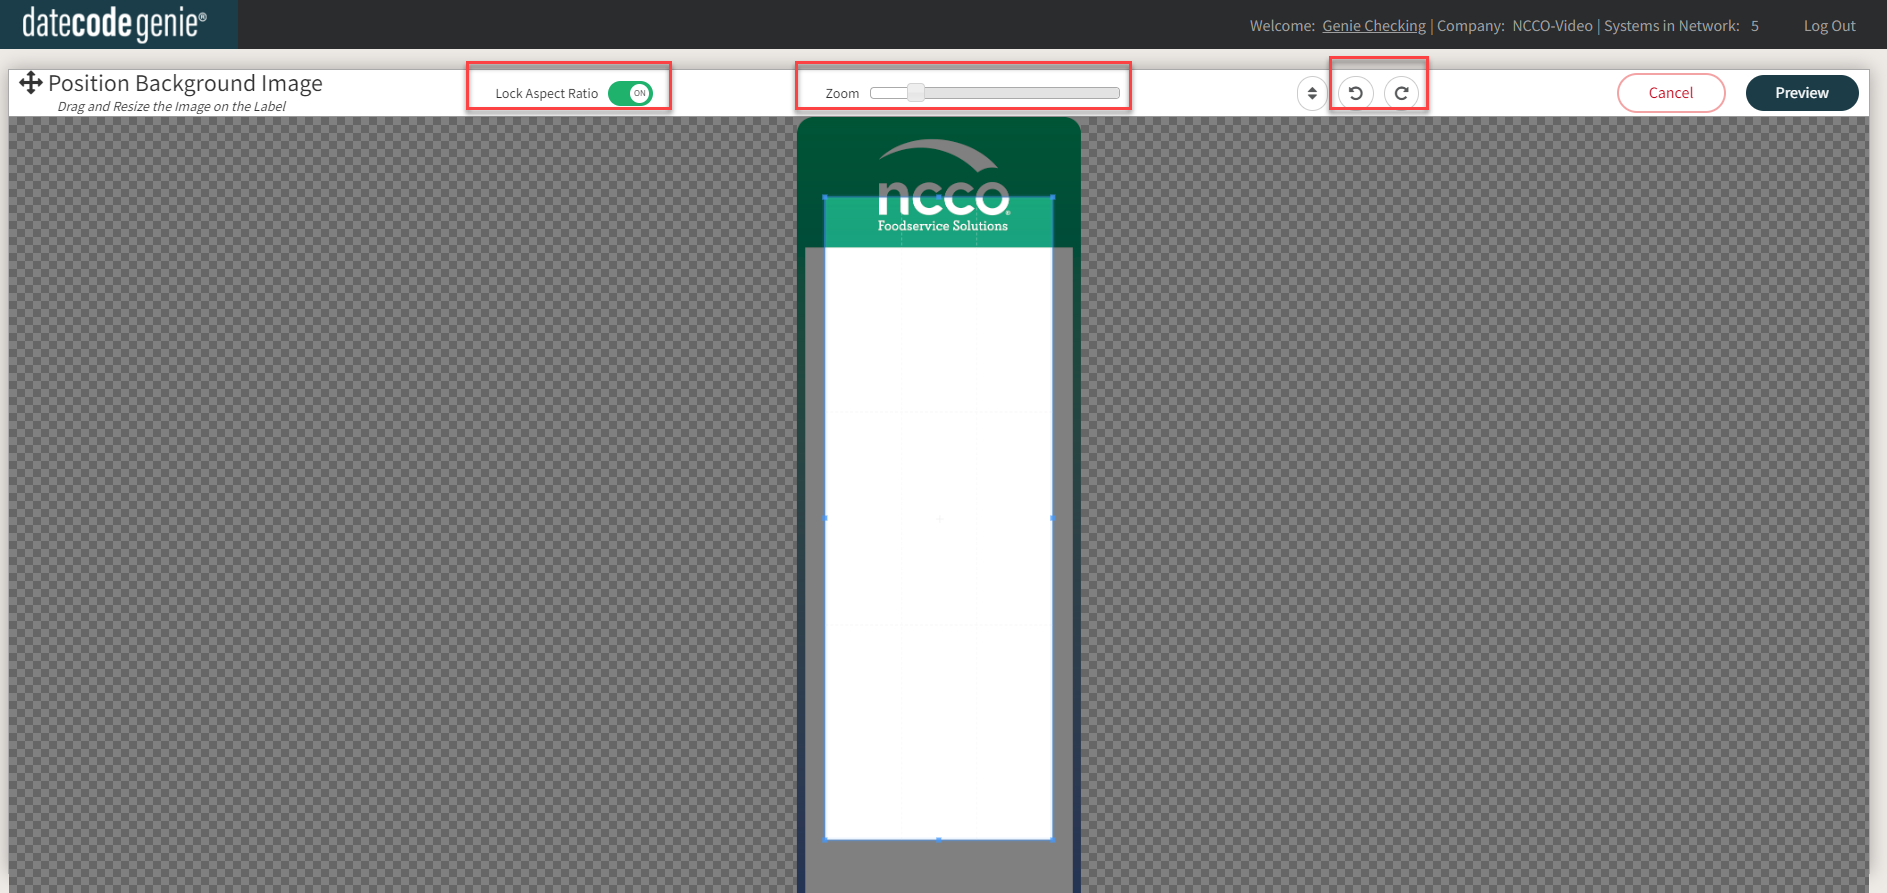
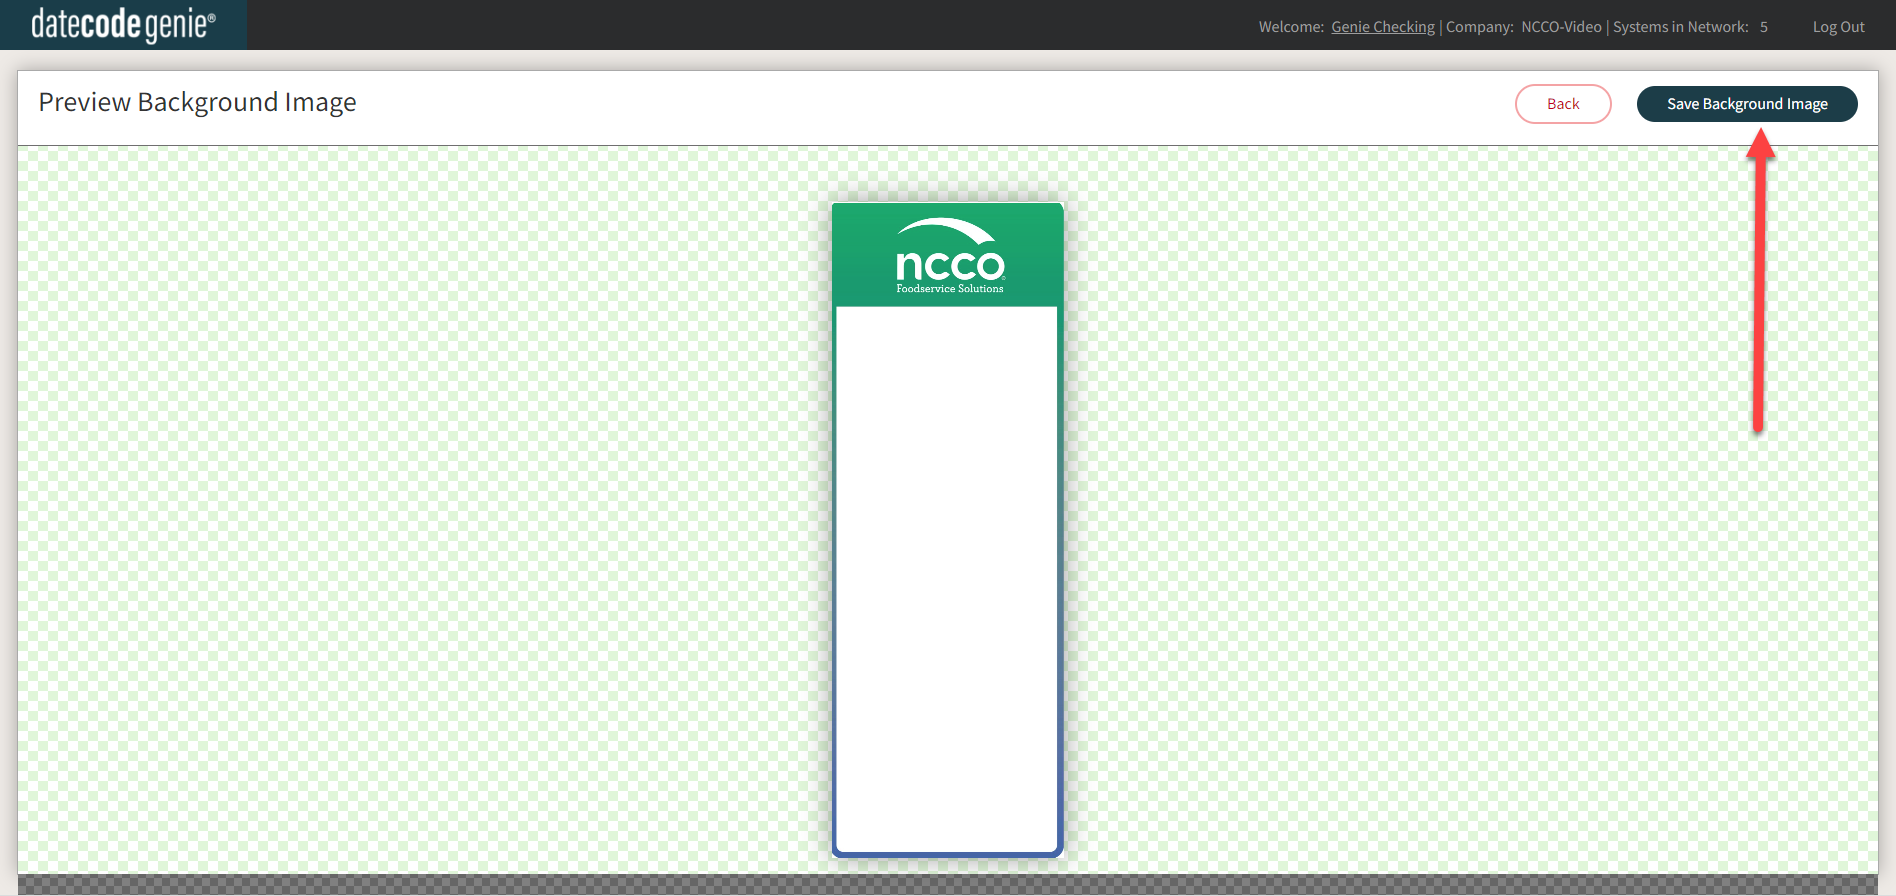
9. Click Preview button to view.
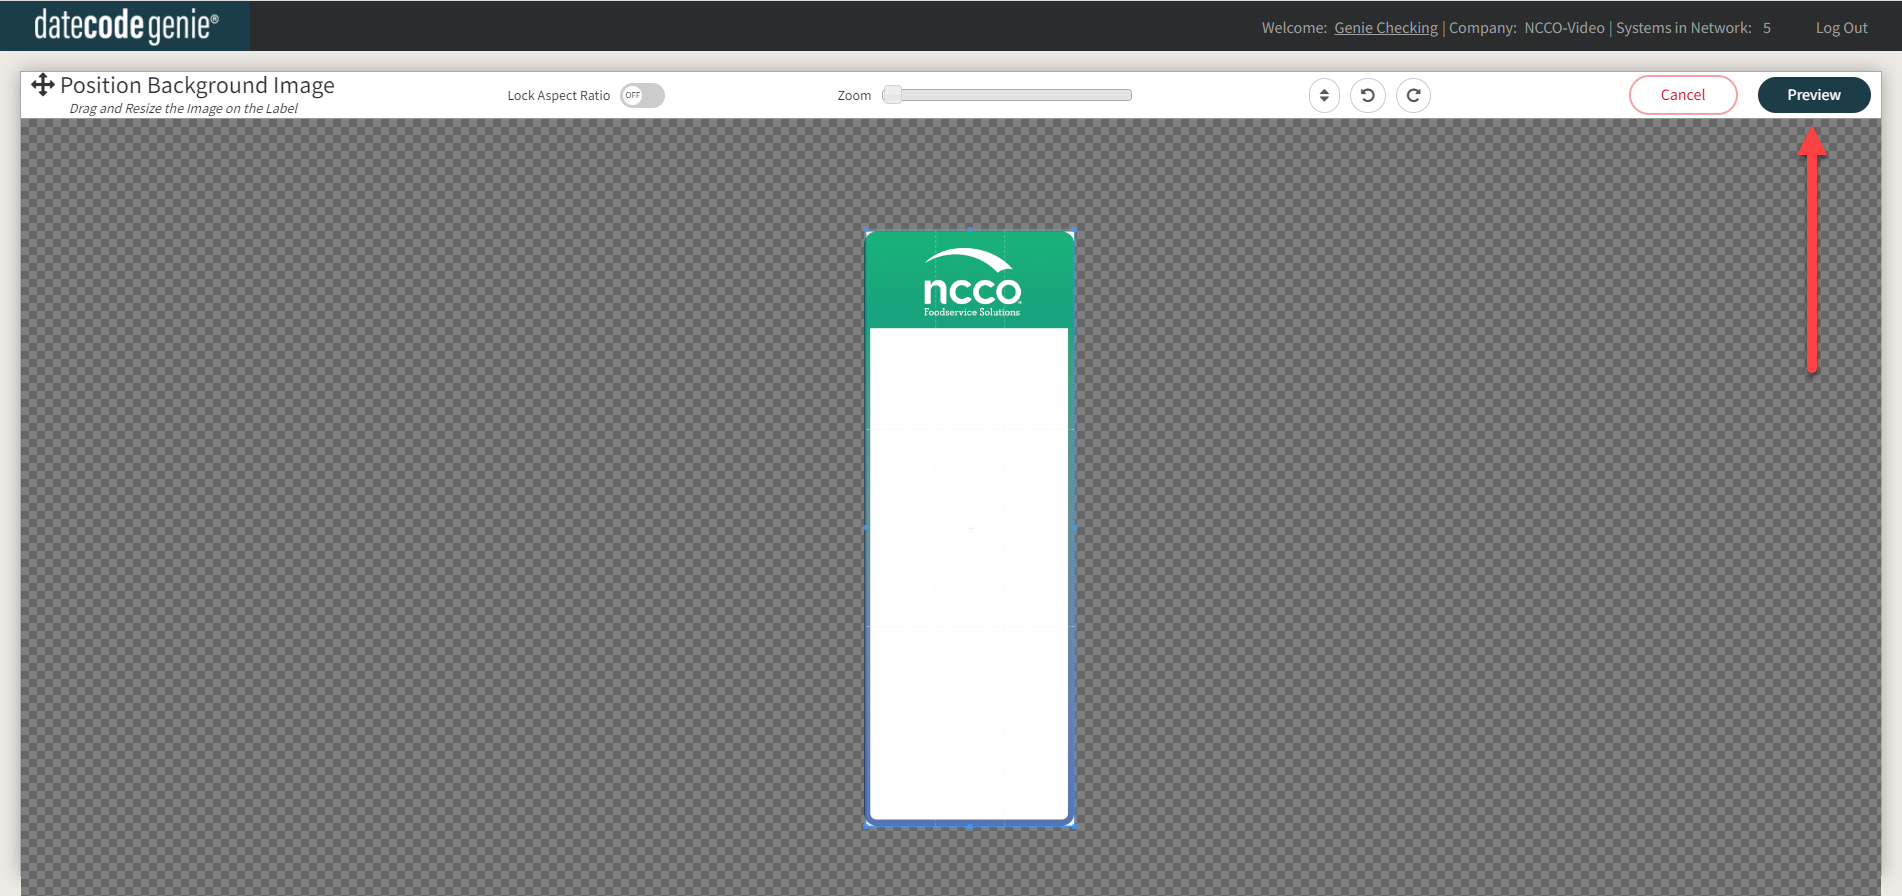
10. Click Save Background Image button to save and return to layout designer
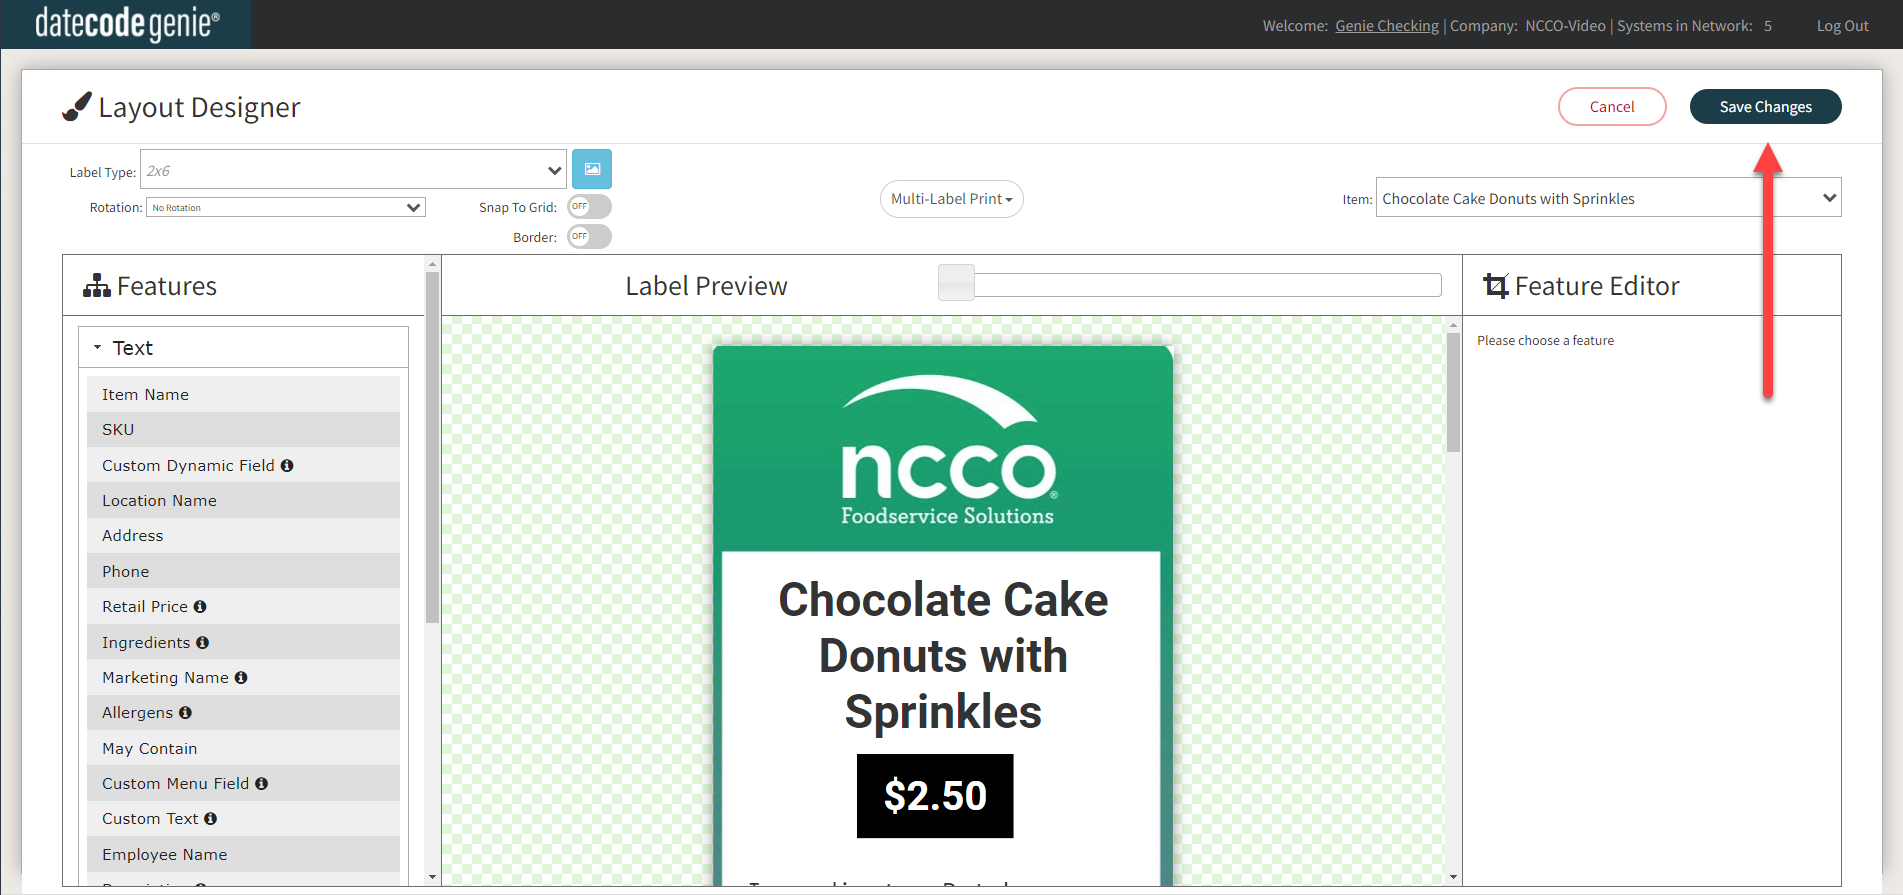
11. Click and drag features onto label preview, resizing and customizing each feature. Click the Save Changes button to save when completed. See Manage Printer Profiles
12. Download updates on the app, load the preprinted labels in the device, and print. See Download Updates on the App
